To create craft foam armor plates, you’ll need EVA foam in varying thicknesses, a heat gun, sharp craft knife, contact cement, and primer. Start by templating pieces directly from your body using cling wrap and masking tape. Cut your shapes, heat the foam until pliable, then press it against curved forms to lock in shape. Seal, prime, and paint for a polished finish. There’s much more technique involved to get truly professional results.
Key Takeaways
- Use EVA foam in varying thicknesses, with 2mm for details and 6mm–10mm for structural armor plates.
- Wrap body areas in cling wrap and masking tape to create accurate, custom-fitted foam templates.
- Apply even heat with a heat gun to make foam pliable, then press it over curved forms to shape.
- Bond pieces using contact cement for stronger joints or hot glue for faster assembly, reinforcing interior seams.
- Seal, prime, and paint foam with thin coats, then add weathering techniques like dry brushing and ink washes.
Gather Your Craft Foam and Tools Before You Start
Before cutting a single piece, you’ll want to gather everything you need so the build process stays efficient and uninterrupted. Stock up on the right craft foam types — EVA foam in varying thicknesses (2mm for detail layers, 6mm–10mm for structural plates) gives you flexibility across different armor components.
Your essential tools should include a sharp craft knife or box cutter, cutting mat, heat gun, contact cement or hot glue gun, and a rotary tool for edge cleanup.
Add a ruler, marker, and paper for templating. If you’re working from body measurements, keep cling wrap and masking tape nearby to cast a fitted shell directly from the target area.
Labeling materials before you begin prevents misidentification once multiple pieces are in progress.
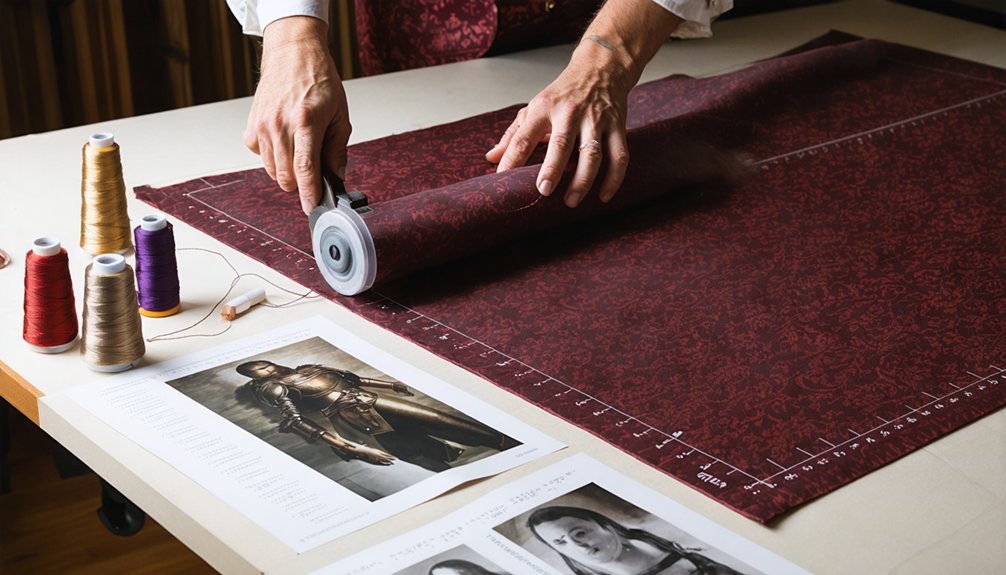
Pattern Your Craft Foam Armor Plates for a Custom Fit
With your tools and materials ready, you can move into patterning — the step that determines how well your finished armor actually fits. Accurate pattern measurement guarantees each plate conforms to your body’s contours before you touch the foam.
- Use body measurements or a padded form for precise template creation.
- Wrap target areas in cling wrap and masking tape for direct body fitting.
- Mirror left/right plates using symmetry techniques to avoid duplicate same-side pieces.
- Label every cut piece during foam selection and layout to prevent assembly confusion.
- Pull design inspiration from reference images to maintain consistent armor aesthetics throughout.
Once your paper template reads correctly, transfer it onto your foam using a marker, keeping your cutting tools ready for clean, controlled cuts along every traced line.
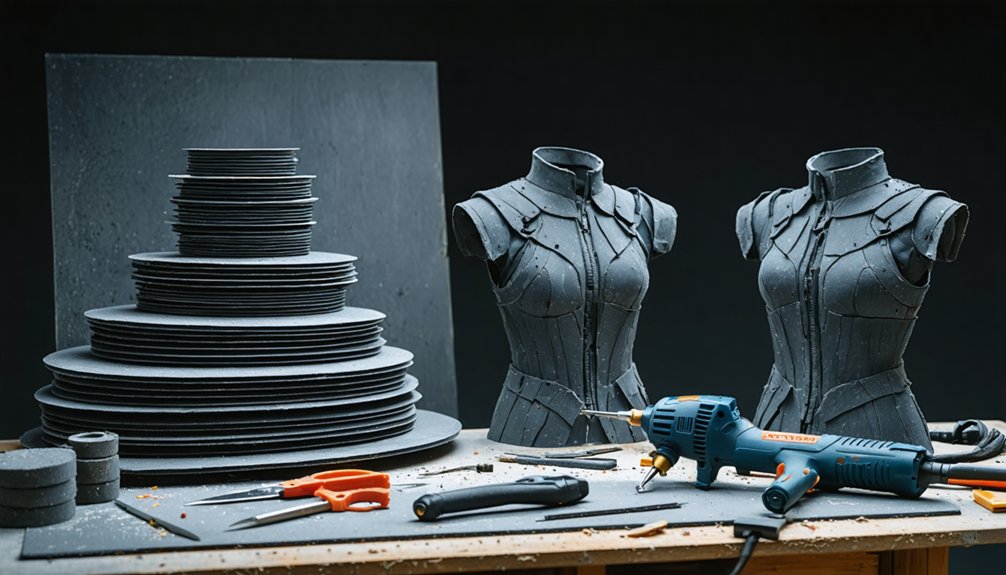
Cut and Shape Craft Foam Into Armor Pieces
Transfer your paper templates onto the foam by tracing each piece with a marker, then cut along the traced lines using a sharp blade in clean, controlled passes — dull blades drag and compress the foam’s edges rather than slicing through them.
Cutting techniques improve dramatically when you replace blades frequently. For shaping methods, apply gentle, even heat and press warmed foam over a bowl or knee to set curves. Cut small darts where flat sections must conform to compound contours.
Dry-fit every piece before committing to adhesive, trimming edges until adjoining surfaces meet cleanly. Layering strategies — stacking thinner sheets — boost material durability and add dimensional structure.
Your design inspiration, finish options, color selection, and tool recommendations all depend on achieving precise cuts and consistent curves at this foundational stage.
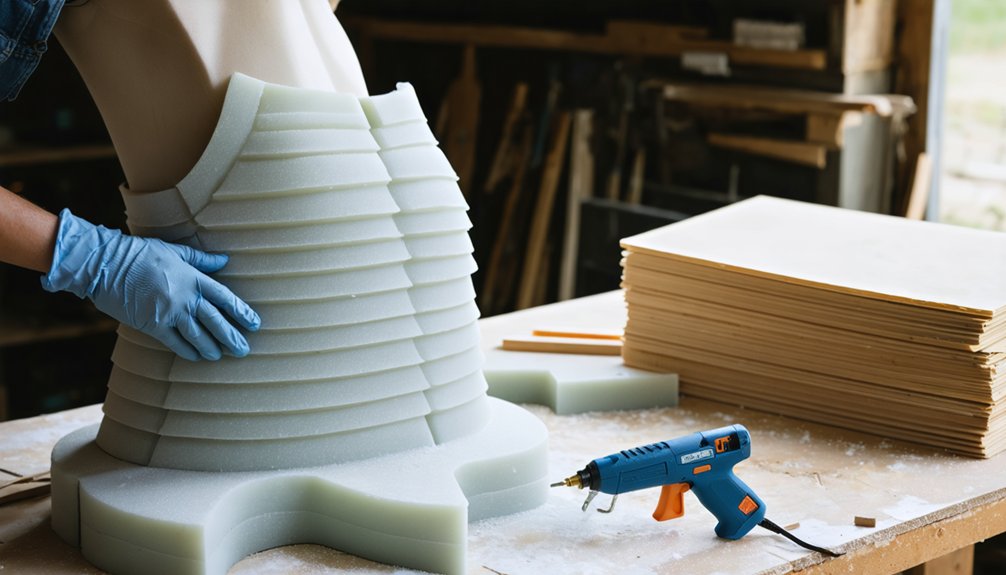
Heat and Form Craft Foam Armor Into Curved Plates
Once your foam pieces are cut, you’ll need to apply heat evenly across the surface to make the material pliable enough to curve without cracking or warping unevenly.
Keep your heat gun or hair dryer moving in steady passes rather than holding it in one spot, which risks scorching or distorting the foam.
While the foam is still warm and flexible, press it firmly over a curved form—such as a bowl, knee, or rounded mold—and hold it in place until it cools and retains the new shape.
Applying Heat Evenly
Applying heat evenly is the key to bending craft foam into smooth, consistent curves without scorching or warping. Different foam types respond differently to heat sources like heat guns, embossing tools, or ovens, so temperature control is critical. Always apply safety precautions—work in ventilated areas and avoid prolonged exposure to fumes.
- Keep your heat source moving constantly to distribute warmth across the entire surface.
- Hold the heat gun 4–6 inches away to prevent hot spots.
- Test scrap foam first to gauge how quickly your specific foam type softens.
- Heat both sides of thicker foam for uniform flexibility throughout the material.
- Watch for slight glossiness as your visual cue that the foam is ready to shape.
Shaping Over Curved Forms
With your foam evenly heated and ready to shape, the next step is pressing it against a curved form to lock in the contour you need.
Leverage foam flexibility by working quickly after heat application, since the material stiffens as it cools. Select curved forms from everyday crafting tools and household objects — a knee, mixing bowl, or dome mold all deliver reliable dimensional design results.
Press the foam firmly against the surface, conforming it to match the curvature exactly. Hold it steady for 30–60 seconds until it sets.
These shaping techniques directly affect armor aesthetics, so precision matters. Uneven pressure creates irregular surface texture and weakens structural lines.
Once cooled, the plate holds its shape, giving your build clean, professional curves ready for assembly.
Glue and Reinforce Your Craft Foam Armor
Once your foam pieces are shaped and dry-fitted, you’ll need to choose between hot glue and contact cement based on your build’s demands—hot glue works fast, while contact cement creates a stronger, more flexible bond ideal for stress points.
If you’re using contact cement, coat both mating edges lightly, then wait roughly 10–15 minutes until the adhesive turns tacky before pressing the surfaces together.
After the initial bond sets, reinforce your interior seams with an additional bead of adhesive or foam strips to prevent separation under movement and wear.
Choosing the Right Adhesive
Choosing the right adhesive makes or breaks your foam armor’s durability, so you’ll want to understand the strengths of your two main options: hot glue and contact cement.
- Hot glue offers fast curing time and works well for quick bonds, but sacrifices long-term bond strength under stress.
- Contact cement delivers superior material compatibility and flexibility requirements for curved or high-movement sections.
- Apply contact cement using thin, even application techniques on both surfaces, waiting 10–15 minutes until tacky.
- Follow proper safety precautions—work in ventilated spaces when using solvent-based contact cement.
- Use acetone or manufacturer-recommended cleanup methods to remove excess contact cement before it fully cures.
Match your adhesive type to each joint’s specific stress load and movement demands for a professional, lasting result.
Reinforcing Interior Seams
After bonding your primary seams, you’ll need to reinforce the interior joins to prevent delamination under stress. Flip your armor piece inward and apply a secondary bead of hot glue or contact cement directly over each seam line.
These interior reinforcement techniques distribute flex stress across a wider surface area rather than concentrating it at the bond edge.
For high-movement zones like shoulder or elbow plates, press narrow foam strips over the interior seam and glue them flat. This bridging method is one of the most effective seam durability tips because it mechanically locks both panels together.
Let each reinforcement layer cure completely before handling. Rushing this stage compromises structural integrity, particularly in armor sections that absorb repeated physical contact during wear.
Seal, Prime, and Paint Your Craft Foam Armor
Sealing your foam armor before painting is a critical step that prevents paint from soaking into the porous foam surface and causing bubbling or uneven coverage. Apply sealing techniques using Plasti Dip, Mod Podge, or diluted glue in thin, even coats to preserve surface detail.
Seal foam armor first — skipping this step leads to uneven paint, bubbling, and ruined surface detail.
- Sand or smooth seams before sealing to guarantee clean paint finishes.
- Apply primer after sealing to improve acrylic or metallic spray paint adhesion.
- Use painter’s tape to mask sections requiring separate color blocking.
- Add depth through weathering methods like dry brushing or ink washes over base coats.
- Complete finishing touches with rivets, layered trim, or ornamental accents for a polished, dimensional look.
Multiple thin coats outperform single heavy applications, maintaining sharp edges and crisp panel lines throughout your build.
Frequently Asked Questions
How Long Does Completed Craft Foam Armor Typically Last With Regular Wear?
Like a trusty shield in battle, your craft foam armor’s lifespan hinges on key durability factors—expect 1–3 years with regular wear. Follow maintenance tips: store it properly, reapply sealant, and repair loose seams promptly.
Can Craft Foam Armor Be Resized or Altered After Full Assembly?
You can resize assembled craft foam armor by carefully cutting seams, applying heat to reshape sections, and re-gluing with contact cement. These resizing techniques and assembly tips let you innovate adjustments without fully rebuilding your piece.
What Is the Lightest Way to Attach Craft Foam Armor to Clothing?
Because duct-taping armor to yourself isn’t innovative enough, you’ll want lightweight Velcro options, smart strap designs, subtle magnet attachments, or minimal adhesive methods sewn directly onto your garment, keeping plates secure without adding unnecessary bulk.
Is Craft Foam Armor Safe to Wear Outdoors in Hot Weather?
You can wear craft foam armor outdoors, but you’ll need to manage heat resistance carefully—foam softens under direct sun. Prioritize moisture management by ventilating underneath plates to prevent sweat buildup and warping.
How Do You Store Craft Foam Armor to Prevent Warping Over Time?
Store your craft foam armor flat or hung vertically in a cool, dry space. Preventing warping means you’ll avoid heat and humidity. Use acid-free tissue between pieces and keep them away from direct sunlight during craft foam storage.
References
- https://thehobbykraze.com/indoors/cosplay/how-to-make-plate-armor-for-cosplay/
- https://onedelightfulday.wordpress.com/2012/03/26/mitridate-craft-foam-armor-tutorial/
- https://www.stormthecastle.com/how-to-make-a/make-a-foam-armor-chest-plate.htm
- https://www.instructables.com/How-To-Make-Foam-Armor/
- https://www.youtube.com/watch?v=zRkKLgGYlCw
- https://www.youtube.com/watch?v=dN3NHy7Asqc
- https://www.youtube.com/watch?v=vVktqEVP3fQ
- https://www.instructables.com/Foam-Breastplate/
- https://www.youtube.com/watch?v=pRGM0AG97ZU
- http://entropyhouse.com/penwiper/costumes/helmsdeep.html