You don’t need a single stitch to build a standout cosplay costume. Grab felt, foam sheets, hot glue, and a few household staples like old bedsheets or cardboard, and you’re already halfway there. Quick wins include mummy wraps, cape-and-mask heroes, animal ear sets, and sushi rolls that come together in under an hour. Match your fasteners to your materials, test every fit before gluing permanently, and there’s much more to uncover ahead.
Key Takeaways
- No-sew costumes use hot glue, fabric tape, and Velcro instead of stitching, making cosplay accessible for total beginners.
- Household materials like bedsheets, felt scraps, and cardboard can create complete costumes without purchasing new supplies.
- Quick ideas include mummy wraps, cactus shirts, and cape-and-mask combinations, each completable in under sixty minutes.
- Animal costumes are beginner-friendly, requiring only felt ears on a headband, a matching tail, and coordinated clothing.
- Always test-fit all components before applying final adhesives to avoid sizing issues and attachment failures.
Why No-Sew Cosplay Works for Total Beginners
Cosplay doesn’t have to mean mastering a sewing machine before you’ve even picked a character. No-sew creativity removes the single biggest technical barrier between you and a finished costume. Instead of patterns and thread, you’re working with hot glue, fabric tape, Velcro, and smart layering — tools that reward problem-solving instincts over tailoring experience.
This approach also accelerates costume personalization. You’re not locked into a pattern’s dimensions or a tutorial’s exact materials. Swap a bedsheet for a curtain, cut foam instead of felt, or reroute a ribbon for a cleaner fit. Every adjustment is immediate and low-risk.
No-sew construction keeps your focus on design decisions — silhouette, color, proportion — rather than mechanical execution. That shift makes cosplay genuinely accessible from your very first attempt.
No-Sew Costume Materials You Already Have at Home
Once you’ve committed to skipping the sewing machine, your next move is simpler than a supply run — it’s a walk through your own home.
Household items double as powerful crafting alternatives when you know what you’re looking for. Scan these sources first:
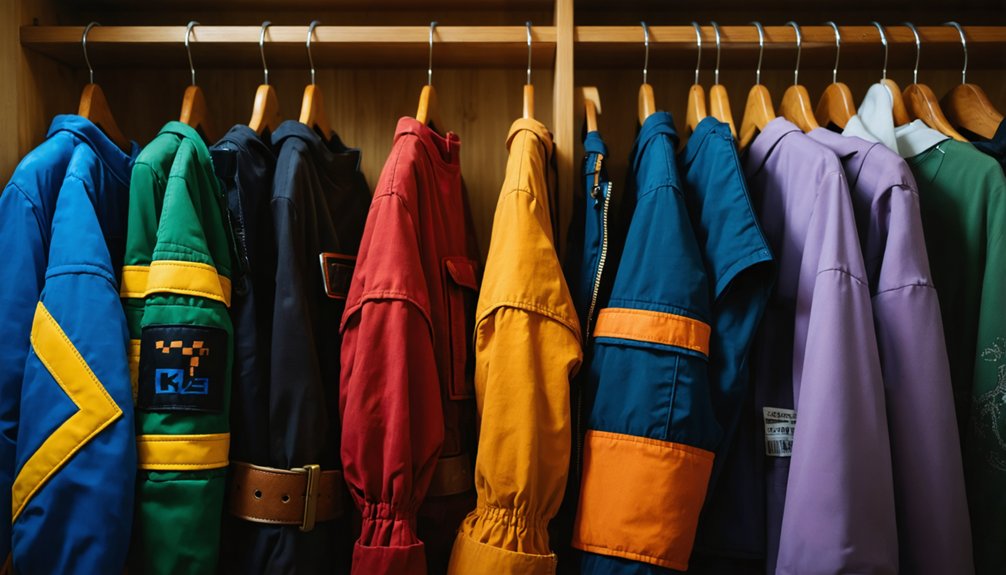
- Linen closet: bedsheets, scarves, and old T-shirts become wraps, capes, and base layers instantly.
- Junk drawer: duct tape, rubber bands, and hot glue replace every stitch you’d otherwise need.
- Recycling bin: cardboard tubes, cereal boxes, and poster board build props and structural accents.
- Craft leftovers: felt scraps, ribbon, foam sheets, and pom-poms add texture and character detail.
Each category targets a different costume layer, so combining them produces a fully assembled look without purchasing a single new material.
Hot Glue, Tape, and Velcro: Your No-Sew Attachment Toolkit
Stitching is off the table, but that doesn’t mean your costume falls apart — it means you swap needle and thread for three tools that work just as fast and hold just as well.
Hot glue techniques deliver instant, durable bonds between foam, felt, and fabric — apply in short bursts to prevent warping.
Tape applications vary by purpose: duct tape reinforces structural seams, while fashion tape anchors lightweight layers directly against skin.
Velcro uses shine wherever you need adjustable or removable panels, like detachable wings or a cape collar.
Each tool demands crafting safety awareness — hot glue burns fast, sharp cardboard cuts unexpectedly, and overly tight tape restricts movement.
Test every attachment before committing, and your no-sew build stays both sturdy and wearable throughout the event.
How to Size a No-Sew Costume for Kids or Adults
Sizing a no-sew costume skips the measured seam allowances of traditional garment construction, but that doesn’t make fit an afterthought — wrap styles, layered accessories, and Velcro closures give you built-in flexibility that tailored pieces can’t match.
Smart sizing techniques start with your base layer measurement, then build outward using adjustable fasteners.
Start with your base layer measurement, then layer outward — adjustable fasteners handle the rest.
Key fit strategies for any body type:
- Wrap-and-pin method: adjust fabric tension without cutting permanently
- Velcro panels: reposition cape or wing attachments for kids’ growing frames
- Fabric choices matter: lightweight felt and foam stretch slightly, reducing pressure points
- Layered accessories: belts and straps create adjustable anchoring across adult and child silhouettes
Always test-fit components before final adhesive application — repositioning tape costs seconds, but removing dried hot glue doesn’t.
Top No-Sew Costumes Beginners Can Finish in Under an Hour
With fit locked in, your next challenge is picking a design that doesn’t eat your entire afternoon. Smart beginners target costumes requiring only one base outfit plus two accent pieces maximum.
Try a mummy using white strips from old bedsheets secured with safety pins — zero stitching, instant effect.
A cactus costume layers a green shirt with paper flower cutouts hot-glued directly onto fabric.
Sushi works brilliantly through creative layering: wrap a green bedsheet around your torso, add a black tape band, and you’re done.
Repurposed accessories accelerate every build. Raid your closet for scarves, belts, and ribbons before buying anything new.
Cape-and-mask characters also assemble fast — cut felt, attach ribbon ties, done. Each of these clocks in well under sixty minutes.
Easy No-Sew Food Costumes That Look Better Than They Should
Food costumes punch above their weight because bold color blocks and simple geometric shapes do most of the recognition work for you, requiring zero tailoring skill.
Your best picks include a sushi roll built from a green bedsheet, black tape, and a red cardboard tube, or a taco using layered brown and green fabric strips pinned to a tan base outfit.
To speed up assembly, cut your accent shapes from foam or felt in advance, then attach everything with hot glue or duct tape in a single focused session.
Why Food Costumes Work
There’s a reason food costumes consistently punch above their weight: they trade on instant visual recognition rather than screen-accurate construction. A food theme works because everyone understands the reference immediately, eliminating complex detailing.
Here’s what makes edible inspiration so effective for beginners:
- Bold color blocking replaces tailoring, letting whimsical designs communicate instantly.
- Geometric shapes simplify construction while amplifying snack appeal.
- Culinary creativity thrives through cardboard, foam, and tape rather than expensive materials.
- Playful presentation invites humor, making imperfections feel intentional rather than amateur.
You’re not replicating a character’s exact costume specs—you’re evoking a universally recognized object. That strategic simplicity is your advantage.
Lean into oversized shapes, high-contrast colors, and clean silhouettes to maximize visual impact without touching a needle.
Best Food Costume Picks
Five food costume picks rise above the rest for no-sew builds: sushi roll, taco costume, popcorn outfit, cactus, and mummy—each exploiting bold geometry and high-contrast color to punch well past their material cost.
Wrap green fabric around your torso for the sushi roll, adding a black tape band and white foam rice dots.
Engineer your taco costume using two curved cardboard shells secured with ribbon.
Your popcorn outfit needs only a red-and-white striped box base built from poster board.
Beyond these anchors, you can extend your food truck aesthetic by incorporating a sandwich disguise with layered felt, a fruit salad headpiece using foam spheres, a dessert theme sash, or a veggie platter apron—each requiring only cutting, gluing, and strategic color-blocking.
Quick Assembly Tips
Because no-sew food costumes live or die by bold geometry and high contrast, your fastest upgrade is locking down silhouette before you touch a single detail.
Nail your base shape using costume layering — stacking fabric combinations like foam over felt over cardboard creates dimensional reads that photograph sharply.
Prioritize these four assembly moves:
- Cut bold, not small: oversized shapes register instantly across crowded rooms
- Anchor everything centrally: attach core pieces at the torso before extending outward
- Test contrast early: place colors against each other before committing to glue
- Lock edges with duct tape: hidden seams stay flat and survive full event hours
Work outward from your strongest focal point, and your costume builds itself with precision and speed.
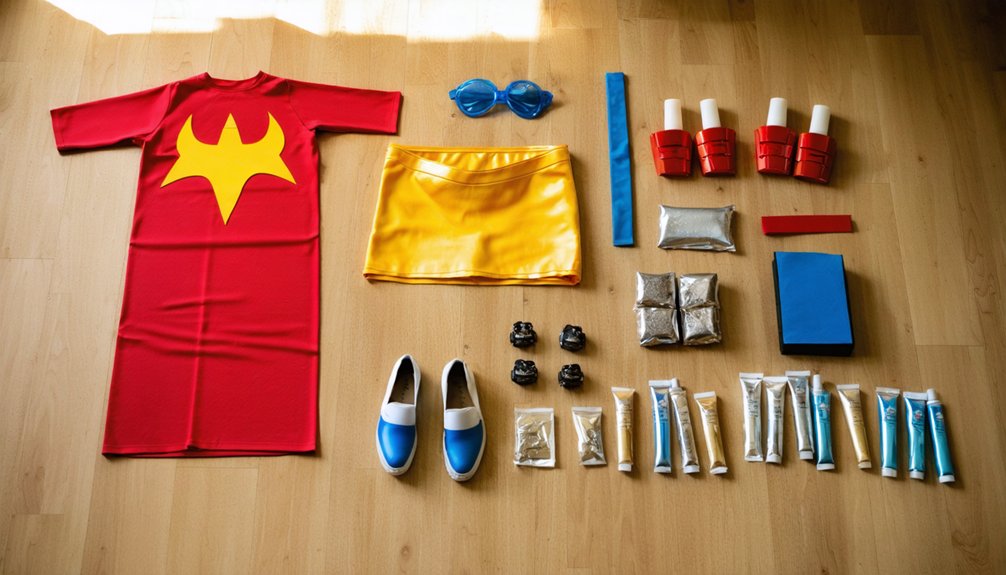
Animal and Fantasy Creature No-Sew Looks With Minimal Effort
Animal and fantasy creature costumes are some of the easiest no-sew builds you can pull off, since they rely on bold silhouettes and a few well-placed accessories rather than complex tailoring.
For animal themes, mount felt ears onto a headband, attach a matching tail using a belt loop or safety pin, and coordinate your base clothing to the creature’s color palette. That’s genuinely all you need.
Fantasy accessories follow the same logic — cardboard or foam horns, ribbon-tied wings cut from craft foam, or a layered fabric tail transform a plain outfit into a unicorn, dragon, or fairy instantly.
Use hot glue to secure foam details, test your headband fit before final attachment, and prioritize lightweight materials so you’re comfortable wearing the costume throughout the event.
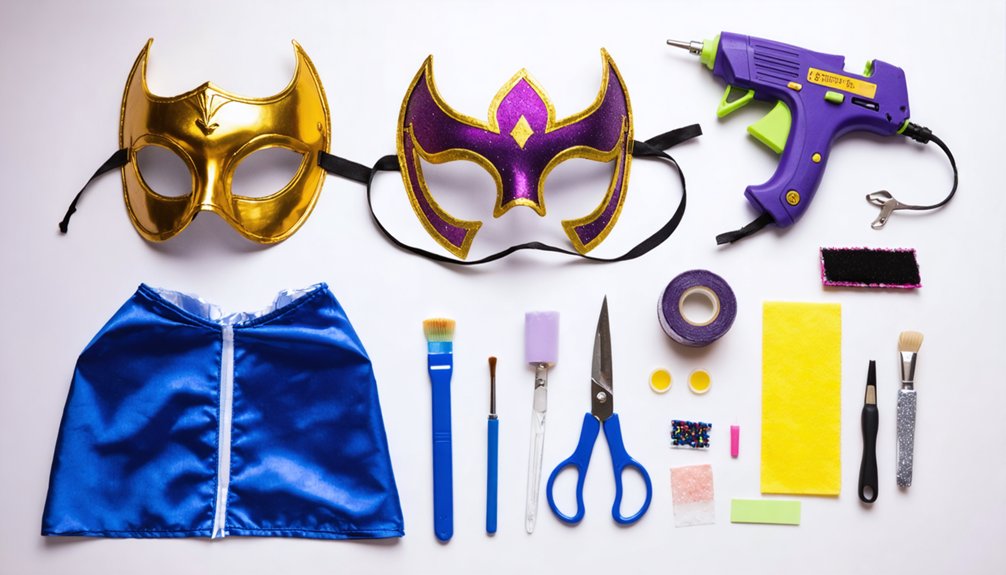
Cape-and-Mask Costumes That Come Together Fast
For your cape, you’ve got solid options in felt, fleece, or a repurposed bedsheet — each cuts cleanly without fraying, holds its shape under Velcro closures, and drapes well across the shoulders without added weight.
You’ll want to cut your cape into a half-circle or rectangle, attach two Velcro strips at the neckline, and you’re done with the hardest part.
For the mask, trace a simple eye-cover shape onto craft foam or cardboard, cut out the eye holes, and secure it with elastic or ribbon tied at the back of your head.
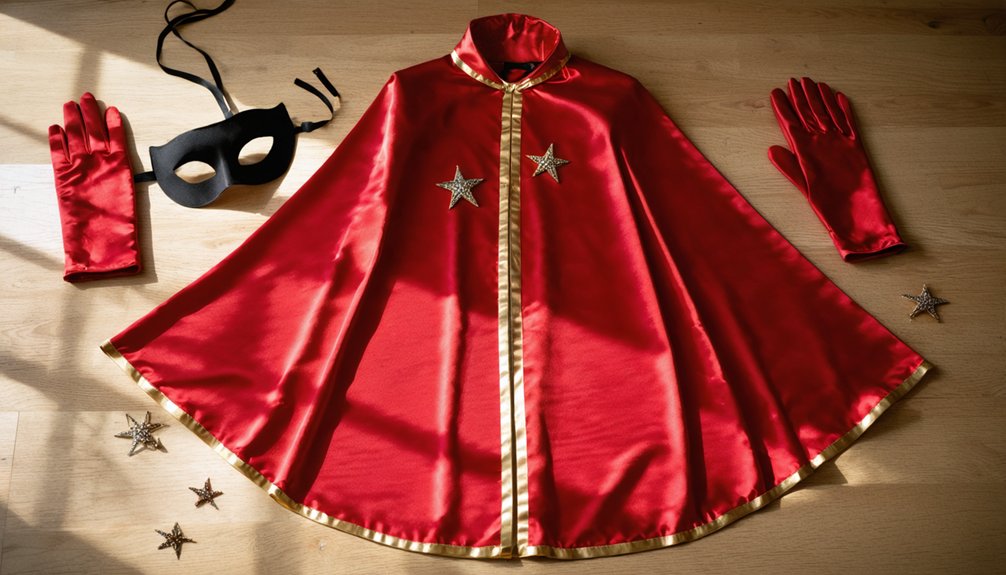
Choosing Your Cape Material
The cape is your costume’s backbone, and picking the right material makes the difference between a look that holds up all night and one that droops by the first hour.
Different fabric types suit different cape styles, so match your material to your movement needs.
Consider these high-performing no-sew options:
- Felt: stiff enough to hold shape, cuts cleanly without fraying
- Fleece: lightweight, drapes well, and stays put with minimal fasteners
- Satin or polyester lining fabric: delivers dramatic flow for fantasy cape styles
- Old bedsheets: free, versatile, and easy to cut into any silhouette
Test each option by draping it over your shoulders before committing.
You’ll immediately feel whether the weight supports your chosen design or fights against it.
Simple Mask Construction Tips
Once your cape is ready, a well-constructed mask pulls the entire look together without requiring any additional tools beyond scissors, cardboard, and a few strips of elastic or ribbon.
Trace a symmetrical mask design directly onto Bristol board or a cereal box, then cut cleanly along the outline. Punch two small holes at each temple and thread elastic or ribbon through for a secure, adjustable fit.
Your color choices matter greatly here—bold contrasting tones instantly boost character recognition, while monochromatic schemes create sleek, modern silhouettes. Add dimension by layering foam cutouts or felt accents over the base.
Test the fit before finalizing any glued elements, ensuring comfortable eye alignment. A precisely built mask transforms even the simplest cape into a fully realized, high-impact costume.
How to Keep a No-Sew Costume From Falling Apart
Keeping a no-sew costume intact through a full day of wear comes down to choosing the right fasteners for each specific joint in your build.
Costume durability depends on matching attachment techniques to the materials involved — hot glue bonds foam and felt securely, while Velcro handles adjustable panels better than tape.
Match your fasteners to your materials — hot glue for foam and felt, Velcro wherever adjustability matters.
Prioritize these high-failure zones before you leave the house:
- Cape and wing connections: reinforce ribbon ties with a Velcro backup
- Wrapped sections: layer duct tape beneath fabric at stress points
- Headband mounts: add hot glue beads around base attachments
- Paper or cardboard props: seal all cut edges with clear packing tape
Test every joint through a full range of movement before committing to final attachment — your costume should flex without separating.
Common Beginner Mistakes That Ruin No-Sew Costumes
Knowing how to reinforce your costume is only half the battle — you also need to recognize the habits that quietly sabotage a build before you ever leave the house.
One common mistake is skipping test fits, which causes essential accessories like wings or headbands to sit awkwardly once you’re moving.
Another is over-relying on a single adhesive — hot glue alone won’t guarantee costume durability across a full event.
Beginners also frequently choose materials that are too heavy, creating uncomfortable pull and structural collapse.
Rushing the drying time on glue or tape bonds is another silent killer.
Finally, neglecting to account for body movement means panels shift, wrap layers loosen, and carefully constructed silhouettes dissolve.
Build smart, test early, and never skip the stress test.
Frequently Asked Questions
Can No-Sew Costumes Be Worn Multiple Times Without Falling Apart?
Yes, you can wear no-sew costumes multiple times if you’re smart about durability factors—choose quality adhesives, reinforce stress points, and prioritize sturdy fabric choices like felt or foam that won’t degrade after repeated use.
Are No-Sew Costumes Suitable for Outdoor Events or Festivals?
Like armor forged for battle, your no-sew costume can conquer outdoor durability challenges. You’ll maximize festival comfort by choosing foam, felt, and reinforced tape, ensuring your costume withstands wind, movement, and long event hours confidently.
How Do You Safely Remove Hot Glue From Fabric After an Event?
Peel cooled hot glue gently, then apply rubbing alcohol or a freeze spray to lift stubborn residue. For smart fabric care, use a warm iron over parchment paper—it’ll reactivate and cleanly absorb remaining glue.
Can No-Sew Costumes Be Made Collaboratively as a Group Theme?
You’ll find that “creative synergy” thrives in no-sew group builds! Through themed collaboration and group creativity, you can assign each person a character element—wings, props, or color blocks—uniting everyone into one visually stunning, innovation-driven costume experience.
What Age Is Appropriate for Children to Help Build No-Sew Costumes?
You’ll find that children around ages 5–6 can develop crafting skills through simple cutting and gluing tasks. Age recommendations suggest older kids, around 10+, handle hot glue and complex assembly with your active supervision.
References
- https://www.elitedaily.com/style/easy-diy-halloween-costumes-no-sew
- https://www.redtedart.com/no-sew-costume-ideas/
- https://www.thefelthabit.com/blog/easy-diy-halloween-costumes-that-dont-require-sewing
- https://www.marthastewart.com/274774/no-sew-halloween-costumes
- https://www.youtube.com/watch?v=2C5WiX3Zf2s
- https://makeit-loveit.com/diy-no-sew-halloween-costumes
- https://kidspot.co.nz/family-time/five-no-sew-kids-costumes/
- https://www.overstuffedlife.com/10-no-sew-halloween-costumes-anyone-can/
- https://creativecynchronicity.com/20-no-sew-halloween-costumes/
- https://www.tfdiaries.com/2017/10/7-no-sew-diy-costume-ideas.html