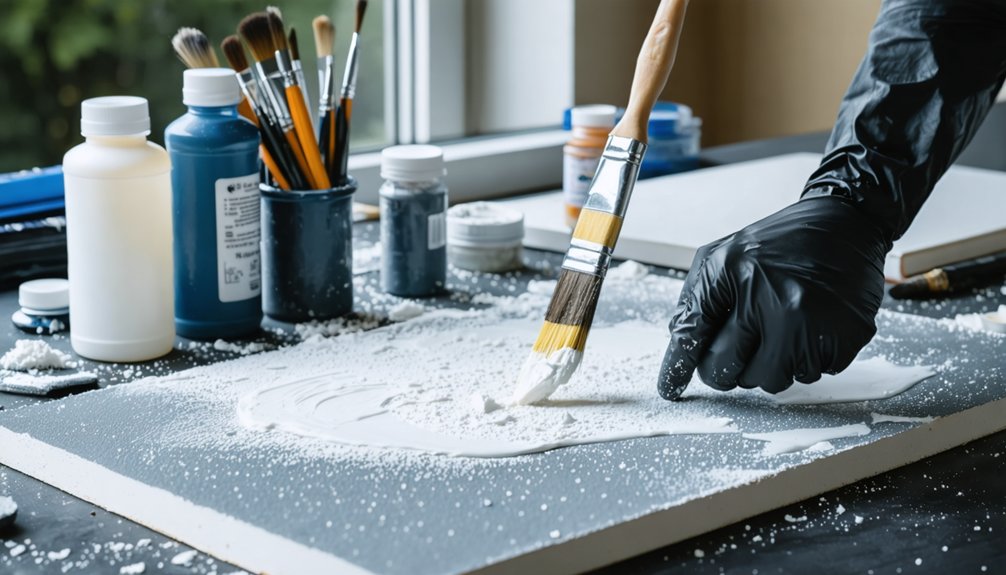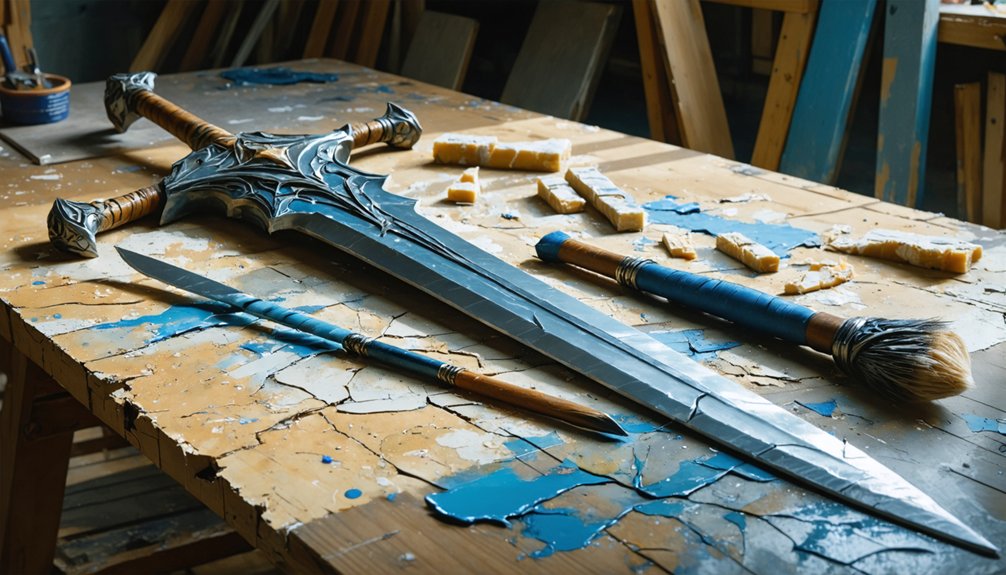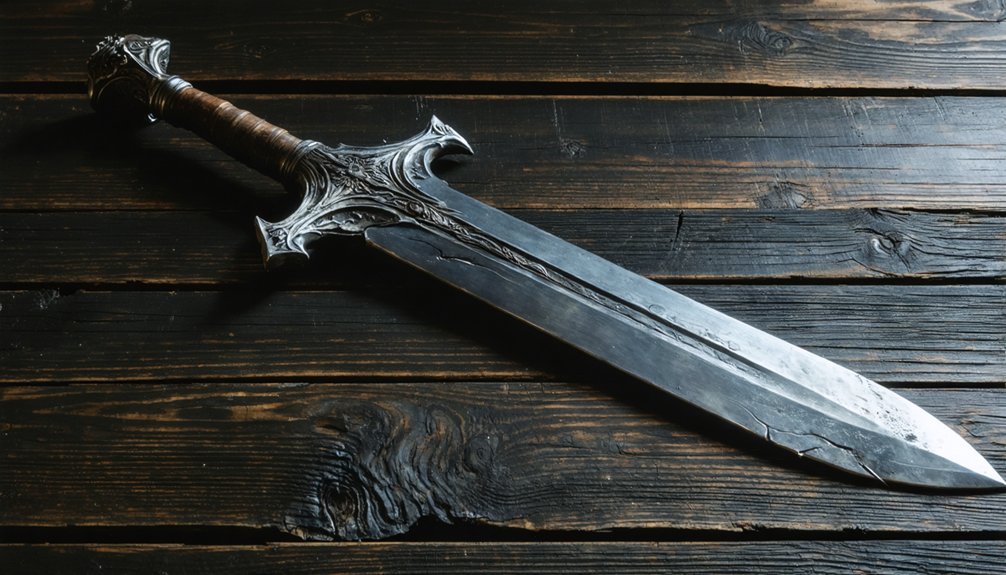
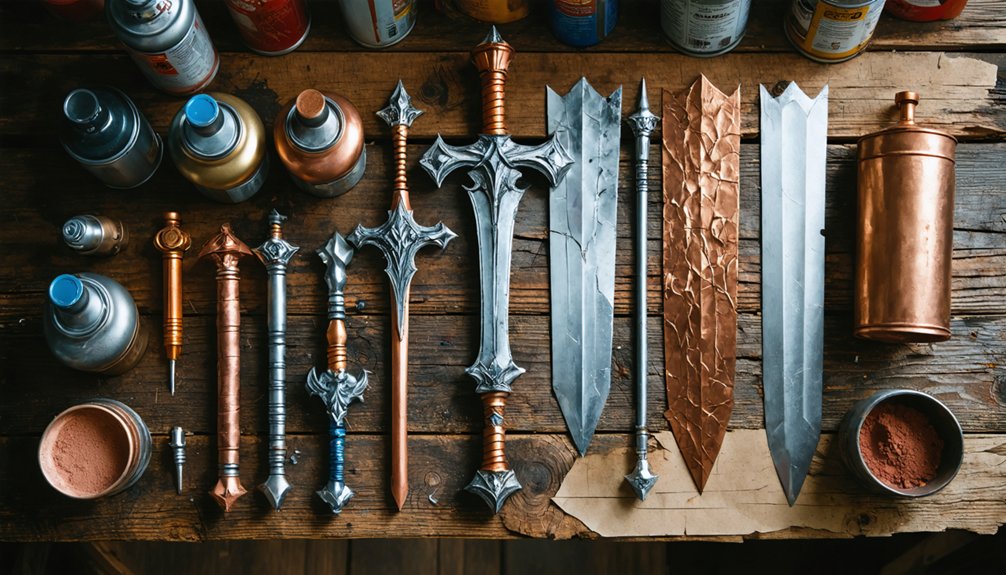
You can replicate convincing metal effects on props using metallic spray paints, graphite powder mixed with shellac, bronzing powders, and airbrush colors. Start with proper surface prep—sand, prime with gloss black, and build your layers strategically. Weathering techniques like dry-brushing diluted raw umber or stippling bronzing powder add depth and realism. Finish with buffing and clear coat for durability. Each technique works differently depending on your prop material and budget, and there’s much more to uncover.
Key Takeaways
- Metallic spray paints work well on irregular shapes, providing flawless, stroke-free finishes ideal for most prop surfaces.
- Proper surface preparation, including sanding and priming with gloss black primer, ensures better adhesion and realistic metallic finishes.
- Buffing with 150-grit sandpaper and steel wool creates dimensional depth, enhancing realism under lighting conditions.
- Weathering effects can be achieved using watered-down black paint and diluted raw umber for convincing grime simulation.
- Rust and patina effects are created using metal coatings, bronzing powder stippling, and sealed with matte sealer for durability.
Which Metal Technique Matches Your Prop Material and Budget?
Choosing the right metallic technique depends on two practical constraints: what your prop is made of and how much you’re willing to spend.
For flat surfaces, metal tape delivers a highly reflective finish, but it fails on curved geometry. Metallic spray paints handle irregular shapes more effectively and produce flawless results across most materials.
If you’re working with tighter budget-friendly options, standard metallic acrylics or graphite powder mixed with shellac offer strong results at minimal cost.
For precision work, metallic airbrush colors give you uniform control across complex surfaces.
Your metallic color choices also shift based on material porosity — porous surfaces need primer and sanding first.
Match technique to surface, then allocate budget accordingly, prioritizing durability and finish quality over convenience.
Why Surface Prep Makes or Breaks Metal Effects on Props
Before you apply any metallic finish, you need to prime your prop’s surface and let it fully dry.
Sand the entire surface multiple times to eliminate underlying imperfections that would otherwise telegraph through your final metallic layer.
If you’re working with a wooden prop, apply two or three shellac coats to smooth out any woodgrain traces before you move on to your metallic treatments.
Primer Prepares The Surface
Without proper surface prep, even the most expensive metallic paint will fail to replicate a convincing metal finish. Primer types directly determine how well your metallic layers bond, so choosing correctly matters. For chrome or high-shine metallic builds, gloss black primer delivers the strongest surface adhesion and the deepest reflective base.
Apply your primer in even coats, letting each layer dry completely before moving forward. Once dry, sand the entire prop surface to eliminate imperfections that metallic paint will otherwise amplify. Repeat this sanding process as needed—metallic finishes expose every flaw beneath them.
If you’re working with wood props, apply two to three shellac coats first to seal woodgrain traces before priming. Skipping these steps guarantees a subpar finish regardless of the metallic technique you use afterward.
Sanding Removes Imperfections
Sanding transforms a flawed prop surface into one that actually holds a convincing metallic finish. Surface imperfections like seams, bumps, or tool marks scatter light unevenly, immediately breaking the illusion of real metal. You’ll need to address these before applying any metallic layer.
Start with coarser sanding tools to knock down major flaws, then work progressively toward fine grit options to refine the surface. Standard sanding techniques recommend 150 grit as your baseline for pre-buffing prep.
Run your fingers across the surface after each pass — you’ll feel inconsistencies you can’t always see.
Repeat the sanding process multiple times rather than rushing it. Each additional pass eliminates deeper underlying flaws, giving your metallic coats a uniform, professional foundation that sells the finished effect convincingly.
Shellac Smooths Wood Grain
Wood grain presents a unique problem for metallic finishes — even after thorough sanding, the open pores and fibrous texture of raw wood will bleed through paint layers and destroy the illusion of solid metal.
Shellac application directly addresses this by sealing the surface at a molecular level, filling grain channels that sandpaper can’t eliminate.
Apply shellac in two to three layered coats, allowing full drying between each pass. Each coat builds density, progressively flattening wood grain traces until the surface reads as uniform and non-porous.
You’ll notice the texture visibly tightening with each layer.
Once sealed, your prop accepts metallic paint without absorption irregularities or grain ghosting.
This step isn’t optional — it’s the structural foundation that makes every subsequent metallic layer perform correctly.
Which Metallic Paints and Sprays Work Best for Props?
Several metallic paint options are available for prop-making, and each delivers a distinct finish depending on your surface and goals. Your metallic color choices directly impact the realism of the final build.
Standard metallic acrylics establish a solid base layer, while wax-based metallic paints produce a noticeably shinier result. When you need a flawless, uniform coating, metallic spray paint types outperform brush-on options by eliminating visible stroke marks.
For precision work or large prop runs, metallic airbrush colors give you consistent coverage across complex surfaces. If you’re chasing maximum reflectivity, metal tape delivers a high-gloss finish, though it performs poorly on curved or rounded surfaces.
Match your paint type to your prop’s geometry and the finish level your production demands.
How to Layer Primer, Paint, and Powder for a Seamless Finish

Once you’ve locked in your paint type, the next step is building a proper foundation that lets those metallic finishes perform at their best. Start with a gloss black primer, let it dry completely, then sand the entire surface smooth.
A proper metallic finish starts beneath the surface — gloss black primer, fully dried, sanded smooth.
Repeat sanding multiple times to eliminate imperfections before advancing your layering techniques.
For wood-based props, apply two to three shellac coats to suppress woodgrain. Once sealed, introduce graphite powder mixed with shellac for a gravy-like consistency, brushing it evenly across the surface.
Buff with 150-grit sandpaper or triple-lot steel wool to expose the metallic finish beneath. Seamless application depends on this buffing stage — rushing it compromises the final effect.
Finish with bronzing powder dabbed strategically to reinforce depth and material authenticity.
How to Use Graphite and Bronzing Powders for Realistic Metal Effects
To create realistic metal textures, you can mix bronzing powder directly into scene paint, blending gold, silver, or copper tones to simulate authentic metallic surfaces.
For highlights, combine graphite powder with shellac to form a gravy-like consistency, then apply it over your base coat to expose a convincing metal finish.
Once dry, buff the surface with triple-ought steel wool or 150-grit sandpaper to reveal the graphite’s natural sheen and achieve a polished, realistic metallic effect.
Mixing Bronzing Powder Techniques
Bronzing powders come in three core variants—gold, silver, and copper—and each can be mixed directly into scene paint to build a textured metallic base. This bronzing powder application method lets you control pigment density, giving you thicker or thinner metallic finishes depending on your prop’s requirements.
Adjust your mixture ratio to shift between subtle shimmer and bold metallic impact.
For texture enhancement techniques, dab bronzing powder directly onto the prop’s surface rather than brushing it on uniformly. Dabbing replicates the uneven wear patterns of aged or used metal, adding visual complexity without overworking the surface.
You can layer multiple powder variants—combining copper and gold, for instance—to simulate oxidized or changing metal tones. Always work in thin, deliberate passes to maintain precision and avoid muddying the finish.
Applying Graphite For Highlights
Graphite powder paired with shellac creates a gravy-like consistency that you’ll apply over a base coat to build sharp metal highlights.
Mix both materials until you achieve a smooth, paintable mixture, then brush it directly onto raised edges and textured surfaces where light naturally catches metal.
Your graphite application should remain thin and controlled—overloading the surface dulls the effect.
Once dry, use 150-grit sandpaper or triple lot steel wool to buff the coated areas. This buffing action exposes the graphite beneath, revealing a genuine metallic sheen rather than a painted imitation.
For precise highlighting techniques, focus your buffing on corners, ridges, and contact points.
These strategic zones mimic natural wear patterns, giving your prop an authentically used, structurally convincing metal finish.
Buffing For Metal Realism
Buffing transforms your graphite and bronzing powder applications from flat coatings into convincing metallic surfaces. Once your graphite layer has dried over its base coat, use 150-grit sandpaper to begin buffing techniques across raised and textured areas. This abrasion exposes the underlying graphite, immediately revealing a metallic sheen.
For tighter or recessed sections, switch to triple lot steel wool, which delivers controlled polishing methods without damaging surrounding detail work.
When working with bronzing powders, Scotch Brite pads effectively polish the surface to a refined finish. Apply moderate, consistent pressure during buffing to avoid uneven streaking. Work in directional strokes that follow the prop’s natural contours.
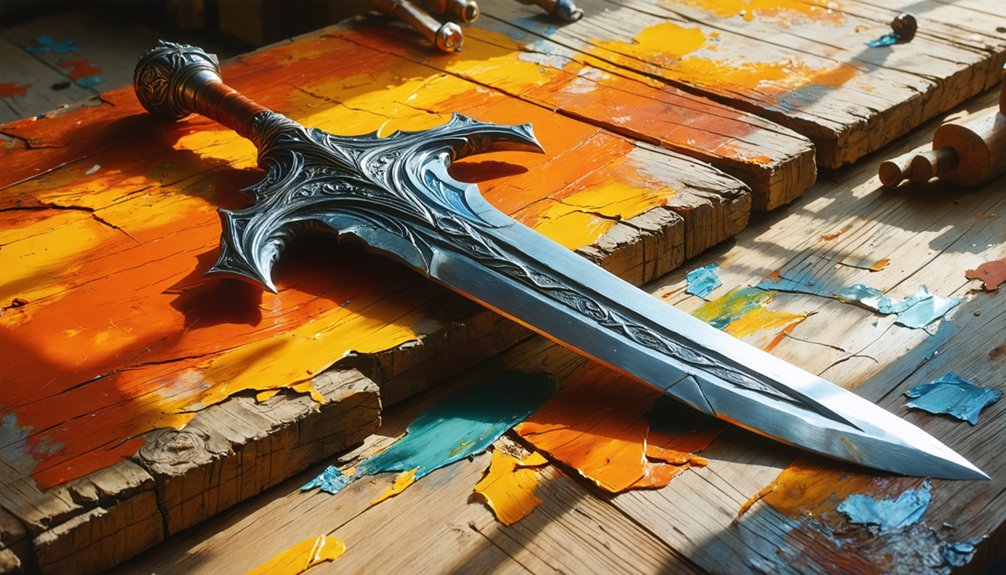
The contrast between buffed highlights and unbuffed shadow areas creates dimensional depth, making your prop read as genuinely metallic under stage or camera lighting.
How to Weather Props So the Metal Looks Aged and Used
To make metal props look aged and used, start with a watered-down black paint mixture applied lightly across the surface to simulate grime buildup.
These weathering techniques rely on color layering to build convincing depth and age.
For aging methods, use diluted raw umber or cool brown acrylic in a dirt rub across iron, brass, or silver surfaces.
Apply warmer browns when replicating aged gold. These surface treatments penetrate recessed areas naturally, enhancing detail enhancement without overworking the finish.
Texturing effects come from careful grime application using a dry brush, pushing pigment into crevices.
Grey or bluish-black washes work best for steel or chrome.
As finishing touches, blend each layer before it fully dries to avoid harsh edges and maintain a realistic, worn appearance.
How to Create Rust and Patina Effects Without Real Metal
Creating rust and patina effects on props doesn’t require real metal—just the right materials and layering sequence.
Start with a metal coating applied directly to your prop’s surface, then stipple it onto targeted areas where rust would naturally form. From there, timed light sprays trigger a chemical reaction that produces convincing rust application techniques without any actual iron.
For patina simulation methods, daub bronzing powder—copper, bronze, or aged iron tones—onto your surface using a stiff brush.
Work in layers, building depth gradually. Stipple your final brush strokes to eliminate visible lines and maintain a naturalistic texture.
Once you’re satisfied with the effect, lock everything in with a matte sealer. This preserves both color and surface texture through repeated handling.
Buffing and Finishing Tricks That Add Authentic Shine to Props
Once your rust and patina layers are sealed, shifting focus to shine and polish separates a convincing metallic prop from a flat, lifeless one.
Applying these finishing techniques after metallic layering locks in realism and elevates your prop’s visual impact:
Finishing techniques applied after metallic layering lock in realism and take your prop’s visual impact to the next level.
- Buff textured surfaces with 150 grit sandpaper to expose graphite’s raw metallic finish.
- Use Scotch Brite pads for shine enhancement across broad, smooth surface areas.
- Apply clear coat over gunmetal spray paint to boost durability and gloss simultaneously.
- Touch up faded or worn edges using Sharpie or silver acrylic markers precisely.
- Layer wax paint over standard acrylics wherever a higher-sheen surface is needed.
Each step builds intentional contrast between worn areas and polished surfaces, giving your prop the dimensional authenticity that audiences immediately recognize as realistic metal.
Frequently Asked Questions
Can Metal Effects on Props Withstand Outdoor Weather Conditions Long-Term?
Metal effects on props don’t naturally withstand long-term outdoor exposure without durability testing. You’ll need to assess environmental impact by applying UV-resistant clear coats and matte sealers to lock in finishes against moisture and temperature shifts.
How Do You Safely Dispose of Metallic Paints and Chemical Rust Agents?
You’ll need to follow local hazardous waste guidelines for paint disposal and chemical safety. Don’t pour metallic paints or rust agents down drains; instead, take them to certified disposal facilities to protect the environment.
Are Metallic Prop Finishes Safe for Use Around Children and Animals?
You’ll want to prioritize child safety and non-toxic options by selecting water-based acrylics, avoiding chemical rust agents, and ensuring proper ventilation. Sealing finishes with matte or clear coats minimizes exposure risks for children and animals.
How Do You Repair Metallic Prop Finishes After Significant Physical Damage?
Start with damage assessment, then sand the affected area smooth. You’ll reapply primer, rebuild metallic layers using acrylic or spray paint, and finish with buffing techniques and clear coat to restore durability and seamless repair techniques.
Can Metallic Prop Techniques Be Applied to Flexible or Fabric-Based Materials?
You can apply metallic effects to flexible or fabric-based materials by using fabric treatment methods with pliable, flexible coatings. You’ll want to layer diluted metallic acrylics, ensuring they’re thin enough to maintain the material’s natural movement without cracking.
References
- https://www.youtube.com/watch?v=n4bJQoRPfNc&vl=en
- https://www.youtube.com/watch?v=SLoMevV48ic&vl=en
- https://www.youtube.com/watch?v=OsIrIIPwg_8
- https://www.youtube.com/watch?v=CrnH9Sgyn-g
- https://www.reddit.com/r/cosplayprops/comments/1jhp3us/how_do_i_make_a_good_burnt_metal_look_on_props/
- https://www.youtube.com/watch?v=VO6oTX_YiPY
- https://cosplayadvice.com/metallic-paint-for-props/
- https://www.youtube.com/watch?v=ngtGstXxyns
- https://www.youtube.com/watch?v=HtoGT6txvG4
- https://www.reddit.com/r/NoStupidQuestions/comments/5apkyt/how_do_professional_prop_makers_make_their_props/