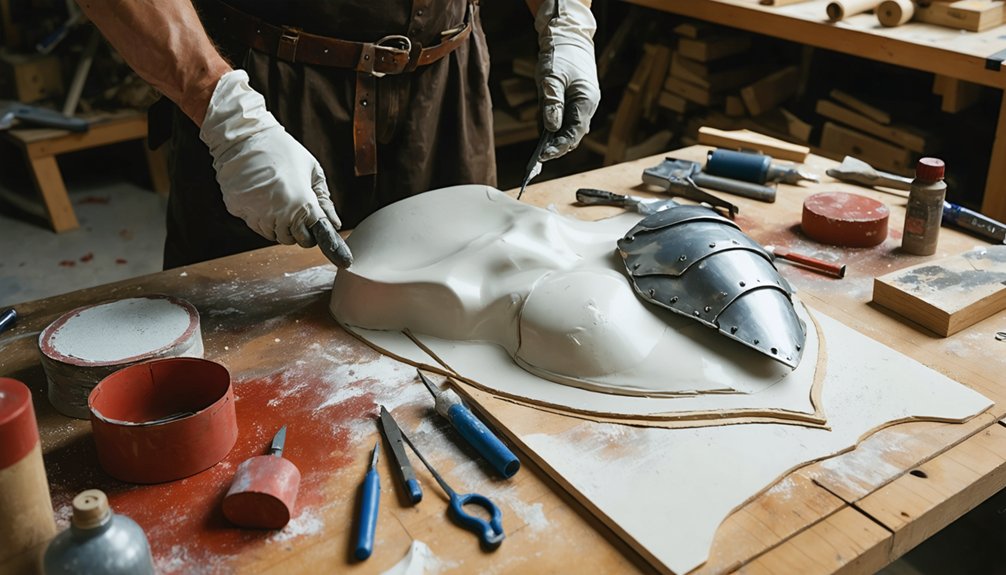
To craft cosplay armor accessories, you’ll need to master five core techniques: body-cast pattern making, heat-forming, seamless joining, detail carving, and professional sealing. Start by wrapping duct tape over plastic wrap to capture exact body contours. Shape EVA foam with a heat gun, bond pieces using contact cement, and etch realistic damage with a soldering iron. Seal everything with Plasti Dip before painting. Each technique builds on the last, and there’s much more precision involved than most crafters expect.
Key Takeaways
- Use the duct tape body casting method to create accurate, custom-fit armor patterns that match your exact body contours.
- Heat EVA foam with a heat gun to make it pliable, then press it against curved forms to achieve realistic armor shapes.
- Bond foam pieces using contact cement with registration marks to ensure seamless, precisely aligned joins.
- Use a soldering iron or Dremel to etch panel lines and battle damage, adding realistic texture and depth.
- Seal foam with multiple Plasti Dip coats, then layer paints and a clear coat for a polished, professional finish.
Create Accurate Cosplay Armor Patterns From Your Own Body
Creating armor that fits your body precisely starts with a simple but effective molding technique: wrapping plastic wrap over the target body part first, then layering duct tape directly on top. The plastic wrap prevents the adhesive from contacting your skin, while the tape builds a rigid, body-conforming shell.
Apply two full layers of duct tape in perpendicular directions — horizontal first, then vertical — to maximize structural integrity. Once removed and flattened, this shell becomes your master pattern.
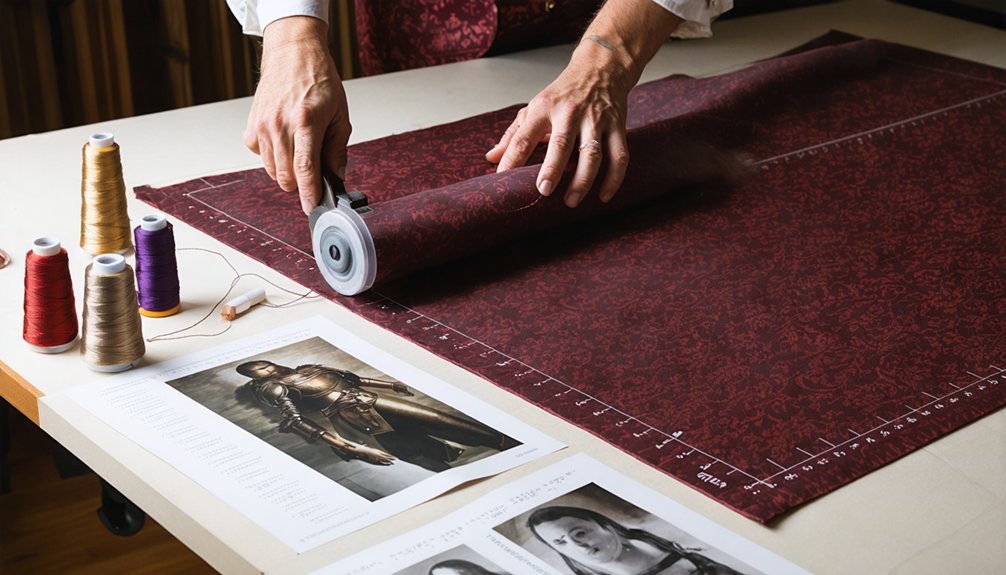
Trace it onto cardstock, then transfer the outline onto EVA foam using a marker, keeping lines slightly wider to ensure proper fit.
Unlike fabric glue applications, this method captures your exact contours before you work the foam texture into your final build, eliminating costly fit corrections later.
Shape EVA Foam Cosplay Armor With Heat Like a Pro
Once your foam pieces are cut, a heat gun becomes your most powerful shaping tool. Hold it 6 to 12 inches from the surface, moving it in continuous circular motions to prevent burning.
When the foam turns pliable, press it against a curved form and hold it firmly until it cools into its new shape permanently.
For complex builds, foam layering lets you stack multiple pieces before heat-forming them together, creating deeper contours and structural integrity simultaneously. Apply heat evenly across all layers to guarantee uniform flexibility throughout the assembly.
When planning color blending across curved surfaces, shape your pieces before painting since contours affect how light interacts with pigment gradients.
Master heat control first, and every subsequent technique you apply becomes considerably more precise and professional.
Join Cosplay Armor Pieces Without Visible Seams
Seamless joins start with contact cement applied to both foam surfaces, letting each side dry until tacky before pressing them together.
Apply contact cement to both foam surfaces, letting each side become tacky before joining them together.
For precise seam alignment, score tick marks or registration hash marks across both edges before separating them. These marks act as guides, letting you press the seam together incrementally rather than guessing placement under pressure.
Once bonded, seam concealment becomes your next priority. Use a heat gun to gently warm the joined edge, then smooth it with your finger to compress and blend the seam line.
You can also apply a thin strip of foam over the joint, sand it lightly after sealing, and paint over it uniformly.
Multiple thin Plasti-Dip coats further unify the surface, making factory-level joins achievable without professional equipment.
Carve and Emboss Details That Make Armor Look Battle-Worn
With your seams locked down and surfaces unified, the next layer of realism comes from carving and embossing details that give armor its battle-worn character. Use a soldering iron or Dremel tool to etch panel lines, scratches, and stress fractures directly into sealed foam.
For vintage textures, layer multiple foam pieces and carve them simultaneously to achieve consistent depth across complex design features. Surface distressing works best when you sketch your damage patterns first with a pencil, then carve deliberately rather than randomly.
Build raised embossed elements by gluing additional foam pieces onto the base before carving. Apply the drybrush technique afterward, wiping most paint off the brush to deposit subtle highlights that accentuate carved edges and reinforce that authentically weathered, combat-tested aesthetic.
Seal and Paint Cosplay Armor for a Flawless Finish
Sealing your foam before any paint touches the surface is non-negotiable—skip this step and paint absorbs unevenly, leaving a blotchy, inconsistent finish. Apply multiple thin Plasti Dip coats to achieve surface smoothness and protect the underlying structure.
Follow this sequence for a flawless result:
- Apply two to three thin sealant layers, allowing full drying between each coat.
- Lay down a uniform base coat using spray paint or acrylics as your color blending foundation.
- Build depth through layered highlights and shadows, working light to dark.
- Lock everything in with a clear coat matched to your desired finish—matte, satin, or gloss.
Each step compounds the previous one, so precision at every stage directly determines your armor’s final professional quality.
Frequently Asked Questions
What Types of EVA Foam Thickness Work Best for Different Armor Pieces?
For large rigid pieces, you’ll want 10mm EVA foam for structural integrity. Use 6mm for mid-layer components balancing armor flexibility, and 2mm for fine details where foam density demands precision shaping.
How Do You Safely Store Finished Cosplay Armor to Prevent Damage?
Store your finished pieces in acid-free bins with foam padding for ideal damage prevention. You’ll want climate-controlled storage solutions to avoid warping, and wrap each armor section individually to prevent paint transfer and structural deformation.
Can Cosplay Armor Accessories Be Made Waterproof for Outdoor Conventions?
You can achieve outdoor durability by applying multiple Plasti-Dip layers and finishing with a waterproof clear coat. These waterproofing techniques seal your foam effectively, protecting it from moisture and environmental exposure during outdoor conventions.
How Do You Repair Cracked or Broken Foam Armor Pieces Quickly?
Hot glue truly saves broken foam fast. Apply it directly into cracks, press edges firmly together, then sand for foam smoothing. Finish with quick paint touch-ups to seamlessly restore your armor’s appearance.
What Budget-Friendly Alternatives Exist for Professional Cosplay Crafting Tools?
You’ll save considerably using hot glue guns instead of contact cement, DIY paint mixtures over branded acrylics, household heat guns replacing specialty tools, and dollar-store foam sheets substituting premium EVA—delivering professional-grade results without compromising structural integrity or visual precision.
References
- https://www.youtube.com/watch?v=-WUi1VhVFdo
- https://cosplayadvice.com/cosplay-armor/
- https://www.reddit.com/r/cosplayprops/comments/txhynj/any_tips_on_cosplay_armor/i3m4ho1/
- https://www.youtube.com/watch?v=GOC-BdlL5O8
- https://dmaeducatorblog.wordpress.com/2013/05/02/make-this-cosplay-armor-and-accessories/
- https://www.wikihow.com/Make-Costume-Armor
- https://www.famcut.com/blogs/tips-and-tricks/how-to-make-cosplay-armor
- https://www.crazecosplay.com/blogs/questions/how-to-cosplay-armor
- https://fancymasks.com/how-to-craft-cosplay-armor/
- https://www.studocu.com/gt/document/universidad-mariano-galvez-de-guatemala/inteligencia-artificial/armor-making-mini-guide-by-kamui/104127700