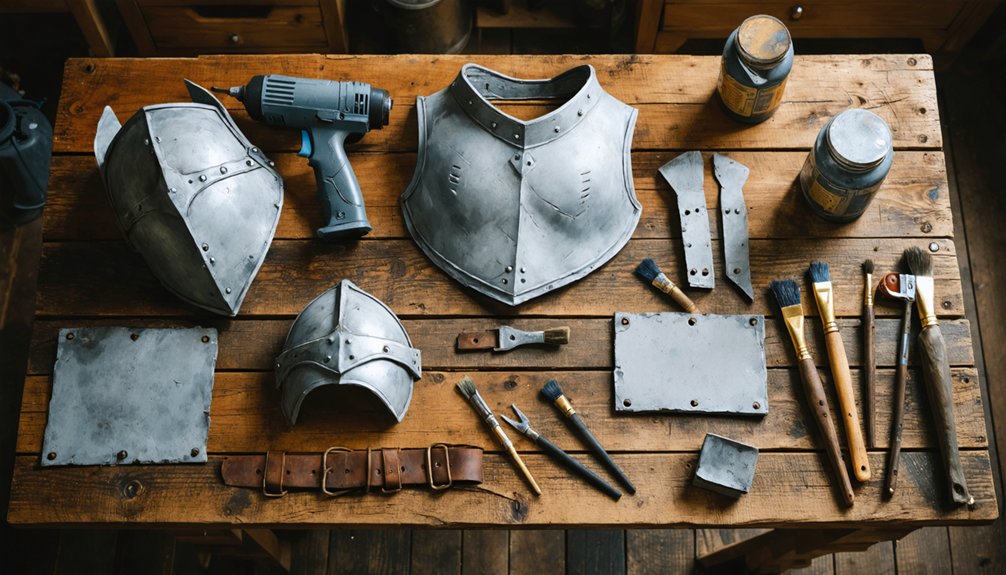
For beginner LARP armor, you’ve got three solid starting points. Weave leather strips into shoulder and side coverage using a square pattern, maintaining tension with clips while adding riveted borders. You can also rivet ~300 dyed leather squares onto suede backing in staggered rows for a scaled, flexible look. Need a shield fast? Build one from foam, wood, and webbing in under an hour. Keep scrolling to master each technique completely.
Key Takeaways
- Woven leather armor uses ~60 strips in a square pattern, secured with rivets and finished with metal stamping for a professional look.
- Riveting 300 dye-varied leather squares onto suede backing creates a scaled, flexible surface that moves naturally with the body.
- A LARP shield can be built in under an hour using foam, wood, fabric, webbing, and decorative paint finishes.
- Key tools needed include a punch tool, staple gun, rivet setter, leather dye, and cutting tools for all three projects.
- Beginners should focus on maintaining weaving tension, aligning rivet holes precisely, and experimenting with dye for visual variety.
Make Woven Leather Armor From Scratch
Woven leather armor starts with the right materials — you’ll need leather strips measuring roughly 1 cm wide and 40 cm long, with approximately 60 to 65 strips cut to cover the shoulder and side sections of a standard XS/S build.
Before weaving, experiment with leather dyeing to create gradient or contrast effects across your strips, elevating the visual complexity markedly.
Pin your first strips horizontally across the shoulder, then weave vertically downward, mimicking a classic square-weave pattern using clips to maintain tension.
Fill each side halfway before beginning side lacing, using 16×6 cm folded pieces glued firmly to the edges.
Punch rivet holes row by row for clean alignment.
Finish with metal stamping along borders to add dimensional detailing that transforms functional armor into a striking, handcrafted statement piece.
Rivet Layered Leather Squares Onto Suede Backing
Once your woven panels are secured and dried, riveted square leather armor offers a dramatically different aesthetic — dense, scaled, and visually layered.
Riveted square leather armor brings bold, scaled texture — a striking contrast to softer woven panels.
Cut approximately 300 five-centimeter square leather pieces, punching holes into each corner before you begin. Dilute leather dye across batches to create tonal variation, giving your finished piece organic depth rather than flat uniformity.
Chalk your suede backing first, marking each square’s position with roughly 0.5 cm spacing between neighbors. Leather layering works best when you stagger rows intentionally, letting each piece slightly overlap its neighbor.
Drive metal rivets through punched corners using a punch tool, setting each rivet firmly before advancing to the next row. Work methodically — rushing rivet placement causes misalignment.
The result is a structured, scale-like surface that moves naturally with your body.
Add a Leather-Covered LARP Shield in Under an Hour
Shields don’t require days of labor — a tight, functional LARP shield comes together in under an hour when you work with foam, wood, fabric, and webbing. Start with your largest surface, stapling fabric taut against the foam padding customization layer before securing remaining sides.
Use a staple gun to anchor webbing straps, keeping them loose enough for hand insertion but firm enough to prevent flopping. Reinforce arm straps with a second staple row for durability.
Punch holes, attach D-rings and carabiners with glue, then allow adhesive to fully set.
Finish with decorative paint techniques — weathering, color washes, or stenciled motifs — to elevate the shield’s visual identity.
Your result is a battle-ready, personalized piece built for performance without sacrificing creative expression.
Frequently Asked Questions
What Is the Best Type of Leather for Beginner LARP Armor Projects?
Over 60 strips can outfit one build! You’ll want vegetable-tanned leather for beginner LARP armor — its leather tanning process guarantees workability, and your tool selection stays simple, needing just punches and awls.
How Do I Safely Wear and Carry LARP Armor During Events?
Secure your safety gear using D-rings and carabiners, ensuring straps stay snug yet flexible. You’ll want webbing loose enough for movement but tight enough to prevent flopping. Prioritize armor upkeep by inspecting rivets and lacing regularly.
Can Synthetic Materials Replace Real Leather in LARP Armor Construction?
Yes, you can absolutely replace real leather! Synthetic leather advantages include cost-effectiveness and durability, while eco friendly materials reduce environmental impact. You’ll achieve comparable results using the same weaving, riveting, and assembly techniques described for traditional leather construction.
How Much Does a Complete Beginner LARP Armor Set Typically Cost?
You’ll typically spend $50–$200 on a complete beginner LARP armor set, balancing armor customization with historical accuracy. You’re investing in materials like leather strips, rivets, foam layers, and dyes to craft innovative, battle-ready gear.
Where Can Beginners Purchase Leather Crafting Supplies for LARP Projects?
You’ll find thousands of cost-effective materials at Tandy Leather, Etsy wholesale shops, or local fabric stores! For leather sourcing tips, hit up eBay bulk listings or hide retailers—they’ll slash your project costs dramatically while fueling your innovative LARP creations.
References
- https://www.youtube.com/watch?v=30PFbZZymYw
- https://www.instructables.com/Futuristic-Plate-Armour-Larp/
- https://www.youtube.com/watch?v=T7zUpr427kI
- https://www.instructables.com/DIY-Leather-Armor/
- https://www.instructables.com/DIY-Small-LARP-Shield-in-Under-an-Hour/
- https://www.instructables.com/Woven-Leather-Armour/
- https://www.youtube.com/watch?v=mknwmhOkpms
- https://www.youtube.com/watch?v=c-DOjIXnNA4
- https://www.youtube.com/watch?v=Ud3B0J3io1Y
- https://www.reddit.com/r/LARP/comments/yl5lr4/tutorial_on_how_to_build_your_own_leather_armour/