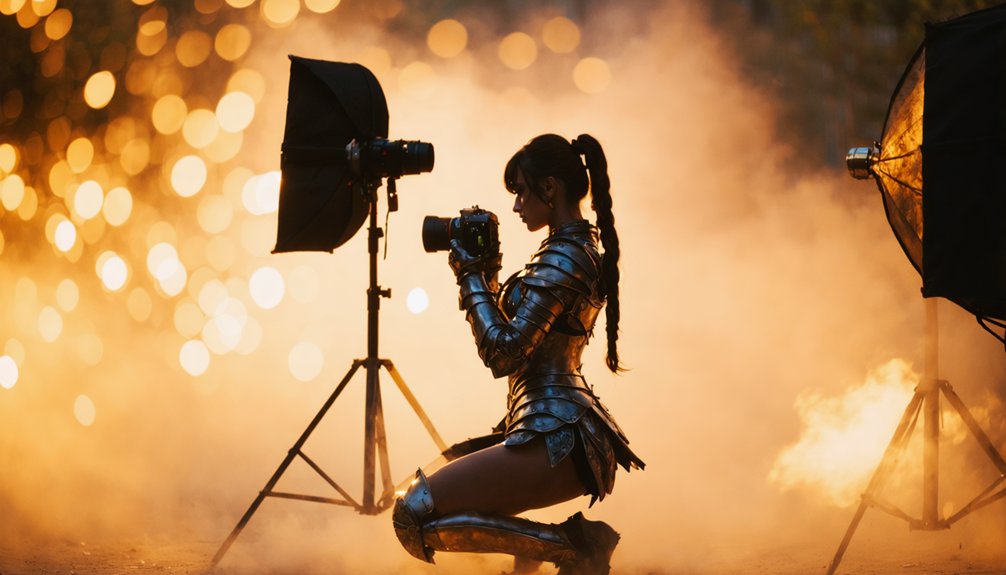
The best cosplay poses combine deliberate body mechanics with character-specific expression. Angle your body 45 degrees from the camera, keep arms away from your sides, and bend your knees slightly to avoid stiff, flat silhouettes. Match your facial expression to your character’s emotional register rather than defaulting to a generic smile. Exaggerate gestures slightly, since cameras compress subtlety. Whether you’re shooting solo or in a group, the techniques ahead will sharpen every frame.
Key Takeaways
- Angle your body 45 degrees from the camera and keep arms away from your sides to create depth and avoid a flat silhouette.
- Match your facial expression to your character’s emotional register, avoiding default smiles or blank stares for authentic character portrayal.
- Exaggerate gestures and extend limbs beyond comfort, since cameras compress subtlety and bolder movements translate better in photographs.
- Rotate between aggressive, defensive, and neutral stances throughout a shoot to provide variety and stronger, more versatile image selects.
- For group shoots, mix crouches, sits, and standing poses while staggering eyelines to create dynamic, narrative-driven compositions.
Body Positioning Basics That Make Every Cosplay Photo Work
Body positioning is the foundation of every great cosplay photo, and getting it wrong can undermine even the most impressive costume.
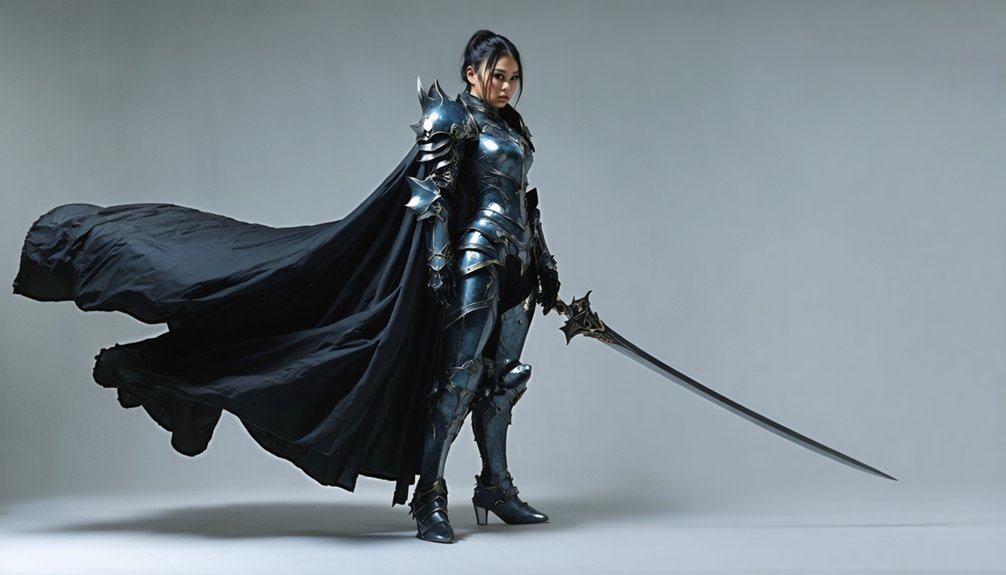
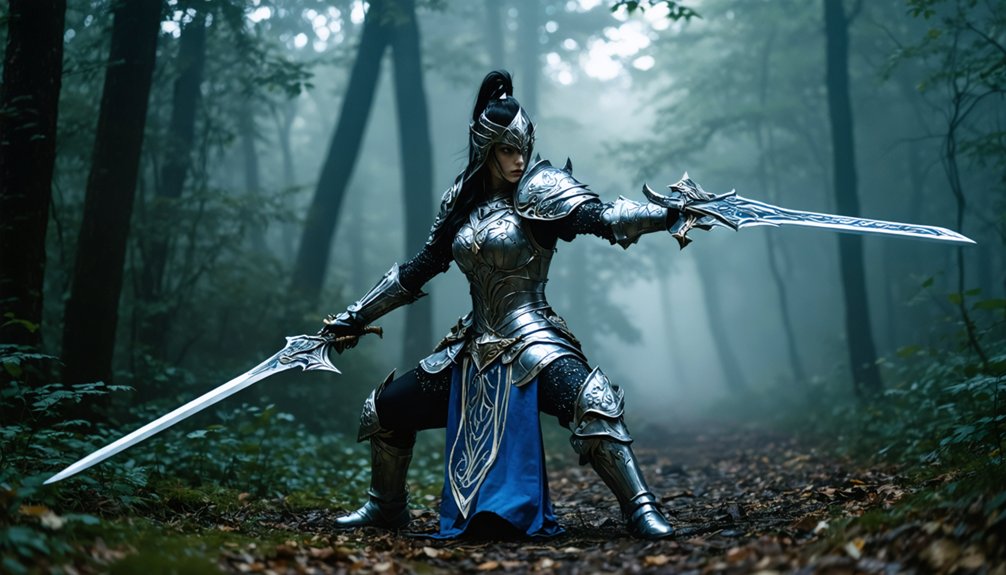
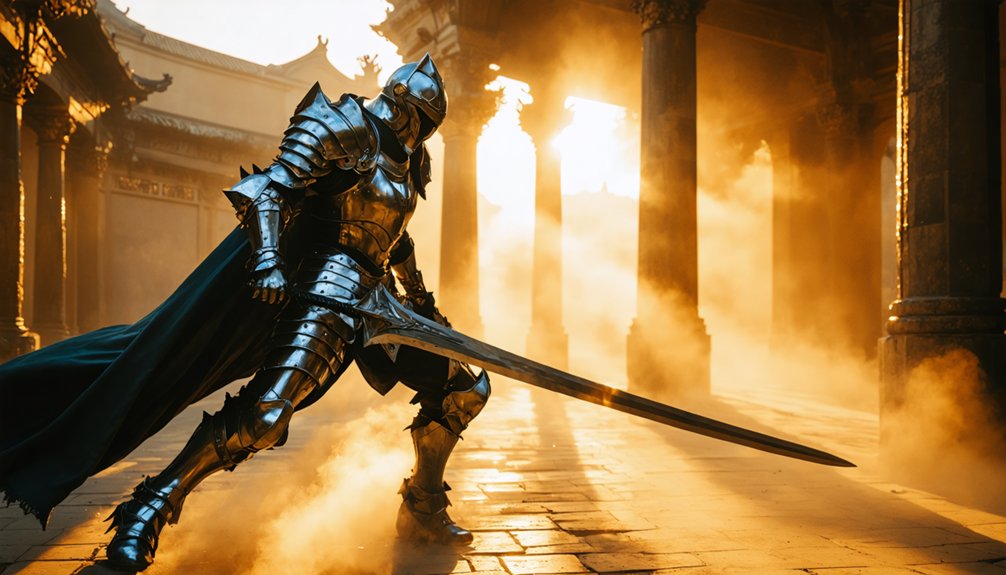
Start by placing one foot back and raising a hip to build natural body angles that break stiffness immediately. Think in triangles, not blocks — angular shapes read better on camera than straight, rigid stances.
Keep your arms away from your sides to avoid a chunky silhouette, and never square up directly to the lens unless your character demands authority.
Bending your knees slightly improves pose flow, making shifts between shots smoother and more dynamic.
These small mechanical adjustments compound quickly, transforming static standing into a visually compelling frame that communicates character before your face even registers.
How to Control Your Facial Expression in Cosplay Photos
Once your body mechanics are locked in, your face becomes the next variable that can make or break the shot. Facial control starts with character alignment—you’re not posing as yourself, you’re embodying someone else’s emotional register.
Match your expression to the character’s mood rather than defaulting to natural smiles or blank stares.
For eye engagement, direct your gaze toward the lens or rotate approximately 45 degrees to avoid showing too much white. Look downward between shots, then open your eyes on a countdown to reset naturally.
Subtle variations in brow tension and lip position dramatically shift emotion conveyance without overcorrecting.
Practice expression techniques in a mirror beforehand. Mood matching requires intentionality—tighten, soften, or intensify based on what the character demands in that exact moment.
The Best Standing Poses for Cosplay Photography
When you’re standing for a cosplay shot, avoid squaring up to the camera—instead, angle your body to create triangle shapes that add depth and dimension to the frame.
Keep your arms away from your sides, since letting them rest against your body makes you look chunky and flattens the overall silhouette.
Bend your knees slightly rather than locking them straight, which gives the pose a sense of movement and makes it far easier to shift quickly between shots.
Angled Stances Create Depth
Standing flat-footed and square to the camera is one of the fastest ways to flatten your cosplay in a photo. Angled body positioning creates dynamic lines that transform static shots into compelling compositions.
Apply these adjustments for immediate silhouette enhancement:
- Rotate 45 degrees from the camera to activate depth perception and angular composition.
- Position one foot back to establish spatial awareness and natural character stance.
- Bend your front knee slightly to introduce pose variation and prevent rigid, block-like framing.
- Align your eye focus toward the lens while your body angles away, creating visual interest through contrast.
These four mechanics work together to pull viewers into the frame. Your cosplay reads stronger, your proportions appear leaner, and your overall presence commands attention.
Arms Away From Body
One mistake ruins more cosplay standing shots than any other: arms pinned flat against your sides. This kills your body silhouette instantly, making you appear wider and two-dimensional.
Intentional arm positioning transforms everything. Pull your elbows away from your torso, creating visible gaps that slim your frame and add visual interest. Even a slight separation changes the entire photo dynamics.
Your character representation depends on gesture variety. Reach toward props, place a hand on your hip, extend an arm mid-action — each choice communicates personality and delivers a genuine confidence boost.
Don’t underestimate pose experimentation here. Try lifting your elbows uncomfortably high; what feels awkward reads powerfully on camera. Review your shots immediately, adjust accordingly, and you’ll consistently produce cleaner, more dynamic cosplay photography.
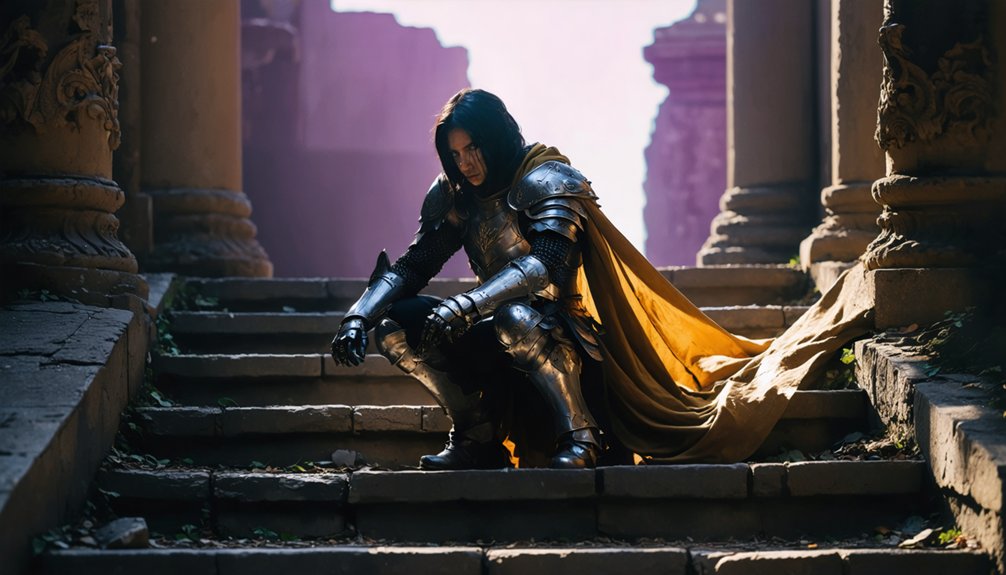
Bend Knees For Movement
Locked knees destroy the natural flow of any standing cosplay pose. Knee bends activate movement dynamics, giving your stance life and character alignment that rigid postures can’t achieve.
You’ll immediately notice how fluid changes between poses become more natural when your joints stay slightly flexed.
Apply these techniques for dynamic poses:
- Soft bend — Keep knees at 10-15 degrees for relaxed, neutral character alignment
- Weight shift — Transfer pressure onto one leg to create pose variation instantly
- Combat stance — Drop lower, widening your base for aggressive character dynamics
- Directional pivot — Rotate your bent knee inward or outward for fluid changes between shots
Practice these knee bends consistently, and your movement dynamics will transform static standing shots into compelling, story-driven images.
How to Pose Your Hands and Arms in Cosplay Shoots
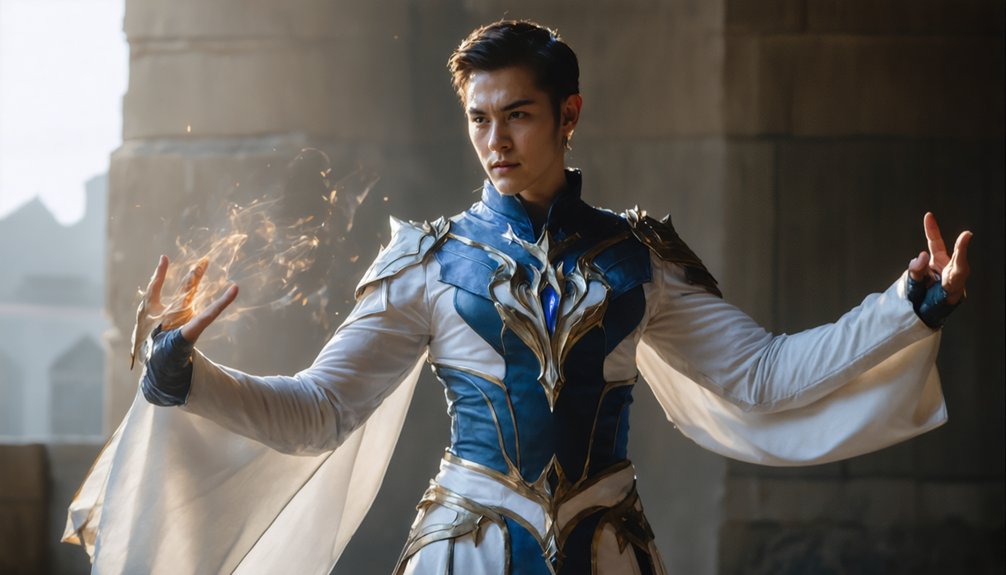
Your hands and arms can make or break a cosplay shot, so create visible gaps between your upper arms and torso to avoid a blocky silhouette.
Place your hands deliberately on your hips, a prop, or your head rather than letting them hang lifelessly at your sides.
When gesturing or pointing, over-articulate the movement so it reads clearly on camera, since subtle gestures often disappear in a still image.
Creating Gaps For Slimness
When your arms press flat against your body, they compress and widen, making you look bulkier than you are. Gaps creation between your arms and torso is the fix—and it’s immediate.
Execute these techniques for a slim appearance:
- Place hands on hips with elbows pushed outward, creating triangular negative space.
- Lift one elbow higher than the other to break symmetry and add dynamic tension.
- Hook thumbs into belt loops while fanning fingers outward away from your waist.
- Extend one arm toward a prop while keeping the elbow slightly bent, never locked.
Even a centimeter of separation reads dramatically different on camera.
Train yourself to feel uncomfortable—that distance is exactly what photographs correctly.
Strategic Hand Placement Tips
Hands betray nervousness faster than any other body part—limp wrists, dangling fingers, and clenched fists all read as amateur on camera.
Master hand positioning by anchoring them purposefully: grip props with genuine prop interaction tension, place them on hips with intentional finger placement, or extend them outward for dynamic angles that reinforce character alignment.
Every gesture contributes to visual storytelling. Use expressive gestures that mirror your character’s personality—claws, open palms, or pointed fingers all create distinct silhouette shaping.
Natural movements eliminate stiffness; slightly bend fingers rather than holding them rigidly straight.
Apply contrast techniques by varying hand heights and directions across your body’s frame. One hand high, one low creates depth.
Over-articulate deliberately—cameras compress subtlety, so bigger reads as better every time.
Over-Articulating Your Gestures
Cameras compress reality—what feels like a dramatic gesture in person often reads as barely noticeable in the final frame. Gesture exaggeration isn’t overacting; it’s calibrating expressive movements for the lens. Push every pose further than feels natural to achieve genuine visual impact.
Prioritize these techniques for dynamic storytelling and character alignment:
- Point sharply — extend fingers fully, committing completely to thematic gestures your character embodies.
- Reach further — stretch limbs beyond comfort; pose fluidity demands overcorrection before compression flattens it.
- React bigger — relatable expressions require amplified emotional commitment, not subtle suggestions.
- Hold longer — sustain each gesture deliberately, allowing photographers to capture peak movement clarity.
Your character’s personality lives in intentional motion. Timid gestures disappear. Committed ones command attention.
How to Use Dynamic Action Poses for Any Character
Narrative immersion demands pose variety across a single shoot.
Rotate between aggressive, defensive, and neutral stances. Each shift advances character expression, giving editors stronger, more versatile selects.
How to Nail Group Cosplay Poses in Any Setting
Group cosplay shoots fall apart when everyone defaults to standing in a flat, shoulder-to-shoulder line. Strong group dynamics require deliberate pose coordination that reflects genuine character interactions.
Execute these four principles:
- Stack height variation — mix crouches, sits, and full stands to eliminate flat compositions and maximize space management.
- Mirror energy exchange — let characters who oppose each other face off; let allies lean in, creating dramatic contrasts through body language.
- Assign directional focus — not everyone looks at the camera; stagger eyelines for authentic visual storytelling.
- Build physical connection — touch shoulders, point at threats, react to each other to reinforce character interactions.
You’re not just posing bodies — you’re choreographing a scene. Intentional spatial relationships transform snapshots into narrative-driven images.
Frequently Asked Questions
How Do You Pose Effectively When Wearing a Restrictive Cosplay Costume?
Like armor shaping a warrior, work *within* your costume flexibility’s boundaries. You’ll bend knees, angle hips, and push your chin forward to maximize character expression, letting every subtle shift speak volumes despite restrictive movement.
What Poses Work Best When Cosplaying a Character You’ve Never Seen Move?
Study the character’s design details for clues. You’ll nail character interpretation through pose experimentation—angle your body, bend your knees, and create triangles with your limbs to convey personality without referencing known movements.
How Should You Adjust Poses for Outdoor Versus Indoor Cosplay Photography Settings?
Like a chameleon adapting to its environment, you’ll adjust angles to maximize natural lighting outdoors, while indoors you’ll tighten poses for background contrast. Bend knees, angle your body, and use available light sources strategically.
Can Beginner Cosplayers Practice Posing Effectively Without a Photographer Present?
You can absolutely practice posing without a photographer. Use mirror practice to refine body angles, chin positioning, and hand placement. Follow video tutorials to master dynamic stances, then record yourself for real-time feedback and improvement.
How Do You Maintain Energy and Stamina While Posing at Long Conventions?
Studies show posers fatigue 40% faster without core engagement. You’ll sustain energy techniques by strengthening your core and squats beforehand. Apply stamina tips like bending your knees, holding breath briefly, and sinking fully into poses throughout long conventions.
References
- https://aliceincosplayland.com/2013/05/posing-basics-for-cosplay.html
- https://www.lyricalvillaincosplay.com/post/cosplay-photography-posing-basics
- https://www.youtube.com/watch?v=F4bxCtRPTK8
- https://www.nerdcaliber.com/better-cosplay-poses/