To replicate a character tattoo accurately, you’ll need high-resolution references that capture correct color values, then break the design into geometric shapes before building detailed linework. Pre-distort artwork to compensate for body curvature, push shadows 15–20% darker to counter ink spread, and build your art on isolated layers for non-destructive editing. Convert your refined sketch into a thickened stencil to guide shading during application. There’s considerably more technique involved in each stage.
Key Takeaways
- Use high-resolution references and break designs into basic geometric shapes before adding detail, ensuring accurate proportions and correct scale.
- Pre-distort artwork inversely to skin curvature, applying mesh transformation tools to simulate how cylindrical limbs alter the design.
- Push shadow regions 15–20% darker to counteract ink spread, keeping highlights clean to maximize dimensional depth.
- Reconstruct anatomy freehand rather than tracing, altering proportions and textures to embed a distinct personal interpretation.
- Finalize stencils by thickening hairline strokes and verifying proportions match the placement surface before transfer.
What “Replicating a Character Tattoo” Actually Requires
Replicating a character tattoo isn’t just about copying an image — it demands a structured workflow that balances reference quality, design simplification, and accurate placement planning. You need high-resolution references to preserve detail, and you’ll want to separate bright and dark versions of the same image to map contrast and shadow placement precisely.
Style consistency matters from the start. Committing to a single artistic influence prevents visual drift across the design.
Color accuracy becomes critical when translating tones from a digital reference to a physical surface, since skin affects how hues read.
You’ll also need to simplify the design into basic shapes before refining linework, then plan placement according to body contours.
Each stage builds directly on the last — skip one, and the final result suffers.
Pick High-Resolution Reference Photos for Your Character Tattoo
When you’re sourcing reference photos for a character tattoo, image resolution determines how much usable detail survives the design process. Low-resolution images compress fine details, making texture simulation unreliable and forcing guesswork during rendering. Pull high-resolution stills, promotional artwork, or concept sheets from official sources whenever possible.
Separate bright and dark versions of the same reference to isolate contrast zones, shadow placement, and highlight structure. This separation also clarifies the character’s color palette, letting you accurately map tonal values before converting them into ink-ready grayscale or limited color ranges.
If a single image lacks sufficient coverage, combine multiple high-resolution references to fill gaps in anatomy or costume detail. Every decision you make downstream, from line weight to shading density, depends on the accuracy of what you start with.
Simplify Your Character Tattoo Design Without Losing Detail
Start by breaking your character reference into basic geometric shapes—circles for joints, cylinders for limbs, and rough polygons for the torso—before committing any detail to line work. Once the proportional foundation reads correctly, build upward in layers, moving from loose structural sketches to refined contour lines and finally to detailed rendering passes.
At the rendering stage, push your shadows slightly beyond what the reference shows, since tattoo ink spreads under skin and flattens contrast. Exaggerating depth during planning helps preserve detail legibility after application.
Start With Basic Shapes
Breaking a character tattoo down into basic shapes first gives you a reliable structural foundation before any detail work begins. Identify the primary forms — circles for joints, cylinders for limbs, rectangles for torso sections — before committing to refined linework. This method prevents proportion errors that become harder to correct once ink shading or color blending enters the process.
Work from large shapes down to smaller ones, locking in correct scale and placement at each stage. Once your foundational geometry reads accurately, layer secondary forms over it to define muscle structure, costume edges, and facial planes.
This staged approach keeps the design readable at reduced sizes and ensures that subsequent color blending and ink shading decisions are anchored to structurally sound, proportionally accurate underlying geometry.
Layer From Rough Sketch
Once your basic shapes are locked in, you’ll build the design upward through deliberate sketch layers, each one adding definition without burying the structural clarity you’ve already established. Start with a loose gesture layer that refines proportions without committing to final linework.
Your second layer introduces contour detail, tightening edges and defining progressions between muscle planes or fabric folds. The third layer handles shading gradients, mapping where light falls and where deep shadow anchors the form.
Reserve color blending decisions for the final rendering pass, since premature color application distorts your value structure. Each layer should remain low-opacity until confirmed correct, then locked before progressing.
This disciplined stacking method prevents overworking earlier decisions and keeps every revision intentional, giving you a transfer-ready design with preserved depth and technical accuracy throughout.
Exaggerate Shadows Slightly
Shadow exaggeration isn’t cosmetic—it’s a compensatory technique that preserves depth after the skin absorbs and diffuses ink over time. Deliberate shadow depth offsets natural ink spread, maintaining contrast balance once the piece settles.
Apply this method precisely:
- Push shadow regions 15–20% darker than your reference to counteract skin’s light-scattering effect
- Widen shadow edges slightly so diffusion doesn’t eliminate defined transition zones
- Anchor your darkest values beneath chin lines, folded fabric, and overlapping forms first
- Test contrast balance by squinting at your design—if mid-tones dominate, deepen shadow clusters
- Avoid graying highlights; keep them clean so shadow depth reads with maximum dimensional impact
This controlled exaggeration guarantees your replicated character tattoo retains structural legibility long after initial application.
Plan Character Tattoo Placement Around Body Curves
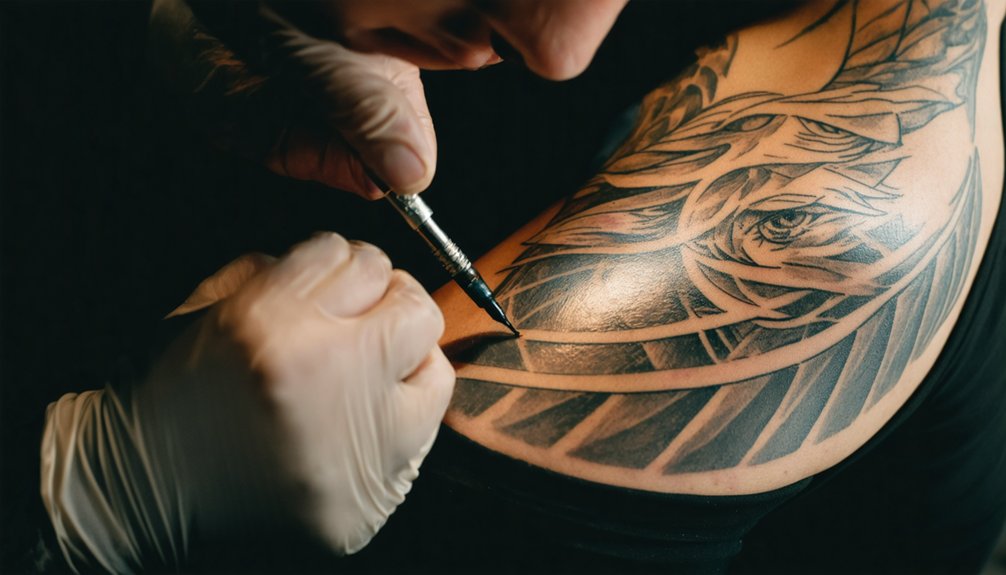
When planning your character tattoo placement, match the canvas shape to the specific body area first—use a long, narrow rectangle for a forearm span and a wider format for the chest or back.
You’ll need to account for how the design wraps around curved surfaces, since a flat drawing distorts once applied to a rounded limb or joint.
Adjust your composition before finalizing linework so the tattoo reads correctly on the body rather than correcting fit errors during transfer.
Matching Canvas To Body
Planning your character tattoo around the body’s natural curves isn’t optional—it’s structural. Match your canvas shape to the target body area before committing to any final line consistency or color blending decisions.
- Use a long rectangle format for arm-spanning designs to mirror limb proportions accurately.
- Map vertical orientation for forearms, shins, and torsos where directional flow dominates.
- Account for muscle curvature so flat artwork doesn’t distort once wrapped around volume.
- Test your canvas ratio against the body section using scaled reference overlays.
- Adjust composition margins to prevent critical design elements from folding into joints.
Every proportion decision you make on the canvas directly transfers to how the tattoo reads on skin. Correct mapping eliminates distortion before it becomes a permanent structural problem.
Wrapping Designs Around Curves
Because skin is never a flat surface, you’ll need to anticipate how your design deforms as it wraps around cylindrical and convex body structures. Cylindrical limbs compress horizontal elements and stretch vertical ones, so pre-distort your artwork inversely before application.
Map shadow contrast deliberately along the curve’s edge, since shadows that read correctly on a flat canvas will appear flattened once the design conforms to rounded muscle mass. Shift your darkest values slightly inward from where the surface turns away from the viewer.
Apply color blending along the same axis the body curves follow, reinforcing the three-dimensional form rather than fighting it. Use mesh transformation tools to simulate curvature digitally before committing to a final stencil, confirming that every compositional element reads correctly from the intended viewing angle.
Build Your Character Tattoo Art on a Separate Layer First
Before applying your character’s tattoo to any scene, create the artwork on a completely separate document or layer. This isolates your color blending and line consistency work, protecting the base character from accidental edits.
Register the finished artwork as a reusable material for efficient drag-and-drop placement across multiple scenes.
- Enable scaling and rotation before pasting for immediate repositioning.
- Rasterize the tattoo layer to release direct transformation tools.
- Apply mesh transformation to conform the design to body contours.
- Use layer masks to remove portions that fall outside the skin boundary.
- Keep the original tattoo document intact for future resizing or style adjustments.
This non-destructive workflow gives you full control at every stage without compromising previously completed elements of your character design.
Use Mesh Transform to Fit the Tattoo Design to Skin
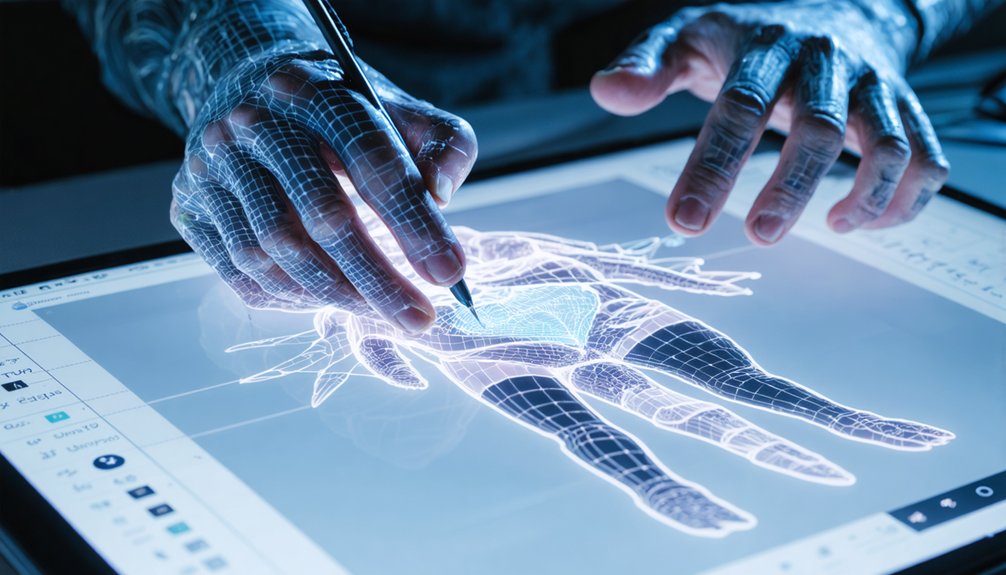
Once you’ve rasterized your tattoo layer, activate the mesh transform tool to push and pull anchor points across the design so it follows the body’s natural curves. Distribute anchor points evenly across the mesh grid to maintain proportional distortion without collapsing linework.
Focus adjustments on areas where skin curves sharply, such as the shoulder cap or forearm edge, since flat artwork warps unnaturally when applied incorrectly.
After conforming the mesh, refine color blending between the tattoo edges and the underlying skin tone using a soft-edged brush at reduced opacity. This integration prevents the design from appearing pasted rather than embedded.
Apply texture simulation over the tattoo layer using a skin-grain overlay at low opacity to mimic how ink settles beneath the skin’s surface realistically.
Turn Your Refined Character Tattoo Sketch Into a Stencil
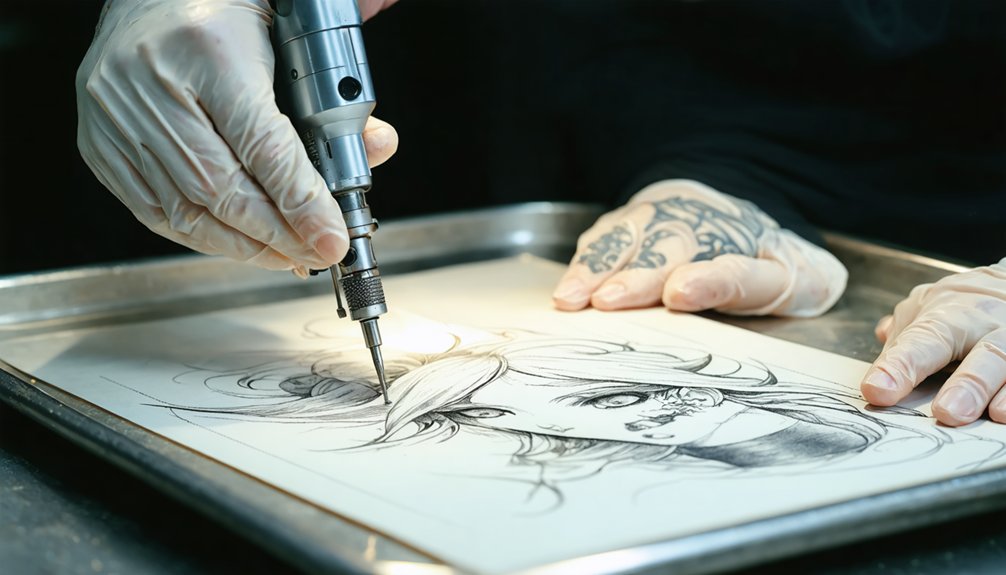
When your sketch reaches its final refined state, trace over it using a fine-tip pen or digital inking tool to isolate only the outlines you intend to transfer. Strip your color palette entirely at this stage—stencils rely solely on clean linework.
At the final stage, trace only the outlines you’ll transfer—stencils live and die by clean linework alone.
- Remove all shading techniques, gradients, and fill tones before printing.
- Increase line contrast to pure black on white for sharp stencil reproduction.
- Thicken hairline strokes slightly to prevent breakdown during transfer.
- Verify proportions match your intended placement surface before finalizing.
- Print onto stencil paper or thermal transfer film for precise skin application.
Once transferred, your stencil becomes the structural foundation that guides every subsequent shading decision. Accuracy here directly determines how cleanly the finished tattoo reads against the skin.
Replicate Character Tattoos Across Poses Using 3D and AI
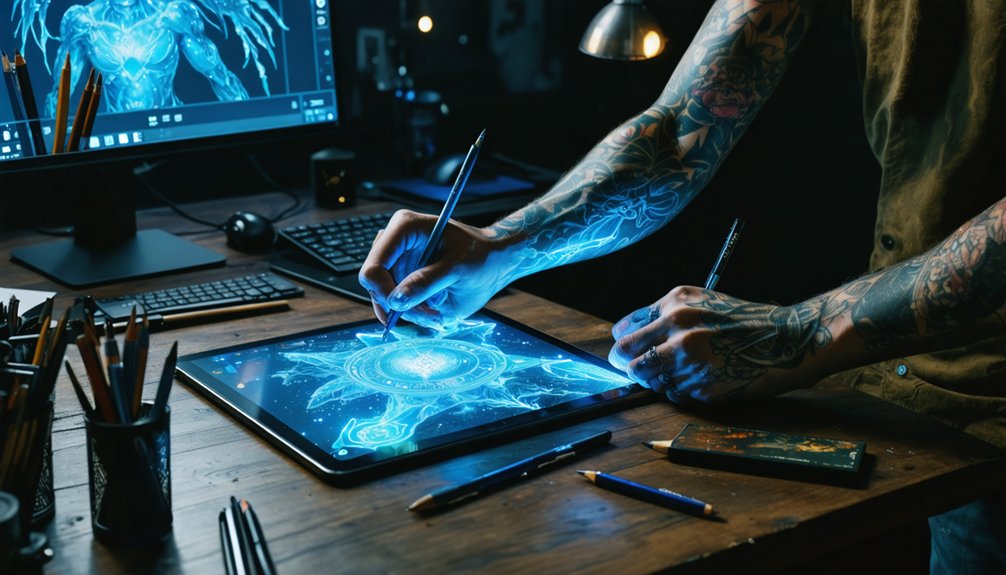
Keeping a character’s tattoo consistent across multiple poses is one of the harder problems in both traditional illustration and AI-assisted workflows, but a layered 3D approach solves it efficiently.
Start by building a tattoo-free base model, then apply your design using UV mapping to anchor it precisely to the character’s surface geometry. This method preserves placement accuracy regardless of how the pose shifts.
Once mapped, render the character from multiple angles, focusing on color blending across skin tones and texture simulation that mimics real ink depth.
Export those renders as reference layers, then composite them over AI-generated base images in your editing software.
With roughly ten layered images, you’ll have enough variation to train a coherent character or build a reliable illustration set that holds tattoo fidelity across every pose.
How Many Reference Images Train a Consistent Character?
Ten images can be enough to train a cohesive character when each one captures a distinct angle, lighting condition, or pose variation. Prioritize diversity over volume to maintain line consistency and color matching across outputs.
Structure your reference set around these variables:
- Front, side, back, and three-quarter views for full spatial coverage
- At least two lighting setups to reinforce shadow placement and tonal range
- Close-up shots isolating the tattoo region for fine detail retention
- Neutral expressions and active poses to test design flexibility
- Consistent background removal so the model isolates character-specific data
Each image compounds what the system learns about your character’s tattoo. Redundant angles dilute that training. Keep your set lean, intentional, and technically varied to extract maximum consistency from minimal inputs.
How to Keep Your Character Tattoo Design Legally Original
When replicating a character tattoo, you must avoid copying an existing design directly, since reproducing another artist’s exact linework, composition, and stylistic choices crosses into infringement territory.
Instead, build your own visual interpretation by reconstructing the subject from raw references—photographs, anatomical studies, or untattooed source material—rather than tracing or recreating a finished tattoo.
Your final design should differ enough from any source artwork that the original artist wouldn’t recognize it as derivative of their specific creative decisions.
Avoiding Direct Design Copying
Replicating a character tattoo without crossing legal boundaries requires deliberate design decisions that distance your work from its source material. Restructure proportions, shift color blending, and introduce texture contrast to establish visual separation from the original.
Apply these practical techniques:
- Redraw the design freehand without tracing to embed your own visual interpretation.
- Alter the character’s pose or perspective to create compositional distance.
- Replace the original’s color palette with a custom blending approach that reflects your stylistic choices.
- Introduce texture contrast through shading techniques the source material doesn’t use.
- Ensure the original artist wouldn’t recognize the derivative as their own work.
Each modification layers authorship into the design. You’re not duplicating—you’re interpreting. That distinction protects your work legally and strengthens your credibility as a practitioner developing genuine technical skill.
Building Original Visual Interpretations
Building a legally original character tattoo design starts with understanding what copyright actually protects—not the character concept itself, but the specific visual expression an artist used to render it. Once you’ve internalized that distinction, you can reconstruct a character’s defining traits—proportions, silhouette, personality markers—through your own visual logic rather than replicating another artist’s linework or shading decisions.
Apply tattoo color theory deliberately: shift hue relationships, restructure value contrast, and rework tonal hierarchies so your palette reads as a distinct authorial choice.
Factor in skin tone adaptation early, since undertones and surface absorption directly influence how pigment reads post-healing. These technical decisions compound into a design that’s visually coherent, legally distinct, and engineered specifically for the body it’ll permanently occupy.
Differentiating From Source Material
Keeping your design legally distinct from the source material isn’t just an ethical consideration—it’s a technical discipline that builds directly on the interpretive decisions you’ve already made with color, value, and form.
Your tattoo color matching choices and ink shading techniques should diverge enough that the originating artist wouldn’t recognize the work as derivative.
Apply these differentiation strategies:
- Reconstruct anatomy and proportion independently rather than mirroring source geometry
- Shift ink shading techniques from the reference’s tonal structure using reinterpreted shadow placement
- Alter tattoo color matching decisions by rebuilding the palette through original value relationships
- Redesign compositional framing, including negative space and orientation
- Guarantee linework weight, texture, and stroke variation reflect your own developed visual language
These modifications collectively establish authorship through accumulated technical departure.
Frequently Asked Questions
What Ink Colors Work Best for Replicating Detailed Character Tattoos?
For detailed character tattoos, you’ll want black and gray as your foundation. Prioritize strategic ink selection and precise color blending using warm neutrals, muted tones, and layered washes to preserve contrast, shadow depth, and fine detail accurately.
How Long Does a Complex Character Tattoo Typically Take to Complete?
You’ll typically spend 6–15 hours completing a complex character tattoo. Tattoo shading and ink blending demand meticulous layering across multiple sessions, ensuring your design’s depth, contrast, and fine details integrate seamlessly without overwhelming the skin’s healing capacity.
Can Character Tattoos Be Successfully Replicated on Darker Skin Tones?
Like ink on midnight canvas, depth creates drama. Yes, you can successfully replicate character tattoos on darker skin tones—prioritize skin tone considerations by exaggerating contrast, bolding outlines, and applying tattoo fading prevention strategies like saturated pigments.
How Do You Maintain a Character Tattoo’s Quality as It Ages?
You’ll maintain tattoo preservation and ink longevity by scheduling regular touch-ups, applying SPF daily, keeping skin moisturized, and avoiding prolonged sun exposure—these active habits prevent fading, preserve contrast, and sustain your character tattoo’s original detail and vibrancy.
Should You Consult the Original Artist Before Replicating Their Character Design?
Yes, you should consult the original artist before replicating their character design. Prioritize artist collaboration to respect creative ownership, and address copyright considerations carefully, ensuring your derivative work differs enough that it stands as your own innovation.
References
- https://graphixly.com/blogs/news/tattoos-for-characters-made-easy
- https://www.reddit.com/r/StableDiffusion/comments/1jc99u7/consistent_tattoos_on_character/
- https://www.youtube.com/watch?v=OkeKiRA_vWM
- https://tattooing101.com/learn/techniques/design/
- https://tips.clip-studio.com/en-us/articles/7216
- https://www.youtube.com/watch?v=G_qVkHDlnXk
- https://tattooing101.com/learn/guides/practice-drawings/
- https://www.youtube.com/watch?v=34GG_9IbCV4
- https://tattooing101.com/learn/guides/how-to-create-a-realism-tattoo/