To sew a cosplay bodysuit that fits like a second skin, you’ll need to nail a few key skills. Start by drafting accurate patterns using your measurements, then choose high-stretch fabrics like Lycra that move with your body. Set your machine to a zigzag or stretch stitch, and always sew a mockup before cutting your final fabric. Get these fundamentals right, and everything else falls into place as you explore further.
Key Takeaways
- Start with accurate body measurements and sew a mockup first to test fit before cutting your final fabric.
- Use stretch fabrics like Lycra and test swatches for stretch percentage before purchasing full yardage.
- Set your machine to zigzag or stretch stitch with polyester thread to prevent seams from popping.
- Reinforce high-stress areas like inseams and armholes with a second zigzag pass for added durability.
- Perform fit checks after major section joins and use a seam ripper for clean corrections if needed.
How to Draft a Cosplay Bodysuit Pattern That Actually Fits
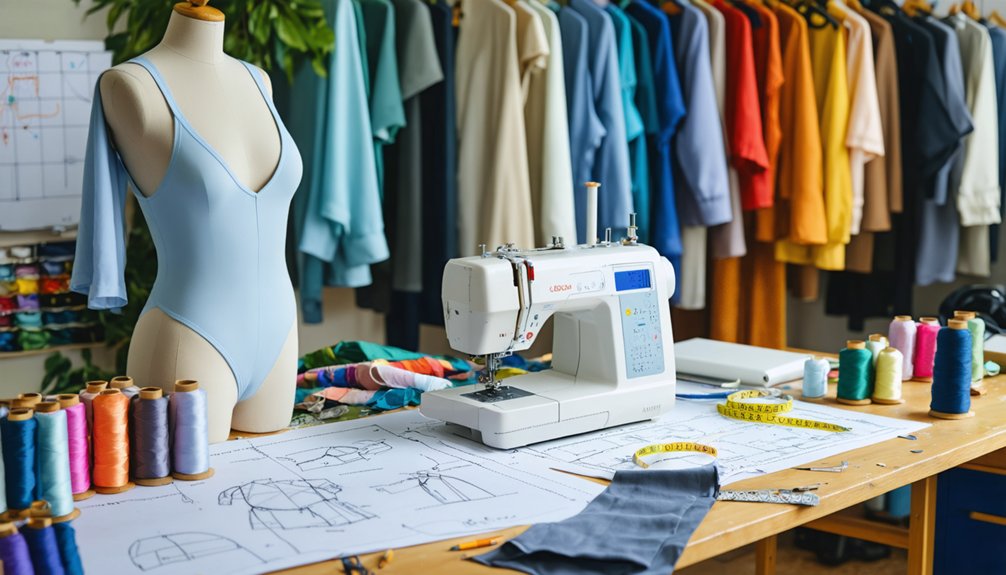
Drafting a bodysuit pattern that actually fits starts with accurate measurements—bust, waist, and hips—which you’ll translate into a fitted base pattern. From there, custom fitting becomes your priority.
Accurate measurements are the foundation of a well-fitted bodysuit—get the bust, waist, and hips right first.
Trace existing garments or use the cling wrap and duct tape method directly on your body, drawing seam lines before cutting and flattening each piece onto cardstock.
Label every pattern piece by section and attachment point—this keeps pattern modification manageable when adjusting panel lines for front, back, sleeves, and sides.
Account for your fabric’s stretch percentage, since high-stretch materials like Lycra often require sizing down.
A helper makes body-wrapping methods considerably easier.
Once your base is drafted, sew a cheap mockup first. Testing fit before cutting final fabric saves time, material, and frustration.
Which Fabrics Work Best for Cosplay Bodysuits?
Once you’ve got your pattern ready, choosing the right fabric makes or breaks your bodysuit’s fit and comfort. You’ll want to work with stretch fabrics like Lycra or sport Lycra, since they move with your body and handle the tension of a fitted suit.
Before you buy full yardage, test a swatch first, then wash and dry your chosen fabric to pre-shrink it so your final fit stays accurate.
Stretch Fabric Options
Choosing the right stretch fabric can make or break your cosplay bodysuit, so it’s worth understanding your options before you buy. Lycra and sport Lycra remain top choices because they move with your body, hold their shape, and respond well to fabric dyeing if you need custom colorways.
Spandex blends also allow for pattern grading adjustments, so scaling your design up or down stays manageable without distorting the stretch ratio.
Before committing to full yardage, run a swatch test to measure how much the fabric expands. Your pattern may need to be reduced based on that percentage.
Knit materials with four-way stretch give you the most flexibility during both construction and wear, making them ideal for complex, panel-heavy bodysuit designs.
Preparing Fabric Properly
Before you cut a single piece, washing and drying your fabric removes any residual shrinkage that could throw off your final fit. This step is especially critical if you’re planning fabric dyeing afterward, since heat and moisture affect how dye absorbs into fibers.
Once pre-washed, test your fabric’s stretch percentage against your pattern’s drafted measurements. Stretch fabrics often require a reduced pattern size to compensate for expansion.
Press seams lightly to smooth out any distortion from washing.
If you’re incorporating embellishment techniques like heat-transfer vinyl or bonded appliqué, confirm your fabric can handle the required application temperature before committing to your final yardage. Running a small swatch test now prevents costly damage later.
Preparation done correctly sets every construction step up for success.
How to Cut Stretch Fabric Without Ruining Your Pattern Pieces
Cutting stretch fabric accurately is one of those steps that can make or break your final fit, so it’s worth slowing down and doing it right. Proper fabric care before cutting, like pre-washing and drying, guarantees your measurements stay true after construction.
Slow down when cutting stretch fabric — your final fit depends on getting this step right.
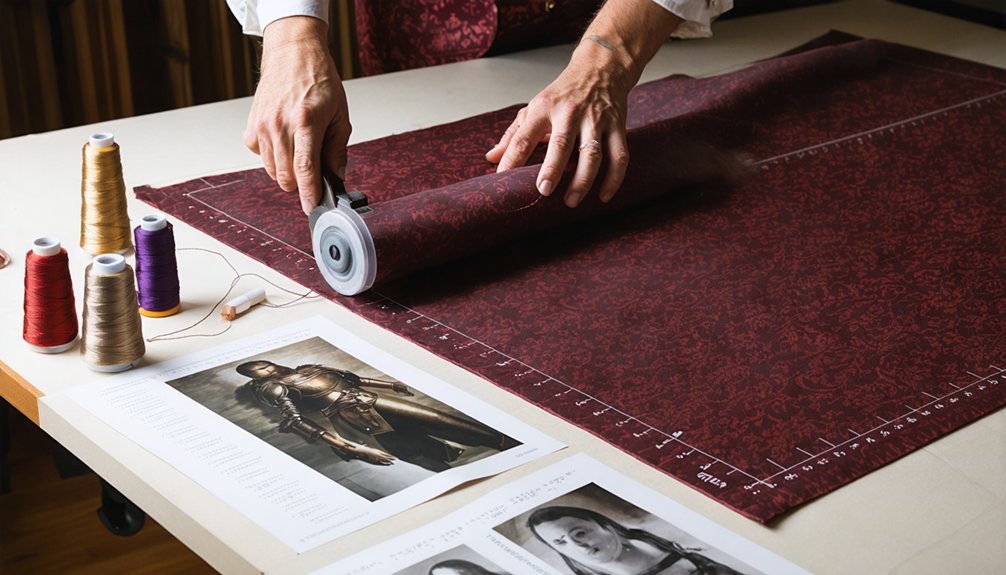
Lay your fabric flat without stretching it, and secure pattern pieces with clips rather than pins to prevent distortion. Cut only one or two pieces at a time to avoid mix-ups during assembly.
Mark each section clearly before cutting to track connections across panel-heavy designs. For pattern durability, transfer pieces onto cardstock so they hold their shape through multiple uses.
Include seam allowances when cutting, because skipping them creates serious attachment problems later. Small notches along curved seams also improve shaping considerably.
Machine Settings That Stop Stretch Fabric Problems
Setting up your machine correctly before sewing stretch fabric saves you from skipped stitches, snapped seams, and puckered panels.
Swap in a stretch needle, switch to a zigzag or stretch stitch setting, and you’ll get seams that move with the fabric instead of fighting it.
A Teflon presser foot also helps you control fabric feed by reducing drag, so your pieces glide through evenly without distorting.
Choosing The Right Needle
When you’re sewing stretch fabric, your needle and machine settings matter as much as your thread choice. Stretch needles are specifically engineered to pierce knit fibers without breaking them, making needle compatibility a non-negotiable factor in your setup. A standard needle will skip stitches or snag Lycra, ruining your seam integrity fast.
Pair your stretch needle with proper thread tension adjustments. Too tight, and your stitches snap under movement. Too loose, and seams pucker and lose shape. Test thread tension on a scrap first, checking how the stitch behaves when pulled.
Start with a size 75/11 or 90/14 stretch needle depending on your fabric weight. Swap your needle every project—dull needles cause more problems than most sewers realize.
Stitch Settings For Stretch
Straight stitches snap on stretch fabric—so switch to a zigzag or dedicated stretch stitch before you sew a single seam. Set your zigzag width between 2–3mm and length around 2.5mm for reliable seam flexibility.
Adjust your stitch tension carefully; tension that’s too tight creates puckering, while tension that’s too loose produces weak, unstable seams. Test both settings on a scrap piece first.
Thread type also directly impacts performance. Polyester thread outperforms cotton here because it carries slight elasticity, matching how Lycra and sport knit fabrics behave under movement.
Avoid cotton thread entirely on stretch seams—it’ll break under stress.
Always reverse-stitch at the start and end of each seam to lock everything securely. Small adjustments now prevent frustrating failures later during wear.
Controlling Fabric Feed
Try these three machine controls immediately:
- Lower presser foot pressure so the fabric glides instead of getting crushed beneath it.
- Reduce fabric tension slightly below your machine’s default to let stretch material move naturally.
- Use a Teflon presser foot to eliminate drag that causes distortion on smooth knit surfaces.
Slow, steady stitching reinforces every adjustment you make, giving you clean, professional seams every time.
How to Sew Bodysuit Panels Together Without Warping the Fit
Sewing bodysuit panels together without warping the fit comes down to preparation and stitch choice. Start with seam alignment — match your notches and marked points precisely before securing anything. Misaligned panels create drag lines and twist the silhouette permanently.
Misaligned panels don’t just look off — they permanently twist the silhouette and create drag lines throughout the fit.
Control fabric tension by keeping both layers relaxed as you feed them through. Don’t stretch or pull; let the machine do the work. Use clips instead of pins to hold stretch fabric without distortion, and sew with a zigzag or stretch stitch to maintain flexibility through the seam.
Sew slowly through curved sections, and press each seam flat before moving to the next panel.
Do a quick fit check after joining major sections — catching warping early saves you from difficult alterations later.
Why Your Cosplay Bodysuit Seams Are Popping: And How to Fix Them
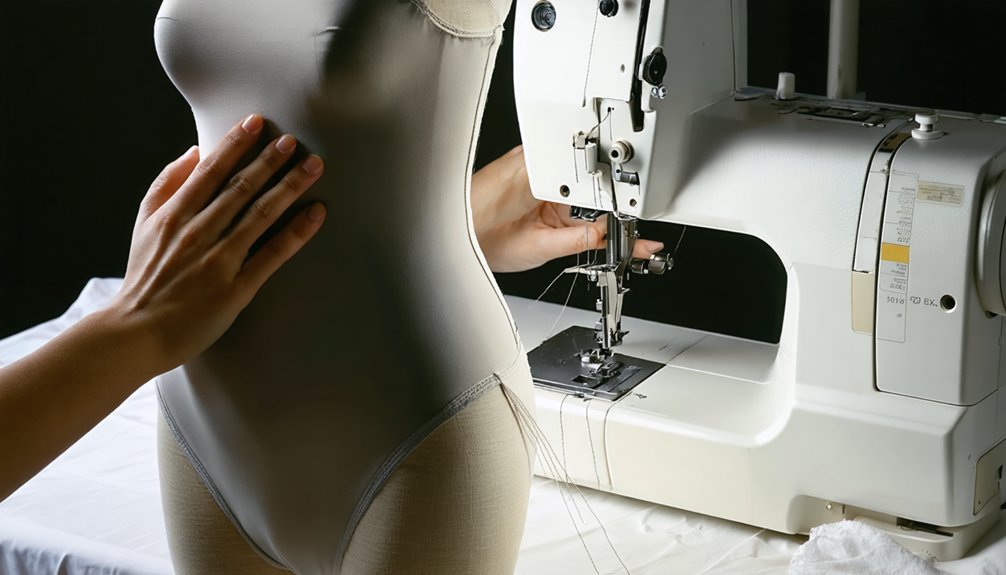
Popping seams on a cosplay bodysuit almost always trace back to one cause: a straight stitch on stretch fabric. When fabric moves, a rigid stitch can’t follow, so it snaps. Here’s how you fix it:
- Switch to a zigzag or stretch stitch setting for proper seam reinforcement that flexes with your fabric.
- Check your thread tension — tension that’s too tight restricts movement and increases snap risk on curved or high-stress seams.
- Reinforce vulnerable areas like inseams and armholes with a second zigzag pass after your initial stitch.
Once you’ve re-sewn the popped sections, do a fit test before locking everything down permanently. A seam ripper lets you correct mistakes cleanly.
You’ve got the tools — now build seams that actually hold.
Frequently Asked Questions
Can I Sew a Cosplay Bodysuit Without Any Prior Sewing Experience?
Picture your first stretchy Lycra piece coming together seam by seam. Start simple, focus on smart fabric choices, make careful pattern adjustments, use zigzag stitches, and you’ll build confidence fast.
How Long Does It Typically Take to Complete a Cosplay Bodysuit?
You’ll typically spend 10–40 hours completing a cosplay bodysuit. Your fabric choice and sewing techniques directly impact that timeline—simpler designs with stretch Lycra move faster, while complex panel work demands more careful, rewarding precision.
How Much Does It Cost to Make a Cosplay Bodysuit From Scratch?
Coincidentally, your budget mirrors your fabric choices! You’ll typically spend $30–$100+ from scratch. Affordable stretch Lycra keeps costs low, while advanced sewing techniques like zigzag stitching minimize waste—helping you build an innovative, professional bodysuit without overspending.
Can I Add Armor or Accessories Directly Onto a Sewn Bodysuit?
Yes, you can! Reinforce attachment points with fusible interfacing first, then secure armor pieces using strong adhesive, hand-stitching, or snaps. When adding padding or attaching embellishments, distribute weight evenly so your bodysuit maintains comfort and shape.
What Should I Do if My Finished Bodysuit Does Not Photograph Well?
If a matte gray Lycra suit disappears on camera, you’ve hit a fabric selection issue. Try reflective or high-contrast materials, then experiment with lighting techniques—angled side lighting dramatically sharpens panel definition and makes your bodysuit’s seams pop visually.
References
- https://www.youtube.com/watch?v=Bjgm094Imx4
- https://www.youtube.com/watch?v=DpvomZNqT1A
- https://www.youtube.com/watch?v=ayOeU0hB4fk
- https://www.youtube.com/watch?v=TF4Zj4uZxME
- https://www.youtube.com/watch?v=VrDbvfsHx1Q
- https://www.youtube.com/watch?v=QcgKVh5djVA
- https://www.thepopverse.com/bodysuit-cosplay-tutorial-pattern-fit-beginner-pro
- https://www.youtube.com/watch?v=UEchQBxCXIU
- https://www.youtube.com/watch?v=rvFzA3k-714
- https://www.instructables.com/Seamless-body-suit/