To nail vintage cosplay, you’ll need techniques that go beyond basic sewing. Pre-wash and press your fabric before cutting, then build your silhouette from era-specific commercial patterns. Reinforce high-movement seams, press every seam for theatrical crispness, and master hand stitches like slip and blanket. Finish exposed seams for all-day durability, and attach period trims loosely while hiding closures with invisible zippers. There’s much more craft waiting ahead.
Key Takeaways
- Pre-wash and press fabric before cutting to prevent shrinkage, ensure precise cuts, and create a reliable foundation for period silhouettes.
- Use era-specific commercial patterns to achieve historically accurate silhouettes, correct ease, and proper seam placement for vintage costumes.
- Reinforce high-movement seams with shorter stitches, backstitching, and precise allowances to ensure durability during performance wear.
- Install invisible zippers before decorative trim work, pressing seams flat and anchoring tape securely for clean, undetectable closures.
- Incorporate hand stitches like running, slip, and blanket stitches to add period-accurate authenticity and structural detail to costumes.
Pre-Wash and Press Fabric Before You Cut
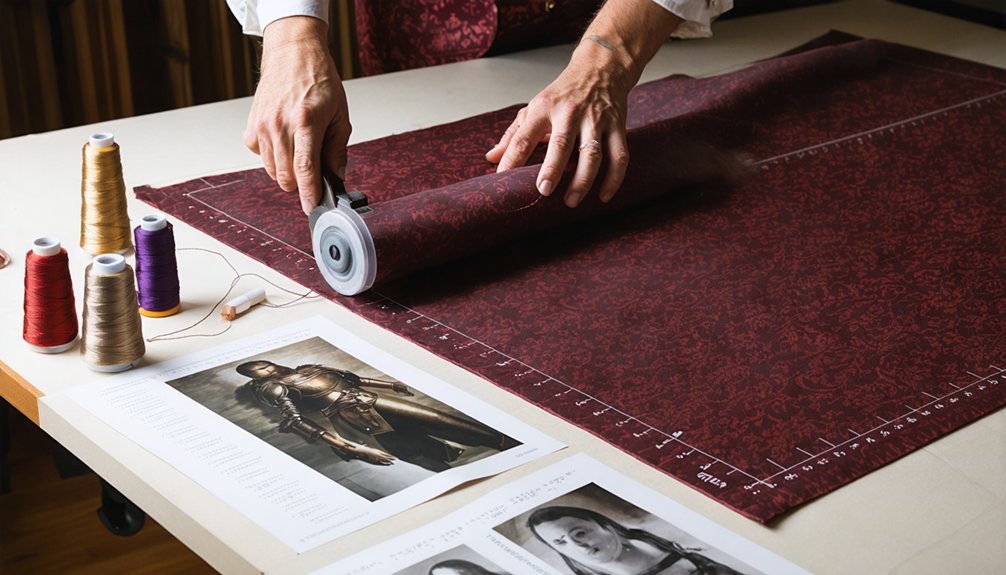
Skipping the pre-wash is one of the fastest ways to ruin a finished costume. Fabric shrinks, warps, and shifts after washing, dismantling your seam reinforcement and distorting period-accurate silhouettes you’ve worked hard to construct. Pre-washing stabilizes the material before your scissors ever touch it, giving you a reliable foundation for precise cutting.
Fabric dyeing also behaves more predictably on pre-washed cloth since residual sizing and finishing chemicals are removed. Once washed, press every piece thoroughly before cutting.
Heat relaxes the fibers, flattens inconsistencies, and reveals the true drape of your material. You’ll cut cleaner lines, align panels more accurately, and reduce compounding fit errors downstream.
Treat pressing as construction, not cleanup — it’s a deliberate, technical step that separates polished theatrical work from amateur results.
Start With Commercial Patterns for Vintage Silhouettes
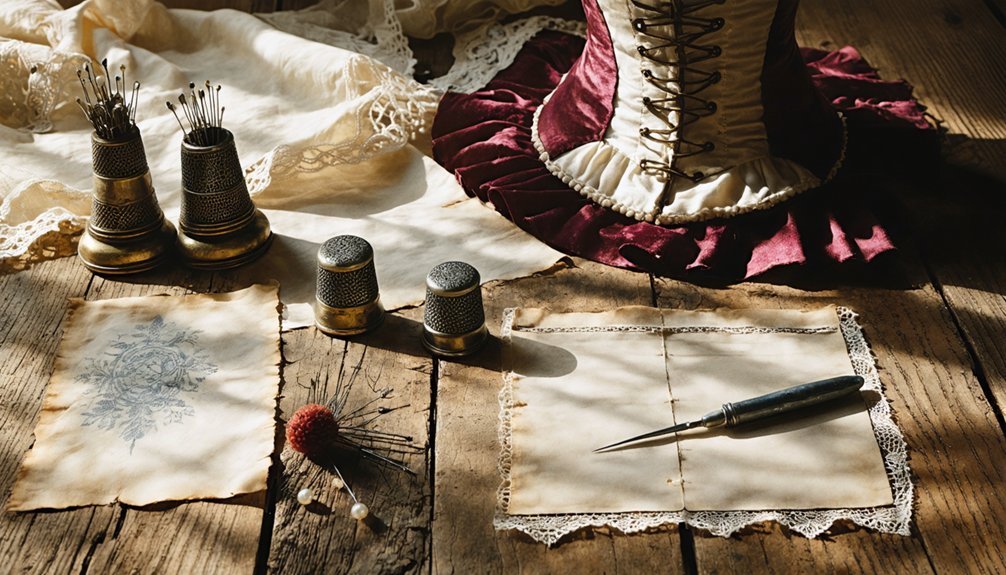
Commercial patterns give you a structural blueprint that accounts for vintage ease, period silhouette shaping, and historical seam placement — details that are nearly impossible to reverse-engineer from reference images alone.
For vintage fashion accuracy, sewing pattern selection determines whether your costume reads as historically grounded or merely costume-adjacent.
Start with era-specific commercial patterns before attempting any original drafting. They’ve already solved the complex geometry of structured bodices, swept skirts, and fitted sleeves that define period silhouettes.
Study the instruction sheets thoroughly before cutting a single piece — understanding construction sequence prevents costly errors mid-build.
You’ll also develop transferable techniques: reading ease charts, identifying grain lines, and recognizing period-accurate seam placement.
That foundational knowledge sharpens your eye and accelerates every future vintage build you attempt.
Build Stronger Seams on High-Movement Areas
Vintage costumes fail at the seams before they fail anywhere else — and they fail fastest where the body moves hardest. Seam reinforcement isn’t optional — it’s structural theater.
Prioritize movement flexibility by targeting these four critical zones:
- Armholes — Shorten stitch length for tighter, stress-resistant seams that flex without breaking.
- Leg joints and inseams — Backstitch at both ends to lock every seam against repeated tension.
- Shoulder seams — Keep seam allowances precise so stress distributes evenly across the line.
- Waistbands and closures — Finish exposed seams so they endure all-day wear without unraveling.
You’re building a costume meant to perform. Treat high-movement areas like load-bearing architecture — because historically, structurally, and theatrically, that’s exactly what they are.
Press Every Seam for a Polished Vintage Look
Every seam you press shapes the costume as much as any stitch you sew. Skipping the iron leaves fabric texture uncontrolled and seam alignment visually off, collapsing the illusion your stitching worked hard to build.
Every seam pressed is a seam perfected — skip the iron, and your stitching unravels the illusion it built.
Press each seam as you construct, not after you’ve assembled everything and regret compounds.
Use a press cloth — serged muslin or silk organza works well — to protect delicate vintage-inspired materials while coaxing crisp, deliberate lines into position. A good iron isn’t optional; it’s your co-constructor.
Heat sets intention into the fabric, sharpening period silhouettes that demand structural clarity.
Pressed seams signal craft mastery. They transform a competent construction into a theatrical statement, one that reads accurately from the stage, the convention floor, and every photograph in between.
Hand-Sewing Stitches Every Vintage Costume Needs
Where machine stitching imposes uniformity, hand-sewing builds the quiet authenticity that vintage cosplay demands. Master these four stitches to elevate your build:
- Running stitch – foundations of historical construction, creating evenly spaced, period-accurate seam lines
- Slip stitch – nearly invisible hemming along folded edges where cleanliness defines character fidelity
- Blanket stitch – decorative edge control that doubles as structural finishing on exposed fabric boundaries
- Cartridge pleats – parallel running stitch rows that gather historical skirts with theatrical, architectural precision
Each technique supports hand sewn embellishments that machine work simply can’t replicate. When you’re applying embroidery techniques to trim, appliqué, or decorative panels, you’re embedding craft directly into the costume’s surface.
Attach trims loosely to preserve three-dimensional shape and avoid flattening the silhouette you’ve carefully built.
Finish Exposed Seams So Your Costume Lasts All Day
Three hours into a convention and an unfinished seam will betray you — fraying threads catching on accessories, raw edges curling away from the silhouette you’ve spent weeks building. Edge finishing isn’t decorative housekeeping; it’s structural theater.
Serge exposed interior seams, or bind curved edges with bias tape when a serger isn’t available. Both methods deliver seam reinforcement that survives repeated movement, costume changes, and full convention days.
For historically accurate builds, bias finishes honor period construction while keeping interiors visually intentional.
Flatline your fashion fabric to lining before treating both layers as one unit — it eliminates raw edges entirely.
Every seam you finish properly is one fewer catastrophic failure mid-performance. Treat the inside of your costume like the audience can see it.
Attach Period Trims Loosely and Use Invisible Zippers for Hidden Closures
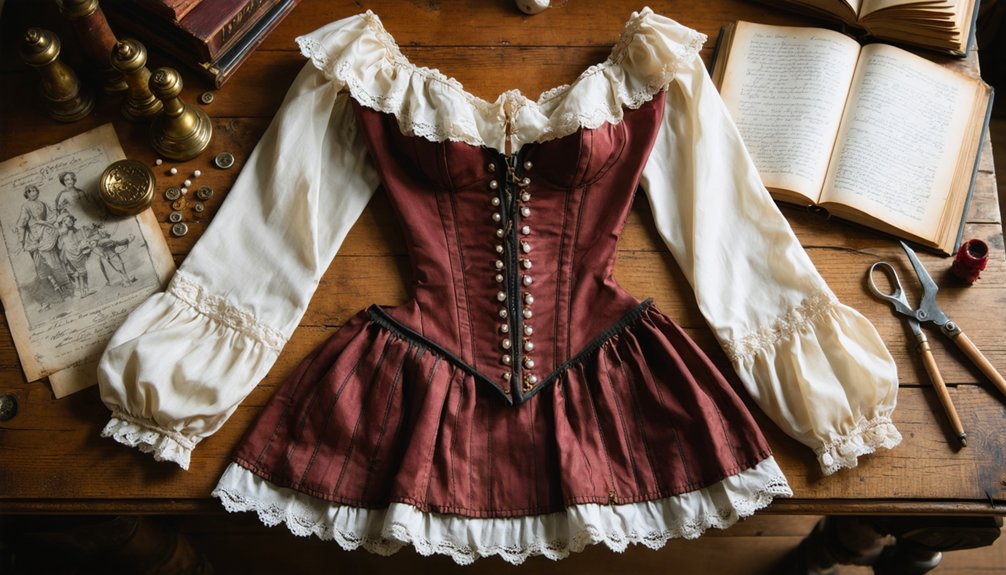
When attaching period trims like braiding, ribbon, or lace, you’ll want to stitch them loosely enough to preserve the garment’s natural drape and three-dimensional silhouette rather than flattening it into stiffness.
Place your invisible zippers along side seams or back panels where the closure disappears entirely beneath the costume’s period-accurate exterior, letting you exit a hall quickly without sacrificing historical integrity.
Where trims and zippers share the same seam, install the zipper first, then hand-tack the trim over it so the decorative element conceals the closure while remaining easy to remove for future repairs.
Loose Trim Attachment Benefits
Attaching period trims loosely preserves the ease and dimensional accuracy that define a historically convincing silhouette, because trim pulled tight against the base fabric flattens the surface and distorts the garment’s intended drape.
Trim flexibility directly supports costume durability by allowing movement without stressing attachment points.
Follow these four principles:
- Baste trim placement before permanent attachment to test visual balance against the costume’s structure.
- Leave a slight float between trim and fabric so both layers move independently during wear.
- Use a slip stitch or hand-tacking method that yields controlled tension across decorative edges.
- Reinforce trim endpoints discreetly to prevent unraveling without compressing the surrounding fabric.
These methods protect dimensional integrity while keeping your costume construction both technically sound and visually commanding across extended wear.
Invisible Zipper Placement Tips
Invisible zippers solve the vintage cosplayer’s recurring dilemma of maintaining a historically convincing exterior while still getting dressed efficiently.
You’ll want to install them before closing the seam, pressing the coil flat with a cool iron so it lies correctly under the specialized foot.
Seam alignment becomes your primary concern here — match your notches precisely, or the closure will pucker and break the silhouette’s period integrity.
For effective zipper troubleshooting, check that you’ve stitched close enough to the coil without catching it; even a millimeter’s deviation creates visible drag.
Anchor your zipper tape securely at the bottom stop, then close the remaining seam beneath it.
The result is a clean, undetectable closure that honors your costume’s theatrical authenticity without sacrificing modern dressing speed.
Combining Trims With Zippers
Period trims and invisible zippers seem like opposing forces, but you’ll find they coexist beautifully when you treat each element on its own structural terms. Strategic trim placement preserves costume silhouette while concealed closures maintain theatrical illusion.
Follow this sequence for clean integration:
- Install and test your invisible zipper first, completing zipper reinforcement before any decorative work begins.
- Press surrounding seams flat so trim placement sits against a stable, wrinkle-free foundation.
- Attach period trims loosely, allowing slight ease so the costume retains three-dimensional shape under movement.
- Hand-tack trim ends near zipper tape carefully, keeping stitches clear of zipper teeth to avoid mechanical interference.
This layered approach honors historical construction logic while delivering the modern structural reliability your costume demands at every convention hour.
Frequently Asked Questions
How Do I Match Fabric Weight to a Vintage Costume’s Structural Needs?
Choose heavier fabrics for structured silhouettes demanding material durability, and lighter ones where drape’s essential. You’ll want fabric texture that’s period-accurate, so test swatches against your costume’s theatrical demands before committing to your final innovative construction.
Can Thrifted Clothing Help Me Understand Vintage Seam Placement and Shape?
Study thrifted clothing to decode vintage seam placement and shape. You’ll uncover period-accurate construction secrets that boost historical accuracy, inspire innovative techniques, and dramatically improve costume durability for theatrical, all-day wear.
How Much Extra Seam Allowance Should I Leave for Future Fit Adjustments?
Over 60% of costumes need refitting—you’ll thank yourself later. Leave at least one inch of seam allowance in key areas, giving you room for precise fit adjustments without compromising your garment’s period-accurate, theatrical silhouette.
When Should I Use Bias Tape Versus Facings on Curved Interior Seams?
Use bias tape application on tight curves needing flexibility, like necklines. Choose facing versus bias when you want a structured, invisible finish on period-accurate bodices. Facings offer theatrical polish; bias tape delivers innovative, streamlined durability on complex curves.
How Do I Flatline a Vintage Costume Before Beginning Full Construction?
Like a tailor’s secret weapon, flatlining builds historical accuracy into every stitch — baste your fashion fabrics and textures together, then treat both layers as one unit before you begin full construction.
References
- https://sewexpo.com/2018/01/17/sewing-techniques-applied-to-costuming-with-anna-he/
- https://www.reddit.com/r/CosplayHelp/comments/17vaagr/how_has_everyone_here_learned_to_sew_so_well/
- https://www.youtube.com/watch?v=VrDbvfsHx1Q
- https://www.kamuicosplay.com/2018/07/18/sewingbasics/
- https://toxigon.com/historical-sewing-techniques-for-costumes
- https://starstruckpanda.com/best-cosplay-sewing-techniques-for-character-accuracy/
- https://www.youtube.com/watch?v=mKx1pHgm9ro
- https://www.youtube.com/watch?v=m-BIUakD3bE
- http://historicalsewing.com/wp-content/uploads/Jump-Start-Your-Sewing.pdf