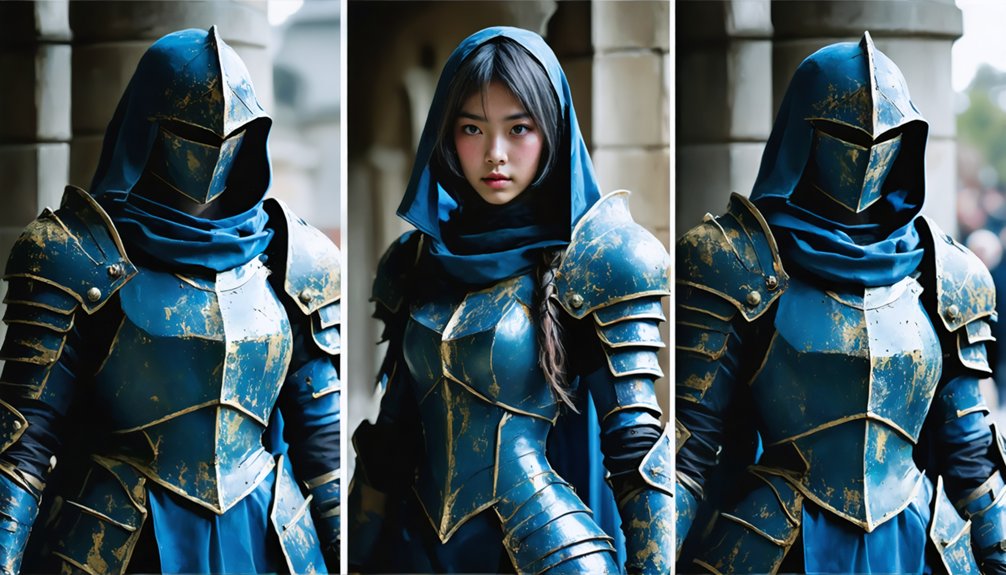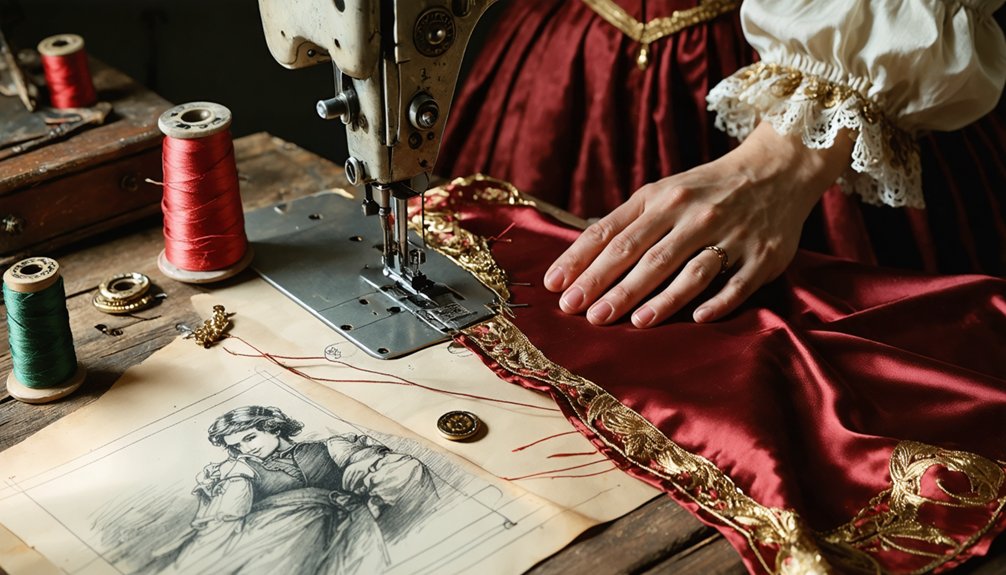
Your cosplay’s character accuracy lives or dies in the sewing techniques you use before you cut a single piece of fabric. Test stitches on scrap fabric, read reference images like construction blueprints, and match fabric weight to structural demands. Pin symmetrically, align grainlines, pivot corners cleanly, and finish seams so they survive all-day wear. Press every seam immediately and hem with precision. Master each technique, and you’ll build costumes that hold up under convention scrutiny—keep going to find out exactly how.
Key Takeaways
- Pre-wash all fabrics before cutting to eliminate shrinkage variables and prevent costly reconstruction during the build.
- Pin mirrored pattern pieces simultaneously to detect asymmetry and ensure character-accurate panel alignment before cutting.
- Backstitch seam starts and ends with 3–4 stitches to prevent unraveling in high-tension costume areas.
- Stop with needle down at pivot points, lift the presser foot, and rotate fabric for crisp geometric armor lines.
- Press seams immediately after sewing using a press cloth to lock thread and maintain screen-accurate silhouette shapes.
Test Cosplay Techniques on Scrap Fabric Before Cutting Anything
Before cutting into your main fabric, test every technique on scrap pieces that match your fashion fabric‘s weight, weave, and fiber content. This step eliminates costly errors, particularly when working with specialty materials common in cosplay construction.
Test your stitch lengths, seam finishes, and tension settings systematically. If your build involves fabric dyeing, verify colorfastness and shrinkage on scraps before committing to full yardage. Dye behavior varies dramatically across fiber types, and surprises on your main fabric are unrecoverable.
During pattern drafting, use scrap muslins to refine fit and construction sequences before transferring markings to fashion fabric. Each fabric has a distinct personality — mastering it on scraps first guarantees precision, structural integrity, and character-accurate results on your final costume.
Read Your Reference Images Like a Cosplay Construction Blueprint
Before you cut a single piece of fabric, treat your reference images as a technical document, scrutinizing every seam line, surface texture, and structural detail your character’s costume contains.
You’ll need to identify fabric types by analyzing how materials catch light, drape, or hold rigid shapes across different panels and components.
Map out your construction challenges early by noting where complex intersections, layered elements, or unconventional materials will demand advanced techniques or alternative solutions.
Analyzing Character Design Details
When you study your reference images, treat them as construction blueprints rather than simple visual inspiration. Zoom into high-resolution screenshots and identify every seam line, panel break, and structural edge. You’ll want to catalog where fabric shifts occur, noting how historical influences like military tailoring or period silhouettes inform a character’s design geometry.
Apply color theory deliberately — distinguish between shadow colors painted into illustrations versus the actual fabric hue you’ll need to source. Anime and game art frequently exaggerate contrast for visual clarity, so compensate accordingly.
Break each costume zone into isolated construction problems: bodice, sleeves, trim, and closures. Mark pivot points, asymmetrical elements, and layering sequences.
This systematic deconstruction prevents costly misinterpretations and keeps your construction decisions grounded in observable, measurable design data.
Identifying Fabric And Texture
Once you’ve mapped out every seam line and structural edge on your character, the next analytical layer is material identification — figuring out exactly what fabric categories and surface textures the design calls for. Your reference images function as technical blueprints, revealing fiber behavior, sheen levels, and textile patterns embedded in the costume’s visual language.
Scrutinize these material indicators systematically:
- Surface reflectivity — distinguishes matte wovens from satin, metallic, or vinyl constructions
- Textile patterns — identifies printed, jacquard, or embossed repeats requiring pattern-matched fabric selection
- Color depth and gradients — signals whether fabric dyeing techniques like ombré or discharge printing are necessary
Pre-wash all selected fabrics before cutting to eliminate shrinkage variables. Accurate material identification here prevents costly reconstruction later and locks in character-accurate results from the first cut.
Mapping Construction Challenges
Reading your reference images like a construction blueprint means extracting actionable structural data before a single pattern piece hits your cutting table. Analyze every seam line, panel break, and dimensional detail your character displays. Identify where fabric dyeing creates gradient gradual shifts requiring pre-treatment before construction begins, since applying color post-assembly compromises seam integrity and finish quality.
Map each structural challenge systematically: asymmetrical closures, built-in armor integration points, layered silhouettes demanding precise underlining. Prioritize problem areas first rather than constructing linearly.
Monitor thread tension carefully across dissimilar fabric combinations, particularly where rigid interfaced panels meet stretch materials. Mismatched tension produces puckered seams that destroy character accuracy instantly.
Document your challenge map before cutting anything. This pre-construction audit eliminates costly mistakes and positions you to execute technically demanding builds with confidence and precision.
Choose Fabrics That Match Your Character’s Look and Build Requirements
Once you’ve analyzed your reference images, you’ll need to match your fabric choices to both the visual aesthetic and structural demands of your character’s costume.
A heavily armored character requires stiff materials like craft foam, worbla, or buckram-backed fabric.
While a flowing sorceress calls for chiffon, charmeuse, or organza that moves naturally with your body.
You’ll also want to pre-wash all fabric before cutting to prevent post-construction shrinkage and color bleeding that could ruin your finished build.
Matching Fabric To Character
Choosing the right fabric for your cosplay build starts with analyzing your character’s visual design and structural demands. Consider texture, weight, and drape before committing to any material. Fabric dyeing lets you achieve screen-accurate colorways when off-the-shelf options fall short. Precise pattern drafting ensures your chosen fabric behaves correctly across every panel and seam.
Prioritize these selection criteria:
- Structural fabrics like interfaced cotton or brocade support armored or tailored character designs
- Stretch fabrics such as spandex or jersey suit form-fitting suits requiring unrestricted movement
- Specialty materials including craft foam-backed fabric or thermoplastics replicate rigid costume elements accurately
Pre-wash every fabric before cutting to eliminate shrinkage variables. Align your grainline with the selvage to guarantee proper drape and dimensional stability throughout construction.
Build Requirements And Structure
Before selecting any material, analyze your character’s structural demands alongside their visual design to guarantee both form and function align. Rigid armor pieces require interfacing or boning, while flowing capes demand fabrics with natural drape. You’ll need to assess weight distribution, articulation points, and construction complexity before committing to any textile.
When incorporating fabric dyeing for custom colorways, pre-wash all materials beforehand to eliminate shrinkage variables that compromise structural integrity. Test your dye absorption on scrap pieces first to confirm predictable results.
Adjust thread tension precisely based on your chosen fabric’s weight and density. Heavy structured materials demand tighter tension settings, while lightweight fabrics require looser configurations. Incorrect thread tension creates puckered seams that undermine the build’s overall accuracy and professional appearance.
Mark and Pin Cosplay Pattern Pieces for Perfectly Symmetrical Details
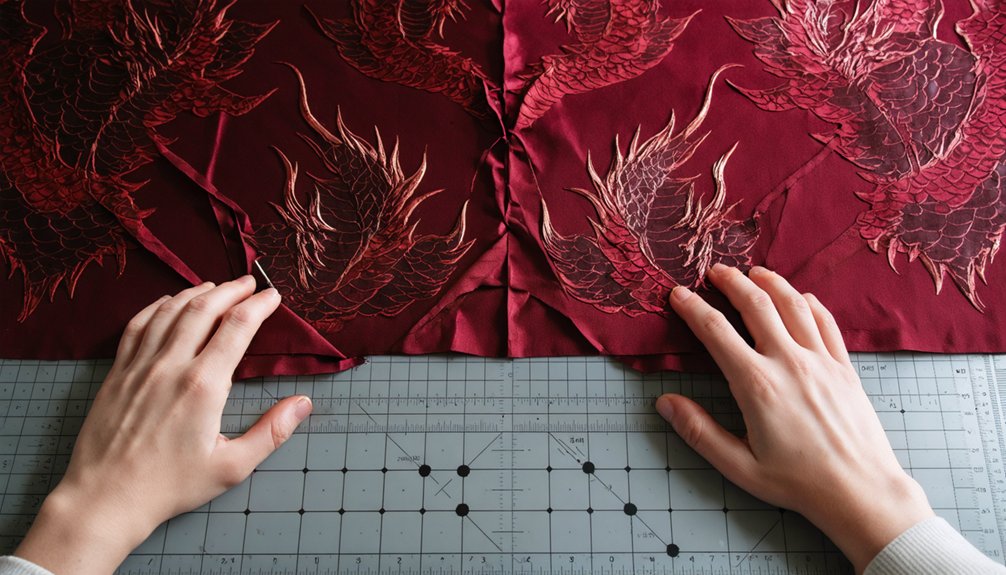
Marking and pinning your pattern pieces correctly sets the foundation for symmetrical cosplay details that hold up under scrutiny. Use a ruler and non-permanent marking tool to trace seam allowances before pinning, ensuring consistent alignment across mirrored pieces.
When working with color theory and fabric dyeing applications, precise markings prevent misaligned gradient shifts or dye zones.
Apply these pinning strategies for accuracy:
- Place pins horizontally to your stitching direction, allowing uninterrupted machine sewing without repositioning
- Pin mirrored pattern pieces simultaneously to catch asymmetry before cutting
- Mark pivot points at corners and curves to maintain structural integrity during construction
Test your marking tools on fabric scraps first to confirm they remove cleanly. Consistent pinning discipline directly determines whether your character’s details read as screen-accurate or amateur.
Align Grainlines So Your Cosplay Moves the Way Characters Do
Grainline alignment is one of the most overlooked variables separating stiff, awkward cosplay from garments that flow and move like the character they represent. When you align the grainline parallel to the selvage, you’re engineering movement, not just constructing fabric. Use a ruler to verify both ends of your grainline marking remain equidistant from the selvage edge.
Misalignment introduces diagonal tension that distorts drape, amplifies thread tension irregularities, and accelerates wear at stress points. If your fabric’s undergone heavy fabric dyeing processes, pull a thread or tear the edge to locate the true grain before positioning any pattern piece.
Precision here directly impacts how armor panels hang, how capes billow, and how structured bodices conform to body mechanics — exactly what character accuracy demands.
Master Backstitching for Cosplay Seams That Survive Convention Wear
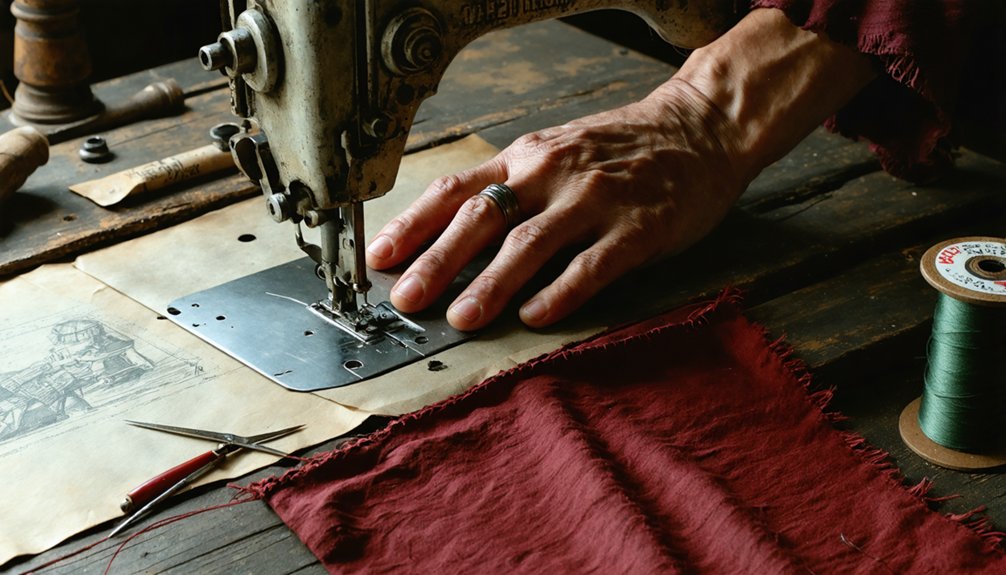
When you backstitch, you sew forward two stitches, reverse one, and repeat, creating a tight, interlocked seam that resists splitting under physical stress.
For cosplay, you’ll want to reinforce high-tension areas — armholes, crotch seams, and costume closures — with this technique, since convention wear demands far more durability than typical garments.
Lock every seam by backstitching three to four stitches at both the start and end, securing threads against the repeated movement and strain your costume will endure across long event days.
Backstitch Basics Explained
Backstitching is the single most reliable hand-stitch technique you’ll use to build cosplay seams that hold up through a full convention day of movement, crowd contact, and costume stress. Unlike running stitches, backstitching reverses direction with each pass, creating an interlocked thread structure that resists separation under strain.
Execute it correctly by controlling these critical variables:
- Thread tension: Keep consistent pull pressure — too tight distorts seam allowance; too loose creates weak, gapping stitches.
- Seam allowance: Maintain your marked seam allowance precisely so stress distributes evenly across the seam line.
- Stitch length: Shorter stitches increase seam integrity on high-movement costume sections like armholes and leg joints.
Lock every seam start and finish with backstitches to prevent unraveling during wear.
Reinforcing High-Stress Seams
Certain seam locations in your cosplay take the brunt of every lunge, crouch, and crowd squeeze you’ll encounter at a convention — and those are exactly where reinforced backstitching isn’t optional. Target armhole seams, crotch seams, and shoulder joins first.
Execute multiple backstitches at both the start and end of each seam to lock threads permanently against movement stress. Calibrate your thread tension precisely — too loose and seams gap, too tight and fabric distorts, particularly around areas treated with fabric dyeing processes that may have altered fiber structure.
Shorten your stitch length to increase stitch density across high-stress zones. Consider doubling seam lines two millimeters apart for critical joints.
These technical decisions separate costumes that survive full convention days from those that fail mid-performance.
Pivot Corners Cleanly for Sharp Cosplay Armor and Geometric Panels
Sharp corners define cosplay armor panels, so mastering the pivot technique separates clean geometric seams from puckered, misaligned edges. Whether you’re constructing structured breastplates or geometric fabric dyeing panels, precision pivoting ensures your seams hold their intended angles without distortion.
Follow these critical steps for clean corner execution:
- Stop sewing with your needle fully down at the exact pivot point, then lift the presser foot before rotating your fabric to the correct angle.
- Mark each pivot point within the seam allowance beforehand using a non-permanent tool for pinpoint accuracy.
- Calibrate your thread tension properly before pivoting—incorrect tension causes corner puckering that undermines sharp geometric lines.
After pivoting, lower the presser foot and continue stitching. Immediately press the corner flat to set the crisp, armor-defining shape you need.
Serge, Bind, or French Seam Edges So Cosplay Survives All-Day Wear
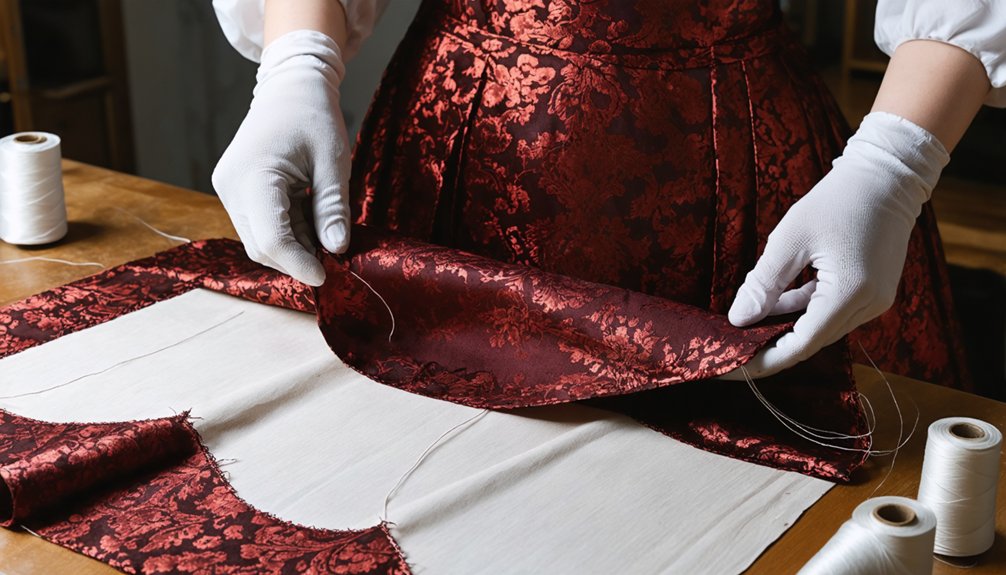
Once your corners are locked in and pressed flat, raw edges become your next threat to a cosplay that holds up through hours of convention wear. Unfinished seams fray under movement, especially when fabric dyeing has weakened fiber integrity. Choose your finish based on fabric weight and construction demands.
Serging wraps each edge cleanly and works fast on medium to heavy materials. French seams encase raw edges entirely, making them ideal for lightweight or sheer panels where structure matters. Bias tape binding adds a professional finish on curved or exposed interior seams.
Monitor thread tension carefully across all three methods. Incorrect tension causes tunneling on serged edges or puckering inside French seams. Test each technique on scrap fabric first, adjust settings precisely, then execute on your final panels.
Press Every Seam to Lock in That Screen-Accurate Cosplay Silhouette
Pressing every seam immediately after stitching locks the thread into the fabric and sets the shape before the next construction step. Inconsistent thread tension causes puckering that distorts your cosplay’s silhouette, but pressing counteracts this by flattening each seam precisely. Fabric dyeing can also affect how materials respond to heat, so always test iron temperature on scrap pieces first.
Use these pressing fundamentals for screen-accurate results:
- Place a press cloth between the iron and fashion fabric to prevent scorching or sheen
- Press seams open or to one side depending on the garment’s structural requirements
- Use a tailor’s ham for curved seams to maintain dimensional accuracy
Pressing during every construction phase, not just at the finish, delivers the clean, structured silhouette that defines character-accurate cosplay.
Hem Edges Precisely So Every Cosplay Length Looks Screen-Accurate
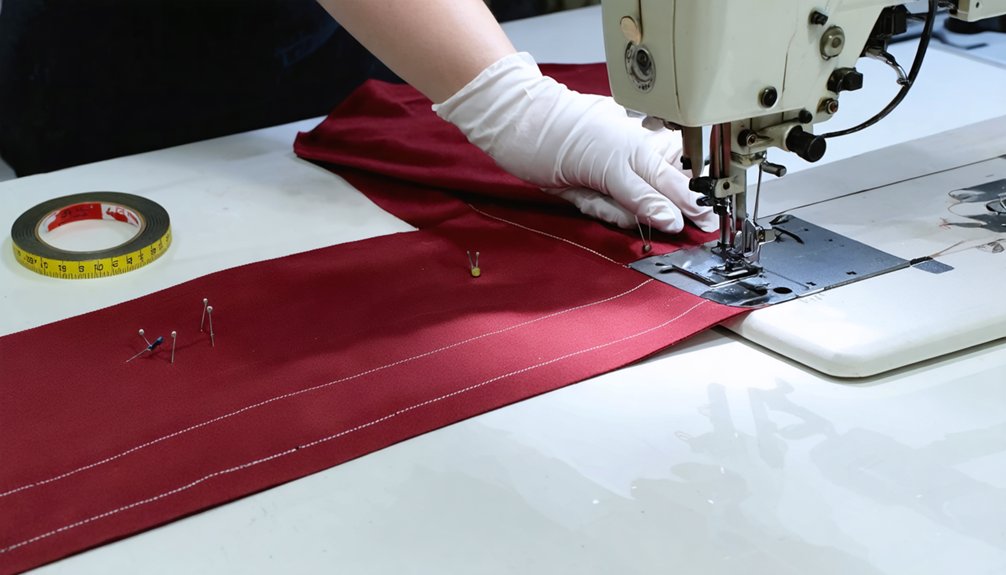
Hemming determines whether your cosplay reads as polished or unfinished from any viewing distance, so precision here is non-negotiable. Apply a double-folded hem, turning fabric twice to approximately 2cm, ensuring consistent depth throughout. Pre-wash your fabric beforehand, since fabric dyeing processes can cause shrinkage that distorts hem length post-construction.
Hand stitch hems using large internal stitches with tiny external holes, keeping thread invisible from the outside. Cut corners before turning to eliminate bulk and achieve a flat, professional finish. Monitor thread tension carefully during machine hemming — incorrect thread tension creates puckering that immediately signals amateur construction.
Use pinking shears on delicate materials too fragile for zigzag finishing. Press every hem flat immediately after stitching to permanently set the edge and lock in your character’s screen-accurate silhouette.
Frequently Asked Questions
How Do I Attach LED Lights or Electronics Into Cosplay Costumes?
Attaching LEDs will revolutionize your entire costume universe. Plan your LED placement first, then secure wiring with fabric channels. Always prioritize electronic safety by insulating connections and using battery packs you can easily access and replace.
What Adhesives Work Best for Bonding Foam Armor Pieces Together?
Contact cement is your top choice for foam bonding due to its flexible, durable hold. For adhesive selection, you’ll also find hot glue effective for quick joins, while Barge cement delivers superior strength on high-stress armor sections.
How Do I Create Worbla or Thermoplastic Armor for Cosplay Builds?
Worbla shaping transforms your builds infinitely! Heat thermoplastic techniques with a heat gun until pliable, mold it over forms, layer pieces for strength, trim edges while warm, then sand and prime for flawless, screen-accurate armor results.
Can I Weathering and Distress Fabric to Match Battle-Worn Characters?
You can achieve fabric distressing and weathering techniques by sandpapering edges, applying diluted acrylic paint washes, burning hems carefully, and using pinking shears on seams to replicate authentic battle-worn wear on your cosplay builds.
How Do I Safely Store and Transport Finished Cosplay Between Conventions?
Store your finished cosplay in breathable garment bags for cosplay storage, using acid-free tissue to prevent creasing. Follow smart transportation tips by rolling soft pieces and boxing rigid props, ensuring costume safety throughout every convention journey.
References
- https://www.reddit.com/r/CosplayHelp/comments/17vaagr/how_has_everyone_here_learned_to_sew_so_well/
- https://foodandcosplay.org/2018/09/25/tutorial-sewing-tips-for-cosplay-beginners/
- https://www.youtube.com/watch?v=O_K7GxIv3oI
- https://www.firststopcosplay.com/blogs/fsco-blog/wip-fundamental-sewing-techniques-every-cosplayer-should-know
- https://www.youtube.com/watch?v=S8EJNye-AqQ
- https://sewingtrip.com/how-to-sew-for-cosplay/
- https://www.youtube.com/watch?v=mKx1pHgm9ro