Tailoring a detailed costume starts with gathering multi-angle references, then taking precise measurements cross-checked against your pattern’s size chart. Adapt the pattern to your dominant measurements, transfer all markings, and sew a muslin mock-up before cutting your fashion fabric. Prep your fabric through washing, dyeing, and pressing, then assemble from structural seams outward, pressing after each step. Install closures before adding embellishments last. Every stage builds on the one before it, and each step has critical details worth knowing.
Key Takeaways
- Collect multi-angle reference images and pre-treat fabric before cutting to ensure accurate color, texture, and pattern placement.
- Take precise body measurements at all key points, cross-referencing pattern size charts to identify necessary grading adjustments.
- Sew a muslin mock-up first, then test full range of motion to identify fit issues before cutting final fabric.
- Build construction from the structural core outward, reinforcing high-stress seams and pressing each seam immediately after sewing.
- Install closures after structural seams are complete, then add embellishments last with precise measurements to ensure symmetry.
Why Costume Tailoring Demands a Different Workflow Than Regular Sewing
Costume tailoring pulls from the same foundational techniques as garment sewing, but the workflow diverges quickly once you account for character accuracy, structural complexity, and the need to replicate specific silhouettes rather than fit a general body type.
Costume tailoring borrows foundational sewing techniques, then immediately diverges once character accuracy and silhouette replication enter the equation.
You’re not just constructing a garment that fits—you’re engineering a wearable replica where seam alignment determines whether the design reads correctly at distance and in motion.
Standard sewing prioritizes comfort and size grading; costume tailoring prioritizes visual accuracy first, then wearability.
Fabric durability becomes a critical variable because costumes endure performance stress, repeated wear, and often unconventional construction methods.
You’ll need to sequence every decision—reference study, pattern drafting, mock-up testing—with greater precision than a typical garment build demands.
The workflow isn’t harder, but it’s deliberately more structured.
Gather Reference Images Before You Touch a Pattern
Before you draft a single pattern piece, build a complete reference library for the costume you’re replicating. Collect images from multiple angles—front, back, three-quarter, and detail shots—so you understand exactly where seam lines fall and how separate garment sections connect.
Analyze each image for fabric texture, since surface behavior determines whether a material drapes, holds structure, or requires underlining. Apply basic color theory when cross-referencing images taken under different lighting conditions, because inaccurate color reads lead to wrong fabric selections.
Organize your references by garment section rather than by source. This method lets you isolate problem areas before pattern work begins.
Study how the costume moves on the body, noting where stress points appear.
Solid visual documentation eliminates guesswork and accelerates every downstream decision in your build.
Take Accurate Measurements for Costume Pattern Planning
With your reference library complete, you’re ready to capture the body measurements that’ll drive every pattern decision. Measurement accuracy here isn’t optional — it’s the foundation that prevents costly fabric waste and misaligned seams downstream.
Record bust, waist, and hips at their fullest points. Add back neck-to-waist, sleeve length, and torso girth for complex costume builds. Use a snug but unpinched tape position, and measure twice before committing any number to paper.
Cross-reference every measurement against your chosen pattern’s size chart — not your street size. Discrepancies between your body and the pattern’s graded dimensions identify exactly where pattern adjustments are necessary before you cut a single piece.
Mark those variances clearly on your pattern sheets so no correction gets missed during layout.
Choose and Adapt Your Costume Pattern the Right Way
Once your measurements are logged and cross-referenced, selecting the right pattern comes down to matching your dominant measurement to the pattern’s size chart — typically bust for tops, hips for bottoms. Don’t default to street sizing — pattern sizing runs independently, and mismatching the two creates avoidable fit failures.
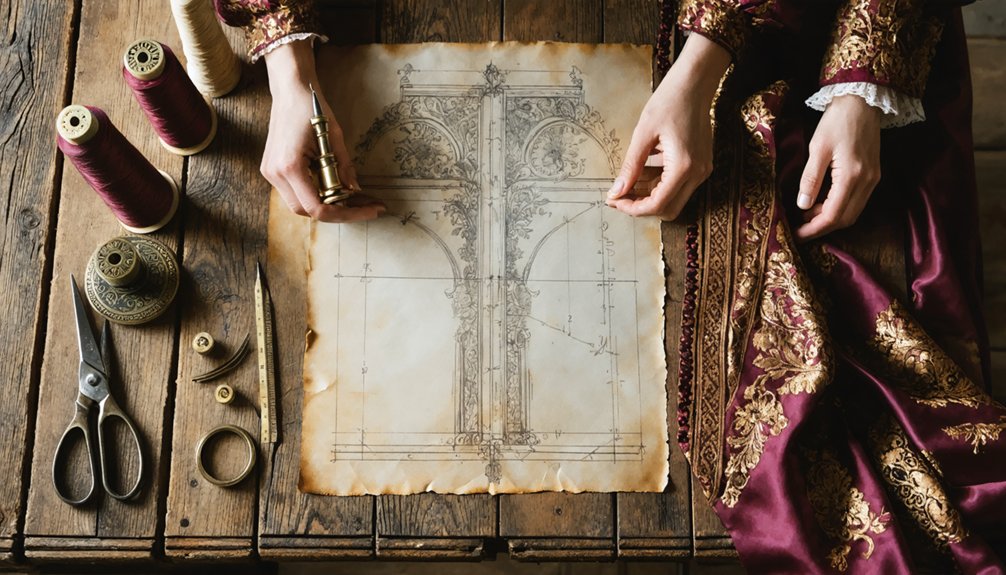
After selecting your size, assess where adaptation is necessary. Grade between sizes if multiple measurements span different ranges, and adjust length seams to match your torso, sleeve, and inseam measurements precisely. Transfer all pattern markings — grainlines, notches, fold lines — before cutting anything.
Pattern adaptation and fabric selection work together. Your adapted pattern determines grain placement, cut direction, and seam allowance needs, which directly inform which fabric structures and weights will perform correctly during construction and final wear.
Build a Costume Mock-Up Before Cutting Your Fashion Fabric
Your adapted pattern is ready — now test it before committing expensive fashion fabric to permanent cuts. Sew a muslin mock-up using low-cost material, replicating every seam and dart from your pattern. This protects fabric intended for dyeing processes that can’t be undone after cutting errors.
- Mark fit corrections directly on the muslin, then transfer them to your paper pattern.
- Test movement: sit, raise arms, and walk to identify stress points.
- Check that seam lines and style lines fall exactly as intended.
- Confirm closure placement before committing to final assembly.
- Evaluate drape and silhouette, since both affect costume storage folding and long-term shape retention.
Adjust the pattern pieces only after completing mock-up corrections — never skip this stage.
Fit-Test Your Costume for Real Movement
Once you’ve assembled your mock-up, put it on and move through a full range of motions — sit, raise your arms, walk, and bend — to expose strain points, pulling seams, and restricted closures.
Mark fit issues directly on the mock-up fabric using a fabric pen or chalk so every problem area is recorded accurately.
Then transfer those corrections back to your paper pattern before cutting your fashion fabric, keeping all pieces consistent for the final build.
Test Movement and Strain
How a costume performs on a dress form or flat surface tells you almost nothing about how it’ll hold up on a moving body. Run deliberate movement tests to expose strain points before they become failures. Focus on fabric manipulation across joints and high-flex zones, and flag any seams requiring seam reinforcement immediately.
- Raise both arms fully overhead and check for pulling across the back and underarms
- Sit down completely to test hip and waist seam tolerance
- Walk briskly to identify hem drag or leg restriction
- Twist your torso left and right to stress side seams
- Crouch or kneel to evaluate knee and thigh panel integrity
Mark every tension point directly on the mock-up, then transfer corrections to the paper pattern before cutting fashion fabric.
Mark Fit Issues Directly
Marking fit issues directly onto the mock-up as they appear during movement tests is the only reliable way to capture real distortion data before it’s lost. Use a fabric marker or chalk to annotate strain lines, pulling seams, and gaping sections the moment you identify them. Don’t rely on memory.
Each mark becomes a correction vector you’ll transfer back to your paper pattern, preserving measurement accuracy across every duplicate piece you cut later. Note whether distortion originates from circumference, length, or grainline drift, since each problem demands a different correction.
These annotations also inform your fabric selection for the final build, because a mock-up under stress reveals whether your chosen material needs more stretch tolerance, structural support, or bias adjustment before you commit to cutting fashion fabric.
Transfer Adjustments To Pattern
Every mark you made on the mock-up now needs a direct counterpart on your paper pattern before you cut a single piece of fashion fabric.
Each fit adjustment must migrate from fabric to paper accurately, preserving the logic of your pattern alteration across every related piece.
- Redraw seamlines using a ruler or French curve for clean, consistent edges
- Slash and spread, or overlap, pattern tissue to reflect width and length changes
- Update all corresponding pieces simultaneously—a side seam change affects both front and back
- Re-mark notches, grainlines, and balance marks after any redrawing
- Confirm that adjusted seam allowances remain uniform before finalizing
Don’t skip this transfer step. Without it, your corrections exist only on a disposable mock-up, and your fashion fabric cut will repeat every original error.
Prep and Cut Your Costume Fabric Without Common Mistakes
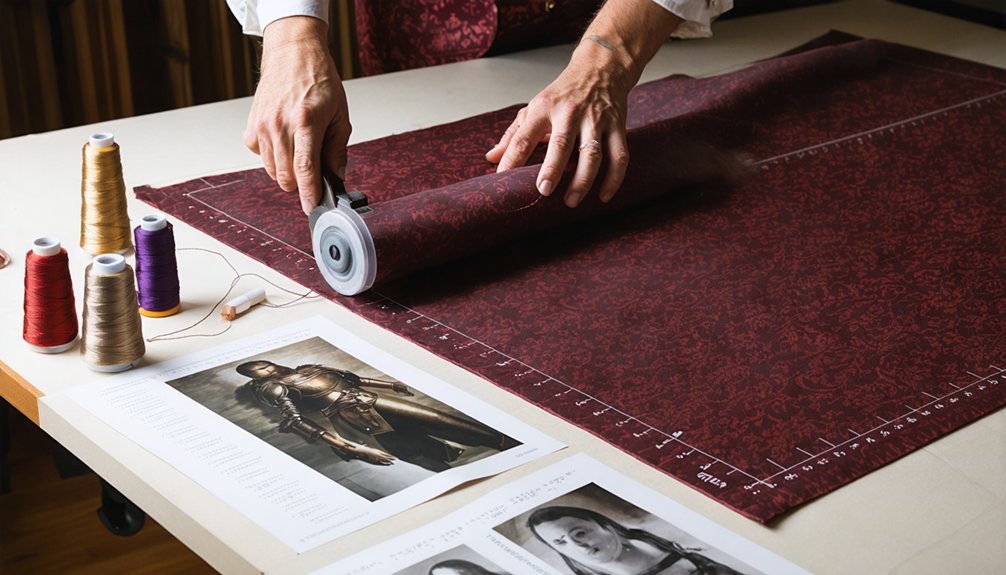
Before you cut a single piece, you’ll need to pre-wash or pre-treat your fabric to eliminate shrinkage risk. If you’re incorporating fabric dyeing into your build, complete that process before cutting so color-treated material stabilizes first.
Once treated, press the fabric completely flat — wrinkles distort pattern placement and compromise seam allowance accuracy.
Lay your fabric on a flat surface and align each pattern piece precisely along the grainline. Secure pieces with pins, clips, or pattern weights before cutting.
Follow the pattern layout exactly, noting whether pieces require folded or single-layer cuts.
Use sharp cutting tools only — dull blades create ragged edges that undermine precision.
Cut cleanly and consistently, since irregular edges directly affect how seams align during assembly and how the finished costume drapes on the body.
Build Your Costume in the Correct Assembly Order
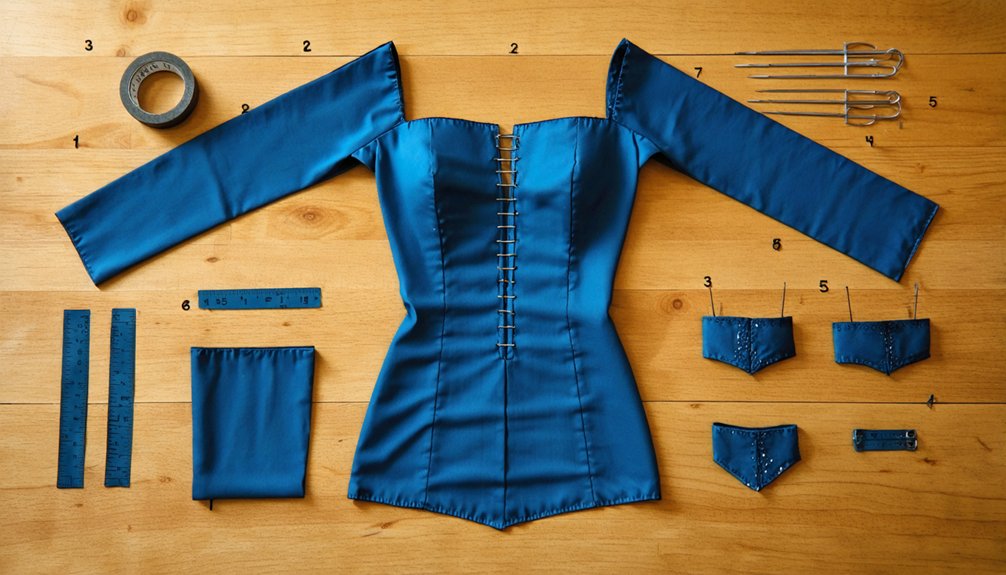
Begin construction with the main garment body, stitching the foundational pieces together before anything else. Once the body is stable, you’ll attach major structural seams—side seams, shoulder seams, and any shaping seams that define the costume’s silhouette.
Add closures like zippers, hooks, or buttons after the core assembly is complete. Then finish with decorative trim and embellishments so their placement remains precise and consistent.
Start With The Body
Once your fabric is cut and your pieces are ready, start constructing the main garment body first. This establishes your structural foundation and lets you evaluate fabric drape and seam placement before committing to smaller, detail-dependent components.
- Sew the front and back bodice panels together at the side seams first.
- Press every seam open or to one side immediately after stitching.
- Check seam placement against your mock-up to confirm alignment accuracy.
- Evaluate fabric drape at this stage by hanging the assembled body on a dress form.
- Reinforce stress points at underarms and waistline seams before moving forward.
Building outward from the body core keeps your assembly logical and reduces fit errors. Attach structural elements like boning channels or inner support layers while the body remains accessible and adjustable.
Attach Major Structural Seams
With your garment body assembled, you can now attach the major structural seams that define your costume’s silhouette and load-bearing framework.
Work systematically from interior structural seams outward, matching notches precisely before committing each seam. Seam alignment is non-negotiable here — misaligned seams at shoulders, side panels, or princess lines compound into visible distortions across the finished costume.
Pin or clip every seam before sewing, checking that grainlines remain consistent across joined pieces. Once sewn, apply seam reinforcement at high-stress points like armscyes, crotch curves, and waistline junctions using a second stitch line or seam tape.
Press each seam flat immediately after sewing. This shapes the fabric permanently and keeps subsequent assembly steps accurate. Don’t advance to closures or trim until all structural seams are completed and pressed.
Add Closures And Embellishments
After all structural seams are complete and pressed, you’re ready to install closures before adding any decorative elements. Sequencing closure options ahead of embellishment techniques prevents misalignment and protects decorative work during mechanical installation.
- Install zippers, hooks, or eyelets first, reinforcing stress points with interfacing or stay-stitching.
- Test each closure through full range of motion before proceeding.
- Mark embellishment placement precisely using tailor’s chalk or marking tape.
- Apply appliqué, trim, and dimensional embellishment techniques after core assembly confirms accurate positioning.
- Press each embellishment section flat before moving to the next application zone.
This sequence protects decorative elements from handling damage during closure installation. Always confirm closures function correctly under movement stress before committing to permanent embellishment adhesion or stitching, since rework after decoration significantly increases project complexity.
Press Costume Seams During Construction for a Cleaner Finish
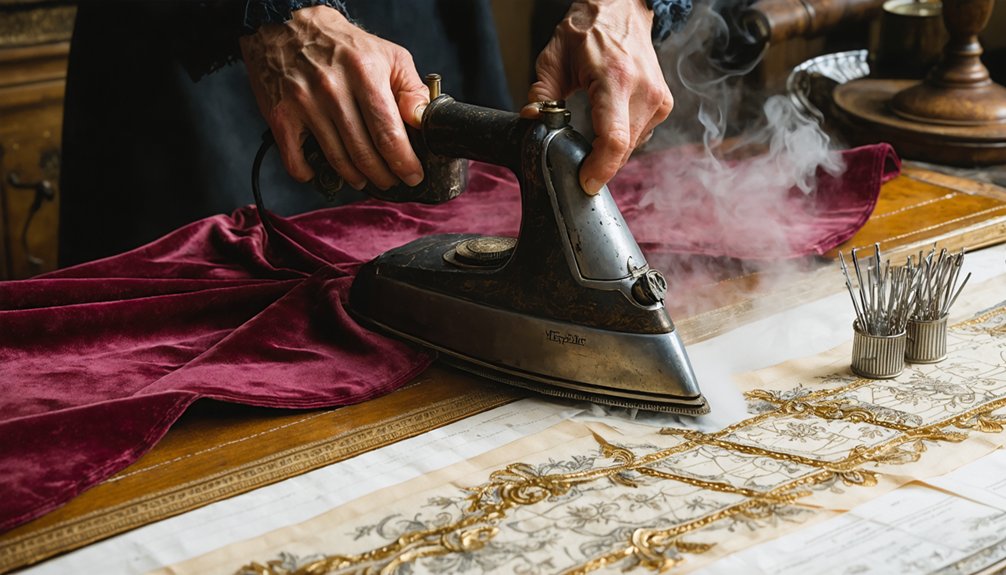
Pressing seams as you construct your costume—rather than waiting until the end—sets each seam in place and keeps your work accurate through every subsequent step. Use a pressing cloth and a hot iron calibrated to your fabric type, applying firm vertical pressure rather than dragging the iron across the surface.
Press each seam open or to one side before attaching the next piece; this prevents bulk buildup at intersections and ensures cleaner topstitching alignment. Seam sealing becomes more effective when the fabric pressing step precedes it, since flat, stable seam allowances bond more reliably.
Work in sections—bodice, then sleeves, then structural panels—pressing after every seam. This disciplined approach maintains dimensional accuracy and produces crisp, professional-quality edges throughout the entire construction process.
Add Trim and Embellishments After Core Assembly Is Complete
Once your costume’s core structure’s fully assembled and pressed, you’ll want to add trim, appliqué, and decorative embellishments as a distinct final phase rather than weaving them into earlier construction steps.
Sequencing embellishment techniques after core assembly ensures accurate trim placement and prevents decorative elements from interfering with structural seams or closures.
- Pin trim directly onto the finished garment before committing to adhesive or stitching
- Measure trim placement symmetrically from a fixed reference point on both sides
- Secure appliqué using appropriate methods—fusible webbing, slip stitch, or machine satin stitch
- Add dimensional embellishments like beading or hardware last to avoid snagging during construction handling
- Perform a final wear test after embellishment to confirm nothing shifts, pulls, or restricts movement
Frequently Asked Questions
How Do I Store a Finished Costume to Prevent Damage Over Time?
Store your finished costume using acid-free tissue and breathable garment bags for ideal costume storage and fabric preservation. You’ll want to avoid plastic, control humidity, and hang structured pieces to maintain their shape long-term.
Can I Tailor a Costume to Fit Someone Else’s Measurements Remotely?
Yes, you can tailor remotely by prioritizing measurement accuracy—collect bust, waist, hips, and body lengths precisely. During remote fitting, use video consultations and muslin mock-ups shipped to the wearer for real-time fit validation before cutting final fabric.
What Tools Are Best for Transporting Delicate Costumes to Events?
Handle with kid gloves: use breathable garment bags, rigid dress boxes, acid-free tissue, and padded hangers for costume transportation. You’ll protect delicate fabric handling by securing loose embellishments and keeping pieces flat to prevent crushing.
How Do I Repair a Costume Seam That Tears During Wear?
Restitch the torn seam using a backstitch for seam reinforcement, then press it flat. You’ll also want to apply seam tape internally for tear prevention, ensuring stress points stay secure during active wear.
Which Costume Materials Are Safest for People With Skin Sensitivities?
Soft, breathable cotton and bamboo drape gently against sensitive skin—you’ll want hypoallergenic materials like these to combat fabric allergies. Choose natural fibers, pre-wash everything, and avoid synthetic dyes or latex-based trims entirely.
References
- https://www.youtube.com/watch?v=I8u0KrMxLqI
- https://www.thesewingdirectory.co.uk/beginners-guide-to-making-clothes/
- https://librarytalespublishing.com/products/the-beginners-guide-to-sewing
- https://sewguide.com/
- https://www.seamwork.com/sewing-tutorials/how-to-sew-clothes-first-garment
- https://www.youtube.com/watch?v=2nkxt5FVpwg
- https://www.youtube.com/watch?v=SNys7qh9oW8
- https://www.costumary.com/templates/sewing-build
- https://www.youtube.com/watch?v=uLCIRHgxL9o
- https://www.instructables.com/Designing-a-Supersuit/