Dyeing fabric for accurate cosplay colors means matching dye chemistry to fiber type before you touch a single drop of color. Cotton and linen need salt, wool and silk need vinegar, and polyester needs specialized dye entirely. You’ll want to pre-wash your fabric, test swatches first, and control heat and soak time to nail your shade. Stick around, and you’ll uncover every variable that separates a muddy misfire from a screen-accurate result.
Key Takeaways
- Match dye chemistry to fabric fiber type—use salt for cotton, vinegar for wool/silk, and specialized dye for polyester blends.
- Start with white or lightly tinted fabric, as dark or colored bases distort final hues unpredictably.
- Test dye on fabric swatches first, documenting time, temperature, and concentration for a repeatable formula.
- Stir continuously for 15–30 minutes and control heat to prevent patchiness and achieve even color saturation.
- Rinse thoroughly, then soak fabric in a fixative bath to lock in color and prevent bleeding during wear.
Choose the Right Dye for Your Cosplay Fabric Type
Before you buy a single packet of dye, check your fabric’s fiber content—it’s the single factor that determines whether your dye job succeeds or fails. Cotton, rayon, and linen respond well to all-purpose dye with salt supporting dye fixation in the bath. Wool, silk, and nylon need vinegar instead to achieve proper fixation. Polyester demands dedicated polyester dye entirely—standard formulas won’t bond to synthetic chains.
Spandex blends introduce additional complexity, requiring heat-controlled processes and synthetic-compatible dye chemistry.
Fiber blending complicates everything further. A cotton-polyester blend, for example, won’t accept a single dye type uniformly, often producing uneven or muted results. Always read the garment label before committing to any formula.
Matching dye chemistry to fiber type isn’t optional—it’s the technical foundation of accurate cosplay color.
Account for Starting Fabric Color Before You Dye
Your fabric’s starting color acts as a hidden variable that quietly steers the final result—yellow fabric overdyed with blue pulls green, while gray base tones muddy reds into murky browns.
White or lightly tinted fabric gives you the clearest path to accurate cosplay shades because you’re not fighting an existing hue.
Before you commit to a full dye bath, cut a small swatch and test it first, since fiber weight, base color, and dye concentration all interact in ways that are nearly impossible to predict without a real sample.
Starting Color Affects Results
The color already living in your fabric will quietly steer your final result, so you need to account for it before you mix a single drop of dye. Fabric texture also influences dye penetration, meaning darker base tones absorb differently than pale ones.
Follow this logic before committing:
- White or cream fabric predicts most accurately.
- Yellow base tones shift blues toward green.
- Gray or tan bases muddy saturated target colors.
- Dark fabrics rarely achieve lighter results through standard dyeing.
Your starting point is fundamentally a filter layered beneath every color decision you make. Test-dye a swatch matching your actual fabric’s base tone before touching your final piece. That small step eliminates costly surprises and keeps your cosplay color precisely on target.
Test Before Full Dye
Cutting a small swatch from your actual fabric and running it through a scaled-down dye bath is the single most reliable way to expose how your base color will interact with your target shade.
Fabric compatibility isn’t guaranteed by dye labels alone — fiber weight, weave density, and existing pigment all reshape the outcome. A swatch test reveals dye patterning tendencies early, showing whether color distributes evenly or pools unevenly across the surface.
Scale your test precisely: if your full bath uses one-half cup of dye per pound, replicate that ratio in miniature. Document your soak time, water temperature, and agitation frequency, then compare the dried swatch against your reference image under consistent lighting.
You’ll catch unwanted hue shifts before they consume your entire costume piece.
Prep Your Cosplay Fabric Before It Hits the Dye Bath
Before your fabric ever touches the dye bath, a few targeted prep steps will determine whether your final color lands with accuracy or disappointment. Skipping prep risks uneven fabric texture and accelerated dye fading after the first wash.
Follow these four steps precisely:
- Pre-wash the fabric to strip any factory finishes blocking absorption.
- Fully wet the fabric before immersion for consistent, streak-free dye uptake.
- Pre-dissolve powder dye in very hot water to eliminate undissolved specks.
- Use sufficient liquid so fabric moves freely throughout the bath.
Each step targets a specific failure point. Wet fabric accepts dye more uniformly, dissolved dye distributes cleaner color, and free movement prevents patchiness that no post-process fix can fully correct.
Mix Your Cosplay Dye Bath for the Right Color Depth
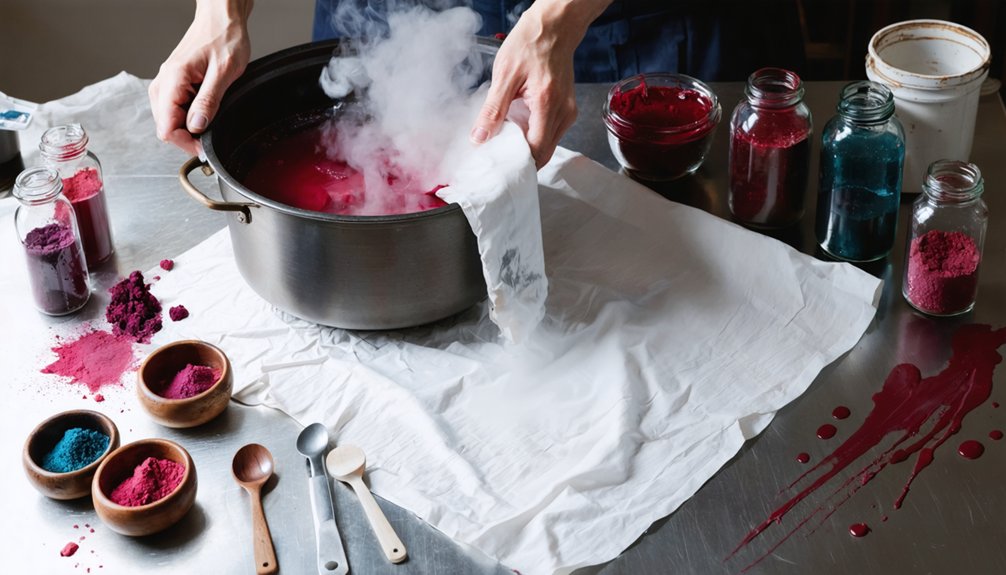
Once your dye bath is prepped, the ratio you mix directly controls how deep or muted your final color runs. Start with 3 gallons of hot water, then factor in fabric absorption rates before adding dye.
A standard starting point is ½ cup of liquid dye per pound of fabric, but push that to double for saturated, dark cosplay shades.
Dye color mixing demands precision — pre-dissolve any powder dye in very hot water first to eliminate specks that cause uneven patches.
Add salt for cotton and linen fibers, vinegar for wool or silk. Your target shade should guide every measurement.
Lighter base fabrics respond predictably, so you’ll hit accurate cosplay colors faster when you’re working with white or near-white fabric.
Test Dye Accuracy Before You Commit to a Full Piece
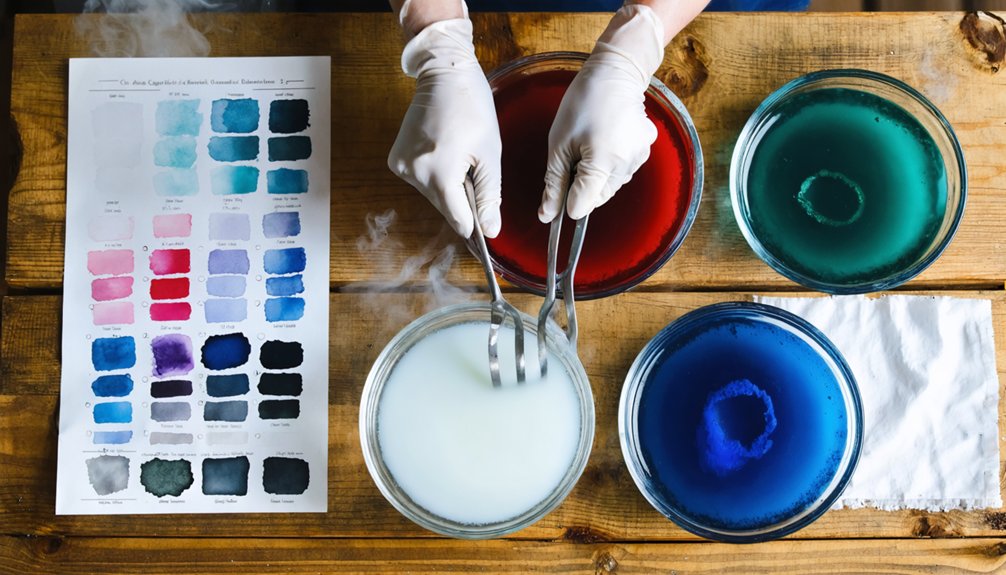
Before you commit yards of fabric to a dye bath, cut a small swatch from the actual garment material and run it through your full process—same dye ratio, same heat, same timing.
Your base fabric color will shift the outcome, so a white swatch and a cream swatch dyed identically won’t land on the same final hue.
Use that test result to recalibrate your dye concentration or timing before you touch the full piece.
Test Swatches Save Fabric
Cutting a small swatch before committing to a full piece can save you from costly, irreversible mistakes. Fabric dyeing outcomes shift based on fiber content, base color, and dye concentration. A test swatch reveals these variables before they ruin your cosplay build.
Follow this pre-commitment protocol:
- Cut a 4-inch square from the actual garment fabric.
- Match your exact dye bath ratios and timing.
- Rinse and dry completely before evaluating the result.
- Adjust concentration or color layering based on what you observe.
This process exposes unexpected hue shifts early. If your swatch dries two shades lighter than your target, you’ll know to increase dye concentration or extend soak time—before wasting an entire costume piece.
Base Color Shifts Results
The fabric’s original color doesn’t disappear—it blends with your dye and redirects the final result. A yellow base pulling through blue dye produces green, not the target shade. This fiber blending reality demands that you treat your starting fabric as an active ingredient, not a neutral canvas.
Controlling dye temperature compounds this challenge. Higher heat intensifies color absorption, which amplifies whatever undertones your fabric already carries. Lower temperatures slow uptake, softening the shift—but never eliminating it.
Before committing to a full piece, test on a same-fabric swatch using identical dye concentration and dye temperature settings. Document each variable. When your swatch hits the accurate cosplay shade, you’ve fundamentally created a repeatable formula—one that accounts for your fabric’s existing color as a genuine dyeing component.
Predict Shade With Samples
Swatching before you commit isn’t optional—it’s how you build a repeatable, accurate formula. Fabric texture affects dye absorption unpredictably, and dye temperature shifts saturation in ways that full-batch intuition can’t catch.
Test small, document everything, and scale with confidence.
Run each sample through this exact protocol:
- Cut a 2-inch swatch matching your garment’s fiber content and fabric texture.
- Mix dye at your target ratio, then record dye temperature precisely.
- Submerge the swatch for your planned duration, stirring consistently.
- Rinse, dry completely, then compare the swatch against your cosplay color reference under natural light.
Adjust dye concentration or dye temperature between rounds until your swatch matches the target. Your final formula is only as reliable as your documentation.
Control Time and Heat for a Darker or Lighter Result
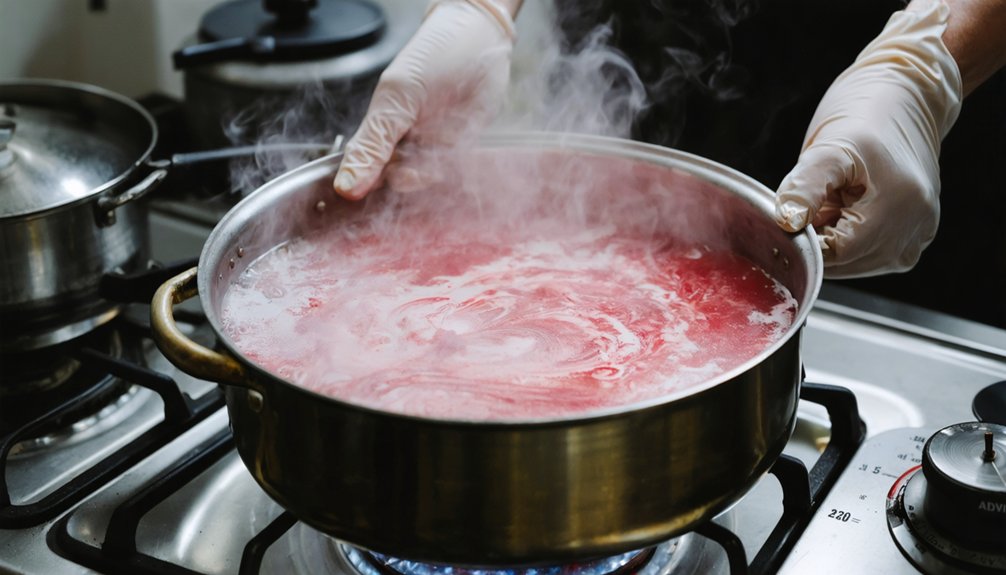
Once your fabric hits the dye bath, time and heat become your primary controls for shade depth. Stir continuously for 15 to 30 minutes to prevent patchiness, then extend the soak to a full hour if you’re chasing deeper saturation. Longer exposure accelerates dye fixation, locking pigment more firmly into the fiber structure and reducing color fading after laundering.
Heat works alongside time. Polyester demands a low simmer with frequent agitation for uniform coverage, often requiring up to two hours. For natural fibers, maintain hot water without boiling.
Pull the fabric earlier for lighter results, later for darker ones. Monitor both variables simultaneously rather than treating them as separate decisions — they interact directly and determine whether your final cosplay color hits the mark.
Rinse and Set the Color So It Stops Bleeding
After pulling your fabric from the dye bath, rinse it under cold water until the runoff runs completely clear — skipping this step leaves loose dye molecules on the surface that’ll bleed onto your costume the moment you sweat or get caught in the rain. Proper fabric pre-treatment during rinsing locks in your dye color mixing investment.
Follow this sequence precisely:
- Start rinsing with warm water, then gradually shift to cold for efficient dye removal.
- Submerge fabric in a fixative bath using 4 tablespoons of Rit ColorStay.
- Soak 10 minutes, agitating continuously for even fixative penetration.
- Launder with mild detergent to strip remaining loose dye particles.
This systematic approach preserves color accuracy across every wear.
Fix Common Cosplay Dyeing Problems Fast
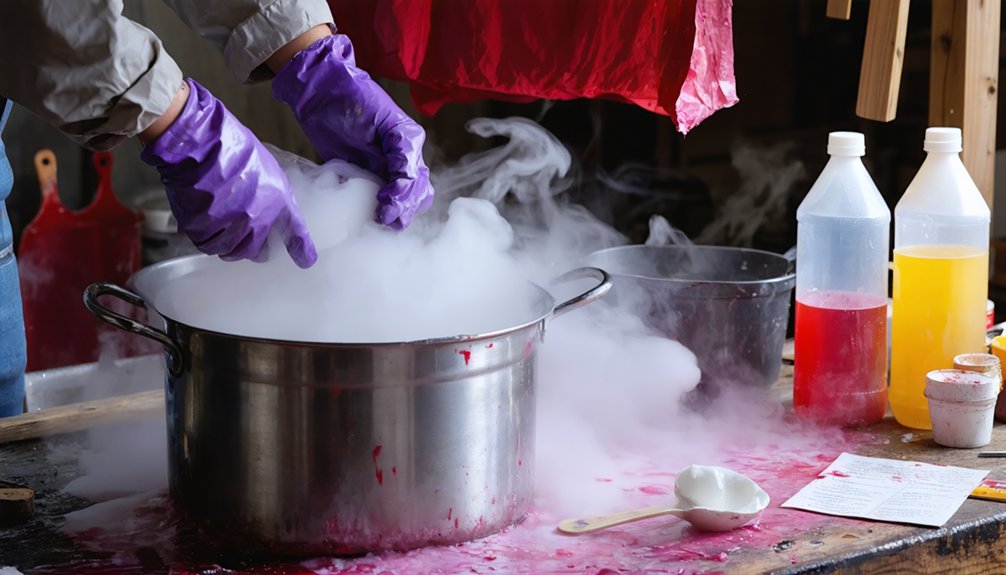
Even the most careful dye session throws surprises — streaky patches, a shade three tones too dark, or synthetic fabric stubbornly refusing to absorb color — so knowing how to diagnose and correct each failure quickly keeps your cosplay timeline intact.
Streaking usually signals insufficient agitation or uneven wetting; re-wet the fabric completely and return it to a fresh dye bath with continuous stirring. If color fastness is weak and bleeding persists, apply a color fixative like Rit ColorStay to lock pigment into the fiber structure.
Overly dark results? Shorten your next test swatch’s soak time considerably. Poor dye stability on polyester means your temperature dropped — maintain a low simmer consistently. Synthetic fabrics resisting color entirely require purpose-built polyester dye, not all-purpose formulas.
Frequently Asked Questions
Can I Dye Fabric That Has Already Been Sewn Into a Costume?
You can dye an already-sewn costume, but you’ll want to prioritize fabric pre treatment first. Test by dyeing fabric swatches to predict color shifts across mixed fibers before fully submerging your finished piece.
How Do I Dye Fabric to Match a Specific Pantone or Hex Color?
You’ll achieve dye color accuracy by test-dyeing swatches, adjusting ratios iteratively, and comparing against your target Pantone or hex reference under consistent lighting—color matching techniques like layering and mixing reveal precise, innovative results.
Will Dyeing Fabric Change Its Texture, Stretch, or Overall Feel?
Like a second skin adapting to its environment, fabric dyeing techniques rarely alter texture or stretch. You’ll maintain dye color accuracy while preserving hand-feel, though aggressive heat on spandex blends can slightly affect elasticity.
Can I Store Leftover Mixed Dye Bath for a Future Dyeing Session?
You can’t reliably store a mixed dye bath for long—leftover dye safety declines fast as dye bath preservation proves tricky. Active bacterial growth and oxidation degrade color accuracy, so you’ll waste time chasing inconsistent, weakened results next session.
Is It Safe to Dye Fabric Indoors Without Specialized Ventilation Equipment?
You can manage indoor dyeing safely by prioritizing ventilation safety—open windows, run fans, and apply these indoor dyeing tips: use low-fume dyes, wear a respirator mask, and you’ll minimize harmful vapor exposure effectively.
References
- https://www.youtube.com/watch?v=i5GKLftzooo
- https://www.youtube.com/watch?v=xY7RLjPCsw4
- https://www.youtube.com/watch?v=a7M61pYYlOk
- https://www.instagram.com/reel/DQQ1Ct4kTt4/
- https://www.youtube.com/watch?v=DMqs_C2Aeqw
- https://www.reddit.com/r/CosplayHelp/comments/1hsj29y/what_is_the_best_way_to_dye_these/
- https://somecreativestuff.com/dye-costume/
- https://www.youtube.com/watch?v=bavLPBI-9vs
- https://cosplay.com/archive/thread/jgmzme/some-tips-and-tricks-about-dyeing-fabric
- https://www.youtube.com/watch?v=YS_WJ3kDqnY