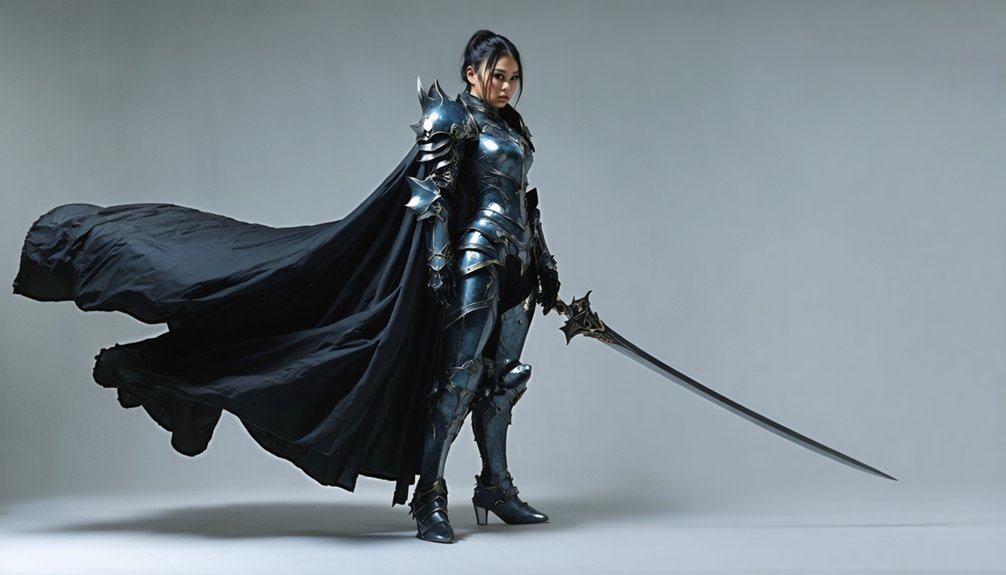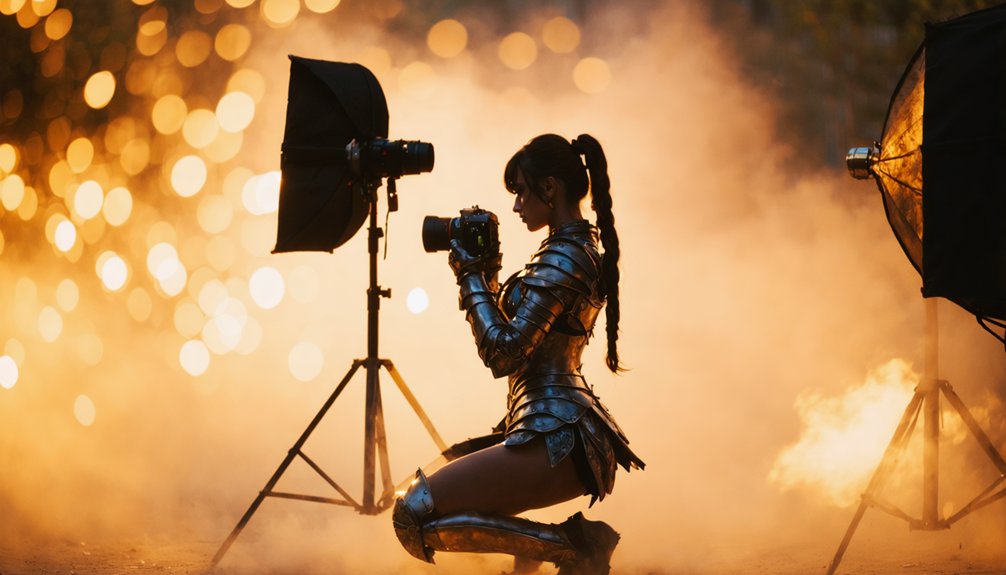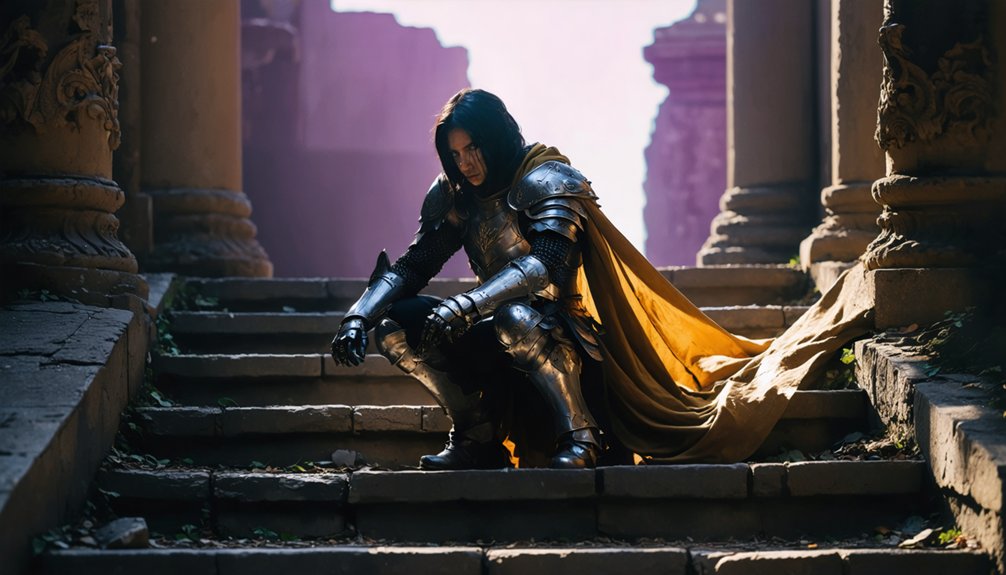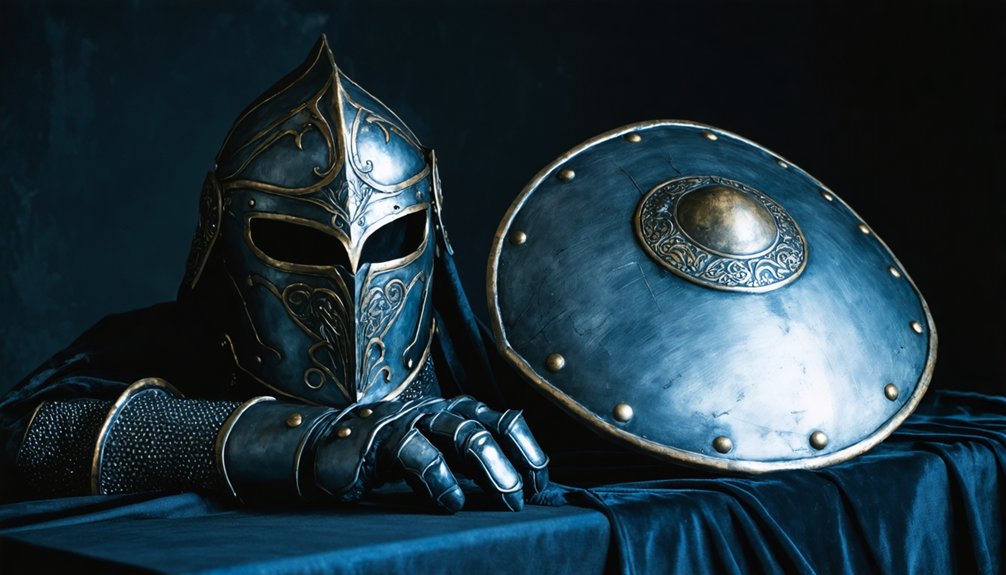
To photograph cosplay armor and props in stunning detail, you’ll want to shoot in RAW format using a 50mm or 85mm prime lens at f/2.8–4. Position artificial lighting at a 45° angle to sculpt shadows and reveal surface textures, or use golden hour light for natural depth. Keep your ISO between 800–1600 in low light, and use macro lenses for intricate close-ups. There’s a whole arsenal of techniques ahead that’ll transform your cosplay shots completely.
Key Takeaways
- Use a macro or 85mm prime lens at f/2.8–4 to capture sharp armor details while achieving pleasing background separation.
- Position artificial lights at a 45° angle to reveal textures, seams, weathering, and sculpted surface details effectively.
- Shoot in RAW format to preserve maximum detail and allow precise noise reduction and color correction in post-processing.
- Choose thematic locations like urban landscapes or temples to complement armor aesthetics and enhance visual storytelling.
- Apply non-destructive post-processing edits, masking armor separately to enhance surface details without affecting skin tones.
Choose the Right Lens for Cosplay Armor and Prop Detail
Choosing the right lens transforms an ordinary cosplay shoot into a stunning showcase of craftsmanship and character detail. Lens compatibility with your camera body directly impacts image sharpness, color accuracy, and overall detail retention on intricate armor surfaces.
The right lens elevates cosplay photography, capturing armor details with unmatched sharpness, color accuracy, and stunning clarity.
Your focal length choices determine how effectively you capture both sweeping full-body shots and tight close-ups of hand-painted embellishments. A macro lens excels at revealing micro-level prop craftsmanship, exposing brush strokes and texture that standard lenses miss entirely.
A 50mm or 85mm prime delivers exceptional sharpness for portrait-style armor shots with beautiful background separation.
Zoom lenses offer versatile focal length choices during convention shoots where repositioning isn’t always possible. Prioritize lens compatibility that supports wide maximum apertures, enabling precise subject isolation while rendering complex prop details with remarkable clarity and depth.
Set Aperture, ISO, and Shutter Speed for Cosplay Photography
To nail cosplay photography, you’ll want to shoot in aperture priority mode at f/2.8–4, which keeps your subject razor-sharp while blurring distracting backgrounds.
When light drops at indoor conventions, bump your ISO to 800–1600 to compensate without sacrificing exposure quality.
For dynamic action shots like sword swings or spell-casting poses, set your shutter speed to at least 1/250 to freeze motion and capture every crisp armor detail.
Aperture Settings For Sharpness
Getting your camera settings dialed in makes all the difference when photographing intricate cosplay armor and props. For convention shooting, set your aperture between f/2.8 and f/4 using aperture priority mode. This range delivers crisp subject sharpness while producing that desirable background blur that isolates armor details beautifully.
Your lighting setups directly influence which aperture values work best. Brighter environments let you push toward f/4, preserving more depth across layered prop elements. In dimmer spaces, f/2.8 compensates without sacrificing sharpness on your primary focal point.
During editing, your color grading work becomes far more effective when the initial capture is technically sharp. Soft images can’t be recovered through post-processing adjustments alone. Nail your aperture first, and every subsequent editing decision becomes exponentially more powerful and precise.
Managing ISO In Low Light
When natural light fades or you’re shooting in a dimly lit convention hall, managing your ISO becomes critical for capturing sharp, vibrant armor details. Start low and push your ISO to 800–1600 only when necessary, preserving color accuracy that supports clean color grading in post-production.
Higher ISO values introduce grain that obscures hand-painted textures and fine prop craftsmanship, so balance it carefully against your aperture and shutter speed settings.
Smart background selection also matters here—darker backgrounds amplify noise visibility, making grain more distracting against intricate armor surfaces.
Shoot in RAW format to retain maximum detail for editing, giving you precise control over noise reduction without sacrificing costume color integrity.
Pair elevated ISO with a wide aperture to compensate, keeping your subject crisp and dramatically separated from the environment.
Freezing Motion With Shutter
Freezing a dramatic sword swing or mid-cast spell demands a shutter speed of at least 1/250—fast enough to lock sharp edges on every armor plate and prop detail without motion blur softening your hard work. Push to 1/500 or higher for faster movements like spinning capes or rapid weapon strikes.
Fast shutter speeds work best when you’ve already dialed in your ISO and aperture, so coordinate all three settings deliberately. With ISO sitting around 800-1600 in lower-light convention spaces, you’ll maintain enough exposure to support that fast shutter without sacrificing image clarity.
Aperture at f/2.8-4 keeps your subject sharp while blurring distracting backgrounds. Test a few frames before committing to ensure your combination eliminates motion blur completely while preserving every hand-painted, meticulously crafted detail you’ve worked to capture.
Light Cosplay Armor to Reveal Every Surface Detail
Shoot during golden hour to bathe your armor in warm, directional light that naturally accentuates surface contours and painted details.
When you’re working with artificial lights, position them at a 45-degree angle slightly above eye level to cast defined shadows that reveal every sculpted edge and texture.
Keep a reflector on hand to bounce fill light back onto shadowed armor panels, eliminating harsh contrast without flattening the three-dimensional depth you’ve worked hard to capture.
Golden Hour Armor Lighting
Golden hour transforms cosplay armor photography by bathing every surface in warm, directional light that reveals textures, edge highlights, and paint details that midday sun completely flattens. You’ll want to schedule shoots during the first hour after sunrise or the final hour before sunset to maximize this naturally diffused illumination.
This low-angle light dramatically enhances costume durability details, exposing every seam, rivet, and weathered texture that demonstrates construction quality. It also complements cosplay makeup by casting soft shadows that define facial contouring without creating harsh contrasts.
Position your subject so light strikes armor at approximately 45 degrees, letting shadows carve depth into sculpted surfaces. You’ll immediately notice dimensional qualities emerge that artificial lighting struggles to replicate.
Golden hour isn’t just flattering—it’s technically superior for capturing armor craftsmanship authentically.
Angle Lights For Texture
While golden hour delivers natural angled illumination, artificial lights give you complete control over texture revelation whenever you’re shooting indoors or in low-light environments.
Position your LED panels at a 45-degree angle slightly above eye level to generate precise lighting shadows that carve depth into every sculpted surface, painted edge, and fabricated detail.
This deliberate placement creates dramatic color contrast between raised armor sections and recessed areas, transforming flat-looking surfaces into visually compelling dimensional structures.
Select panels rated at 5600K to maintain accurate color representation without distorting hand-painted finishes or metallic coatings.
Avoid direct frontal lighting entirely—it eliminates the very shadows that reveal texture.
Instead, embrace controlled side-angled illumination to make every rivet, scratch, and brushstroke pop with remarkable clarity.
Reflectors Soften Harsh Shadows
Angled lighting sculpts incredible texture, but it can also throw aggressive shadows across your armor’s surface—and that’s where reflectors become your best friend. Strategic reflector placement lets you bounce light directly into those aggressive shadow zones, recovering lost detail in recessed engravings, layered pauldrons, and intricate prop components without eliminating the depth you’ve carefully built.
For shadow control, position a white or silver reflector opposite your primary light source at roughly a 45-degree angle. Silver reflectors deliver punchy fill light ideal for metallic armor, while white reflectors produce softer, more neutral results suited for fabric-heavy costumes.
Adjust your distance incrementally—moving the reflector closer intensifies the fill dramatically. You’ll immediately see previously hidden surface details emerge, giving every panel and prop element the sharp, dimensional clarity it deserves.
Use Natural Light to Bring Out Texture and Color in Cosplay
Natural light during the golden hour — the first hour after sunrise or the last before sunset — delivers soft, warm illumination that makes painted armor surfaces and intricate prop details genuinely pop.
Golden hour light transforms painted armor and prop details, bathing them in warm, flattering illumination that artificial light rarely achieves.
The angled sunlight creates subtle shadows that reveal texture artificial lighting often struggles to replicate, even with carefully calibrated color temperature settings.
You’ll want to position your cosplayer so the light skims across embossed armor panels, hand-painted weathering effects, and dimensional prop elements.
This approach renders depth that flat, overhead midday sun destroys entirely.
Scout your location beforehand, identifying exactly where golden hour light falls. Slight repositioning — even a few feet — dramatically changes how textures read on camera.
Combine this with a reflector to lift shadow detail without introducing competing artificial lighting sources.
Shoot Angles That Make Cosplay Armor Look Heroic
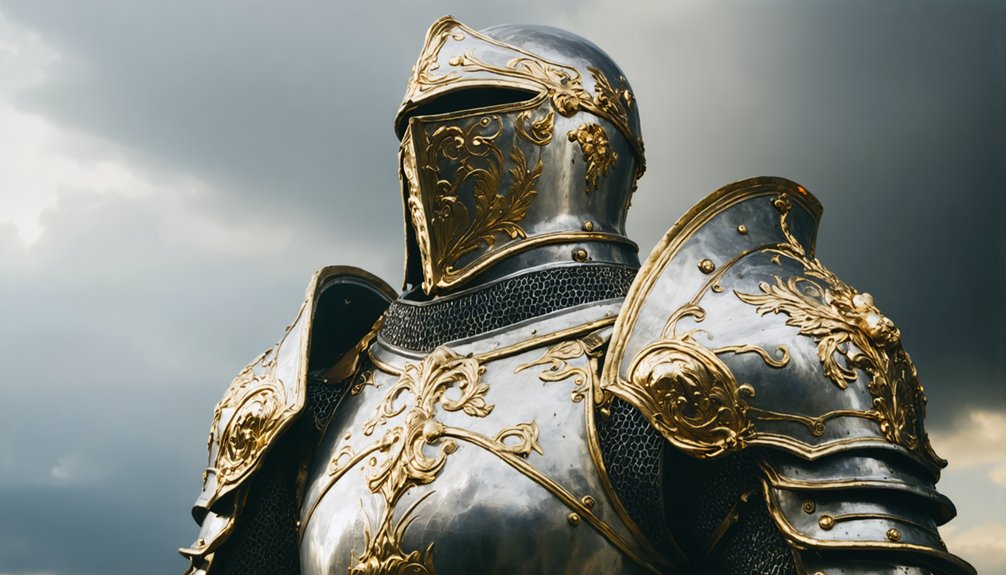
Camera angle transforms an ordinary cosplay shot into something genuinely commanding, and getting it right means understanding how perspective distorts perceived scale. Shoot from a low angle, positioning your lens near ground level and tilting upward. This approach amplifies armor volume, exaggerates shoulder plates, and makes your subject tower impressively within the frame.
For shorter cosplayers, upward angles compensate beautifully, enhancing perceived height while showcasing costume accessories like pauldrons and gauntlets at their most dramatic proportions.
Combine this with tight close-ups targeting cosplay makeup details and intricate facial armor elements to contrast grand scale with precise craftsmanship.
Avoid centering everything. Apply the rule of thirds, placing your subject slightly off-axis to introduce visual tension.
Dynamic composition paired with strategic low angles consistently produces genuinely heroic, publication-worthy cosplay armor photographs.
Pick Shooting Locations That Complement Cosplay Armor
Location shapes your cosplay armor photography more than most photographers initially expect. Whether you’re scouting urban landscapes or setting up indoor studios, your environment directly amplifies armor detail and character authenticity. You’ll want to match the location’s texture, lighting quality, and mood to your subject’s visual identity.
Consider these location strategies:
- Parks and temples deliver natural light and thematic backdrops that reinforce fantasy or historical armor aesthetics.
- Urban landscapes provide gritty, industrial contrast that intensifies modern or dystopian armor designs dramatically.
- Convention hall features like dramatic staircases and textured walls create compelling framing opportunities.
- Indoor studios give you complete lighting control, eliminating unpredictable shadows that obscure intricate armor craftsmanship.
Stay 4-6 feet from your subject to maximize background blur while keeping every armor detail razor-sharp.
Direct Cosplayers Into Poses That Sell the Prop
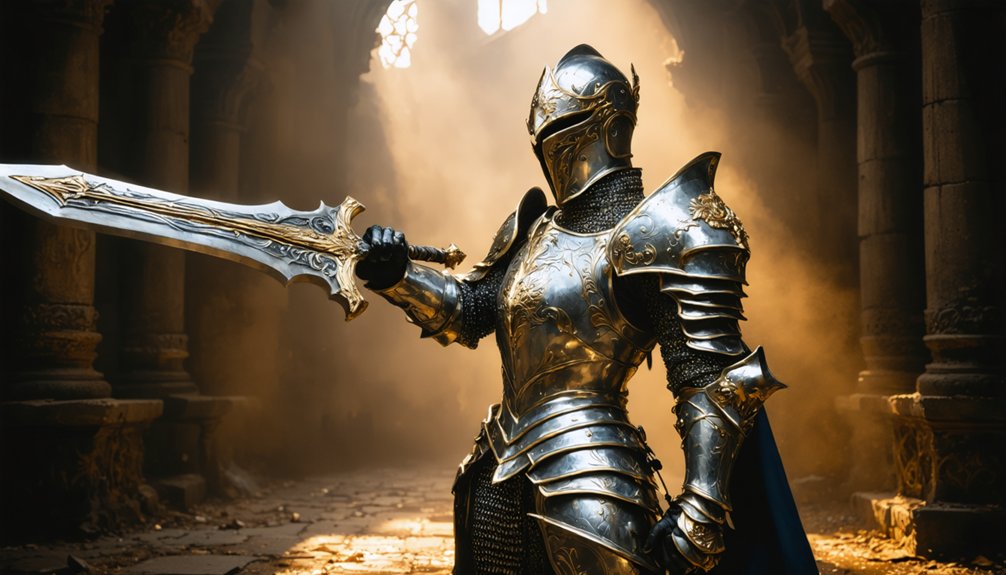
Directing cosplayers into the right poses transforms a good prop into a compelling visual story. Before shooting, research the character thoroughly through screenshots and YouTube videos to understand authentic movement and stance. This groundwork directly supports armor authenticity by ensuring every pose reflects the character’s actual combat style or personality.
Apply posing techniques that emphasize prop functionality — have sword-wielding characters extend blades forward, or spellcasters raise staffs dramatically toward the sky. Communicate clearly and specifically: instead of saying “look powerful,” say “drop your shoulder, lean forward, extend the weapon.”
Practice dynamic action moments like mid-swing attacks before the shoot begins. Encourage cosplayers to rehearse in full costume to adjust armor fit and refine movement. These deliberate techniques elevate props from accessories into narrative centerpieces.
Capture Close-Ups That Show Cosplay Craftsmanship Clearly
Once you’ve locked in compelling full-body poses, shift your focus to the small details that reveal a cosplayer’s true craftsmanship. Armor embellishments and paint textures only shine when you’re shooting close enough to capture every intentional stroke and sculpted edge.
The real story lives in the details — close enough to catch every stroke, texture, and sculpted edge.
Switch to a macro lens or zoom in tight to isolate these elements precisely:
- Clean your lens first — dust ruins crisp detail shots instantly
- Shoot at f/2.8-4 to keep embellishments sharp while blurring distracting surroundings
- Position lights at 45-degree angles to reveal paint textures through defined shadows
- Target specific elements like embroidery, weathering effects, and hand-painted gradients
These close-ups don’t just document the costume — they celebrate the builder’s technical skill and transform individual craft decisions into compelling visual stories worth showcasing.
Edit Cosplay Photos Without Losing Detail or Skin Tone
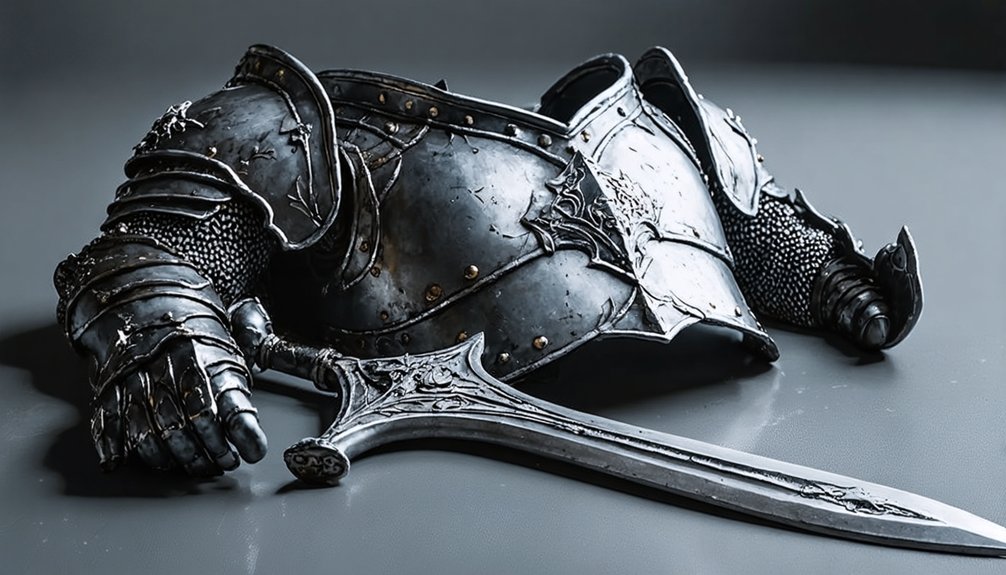
After capturing every sculpted edge and painted gradient, editing is where your cosplay photos either come alive or fall apart. Start your post processing techniques in a non-destructive workflow using Lightroom or Capture One to protect original file data.
Boost clarity and texture sliders selectively on armor regions without touching skin zones. Use masking tools to isolate metallic surfaces, then push contrast and vibrance independently from facial areas. This separation prevents skin tone correction from competing with your prop enhancement adjustments.
For skin tones, check your HSL panel and neutralize any orange or red spikes caused by warm lighting. Maintain natural luminance values while keeping armor colors punchy and saturated. Apply subtle sharpening exclusively on prop edges to preserve every hand-painted detail you worked hard to capture.
Frequently Asked Questions
How Do You Protect Delicate Cosplay Props During an Outdoor Photography Session?
You’ll want to carefully consider prop material considerations before heading outdoors! Wrap fragile accessories in foam padding, avoid direct wind exposure, and you’re ensuring safe handling fragile accessories throughout your innovative, detail-focused outdoor cosplay photography session!
What Should Cosplayers Do if Their Armor Breaks During a Shoot?
Even the mightiest armor falls—but you won’t! Pause shooting immediately, assess the break, and apply your emergency repair kit for quick armor repair. Prioritize damage prevention next time by reinforcing weak points before outdoor sessions begin!
How Do You Coordinate Group Cosplay Shoots Involving Multiple Armored Characters?
You’ll nail group cosplay shoots by syncing lighting techniques across all armored characters using 45-degree LED panels, then applying dynamic posing strategies that highlight each costume’s unique details—research characters thoroughly and communicate clearly for cohesive, innovative results!
Should Cosplayers Bring Backup Accessories or Replacement Parts to Photography Sessions?
Yes, you’ll absolutely want backup accessories! Prioritizing accessory maintenance and prop durability guarantees you’re ready when pieces break mid-session. Bring extra fasteners, paint touch-up supplies, and duplicate fragile components—you’ll capture flawless, innovative shots without costly interruptions!
How Do Weather Conditions Affect Outdoor Cosplay Armor Photography Sessions?
Weather dramatically impacts your shots! Overcast skies diffuse harsh sunlight reflections off armor surfaces beautifully, while wind interference disrupts capes and lightweight props. You’ll want to monitor forecasts, adjust shutter speeds to 1/250+, and utilize reflectors strategically outdoors.
References
- https://www.lyricalvillaincosplay.com/post/cosplay-photography-101
- https://ifanboy.com/articles/how-to-take-a-good-cosplay-photograph/
- https://onreplay.ai/blog/cosplay-photography-tips/
- https://costumesallday.com/cosplay-photography-tips/
- https://ganknow.com/blog/cosplay-photography-tips/
- https://creedleather.com/blogs/costume-guide/how-to-choose-the-perfect-costume-for-your-cosplay-photoshoot-complete-guide
- https://www.youtube.com/watch?v=qxZmAlCCB_E