Mastering metallic cosplay makeup starts with a sealed base—prime, foundation, and powder lock in each layer before you add any shine. You’ll pat liquid or cream metallics with a damp sponge for a chrome effect, then build Mehron metallic powder in thin layers to avoid cracking. Seal every stage with fixing spray and map highlights on your cheekbones, brow bones, and cupid’s bow for maximum reflectivity. Every technique below gets more specific from here.
Key Takeaways
- Prep skin with primer, foundation, and concealer using patting motions, then set with powder before applying any metallic products.
- Layer metallic pigments thinly and gradually to avoid cracking, sealing each stage with fixing spray before adding more texture.
- Map highlights strategically on cheekbones, nose bridge, cupid’s bow, and brow bone for a sculpted, stage-ready metallic illusion.
- Use eyeshadow primer, build metallic layers into the crease, and define edges with black eyeshadow to prevent eye dissolution.
- Adjust metallic pigment density and incorporate white highlighter to counteract washout under spotlights or dulling in warm environments.
What Makes Metallic Cosplay Makeup Actually Work?
Because metallic cosplay makeup sits at the intersection of theatrical illusion and technical application, the foundation you build before touching a single shimmer product determines everything. Color contrast between your skin-tone base and metallic textures creates the visual separation that makes a look readable under stage or event lighting. Without that contrast, chrome accents flatten and lose their reflective impact.
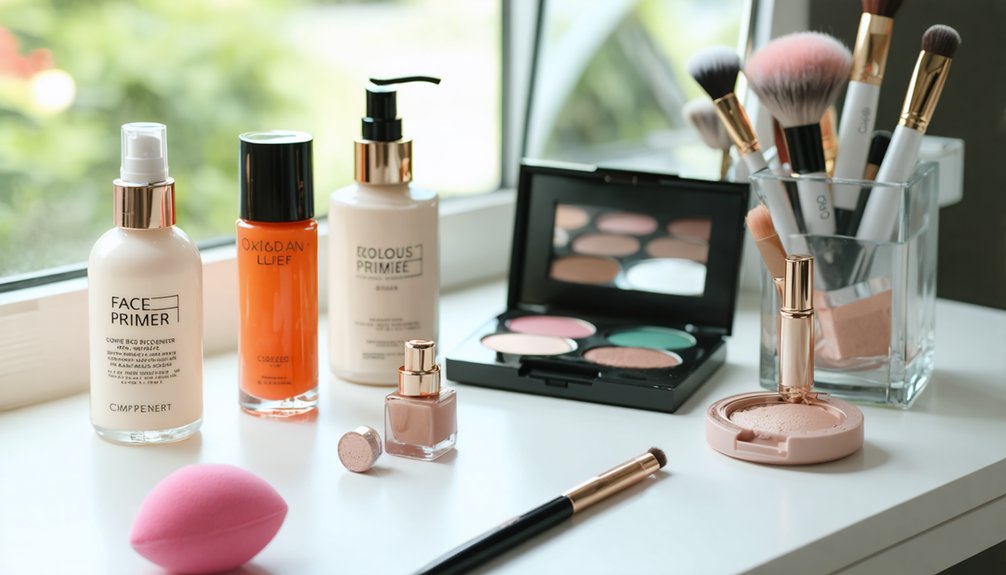
Start with primer, foundation, and concealer applied using patting motions with a damp sponge. The dampness increases softness and improves blendability, giving you a smoother surface for metallic layering.
Prime your eyelids separately so metallic and neutral shadows grip evenly. Set everything with powder to lock the base before building shimmer. These technical decisions aren’t optional—they’re what separates a convincing metallic character from a muddy, reflective mess.
Choose the Right Metallic Products for Your Cosplay Look
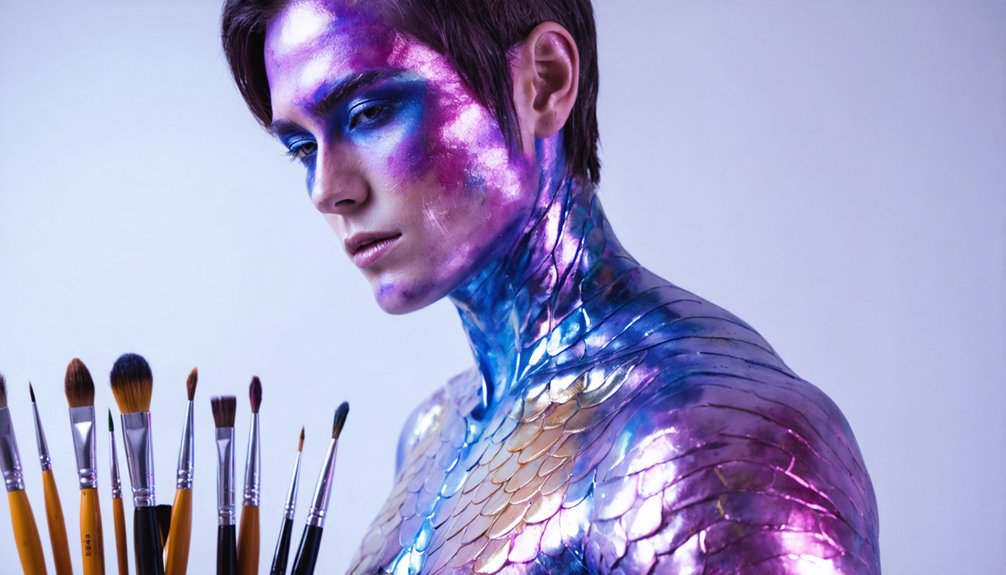
Once your base is locked in, the products you reach for next determine whether your metallic finish reads as reflective armor or chalky shimmer. Metallic pigment selection matters enormously here. Mehron metallic powder mixed with three to four drops of mixing liquid delivers a liquid-silver finish with serious reflectivity.
The right metallic pigment transforms your finish from chalky shimmer to reflective, liquid-silver armor.
For broader coverage, latex or cream sticks build a smoother surface before pigment layering begins.
Applicator techniques are equally critical. Use a fan brush to place highlighter precisely on cheekbones, the nose tip, and cupid’s bow. Switch to an eyeshadow brush for tighter areas like inner corners and brow bones.
Liquid or cream metallic products applied with a damp sponge using patting motions intensify the chrome effect without disrupting your base layers underneath.
Build Your Base Before Applying Any Cosplay Makeup
Before any metallic pigment or chrome effect goes on, your skin needs a properly prepared canvas. Start with a primer suited to your skin tone, then apply foundation using patting motions with a dampened sponge — dampening increases softness and blendability, reducing patchiness under metallic layers.
Next, apply concealer where needed and set everything with a light powder to lock in the base. This step matters because color theory directly affects your metallic outcome — warmer or cooler undertones in your base will shift how silver, chrome, or gold pigments read under event lighting.
Prime your eyelids separately using an eyeshadow primer to ensure metallic and neutral shades grip evenly. A smooth, well-set base prevents metallic products from cracking, shifting, or breaking down mid-wear.
Where to Place Metallic Highlights on Your Face
With your base fully set, it’s time to map out where your metallic highlights will land. Intentional highlight mapping transforms an ordinary base into a chrome illusion. Use a fan brush for precision metal placement across these power points:
- Cheekbones and nose bridge – Build your brightest chrome focal point here for maximum stage impact.
- Cupid’s bow and chin tip – These points catch light dramatically, making your face read as sculpted metal.
- Inner eye corners – This placement creates an otherworldly, animated character effect instantly.
- Brow bone – Highlighting here intensifies reflectivity and sharpens your overall metallic silhouette.
Apply white metallic highlighter using patting motions, never sweeping, to preserve product integrity and maximize that liquid-silver finish.
How to Apply Metallic Eyeshadow Without Losing Definition
Metallic eyeshadow can swallow your eye shape entirely if you skip the structural groundwork. Start with an eyeshadow primer to lock in color payoff and prevent creasing.
Metallic eyeshadow demands structural groundwork first — skip the primer and watch your eye shape disappear entirely.
Apply lighter neutral shades first, then build your metallic layering gradually into the crease for depth without muddiness. Keep your eyeliner close to the lash line — this preserves definition without interrupting the shimmer field.
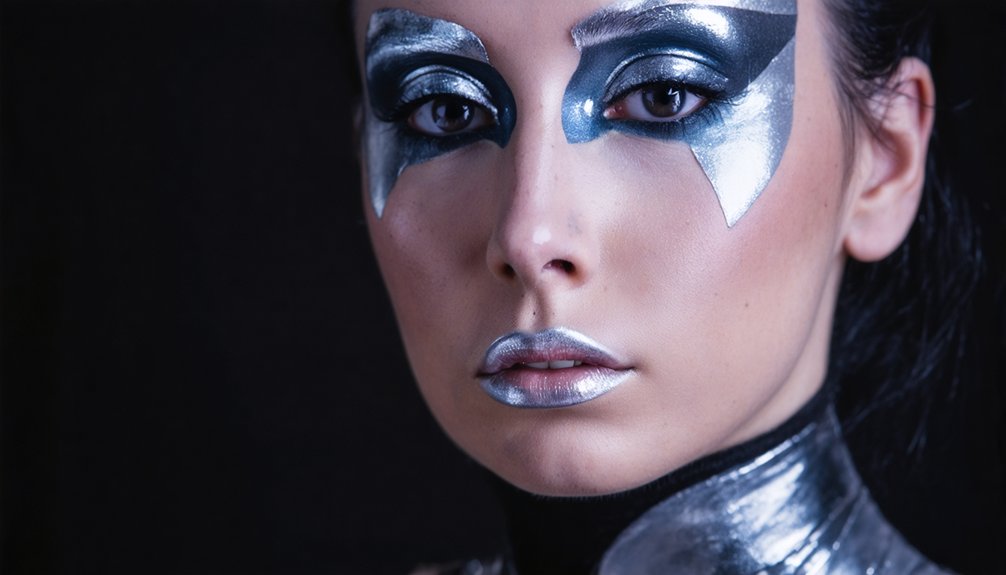
Don’t skip black eyeshadow along the outer edge; it prevents your eye from dissolving into the surrounding metallic design.
For the inner corners and brow bone, switch to a precise eyeshadow brush rather than a fan brush.
Finish by lining your waterline in white to enlarge the eye and push the look into unmistakably character-driven territory.
Contour Your Face to Support the Cosplay Metal Effect
Before you add any metallic product, contour your face using a matte bronzer or contour powder to sculpt the cheekbones, nose, and jawline, giving the chrome accents a structured surface to sit on.
Blend everything out with a damp sponge using patting motions to keep the product smooth and seamless.
Once your contour’s placed, bake the sharper edges with a translucent powder to lock in definition and prevent the metallic layers from blurring your facial structure.
Sculpt Before Adding Metallics
Contouring first gives your metallic layers a sculpted foundation that prevents the chrome effect from reading as flat or shapeless. Texture contrast between matte contour and reflective metallics is what makes your cosplay face structurally convincing. Achieving color harmony between shadow tones and your silver accents keeps the look cohesive rather than chaotic.
Follow these steps before applying any metallic product:
- Apply a cool-toned contour powder along your cheekbones, temples, and jawline using a damp sponge.
- Contour your nose bridge to sharpen your facial structure for stage or camera.
- Bake sharp contour edges with translucent powder to lock definition.
- Blend all contour thoroughly using patting motions to avoid lifting your base layer.
Blend With Damp Sponge
When you blend your contour with a damp sponge, you’re doing more than smoothing edges — you’re building the structural base that makes your metallic layers read as dimensional rather than flat. Dampening your sponge increases its size and softness, which distributes contour product evenly without dragging or lifting your foundation underneath.
Use patting motions — never wiping — to press pigment into skin and sharpen color contrast between shadow zones and highlighted planes. That defined separation is what gives metallic texture its depth under stage or event lighting.
Focus blending pressure along the cheekbones, nose bridge, and temples, since these are the exact surfaces where your metallic highlights will land. Clean structural edges now mean stronger chrome payoff later.
Bake for Sharp Definition
Baking sharpens what your damp sponge already built, locking contour edges in place so metallic layers don’t blur them on contact. Press a translucent or banana powder directly over contoured zones, let it sit 5–8 minutes, then dust away the excess.
Here’s why baking transforms your cosplay finish:
- It freezes color contrast between your skin-tone base and incoming silver pigments, keeping boundaries clean.
- It controls unwanted shine, giving metallic texture a defined surface to grip rather than sliding.
- It sharpens structural edges along the nose, cheekbones, and jawline so the armored illusion reads clearly on camera.
- It extends wear, reducing smudging during long convention hours without compromising reflectivity.
Don’t skip this step—it’s what separates a polished chrome effect from a muddy, undefined finish.
Tools That Make Metallic Cosplay Makeup Cleaner and Faster
Having the right tools cuts down on fallout, blending errors, and wasted product when you’re working with metallic cosplay makeup. A fan brush places metallic texture precisely on high points like cheekbones and nose bridges without over-depositing. Tool ergonomics matter here — a brush that’s too dense drags product unevenly, disrupting your chrome finish.
Switch to a small eyeshadow brush when targeting inner corners and brow bones, where precision outweighs coverage. For complexion blending, a dampened makeup sponge softens contour and foundation edges using controlled patting motions.
When applying Mehron metallic powder mixed with liquid, use a flat synthetic brush for even spread across larger surface areas. Black eyeliner and black eyeshadow, applied with a fine liner brush, redefine edges lost under reflective layers.
Keep Your Metallic Cosplay Makeup From Cracking or Fading
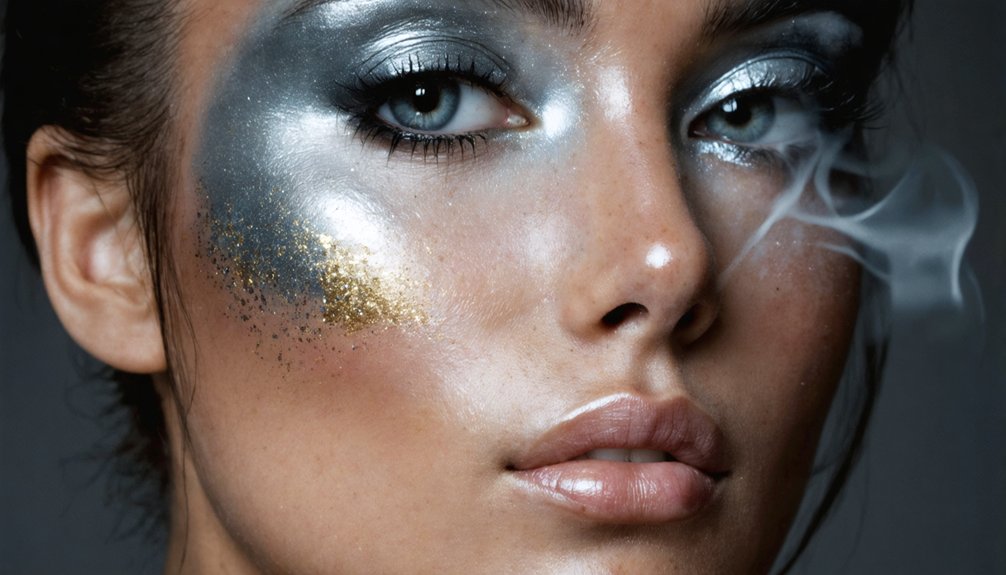
Metallic cosplay makeup cracks when layers aren’t sealed between stages, so setting each complexion step with powder before building reflective pigment on top is non-negotiable. Careful metallic pigment layering prevents fractures while preserving metallic surface textures that read beautifully under event lighting.
Seal every layer or watch your metallic finish fracture before the event even begins.
Follow these four steps to protect your finish:
- Set your base completely with powder before touching any metallic product.
- Layer pigments thinly—heavy single applications crack faster than multiple light passes.
- Seal each metallic stage with a fixing spray before adding dimension or texture-building materials.
- Apply sealing product last to lock edges and high-movement zones like the jaw and forehead.
Your metallic surface stays intact when sealing becomes habitual, not an afterthought.
Adapt Your Metallic Cosplay Makeup for Stage, Convention, or Camera
Where you’re wearing your metallic look changes how you need to build it. Under stage lighting, metallic pigments reflect more intensely, so you’ll want strategic highlight mapping on cheekbones, the nose bridge, and brow bone to control where that reflection hits.
Seal every layer with a finishing spray or sealing product to lock the design through hours of convention wear or repeated on-camera takes.
Lighting Affects Metallic Finish
Whether you’re performing under stage spotlights, moving through a convention hall, or sitting in front of a camera, lighting conditions directly change how your metallic makeup reads—and you’ll need to adjust your application strategy for each setting.
- Stage spotlights wash out reflective textures—layer Mehron metallic powder more densely on cheekbones and brow bones to compensate.
- Warm color temperature in convention halls dulls silver tones—add white metallic highlighter to the nose bridge and cupid’s bow to restore brightness.
- Camera flash flattens dimension—use structured shading and contour beneath metallic zones to preserve facial depth.
- Outdoor shoots with natural light expose unblended edges—seal every metallic layer and map your design precisely before application to maintain clean definition.
Sealing for Long Wear
Getting your metallic finish to survive lighting is only half the battle—keeping it intact through hours of movement, heat, and contact is the other. Your metallic product selection directly impacts which sealing techniques will work.
Cream and liquid metallics respond well to a fine-mist setting spray applied in an X and T motion across the face.
Powder-based pigments need a sealant specifically formulated for loose pigments to prevent fallout and cracking.
If you’re using Mehron metallic powder mixed with liquid, lock it down with a barrier spray before layering additional elements.
Avoid touching sealed areas, as oils break the bond quickly.
For conventions or stage work, carry a travel-size setting spray for touch-ups and reapply to high-contact zones like the jaw and temples first.
Frequently Asked Questions
Can Metallic Cosplay Makeup Be Safely Applied Directly Onto Facial Hair?
Like ancient alchemists, you’ll find facial hair compromises makeup durability considerably. Don’t apply metallic products directly onto it—you’ll lose adhesion and finish quality. Shave or use latex to create a smooth, camera-ready surface first.
How Do You Remove Heavy Metallic Cosplay Makeup Without Irritating Skin?
Use a oil-based cleanser first to dissolve heavy metallic pigments, then follow with a gentle micellar water for thorough makeup removal. You’ll minimize skin irritation by avoiding harsh scrubbing and finishing with a soothing, fragrance-free moisturizer.
Are Metallic Cosplay Makeup Products Safe for Sensitive or Acne-Prone Skin?
Nearly 15% of cosmetic users react to metallic pigments. For skin sensitivity, you’ll want to check product ingredients carefully—opt for latex-free, fragrance-free formulas like Mehron metallic powder, which minimizes irritation risks while delivering precise, reflective cosplay finishes.
Can Metallic Makeup Looks Be Recreated Affordably Using Drugstore Products?
Yes, you can achieve stunning metallic cosplay looks using budget-friendly alternatives like NYX or e.l.f. products. Metallic product comparisons show drugstore highlighters, cream shadows, and setting powders perform similarly to high-end options when layered correctly.
How Long Does a Full Metallic Cosplay Makeup Application Typically Take?
You’ll typically spend 60–90 minutes completing a full application. Layering metallic eyeshadow, blending contour, placing glitter accents, and sealing everything for longevity each demand careful, precise timing—so don’t rush the process.
References
- https://www.youtube.com/watch?v=1vS4CZA0sTE
- https://www.youtube.com/watch?v=yN4OB6zN5sU
- https://www.youtube.com/playlist?list=PLihtbDPaPAxPj4xK5EAnwdnyemJl7FbZA
- https://happilyevaafter.com/two-easy-halloween-makeup-ideas/
- https://www.youtube.com/watch?v=CY-HOVzDOMs
- https://www.youtube.com/watch?v=eNNQoPFBdsc
- https://www.youtube.com/watch?v=YvCsY_B3oWs
- https://www.lemon8-app.com/@maryandpalettes/7530452561334125069?region=us
- https://www.instagram.com/reel/DNCDiyMMR62/