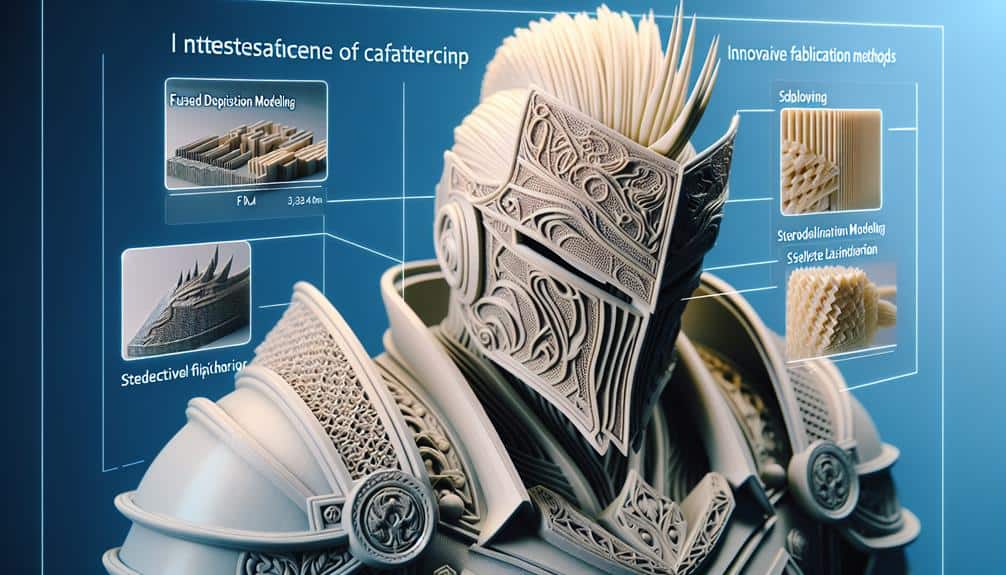
You may be hesitant about 3D printing your cosplay props due to concerns about complexity, but fear not – with the right techniques, it can be a rewarding endeavor.
Understanding how to choose the correct filament type, optimize print settings for intricate details, and effectively use support structures are essential elements for success.
However, there's one more key factor that can elevate your props to the next level and set your creations apart from the rest.
Key Takeaways
- Select filaments like PLA and ABS for detailed and sturdy props.
- Optimize print settings for fine details and smooth surfaces.
- Use effective support structures and master post-processing techniques.
- Ensure accurate scaling, slicing, and calibration for high-quality cosplay props.
Choosing the Right Filament Type
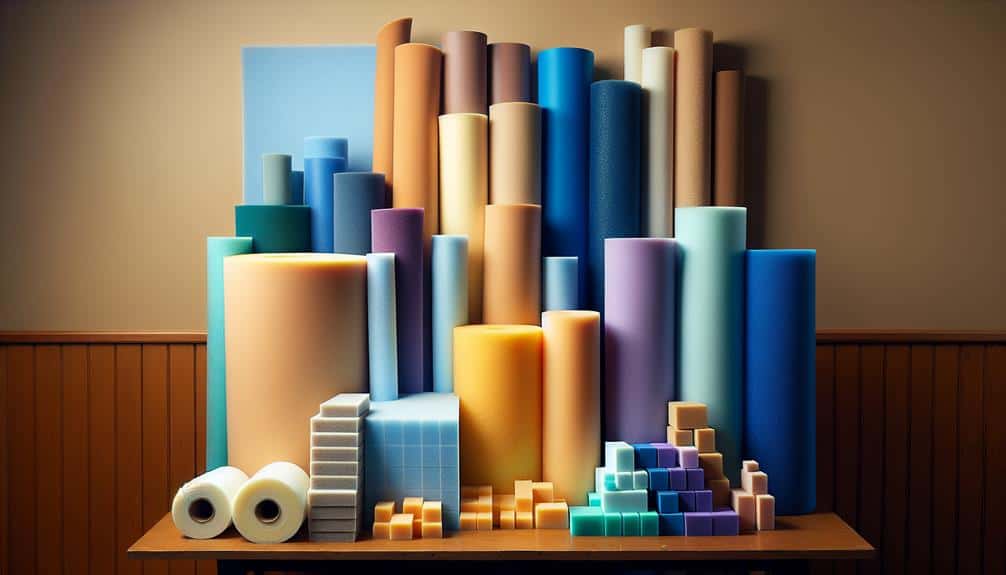
When selecting the appropriate filament type for your 3D printing project, consider the specific characteristics and requirements of the cosplay prop you're creating. Filament compatibility is vital as different filaments have varying properties that can affect the final outcome of your print.
For detailed cosplay props, materials like PLA and ABS are commonly used due to their excellent print quality and ease of use. Consider the layer adhesion and strength properties of the filament as well. Ensuring strong layer adhesion is essential for intricate designs and intricate parts of your prop, preventing delamination and ensuring durability.
Additionally, the strength properties of the filament will determine the sturdiness of your cosplay prop, especially if it involves moving parts or requires structural integrity. By carefully evaluating these factors, you can choose the right filament type that will optimize print quality and meet the specific demands of your cosplay project.
Optimizing Print Settings for Detail
To achieve intricate and detailed results in your 3D printed cosplay props, carefully adjust your print settings for peak performance. When optimizing for detail, adjusting resolution is key. Higher resolutions produce finer details but also increase print time. Experimenting with layer heights is another essential factor. Thinner layers result in smoother surfaces and finer details, but they can extend the printing duration. Balancing resolution and layer height is vital to achieve the desired level of detail within a reasonable timeframe.
When fine-tuning your print settings, consider the intricacies of your cosplay prop design. For intricate patterns or small features, higher resolutions and thinner layer heights are recommended. However, for larger, less detailed parts, you can opt for slightly lower resolutions and thicker layers to save time without sacrificing quality.
Utilizing Support Structures Effectively
Effectively utilizing support structures in 3D printing is essential for ensuring the stability and quality of your cosplay props. When exploring the world of support structures, consider these key factors:
- Support Material Selection: Opt for support materials that are easy to remove and leave minimal marks on your final print. Materials like PVA or breakaway supports can simplify the post-processing phase.
- Overhang Angles Optimization: Understanding the best overhang angles for your printer can greatly reduce the need for extensive support structures. Experiment with different angles to strike a balance between print quality and support usage.
- Support Removal Techniques: Mastering support removal techniques is vital for achieving a clean finish on your props. Utilize tools like flush cutters and sandpaper to carefully remove supports without damaging the intricate details of your print.
Post-Processing Techniques for Smooth Finish
How can you achieve a smooth finish on your cosplay props through effective post-processing techniques? To guarantee your 3D printed props have a professional look, mastering sanding techniques and smoothing methods is essential. Begin by using coarse sandpaper to remove any visible layer lines or imperfections on the surface of your prop. Progress to finer grit sandpaper as you refine the smoothness of the prop. For hard-to-reach areas or intricate details, consider using sanding sponges or sanding sticks to achieve a uniform finish.
After sanding, you can further enhance the smoothness of your prop by applying filler primers or spray putty to fill in any remaining gaps or imperfections. Once the filler primer has dried, sand the prop again with fine sandpaper to achieve a flawless surface. For a final touch, consider using a plastic polish or resin coating to give your prop a glossy and professional appearance. By mastering these post-processing techniques, you can elevate your cosplay props to the next level of realism and quality.
Scaling and Slicing for Accuracy
When ensuring accuracy in your cosplay props, have you considered the importance of properly scaling and slicing your 3D models? Scaling your model to the correct size guarantees that your prop matches the intended design specifications. Slicing involves breaking down your model into layers that the 3D printer can understand, impacting the final quality of your print.
Here are some key factors to contemplate:
- Layer Height: Adjusting the layer height can have a substantial impact on the level of detail and smoothness of your print. Fine-tuning this setting can enhance the overall appearance of your cosplay prop.
- Calibration: Regularly calibrating your 3D printer ensures that the dimensions of your printed prop match the digital design accurately, avoiding any distortions or inaccuracies.
- Infill Density and Adhesion: Proper infill density provides structural support to your prop, while ensuring good adhesion between layers prevents delamination issues, resulting in a sturdy and well-built cosplay piece.
Mastering these aspects of scaling and slicing will elevate the accuracy and quality of your 3D printed cosplay props.
Frequently Asked Questions
How Can I Avoid Warping or Cracking in My 3D Printed Cosplay Props?
To avoid warping or cracking in your 3D printed cosplay props, guarantee proper printing orientation, use suitable filler materials, apply heat treatment if needed, and master painting techniques. These steps will enhance the durability and finish of your props.
Are There Any Specific Safety Precautions I Should Take When Working With Different Types of Filaments for Cosplay Props?
When handling different filaments for cosplay props, safety precautions are important. Check proper ventilation to avoid inhaling fumes. Verify material compatibility with your printer. Store filaments in a dry place to prevent moisture-induced issues.
Can 3D Printing Be Used to Create Movable or Articulated Parts for Cosplay Props?
To achieve lifelike movement in cosplay props, explore 3D printing for articulated joints. Select printing techniques for strength and flexibility. Apply custom finishes with precision, using advanced painting methods for professional results. Master the craft of creating dynamic, functional pieces.
What Are Some Tips for Adding LED Lights or Other Electronic Components to 3D Printed Cosplay Props?
To add LED lights or other electronic components to 3D printed cosplay props, start by planning your design to accommodate wiring. Incorporate sound effects for extra flair. Consider wireless control for convenience. Experimenting will lead to innovative results.
Are There Any Recommended Methods for Incorporating Multiple Colors or Materials Into a Single Cosplay Prop Using 3D Printing Techniques?
To achieve multi-color prints and material blending in a single cosplay prop, consider using advanced techniques like dual extrusion or color mixing filaments. Ensure precise layer adhesion for complex designs to maintain structural integrity and aesthetic appeal.