Creating DIY video game cosplay accessories starts with choosing the right materials — EVA foam, contact cement, and cardboard form your foundation. You’ll transfer patterns using a ballpoint pen, cut clean edges with sharp leather scissors, and bond pieces by applying contact cement to both surfaces before pressing firmly. For finishing, sand 3D-printed parts progressively and seal everything with matte or glossy varnish. Stick around, and you’ll reveal every technique needed to build convention-worthy props from scratch.
Key Takeaways
- EVA foam is ideal for DIY video game accessories due to its lightweight, flexible nature and compatibility with contact cement for durable bonding.
- Transfer patterns accurately onto cardboard using a ballpoint pen or silver Sharpie before cutting EVA foam to ensure precise shapes.
- Sand 3D-printed parts progressively from 220 to 800-grit sandpaper, then apply filler primer to eliminate layer lines for smooth finishes.
- Study source material from multiple angles and match paint colors using in-game hex codes to achieve game-accurate accessory results.
- Seal finished accessories with matte varnish for weathered effects or glossy spray for polished, screen-accurate video game prop appearances.
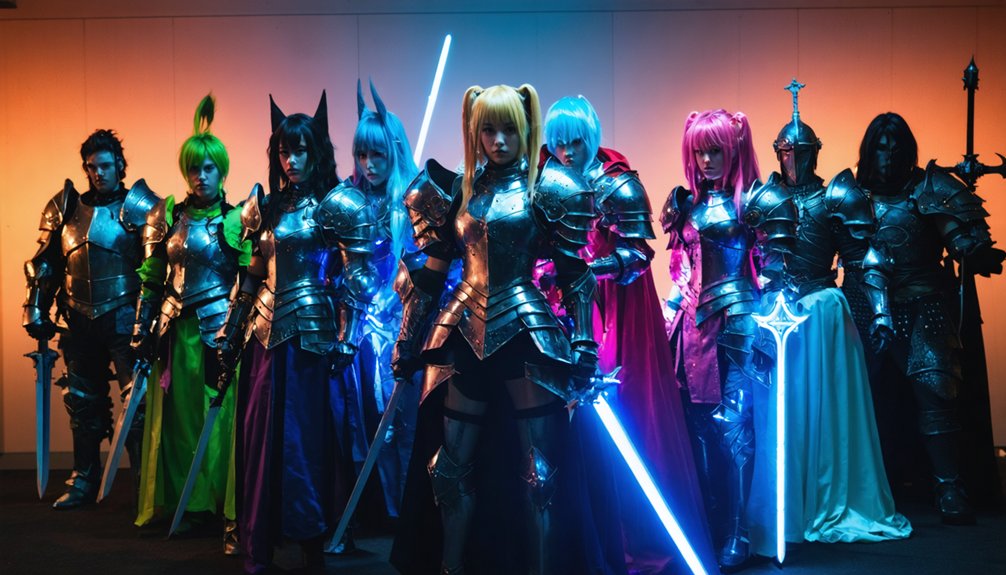
Choose the Right Materials for Video Game Cosplay Accessories
When building video game cosplay accessories, your material choices will make or break the final result. EVA foam stands out as the top pick for foam selection because it’s lightweight, flexible, and cuts cleanly for intricate patterns.
EVA foam is the ultimate material for cosplay accessories—lightweight, flexible, and perfect for intricate cuts.
Material durability depends heavily on avoiding weak adhesives—skip hot glue and super glue entirely. Instead, rely on contact cement to bond foam pieces with lasting strength.
For structured props like Minecraft’s Enderman, combine cardboard boxes with duct tape to reinforce rigidity.
White foam eggs transform into Yoshi accessories with simple green paint. Strong cardboard paper works perfectly for transferring initial patterns before committing to foam cuts.
Match each material to your project’s specific demands, and you’ll produce accessories that survive convention floors without falling apart.
Easy Video Game Cosplay Builds Any Beginner Can Start Today
Five beginner-friendly video game cosplay builds let you dive straight into crafting without overwhelming complexity. These beginner projects prioritize smart character selection and budget crafting so you’re never overspending on materials.
Start with a Minecraft Enderman using cardboard boxes, duct tape, and paint — material sourcing stays under $15. A Yoshi egg prop needs only a foam ball, green paint, and spotted design inspiration from screenshots.
For group cosplaying, Minecraft characters let teammates each tackle individual heads affordably.
Seasonal events push you toward timely builds, so plan prop storage carefully between conventions. Use contact cement over hot glue for foam durability.
Join online communities like Instructables or Reddit cosplay forums — members share PDFs, cosplay tips, and printable patterns that sharpen your technical execution immediately.
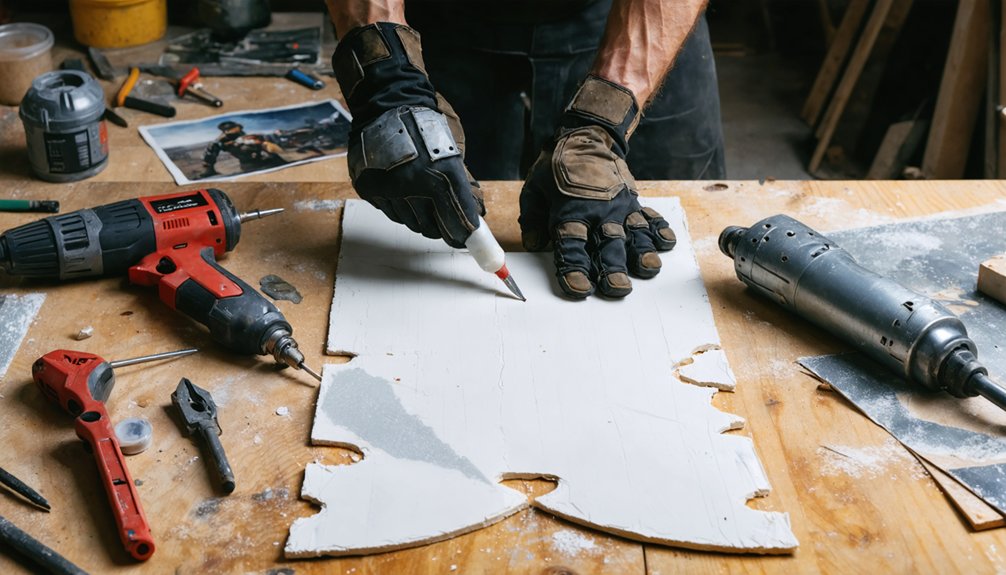
Tools That Make Clean Cuts and Precise Shapes
Once your beginner builds give you a taste of what’s possible, the tools you reach for next will determine whether your cuts look crisp or ragged. Sharp leather scissors deliver clean edges on EVA foam without compression or tearing.
For shape accuracy, transfer your pattern using a ballpoint pen or silver Sharpie — both mark cleanly without bleeding into the foam’s surface. Durable blades outperform standard craft knives when slicing thicker foam sections, preventing jagged pulls that compromise your final piece.
Always test your cutting tools on cardboard first, validating pattern lines before committing to foam. Internal markings need precise removal too, so switch to scissors for those detailed cutouts.
Every tool choice directly impacts how professional your assembled costume looks.
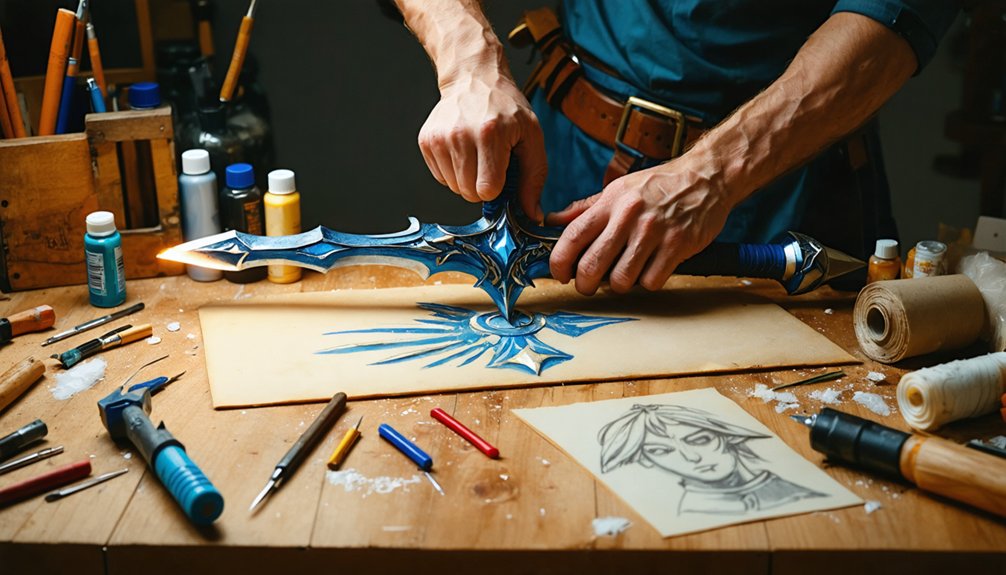
Transfer and Cut Your Patterns Without Mistakes
Once you’ve got your pattern ready, grab a ballpoint pen or silver Sharpie to trace every line, curve, and mirrored edge onto strong cardboard paper before you ever touch your EVA foam.
Test your cuts on cardboard first, checking that each piece matches the overview diagram’s distinctions between normal and mirrored sides, so you catch errors before they cost you foam.
When you’re confident the cardboard version is accurate, switch to sharp leather scissors or a fresh, durable blade to cut the foam cleanly, removing internal markings with precision to preserve your assembly reference points.
Accurate Pattern Transfer Methods
Getting your patterns onto foam without errors starts with the right tools—grab a ballpoint pen or silver Sharpie to trace your design accurately onto the EVA foam’s surface.
Pattern accuracy depends entirely on your tracing techniques and preparation.
Follow these essential steps:
- Transfer your design onto strong cardboard first, cutting it out as a reusable template before touching your EVA foam.
- Identify mirrored versus standard pieces using your overview diagram, marking each piece clearly to prevent assembly confusion.
- Cut out internal markings after tracing, preserving assembly reference points for precise foam alignment.
Always verify your cardboard template matches the original pattern before committing to foam cuts.
One misaligned trace wastes material and time—double-checking your work keeps your cosplay build sharp and professional.
Precise Foam Cutting Techniques
Three sharp tools can make or break your foam cuts—dull blades drag and tear EVA foam rather than slicing cleanly through it, so swap out your blade before it starts fighting you.
Use leather scissors for curved edges and a fresh utility blade for straight lines, always scoring lightly before committing to full-depth cuts.
When tackling cutting angles, tilt your blade deliberately rather than forcing perpendicular cuts on beveled pieces—this guarantees cleaner foam edge finishing and tighter seams during assembly.
Always verify your cardboard template first, cutting the paper version before touching your EVA foam sheet.
Press firmly but smoothly, letting the blade’s sharpness do the work. Rushing creates jagged edges that contact cement can’t fully disguise.
Bond Your Video Game Cosplay Pieces So They Actually Hold
When it comes to bonding EVA foam pieces, your choice of adhesive makes or breaks the entire build — contact cement is the go-to option, and you’ll want to skip hot glue and super glue entirely.
These inferior adhesive options warp foam and create weak, brittle seams that’ll fail mid-convention.
Master these bonding techniques for lasting results:
- Apply contact cement to both surfaces, letting each coat dry completely before pressing pieces together.
- Verify your pattern alignment before making contact — repositioning bonded foam tears the material.
- Apply firm, even pressure across the entire seam for a molecular-level bond.
Once joined correctly, your pieces become virtually inseparable, giving your costume the structural integrity it needs to survive an entire convention day.
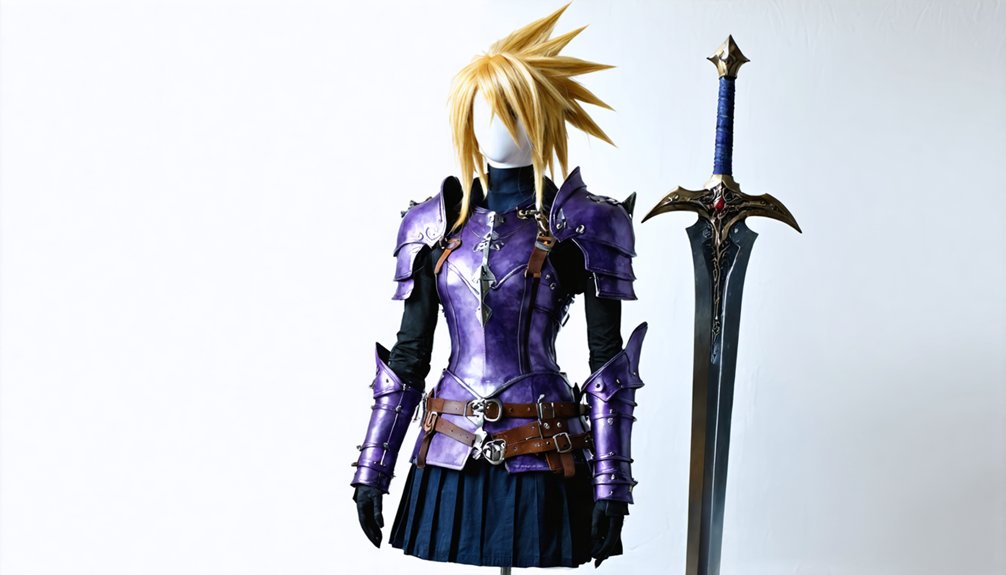
Build Video Game-Accurate Props With 3D Printing and Finishing
When your costume demands precision that scissors and foam can’t deliver, you can access a 3D printer at your local library to fabricate complex parts like the Fortnite jetpack’s intricate mechanical details.
Once your pieces finish printing, you’ll sand, prime, and paint each component to eliminate layer lines and match the texture of in-game assets.
Combining tight tolerances with careful finishing work closes the gap between a rough print and a prop that looks ripped straight from the screen.
3D Printing Complex Parts
For video game-accurate props that demand intricate detail, 3D printing gives you an edge that foam and cardboard simply can’t match. Libraries often provide free access to 3D printers, making custom part creation surprisingly affordable.
Use design software options like Tinkercad or Blender to build scalable models, then apply print resolution tips—higher layer detail for visible surfaces, coarser settings for hidden structural components.
Follow these essential steps:
- Scale designs precisely using in-game reference screenshots before printing, ensuring material compatibility with your chosen filament type.
- Apply post-processing techniques like sanding and priming to eliminate layer lines and enhance durability.
- Troubleshoot prints by adjusting bed adhesion and temperature settings when warping occurs.
The Fortnite jetpack demonstrates exactly how 3D printer benefits elevate specific game references into stunning, wearable reality.
Finishing Printed Prop Details
Raw 3D-printed parts straight off the build plate rarely look game-accurate—layer lines, rough surfaces, and support scars betray the manufacturing process immediately.
Sand progressively through 220 to 800-grit paper, then apply filler primer to eliminate imperfections before detail painting begins.
For texture effects, stipple acrylic gels onto surfaces to simulate worn metal or ancient stone. Weathering techniques like dry-brushing silver over dark base coats sell battle-damaged props convincingly.
Prop aging through strategic oil-wash pooling in recessed areas creates authentic depth.
During final assembly, align sub-components precisely before bonding permanently.
Finishing sprays seal everything—matte varnish preserves weathered aesthetics, while glossy finishes replicate polished in-game surfaces like energy weapons or futuristic armor.
These finishing touches transform printed geometry into screen-worthy video game replicas.
Achieving Game-Accurate Results
Finishing techniques bring printed parts to life, but game-accurate results demand one more layer of discipline—studying your source material obsessively. Different game styles require distinct approaches, so you’ll need to analyze in-game textures, lighting models, and proportions before touching paint.
Follow these steps for maximum character accuracy:
- Screenshot reference poses from multiple angles, comparing them directly against your printed prop dimensions.
- Match paint colors to in-game palettes using hex codes extracted from official artwork.
- Replicate surface wear, scratches, or cel-shading effects that define each game’s visual identity.
You’re fundamentally reverse-engineering a digital asset into physical form.
Contact cement bonds EVA foam accent pieces seamlessly onto printed bases, while sharp scissors trim any foam details with precision.
Obsessive attention separates impressive cosplay from truly iconic recreations.
Frequently Asked Questions
How Do You Safely Wear EVA Foam Costumes in Hot Weather?
You’ll stay comfortable by layering breathable materials like moisture-wicking fabric beneath your EVA foam costume. Employ cooling techniques such as strategically placed ventilation gaps, portable fans, and scheduled shade breaks to regulate your body temperature effectively.
Can Children Make These Video Game Cosplay Accessories Independently?
Children can’t tackle these independently—supervision needed bridges project complexity and child safety. You’ll guide their crafting skills, ensuring they cut carefully, glue precisely, and create confidently while mastering EVA foam techniques progressively.
How Long Does Contact Cement Take to Fully Cure?
You’ll find contact cement tips suggest it’s touch-dry within 15–30 minutes, but full curing times reach 24–72 hours. Don’t rush it—letting your EVA foam bond cure completely guarantees a stronger, lasting cosplay build.
Where Can Beginners Find Free Video Game Cosplay Pattern Downloads?
Even if you’re overwhelmed searching, you’ll find free downloads easily. Check Instructables PDFs on pattern websites for Minecraft Steve heads, and explore community forums where cosplayers actively share innovative EVA foam templates for your next build.
How Do You Store Finished Cosplay Accessories Without Damaging Them?
Store your finished pieces using smart accessory organization systems like labeled bins. Apply protection techniques such as bubble wrap for EVA foam. Choose climate-controlled storage solutions, avoiding humidity. These climate considerations prevent warping, ensuring your costumes stay convention-ready.
References
- https://www.youtube.com/watch?v=xXjssMwKRZg
- https://www.halloweencostumes.com/blog/p-1159-video-game-costumes.aspx
- https://blog.connectedcamps.com/10-cool-costumes-to-make-with-your-gamer-kid/
- https://www.instructables.com/Gamer-Costumes/
- https://www.youtube.com/watch?v=h9wB6yvJ-Rs
- https://www.fantasycostumes.com/cosplay-guide/video-game-characters/
- https://www.instructables.com/Video-Games-Props-Costumes/