When it comes to creating convincing scars, there are various techniques at your disposal that can elevate your special effects game to the next level. From utilizing silicone prosthetics to mastering the art of fake blood, each method brings its own unique touch to the table.
But how do you secure that your scars look truly authentic and blend seamlessly into your character's story? Let's explore the best practices and tools that can help you achieve that next-level realism in your special effects work.
Key Takeaways
- Silicone prosthetics and alternatives enhance scar authenticity.
- Proper application techniques and blending are crucial for realism.
- Experiment with scar wax, fake blood, and makeup for varied effects.
- Use texturizing techniques and details for seamless integration and professional finish.
Silicone Prosthetics for Realistic Scars
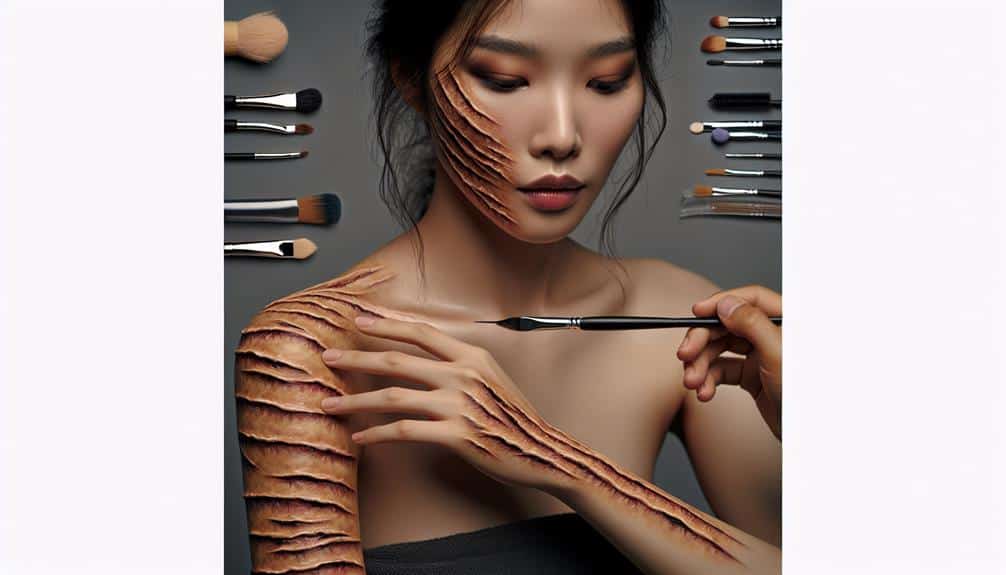
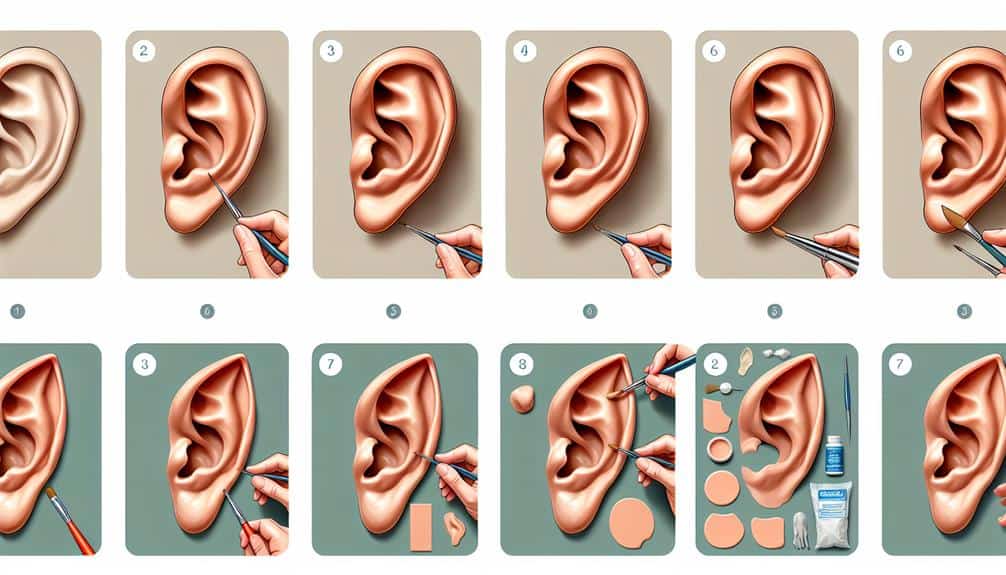
When aiming for realistic scars, utilizing silicone prosthetics can greatly enhance the authenticity of the final result. Silicone prosthetics offer a lifelike texture and appearance that can mimic real scars effectively. To achieve the best outcome, mastering custom application techniques is vital. These techniques involve carefully molding the silicone prosthetic to fit the contours of the skin for a seamless integration.
In cases where silicone prosthetics aren't available, exploring silicone alternatives can also yield impressive results. These alternatives may include specialized makeup products that can be used to create raised scar tissue effects. When applying silicone prosthetics, understanding proper adhesive removal is essential for maintaining skin health. Gentle removal methods can prevent irritation and damage to the skin.
Additionally, blending tips are essential for seamlessly integrating the silicone prosthetic with the natural skin. Adequate blending ensures that the prosthetic appears as a natural part of the skin, enhancing the overall realism of the scar. Mastering these techniques can elevate your scar creation skills to a professional level.
Scar Wax and Creative Sculpting
To enhance your skills in creating realistic scars, exploring scar wax and creative sculpting techniques can further elevate the authenticity and intricacy of your effects. When using scar wax and creative sculpting, you have the opportunity to craft detailed and lifelike scars that add depth to your special effects makeup.
Here are some tips to help you master this technique:
- Choose the Right Scar Wax: Opt for a scar wax that's easy to mold and blends well with the skin for a seamless finish.
- Prepare the Skin: Guarantee the skin is clean and moisturized before applying scar wax to promote better adhesion and a more natural look.
- Use Sculpting Tools: Experiment with different sculpting tools like spatulas and brushes to create varying textures and shapes for your scars.
- Layer and Blend: Build up the scar wax in layers, blending each layer carefully into the skin to achieve a realistic 3D effect.
Mastering Fake Blood Techniques
Enhance your special effects makeup skills by mastering a variety of fake blood techniques that bring a realistic and alluring element to your creations.
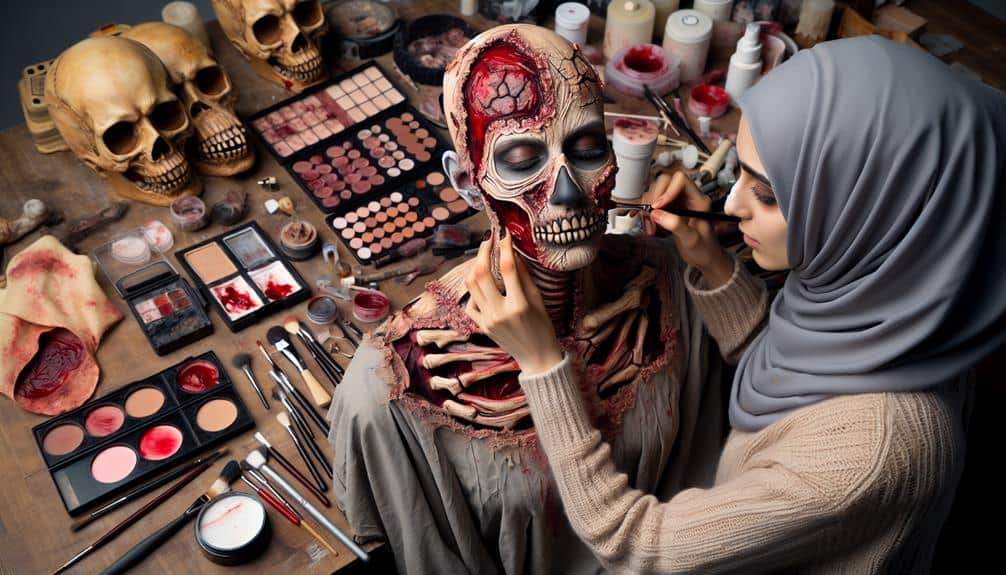
When aiming for a convincing effect, consider the importance of blood splatter patterns. For arterial sprays, use a thin consistency fake blood and apply pressure to create realistic high-velocity splatters.
To simulate a wound realistically, layer different blood tones and consistencies. Darker blood can be used in the center of the wound to imply depth, while lighter blood around the edges gives a more natural appearance.
Experiment with the viscosity of the fake blood to achieve the desired coagulated look. Remember to blend the fake blood seamlessly into the surrounding skin to avoid a disjointed effect.
Practice creating different types of wounds, such as lacerations or puncture wounds, to refine your technique and add versatility to your special effects repertoire.
Mastering these fake blood techniques will elevate the realism of your special effects makeup artistry.
Using Alcohol-Activated Makeup
Utilize alcohol-activated makeup to achieve long-lasting and smudge-proof special effects looks that enhance the realism of scars and wounds in your makeup creations. This technique offers a professional finish ideal for theatrical performances, movie sets, or special events where authenticity is key.
Here are some tips to make the most out of alcohol-activated makeup:
- Airbrushing Technique: Invest in an airbrush kit to apply alcohol-activated makeup for a seamless and realistic finish. The airbrush allows for a controlled application that mimics the natural texture of skin, making scars appear more authentic.
- Shading: Master the art of shading to add depth and dimension to your scars. Use darker tones around the edges of the wound and gradually blend into lighter shades towards the center to create a lifelike effect.
- Custom Colors: Mix and customize colors to match the individual's skin tone for a more natural look. Blend different shades to achieve a realistic color gradient that seamlessly integrates with the skin.
- Blending: Practice blending techniques to guarantee a smooth shift between the makeup and the skin. Pay attention to detail and blend the edges of the scar to avoid harsh lines and enhance the overall realism of the special effects makeup.
Blending and Texturizing for Authenticity
Achieve a seamless shift between the makeup and skin by mastering blending and texturizing techniques for a more authentic appearance of scars and wounds. Blending techniques are important in creating a realistic scar effect. Start by using a makeup sponge or brush to gently blend the edges of the scar makeup into your skin. This helps soften any harsh lines and seamlessly integrates the scar with your natural skin tone. Experiment with different blending tools and techniques to find what works best for the specific scar you're creating.
Texturizing methods play a significant role in adding depth and authenticity to scars. To enhance the texture of a scar, consider using materials like scar wax or gelatin to build up the area and create a raised effect. After applying the scar texture, carefully blend it into the surrounding skin to guarantee a natural look. You can also add details like small cuts or indentations using tools like a toothpick or stipple sponge for a more realistic finish. Mastering blending and texturizing techniques will elevate the authenticity of your scar makeup applications.
Frequently Asked Questions
How Long Do Silicone Prosthetic Scars Typically Last on the Skin?
Typically, silicone prosthetic scars last on your skin for about 3-5 days. Despite their short lifespan, scar maintenance is important for longevity. Make sure proper scar application and follow care instructions diligently to maximize durability.
Can Scar Wax Be Used to Create Scars on Any Part of the Body, or Are There Limitations?
When using scar wax, it's important to take into account body limitations for realistic scar placement. Skillful application allows for blending with your skin tone. Experiment with different techniques to achieve authentic scars on various parts of your body.
Are There Any Special Effects Makeup Techniques for Creating Scars That Involve Using Household Items?
To create realistic scars using household alternatives in special effects makeup, try DIY techniques like using gelatin or oatmeal for texture, and makeup to add depth and color. Experiment for realistic effects at home.
How Difficult Is It to Remove Alcohol-Activated Makeup After Creating Realistic Scars?
Removing alcohol-activated makeup poses challenges due to its durability. You may find it difficult to remove completely, but using specialized makeup removers or oils can help. Techniques like gently massaging and using cotton pads ease removal.
Are There Any Specific Tips for Blending and Texturizing Scars to Make Them Look More Natural on Different Skin Tones?
To make scars appear natural on various skin tones, focus on blending techniques by layering different shades and using a stippling sponge. Texturizing tips involve adding depth with scar wax and creating texture with a stipple sponge for realistic results.


