When it comes to creating authentic-looking injuries on your skin, mastering the art of makeup techniques can be quite valuable.
Have you ever wanted to learn how to skillfully mimic wounds and bruises for a realistic effect?
Immerse yourself in the world of special effects makeup where every technique serves a purpose in bringing your imagination to life.
Key Takeaways
- Thoroughly cleanse and hydrate skin for smooth makeup application.
- Layer colors and blend for realistic bruising effects.
- Seamlessly blend edges and add depth for lifelike cuts.
- Use special effects products and attention to detail for convincing results.
Preparing Your Skin
Before applying any makeup for fake wounds and bruises, cleanse your skin thoroughly to remove any oils or impurities that could affect the application. Start by hydrating your skin with a gentle moisturizer to create a smooth base for the makeup. Proper skin hydration is essential to make sure the makeup adheres well and looks realistic.
Exfoliation techniques are also important to prepare your skin for the faux wounds and bruises. Use a gentle exfoliator to remove dead skin cells and create a fresh canvas for the makeup application. This step helps the makeup blend seamlessly and appear more natural on your skin.
Bruising Technique
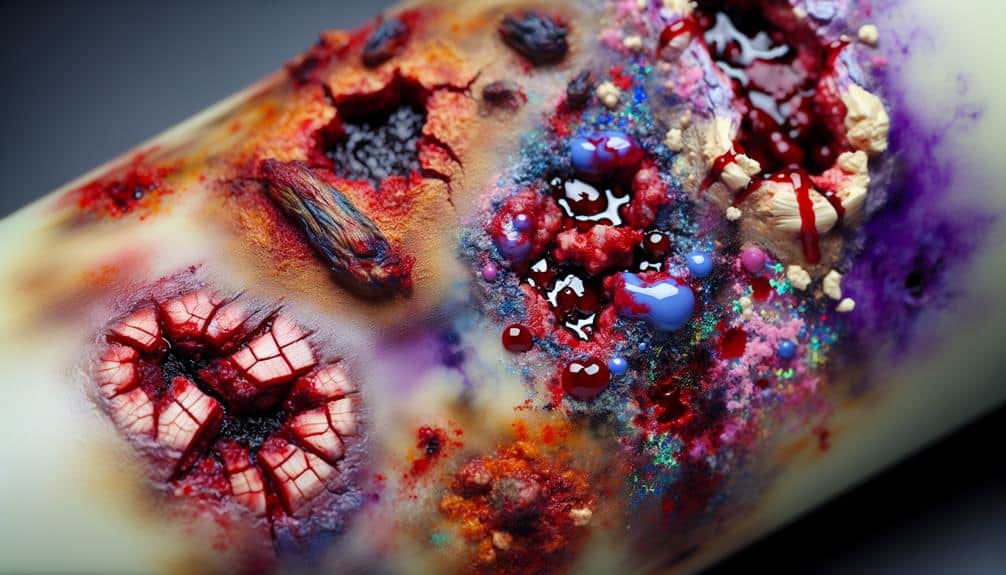
To create realistic bruising effects, blend a combination of blue, purple, and red cream makeup on your skin using a stippling sponge for a natural-looking result. This technique involves carefully layering colors to mimic the stages of bruising, from the initial impact to the later stages of healing. Here's how you can master the art of bruising:
- Blending colors: Mix blue and purple to create the base of the bruise, focusing on the center where the impact would have occurred. Then, add touches of red around the edges to simulate the healing process.
- Using a stippling sponge: Dab the cream makeup onto your skin using a stippling sponge in a stippling motion. This will help create a textured appearance that mimics the unevenness of a real bruise.
- Layering technique: Apply the colors in thin layers, gradually building up the intensity to achieve a more realistic effect. Remember, bruises aren't uniform in color or shape.
- Adding texture: To enhance the realism of the bruise, lightly pat a translucent setting powder over the makeup to set it and add a natural skin-like texture.
Creating Realistic Cuts
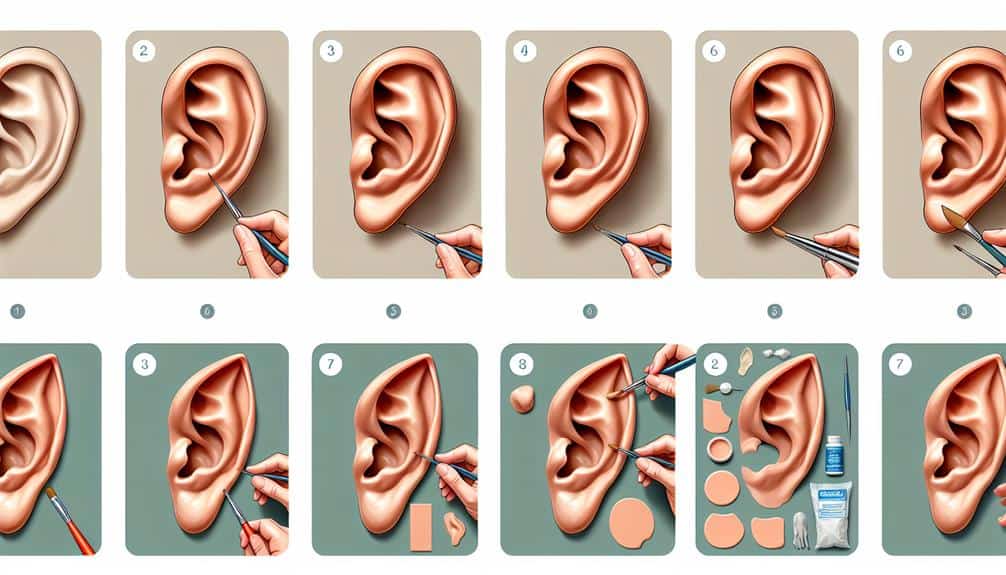
As you master the art of realistic bruising effects, your next challenge lies in creating lifelike cuts that will elevate your special effects makeup skills to the next level. To achieve a convincing cut effect, start by carefully blending the edges of the prosthetic or makeup appliance with your skin using makeup or prosthetic adhesive. Blending the edges seamlessly is vital to make the cut appear as if it's a part of your skin rather than a separate piece.
After blending the edges, focus on adding depth to the cut. Use a combination of makeup products to create the illusion of a three-dimensional wound. Darker shades around the edges of the cut and lighter shades towards the center can give the appearance of depth and make the cut look more realistic. You can also add fake blood or special effects gel to enhance the authenticity of the cut by creating a wet and fresh appearance. Remember, attention to detail is key in achieving a truly convincing and lifelike cut effect.
Using Special Effects Makeup
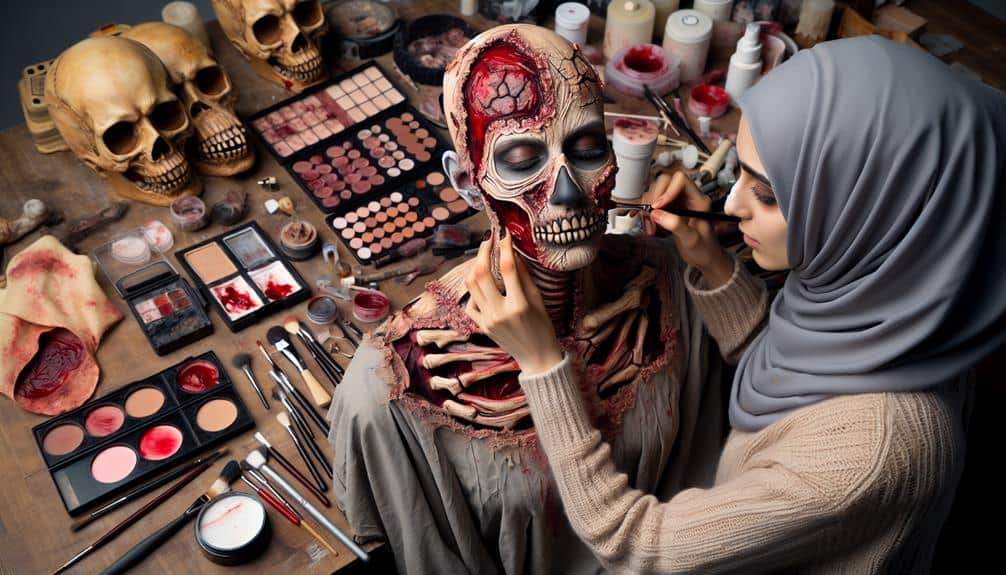
Explore the transformative power of special effects makeup techniques to bring your creative visions to life with unparalleled realism and detail. When delving into special effects makeup for creating fake wounds and bruises, you need to arm yourself with the right tools and master the art of blending.
Here are some key points to keep in mind:
- Makeup Tools: Invest in specialized tools such as sculpting wax, liquid latex, fake blood, and a bruise wheel to enhance the authenticity of your creations.
- Blending Technique: Master the art of blending different colors seamlessly to create realistic transitions between the wound and the surrounding skin.
- Precision is Key: Pay close attention to detail when applying makeup to ensure that the final result looks convincing and lifelike.
- Practice Makes Perfect: Experiment with different techniques and products to hone your skills and discover what works best for you in achieving the desired effect.
Finishing Touches
Enhancing the authenticity and depth of your fake wounds and bruises involves meticulous attention to the finishing touches. Blending colors is important to make your makeup look realistic. Start by blending different shades of red, purple, blue, and green to mimic the natural colors of bruises. Use a sponge or brush to softly blend the edges of the bruise into the surrounding skin, creating a seamless shift.
Adding texture is another essential step in creating lifelike wounds. To simulate the appearance of broken skin, you can use modeling wax or scar gel to add depth and dimension to your makeup. Apply a small amount of the product to the center of the wound and gently blend it outwards to create a raised, uneven surface. You can also use fake blood and scabbing gel to enhance the overall look of the wound, adding a touch of realism to your makeup creation. Remember, attention to detail is key to achieving a convincing fake wound or bruise.
Frequently Asked Questions
How Long Can You Wear Fake Wounds and Bruises Before They Start to Irritate the Skin?
You can wear fake wounds and bruises for hours but be mindful of skin care. Check for irritation, especially if you have allergy concerns. Remove adhesive tape gently, to not harm the skin underneath makeup.
Are There Any Specific Makeup Products That Should Be Avoided When Creating Fake Wounds and Bruises?
When creating fake wounds and bruises, it's important to prioritize makeup safety. Avoid using harsh products that could irritate your skin. Opt for hypoallergenic brands with gentle formulas. Always test a small area first. For removal, gentle cleansing techniques are recommended.
Can Fake Wounds and Bruises Be Easily Removed, or Is There a Specific Method for Taking Them Off?
When it's time to bid adieu to your faux injuries, gently cleanse with makeup remover or a mild soap. Avoid scrubbing to prevent skin irritation. These techniques guarantee a quick vanishing act for your artistic creations.
Are There Any Tips for Making Fake Wounds and Bruises Last Longer Throughout the Day?
To make your makeup last longer for those fake wounds and bruises, remember to set it with a translucent powder. This helps with durability throughout the day. Be cautious of skin sensitivity to prevent any skin irritation.
How Can You Prevent Fake Wounds and Bruises From Smudging or Transferring Onto Clothing?
To keep fake wounds and bruises intact, use makeup setting techniques like translucent powder or setting spray. Shield the design from smudging by layering tissues over it before putting on clothes. These steps guarantee durability and prevent smudges.


