You can sculpt your own monster makeup prosthetics at home using just three core materials: non-hardening clay, Plaster of Paris, and liquid latex. Start by sculpting your monster features in clay, then create a plaster mold, and pour liquid latex to cast your prosthetic. Use Pros-Aide to adhere it to skin, then finish with a bruise palette for realistic effects. Keep exploring to master every technical detail of the complete process.
Key Takeaways
- Gather non-oven-bake clay, Plaster of Paris, liquid latex, and basic sculpting tools like butterknives before starting your monster prosthetic.
- Sculpt monster features by applying thin clay layers, cutting deliberate patterns, and experimenting with textures using washcloths or textured objects.
- Create a plaster mold by coating your clay sculpture with Vaseline, then pouring mixed Plaster of Paris over it completely.
- Pour liquid latex into the mold, allow 24 hours to harden, then carefully peel from edges inward and powder immediately.
- Apply the finished prosthetic using Pros-Aide or spirit gum, then paint with a bruise palette for realistic monster skin effects.
Gather Your Clay, Latex, and Plaster Supplies
Before diving into sculpting and casting, you’ll need to stock up on a few key materials: a non-oven-bake or air-dry modeling clay like Plastalina, Plaster of Paris for creating your mold, and liquid latex specifically formulated for SFX makeup.
Among clay types, Plastalina remains the industry standard for its workability. Explore latex alternatives like foam latex for lighter prosthetics.
When plaster mixing, maintain a smooth, lump-free consistency for precise mold capture. Invest in essential sculpting tools: butterknives, washcloths, and textured objects that enable advanced texture techniques.
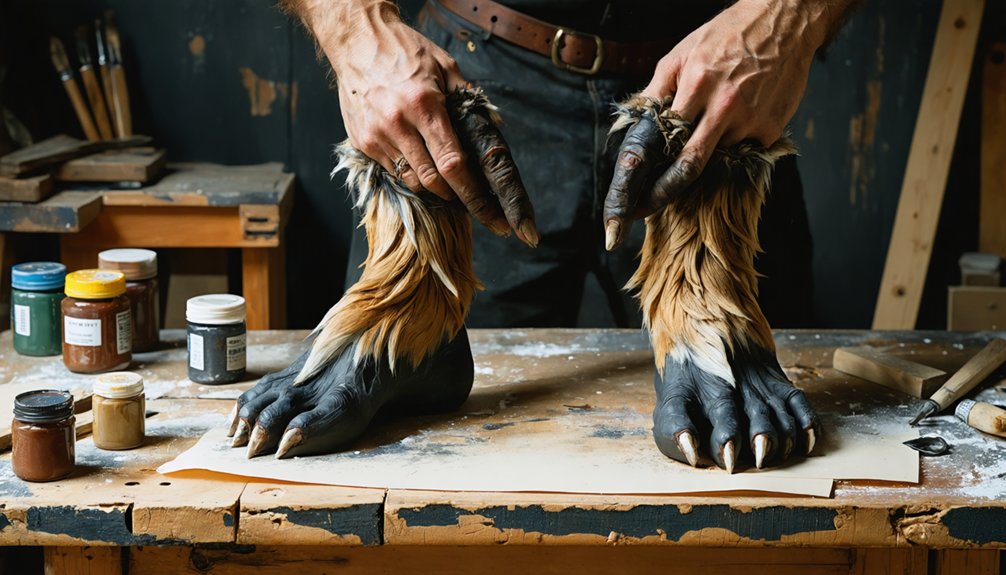
Apply Vaseline as a mold release agent to guarantee clean separation. For adhesive options, Pros-Aide and spirit gum both deliver professional-grade bonding.
Always observe safety precautions by working in ventilated spaces and wearing gloves when handling latex and plaster compounds.
Sculpt Your Monster Prosthetic in Clay
With your materials ready, it’s time to start shaping your monster prosthetic using three core sculpting techniques.
Begin clay manipulation by pressing a thin, even layer onto your base surface. Use a butterknife for tool selection, cutting deliberate patterns that define your monster features, such as scarring or ridge lines.
Your creative process continues as you shape each cut with your fingers, pushing edges upward into raised, dimensional forms.
Texture experimentation drives design variations — dab a washcloth across the surface for mottled, organic skin, or press objects directly into the clay for unconventional patterns.
Draw artistic inspiration from classic monster archetypes when building exaggerated elements like heavy brow bones or angular facial structures.
Work methodically, refining each section before advancing to mold creation.
Make a Plaster Mold for Your Monster Prosthetic
Once your clay sculpture is complete, securing it firmly to your base surface is the critical first step before mold creation begins.
Coat your sculpture thoroughly with Vaseline as a mold release agent, ensuring every surface detail from your sculpting techniques receives an even layer. This prevents plaster adhesion and preserves your texture creation work.
Mix Plaster of Paris to a smooth, lump-free consistency, then pour it directly over your sculpture.
Proper plaster setting requires patience — wait until the mold hardens completely before removal. Once set, carefully extract the clay, leaving a clean negative impression.
Your mold’s precision directly impacts prosthetic durability, latex application quality, and how well your adhesive options and painting tools will perform during final application.
Inspect the mold for any air bubbles or cracks before proceeding.
Cast and Peel Your Latex Prosthetic
Your plaster mold is ready to work with, so pour liquid latex directly into the mold’s cavity, filling it completely to capture every texture detail you sculpted.
Proper latex handling requires patience — allow a full 24 hours for complete hardening. Rushing this stage compromises the structural integrity of your prosthetic, undermining the sculpting techniques you’ve invested in.
Once cured, gently peel the latex piece from the mold, working slowly from the edges inward. Mold preparation with Vaseline guarantees clean release without tearing.
After removal, powder the prosthetic‘s back surface immediately — this prevents sticking and optimizes adhesion during application.
Trim any excess flashing carefully, cutting precise holes for eyes or mouth where needed.
You’re now ready to explore adhesive options like Pros-Aide or spirit gum for secure, professional-grade application.
Apply Your Monster Makeup Prosthetic
Before applying your prosthetic, mark its exact placement on your skin using a small eyeliner dot as a reference point. This guarantees precise positioning before adhesive contact is made.
For adhesive options, Pros-Aide offers superior durability for extended wear, while spirit gum works effectively for shorter applications. Apply your chosen adhesive to both your skin and the prosthetic’s back surface, allowing each layer to become tacky before pressing them together.
Once positioned, press firmly across the entire prosthetic surface, ensuring complete contact without air pockets.
For application techniques that create seamless edges, layer liquid latex along the prosthetic’s border, pressing small tissue pieces into it while wet. Secure any lifting flashing sides with additional adhesive, creating an undetectable shift between prosthetic and skin.
Paint, Finish, and Store Your Monster Prosthetic Look
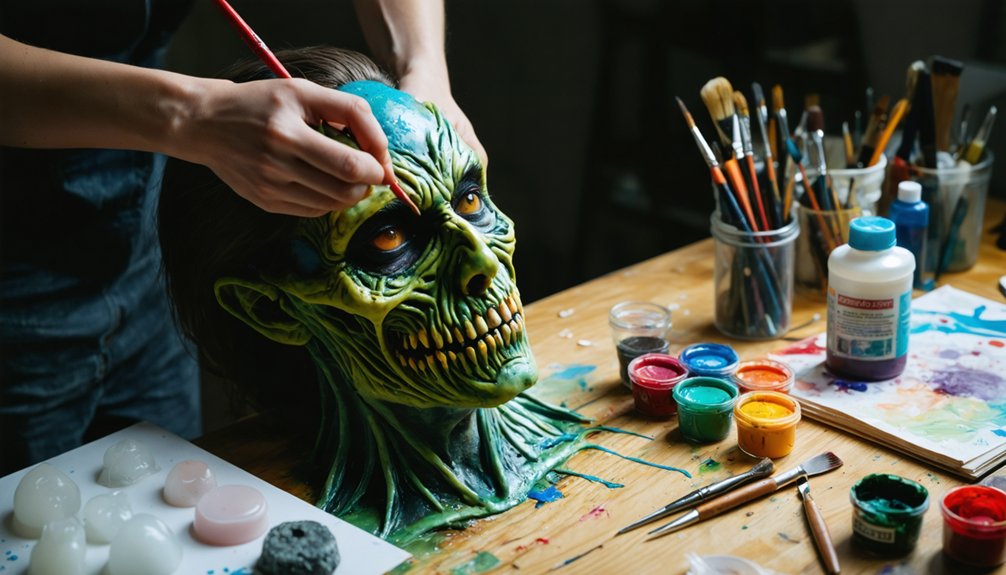
Now that your prosthetic is secured, you’ll paint it using a bruise palette of green, yellow, brown, and red, stippling a textured latex sponge to blend the edges seamlessly into your skin tone.
Apply stage blood or coagulated blood into wound cavities for depth, then set everything with powder to eliminate harsh lines.
When the look is complete, store your prosthetic flat in a cool, dry container, lightly powdered to prevent sticking and preserve the latex for future use.
Painting Techniques and Tips
Once your prosthetic is applied and blended, painting brings the piece to life and ties it seamlessly to your skin. Start with color correction, neutralizing any edge inconsistencies using foundation matched to your skin tone.
Apply layering effects by building thin coats of color rather than one heavy application. Use shadow placement to define deep wounds, creases, and structural recesses, then follow with highlight application on raised ridges and brow bones to create dimension.
Your bruise palette handles color blending across green, yellow, brown, and red tones for realistic trauma effects. Employ texture techniques by stippling with a latex sponge to mimic organic skin variation.
Detail enhancement comes last — add coagulated blood into wound cavities, then powder everything for finishing touches that eliminate harsh, unnatural shine.
Storage and Maintenance Methods
Proper storage and maintenance extend the lifespan of your latex prosthetic greatly, protecting the time and materials you’ve invested in crafting it.
After each use, clean your prosthetic using gentle soap and lukewarm water, avoiding harsh solvents that degrade latex integrity. Pat it completely dry before storing.
For ideal storage solutions, seal prosthetics individually in zip-lock bags with a light dusting of translucent powder, preventing surfaces from fusing together.
Apply silicone-based conditioners periodically as preservation techniques that maintain latex flexibility and prevent cracking.
Keep stored pieces away from direct sunlight, extreme temperatures, and humidity. These maintenance tips substantially reduce deterioration between uses.
Inspect pieces before each application, checking for tears or thinning areas. Following these cleaning methods and protocols guarantees your prosthetics remain performance-ready across multiple uses.
Frequently Asked Questions
Can Children Safely Use These Prosthetic Materials Without Adult Supervision?
No, you shouldn’t let children use these materials unsupervised. Child safety demands strict supervision guidelines—Plaster of Paris generates heat, liquid latex poses allergy risks, and adhesives like Pros-Aide contain chemicals requiring adult oversight throughout application.
How Long Does a Finished Latex Prosthetic Typically Last Before Deteriorating?
Your finished latex prosthetic lasts one to five years when you store it properly, seal it carefully, and handle it gently. Master latex preservation techniques and prosthetic storage methods—keep it cool, dry, and powder-coated to maximize longevity.
Are These Prosthetics Safe for People With Sensitive or Acne-Prone Skin?
Latex prosthetics aren’t ideal for sensitive skin without proper acne precautions. You’ll want to patch-test adhesives like Pros-Aide beforehand, cleanse skin thoroughly post-removal, and apply a barrier spray to minimize pore-clogging irritation risks.
Can Prosthetics Be Reused Multiple Times After Initial Application and Removal?
Like a trusty tool, you can reuse prosthetics multiple times. Clean them carefully after removal, apply proper application techniques each use, and follow smart storage tips—store flat, dust with powder, and avoid folding to prevent damage.
What Is the Estimated Total Cost for Completing This Entire Project?
Your budget breakdown typically runs $20–$60, depending on your material choices. You’ll spend ~$10 on clay, ~$15 on plaster, ~$20 on liquid latex, and ~$10 on adhesives and finishing supplies combined.
References
- https://www.instructables.com/How-to-Make-SFX-Makeup-Prosthetics/
- https://www.youtube.com/watch?v=U9PhrysIyv8
- https://www.youtube.com/watch?v=YruDo92rkzA
- https://www.halloweencostumes.com/blog/p-586-how-to-apply-basic-halloween-prosthetics.aspx
- https://www.youtube.com/watch?v=PRZwu_sbk2A
- https://www.youtube.com/watch?v=D5xN1-G13IU
- https://www.youtube.com/watch?v=4Ke1RKAjapU
- https://www.youtube.com/playlist?list=PLGeTPmBLQeGStksI8vXlRsm-rAdiN36qV
- https://www.youtube.com/watch?v=XZeriQa_CBs