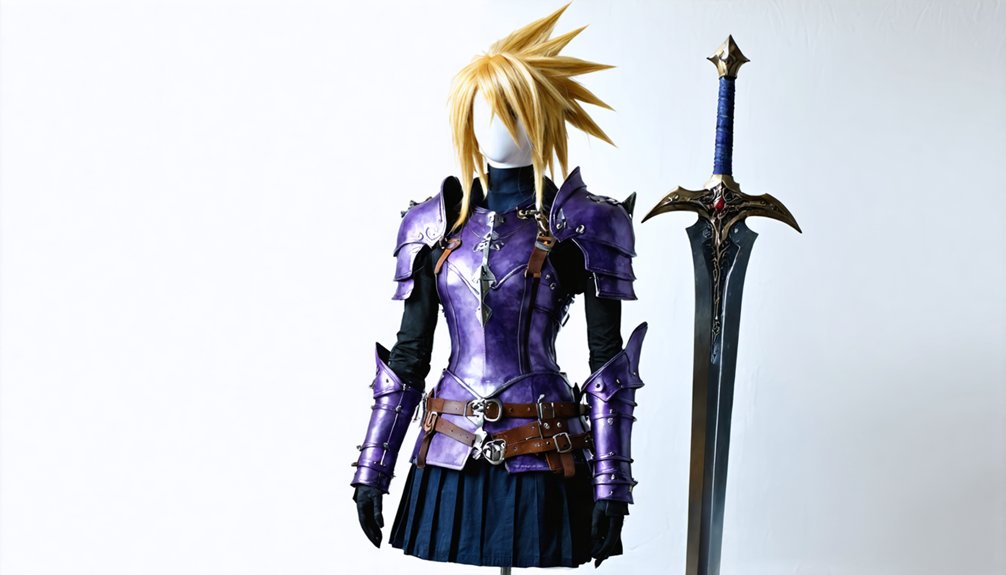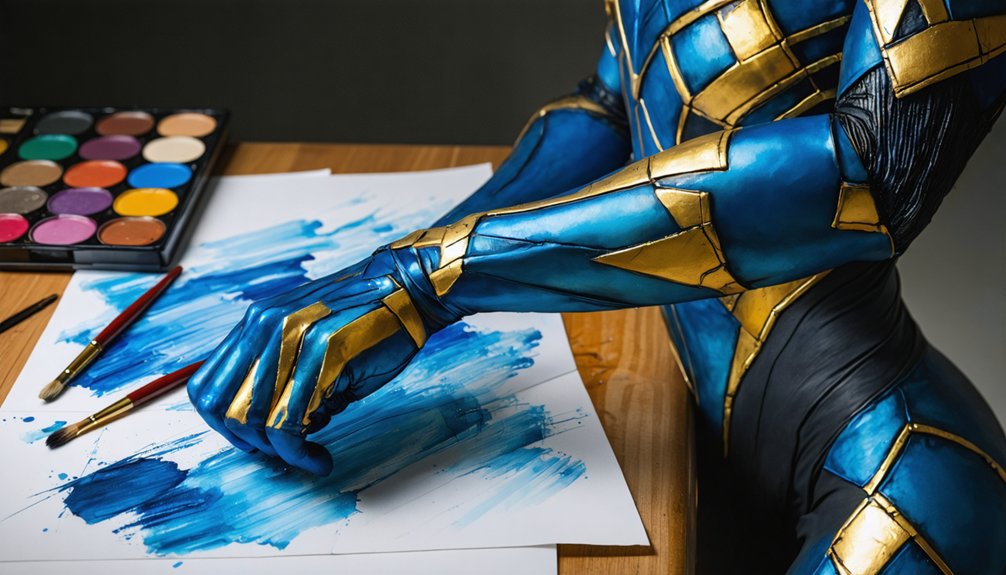
To nail video game cosplay body painting, you’ll need to start with hypoallergenic, skin-safe paint matched to your character’s exact color references. Prep your skin by cleansing, exfoliating, and moisturizing with oil-free products. Build coverage in thin, even layers, then shade and highlight for game-accurate depth. Seal everything with a setting powder and sealing spray. Address smears quickly and remove paint gently to protect your skin. The seven tips ahead break each step down further.
Key Takeaways
- Use hypoallergenic, cosplay-grade body paint and test it under event lighting before full application to ensure accurate color and safety.
- Cleanse, exfoliate, and fully dry skin before painting to improve adhesion and achieve a smoother, longer-lasting finish.
- Build coverage in thin, even layers using a damp sponge, allowing each layer to dry fully before adding the next.
- Seal finished paint with a formula-appropriate sealing spray, applying extra coats on high-movement areas for durability.
- Remove paint gently using micellar water or cleansing oil, then moisturize thoroughly to support skin recovery afterward.
Pick the Right Body Paint for Your Character
Choosing the right body paint sets the foundation for your entire cosplay look. Always select hypoallergenic, cosplay-grade formulas labeled for skin use — never assume an unknown paint is safe.
Color matching starts with pulling direct reference images from the game itself, since monitor-accurate colors translate differently onto skin than they appear on screen.
Paint consistency matters just as much as shade. Water-based paints offer easy cleanup and layering control, cream formulas deliver rich pigment for bold characters, and airbrush paints produce smooth gradients for armor or creature effects.
Each formula performs differently under event lighting, so test your chosen product before the full application. Keep a backup option ready in case coverage falls short or irritation develops during prep.
Prep Your Skin Before Body Painting
Before you apply a single stroke of paint, clean your skin thoroughly to remove oils, sweat, and any leftover makeup or lotion.
Follow that with a gentle exfoliation to smooth out rough patches, giving the paint a more even surface to grip.
Once your skin’s prepped, apply a light, oil-free moisturizer or barrier cream to boost comfort and help the paint adhere without cracking.
Clean And Exfoliate First
Prepping your skin is one of the most critical steps you can take before applying body paint for a cosplay. Poor skin texture and high pore visibility directly reduce paint adhesion and color accuracy.
Follow this prep sequence before every session:
- Cleanse thoroughly — wash the target area with a gentle, oil-free cleanser to eliminate dirt, sweat, and product buildup.
- Exfoliate strategically — use a light scrub or exfoliating mitt to smooth uneven skin texture and minimize pore visibility for a flatter painting surface.
- Dry completely — pat skin fully dry before touching any product, since moisture undermines paint bonding.
Skipping these steps forces you to compensate with heavier layers, which increases cracking risk and reduces your finished look’s precision.
Moisturize Before Painting
Once your skin is clean and exfoliated, the next step is moisture — but you need to apply it correctly or you’ll undermine your paint adhesion. Hydration importance becomes clear when you understand that dry, tight skin causes paint to crack and flake mid-event.
However, heavy or oil-based moisturizers create a slick barrier that prevents proper bonding. Moisturizer selection is critical here — choose a lightweight, oil-free formula or a dedicated barrier cream designed for body paint applications. Apply it sparingly and let it absorb fully before touching any paint.
If your skin still feels tacky or greasy, blot the excess. This balanced approach keeps your skin comfortable throughout a long convention day while giving your base layers a stable, even surface to grip onto.
Apply Body Paint in Thin, Even Layers
When applying body paint, you’ll get the smoothest, most even results by building coverage in thin layers rather than loading on a heavy coat all at once. Controlling layer thickness directly impacts color blending precision and final finish quality.
Thin layers are the secret to flawless body paint — precision and patience define a professional finish.
Follow this layering sequence for ideal results:
- Apply a thin base coat using a damp sponge, covering large areas with consistent pressure.
- Let each layer dry completely before adding the next to prevent cracking or muddy color blending.
- Use smaller brushes for edges and detail zones where layer thickness must stay minimal.
Dabbing rather than smearing reduces streaking considerably. This controlled approach gives you cleaner transitions, sharper character markings, and a professional finish that holds up throughout your event.
Shade and Highlight for Game-Accurate Detail
Shading and highlighting transform flat body paint into a game-accurate character by mimicking the dimensional lighting found in rendered game art. Use darker tones to build shadow contrast along muscle edges, armor seams, and recessed areas. Apply lighter tones to raised surfaces where light naturally hits.
Strategic color blending between these values creates the gradient gradations that define a polished, in-game aesthetic.
Work with clean brushes when switching between tones to prevent muddying. Keep your character reference images visible throughout the process so you’re matching specific hues, not guessing.
Dab shading inward from edges rather than dragging across layers. For creature or armor designs, push contrast harder than you’d expect — game art reads bold, and your real-world application needs that same visual intensity to translate convincingly.
Seal Your Body Paint So It Lasts
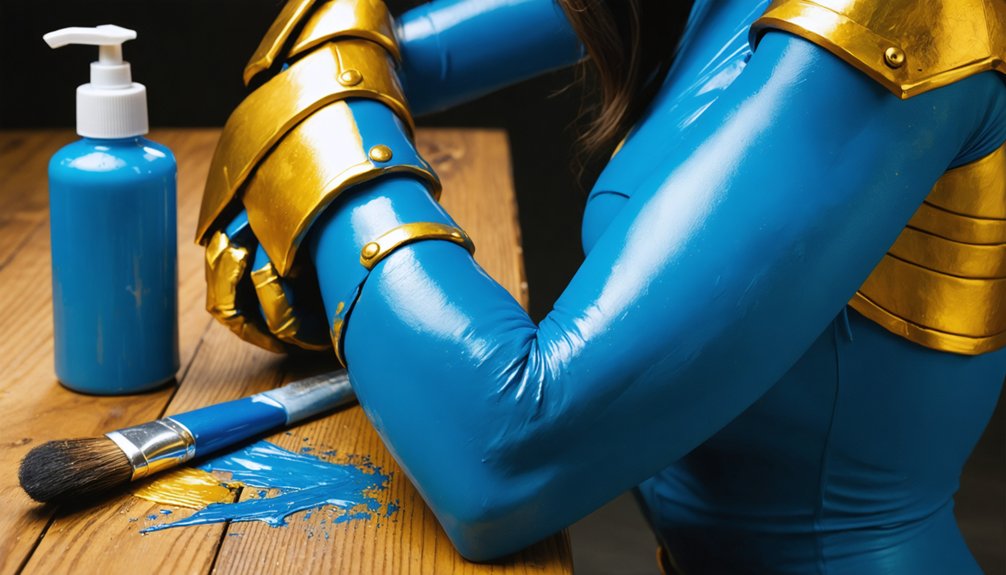
Once your layers are complete, apply a light dusting of setting powder to absorb excess moisture and lock in the base before adding a sealing spray on top.
Use a large, fluffy brush to distribute the powder evenly, tapping off any excess so no white cast dulls your colors.
The sealing spray then bonds everything together, giving you the durability you’ll need to get through a full convention day without cracking or smudging.
Setting Powder Application Tips
After all that careful layering and blending, the last thing you want is your body paint transferring onto your costume or fading mid-convention. Setting powder locks in your work, but application technique matters.
Follow these three steps for a flawless seal:
- Dust lightly with a fluffy brush using brush techniques that press rather than sweep, preventing smearing freshly dried paint.
- Check color matching under convention lighting before sealing — powder can slightly shift warm or cool tones.
- Tap off excess powder from your brush before application to avoid chalky buildup over detailed areas.
For high-sweat zones like joints or the neck, layer powder and sealing spray together. Let everything fully dry before pulling on your costume pieces.
Sealing Spray For Durability
Setting powder alone won’t protect your body paint through a full convention day — sealing spray adds a flexible, protective layer that resists sweat, friction, and costume contact.
Choose sealing spray types matched to your paint formula: water-activated paints pair well with water-resistant sprays, while cream-based applications benefit from alcohol-based sealers.
If you’re using airbrush techniques, integrate the sealer directly into your airbrush workflow by misting thin, even passes across each completed section rather than waiting until the end. Hold the nozzle 10–12 inches from your skin and apply in controlled sweeps.
Avoid oversaturating any zone, which causes streaking or tackiness.
For high-movement areas like joints and shoulders, apply two coats. Let each coat cure fully before dressing to prevent transfer onto your costume.
Prevent Smearing, Overheating, and Transfer During the Event
How you manage your body paint during the event determines whether your cosplay holds up for hours or starts breaking down within the first thirty minutes. Temperature regulation and transfer prevention require active effort throughout the day.
Follow these three strategies:
- Stay cool — heat accelerates paint breakdown, so seek air-conditioned spaces and avoid direct sunlight during long waits.
- Minimize contact — wear loose costume pieces over painted areas and use barrier powder on high-friction zones to support transfer prevention.
- Carry a touch-up kit — pack matching paint, a small brush, and setting spray to fix smears quickly before they spread.
Staying proactive keeps your paint intact through the full event.
Remove Body Paint Without Irritating Your Skin
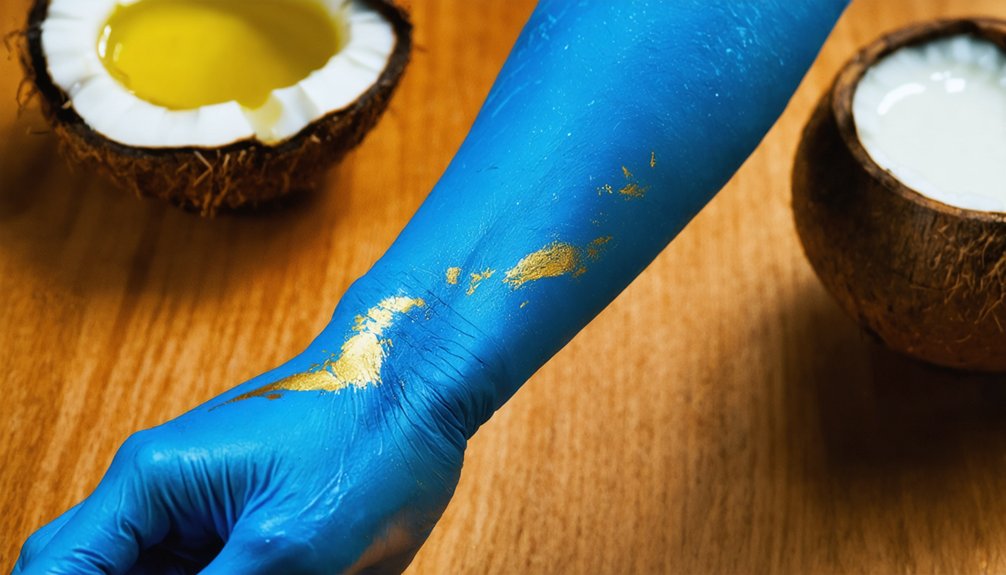
Once the event wraps up, removing your body paint correctly matters just as much as how you applied it. Skip the harsh scrubbing — it breaks down the skin barrier and triggers irritation. Instead, use gentle makeup removal methods like micellar water, cleansing oil, or a cream-based remover to dissolve paint without friction.
Work in sections, applying remover and letting it sit briefly before wiping with a soft cloth. For sealed or layered paint, repeat the process rather than scrubbing harder. Rinse thoroughly with lukewarm water and follow up with a hydrating moisturizer.
Irritation prevention doesn’t stop at product selection — technique matters too. If your skin feels inflamed or raw post-removal, apply a fragrance-free soothing cream and avoid repainting that area until it fully recovers.
Frequently Asked Questions
Can Body Paint Be Used Safely Over Tattoos or Birthmarks?
Coincidentally, tattoo coverage and skin sensitivity go hand in hand—you can safely paint over both if you patch test first, use hypoallergenic formulas, and apply thin layers to protect your skin’s unique characteristics.
How Long Does a Full-Body Cosplay Paint Job Typically Take?
You’ll typically spend three to six hours on a full-body paint job, depending on technique considerations like layering and detail work. Factor in drying time between coats and plan your paint removal methods beforehand.
Is Body Painting Allowed at Most Cosplay Conventions and Events?
Most conventions permit body painting if you’re fully covered. Always review each event’s dress code policy in advance, pair your cosplay makeup with strategic costume accessories, and guarantee your look meets their specific coverage and material guidelines.
Can Two People Apply Body Paint Together Without Cross-Contamination Risks?
Like surgeons scrubbing in, you can safely share body paint sessions by following strict application techniques — use separate brushes and palettes — and cleaning procedures between each person to eliminate cross-contamination risks effectively.
Does Body Paint Photography Require Special Lighting or Camera Settings?
Yes, you’ll need specific lighting techniques to highlight texture and depth. Use diffused side lighting to enhance dimension, experiment with camera angles to capture detail, and adjust your exposure settings to prevent color washout in shots.
References
- https://cosplaysass.wordpress.com/2018/12/27/cosplay-101-beginners-guide-to-body-painting/
- https://starstruckpanda.com/video-game-cosplay-body-paint-tutorial/
- https://www.youtube.com/watch?v=dH8QANH3AhQ
- https://www.crazecosplay.com/blogs/questions/how-to-apply-body-paint-for-cosplay
- https://www.youtube.com/watch?v=5AkBwRDh_Ag
- https://www.youtube.com/watch?v=VvScmV8SiIw
- https://aminoapps.com/c/cosplay/page/blog/body-paint-tutorial/6EUz_uKrd3LooLoZ1B2bXX53EgEkb7
- https://cos-bond.com/2020/09/25/how-to-get-cosplay-body-paint-right-common-cosplay-mistakes/
- https://www.youtube.com/watch?v=KwXpMKiwGD8
- https://thehobbykraze.com/indoors/cosplay/how-to-use-body-paint-for-cosplay/