You can transform ordinary cosplay props into stunning, glowing showpieces by choosing the right LED types, diffusion materials, and power setups for each build. RGB LEDs cycle colors automatically, addressable strips offer section-by-section control, and fiber optics channel light into tight, hard-to-reach cavities. Scuffed acrylic and translucent paint layers soften harsh beams into even, atmospheric glows. Power banks keep everything portable and wearable. There’s a whole toolkit of creative techniques waiting to take your builds further.
Key Takeaways
- RGB multicolor LEDs enable automatic color cycling, while addressable strips allow section-by-section control for dynamic, customizable cosplay prop lighting effects.
- Fiber optic wires channel light from a single LED into tight prop cavities, illuminating runes, helmet details, and hard-to-reach areas precisely.
- Scuffing acrylic interiors or applying thin translucent paint coats diffuses LED light evenly, eliminating harsh beams and creating smooth glowing effects.
- Test small LED segments before bulk purchases to identify wiring errors, brightness mismatches, and fit issues, saving time and money.
- Use compact power banks for portable, hands-free operation, balancing power capacity with setup size to ensure extended runtime without overheating.
Pick the Right LED Type for Your Cosplay Props
Choosing the right LED type makes or breaks the lighting effect in your cosplay prop. RGB multicolor LEDs let you cycle through LED color options at power-on without manual switching, making them ideal for dynamic armor builds.
The right LED type is everything — RGB multicolor LEDs transform dynamic armor builds without manual color switching.
For precise section-by-section control, addressable LED strips give you flexibility that single-color options simply can’t match.
Consider your prop’s geometry when selecting LEDs. Tiny button LEDs fit snugly behind mask eye cutouts, while bendable flat rectangular LEDs conform to curved helmet visors.
Fiber optic wire extends illumination from a single LED source to hard-to-reach prop ends, eliminating bulky wiring clusters.
Your power sources must also align with your LED choice. Power banks pair efficiently with strips, keeping your build portable and hands-free throughout extended convention wear.
Test Your Cosplay LED Setup Before Buying Everything
Before committing to a full parts purchase, test your lighting concept with a single LED or small strip segment to catch wiring errors, brightness mismatches, and fit issues early. Connect your test LED to a small power source and confirm the LED color renders correctly against your prop’s material—translucent surfaces behave differently than painted ones.
Check your power management strategy too; verify that your battery or power bank sustains consistent output without voltage drops that dim or flicker your lighting. Reposition the LED inside the prop cavity to evaluate diffusion, hotspots, and edge bleed before cutting materials permanently.
This low-cost trial run exposes integration problems that bulk purchasing would magnify. Iterating on a single segment saves time, money, and prevents irreversible mistakes on finished prop components.
Use Fiber Optics to Light Hard-to-Reach Prop Areas
Fiber optic wire solves one of cosplay’s most persistent lighting challenges: getting illumination into cramped, convoluted prop cavities where running individual LEDs isn’t practical. With fiber optic illumination, you’re channeling light from a single LED source through flexible strands that snake through tight spaces effortlessly. Simply illuminate one end, and the opposite tip glows with precise, focused light.
These light transmission techniques let you position your power source and LED in an accessible location while delivering brightness exactly where your prop needs it. You can route multiple strands from one LED, simultaneously lighting several distant points without complex wiring.
Whether you’re activating glowing runes across a staff or illuminating tiny details inside a helmet, fiber optics give you surgical lighting precision that traditional LED placement simply can’t match.
Which Materials Diffuse Cosplay LED Light Best?
When you scuff acrylic surfaces, the material traps and scatters light internally, transforming harsh LED points into smooth, even glows across your prop.
You can push this further by applying thin, translucent paint coats over clear materials, letting embedded LEDs shine through with a diffused, atmospheric effect rather than a sharp beam.
Combining both techniques gives you layered control over light intensity and spread, letting you dial in exactly how your prop reads under convention lighting.
Acrylic Diffusion Techniques
Scuffed acrylic stands out as one of the most effective diffusion materials for cosplay LED lighting, trapping light within the plastic structure to produce an even, glowing effect rather than a harsh, directional beam.
By sanding the surface, you’re creating diffuse surface finishes that scatter photons uniformly across the entire panel, eliminating hot spots that betray amateur builds.
You can push this further by etching custom shapes directly into plexiglass, allowing edge-lighting to illuminate only those precise patterns.
Pair this with fiber optic integration to route your light source remotely, keeping heat away from sensitive prop areas while delivering clean illumination to distant points.
Light coats of paint over clear acrylic add another control layer, letting internal LEDs shine through with calibrated intensity rather than overwhelming brightness.
Translucent Paint Effects
Translucent paint lets you dial in exactly how much light escapes through clear acrylic or resin, giving you precise control over glow intensity without swapping out your LED configuration. Apply thin coats incrementally, testing each layer under your LEDs before adding more. This light layering approach prevents over-opacity, keeping your prop’s glow functional and striking.
Color blending becomes powerful here — you’re fundamentally filtering your LED’s base color through tinted translucent paint, shifting hues without replacing hardware. A cool-white LED behind amber-tinted paint produces a warm bioluminescent effect ideal for alien or fantasy builds.
Keep coats ultra-thin near high-detail areas to preserve edge definition. Always cure completely between applications, since wet paint diffuses unpredictably under heat generated by active LEDs.
Hide Batteries and Switches Without Ruining Your Costume
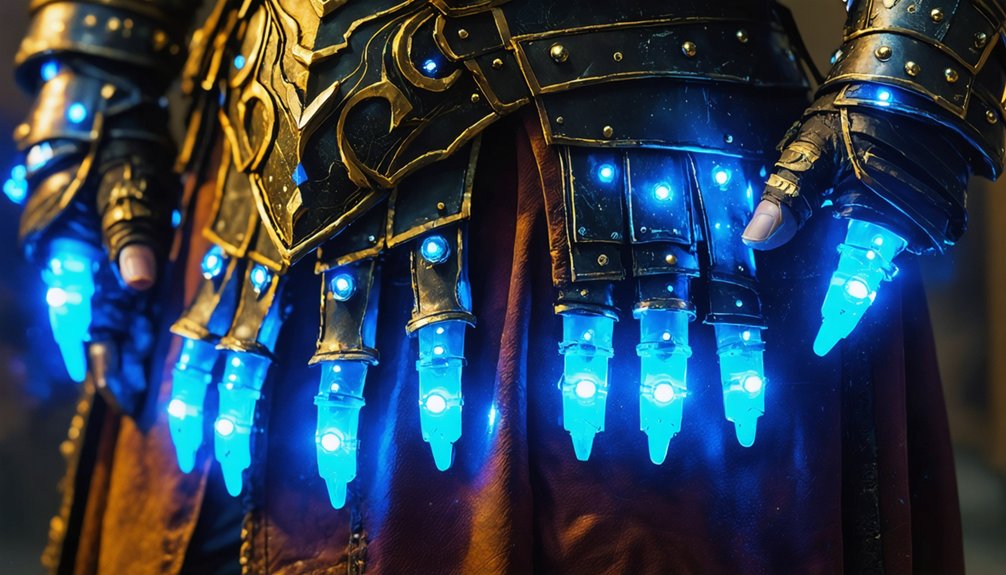
Keeping your costume’s visual flow intact means you’ll need to plan battery and switch placement early in your build process. Think of battery compartment concealment as a design layer, not an afterthought. Tuck power banks into reinforced belt pouches, hollow armor sections, or lined boot panels where access stays quick but invisible to onlookers.
For switches, route them into seams, under removable panels, or behind articulated joints. Magnetic reed switches let you toggle LED color combinations without exposing any visible hardware, keeping surfaces clean and immersive. Tape-wrap or channel wiring through prop cavities to eliminate surface runs.
Always verify that compartments remain reachable mid-event. A beautiful costume that you can’t power down or swap batteries in quickly becomes a liability on a long convention floor.
Best Cosplay LED Techniques for Helmets and Armor
Helmets and armor demand LED strategies that balance visual impact with structural constraints. For helmet visors, use bendable flat rectangular LEDs behind translucent material to achieve even eye illumination without bulk. Chrome visor surfaces redirect LED color dynamically, amplifying glow with minimal power draw.
Chrome visor surfaces dynamically amplify LED glow, achieving maximum visual impact with minimal power draw.
For armor plating, embed addressable LED strips beneath light-coated clear material, letting internal light bleed through with controlled intensity. Scuffed acrylic diffuses hotspots, creating smooth, consistent illumination across panel surfaces.
Prioritize clean wiring techniques throughout. Route cables through EVA foam channels and secure them with tape wrapping to eliminate visible clutter. Keep battery access points reachable without disassembling the costume.
Test every connection before permanently sealing components—discovering failures mid-convention wastes both time and materials.
Bring Swords, Blades, and Tubes to Life With LEDs
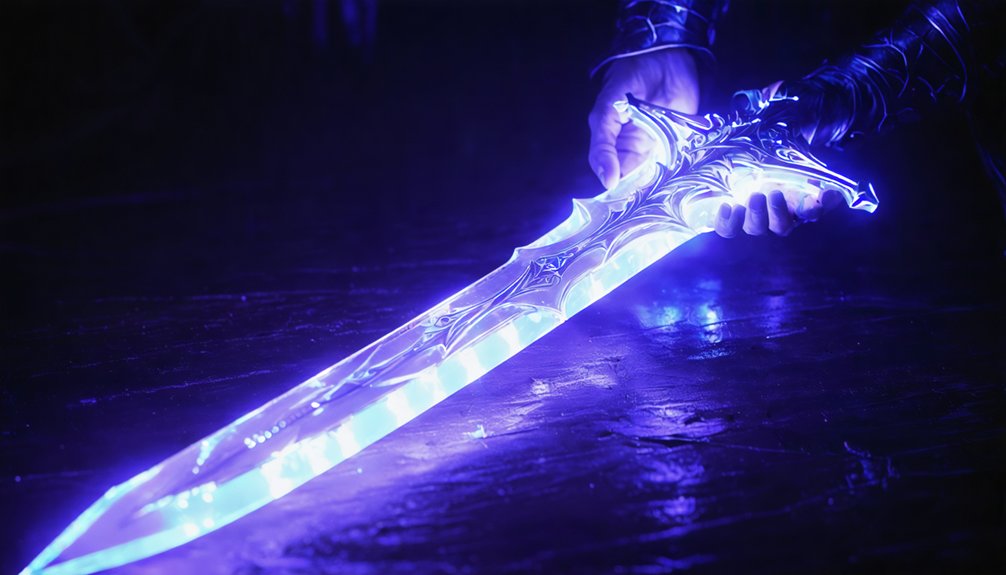
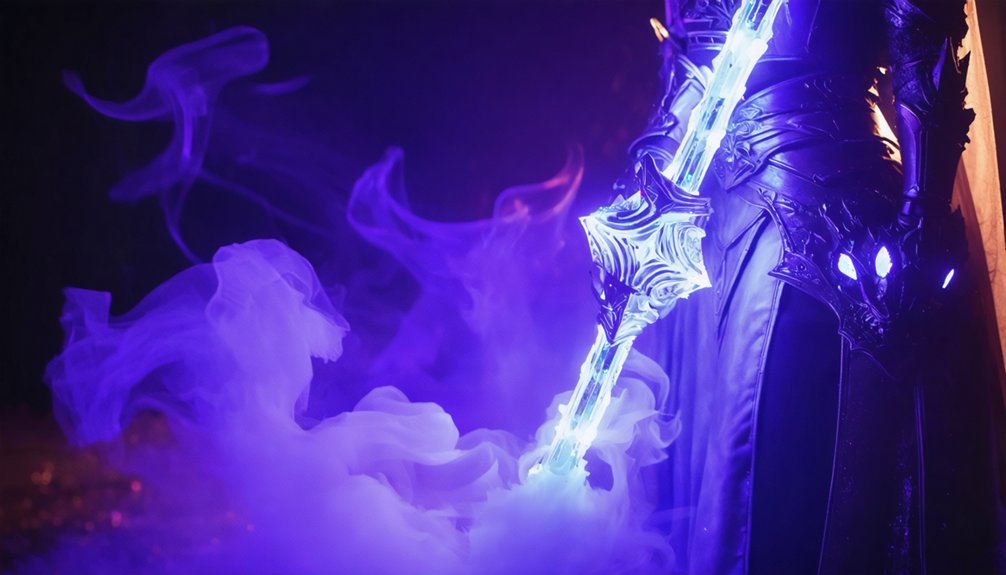
Swords, blades, and tubes offer some of the most visually striking LED opportunities in cosplay builds. You can achieve precise LED color blending by mounting thin addressable strips inside hollow blade cores, letting you shift hues across the entire length.
Etched plexiglass catches edge-lighting beautifully, amplifying glow without bulky hardware.
For tubes, match your LED diameter to the inner tube diameter for clean light transmission. Power management becomes critical here—compact power banks keep setups portable without sacrificing runtime.
Consider these techniques for maximum impact:
- Mount addressable strips inside sword edges for dynamic color control
- Etch plexiglass surfaces to enhance internal light diffusion
- Use fiber optic wire to transmit light into narrow tube ends
- Scuff acrylic interiors to trap and distribute light evenly
Stay Safe When Using Cosplay LEDs Near Eyes and Skin
When you’re mounting LEDs near your eyes or against your skin, you’ve got to manage brightness carefully—what looks subtle on a workbench can become uncomfortably intense inside a helmet.
Use diffusing materials like scuffed acrylic or translucent layers to soften output without sacrificing visual impact.
Keep heat-generating components away from direct skin contact, and always test your full setup before committing to a long wear session at a convention.
Managing LED Brightness Safely
Safety becomes your top priority once LEDs enter the equation near eyes or skin, since even low-wattage sources can cause discomfort or damage with prolonged exposure. LED dimming and color calibration give you precise control over output intensity, letting you dial back harshness without sacrificing visual impact.
Apply these safeguards during every build phase:
- Use resistors or PWM controllers for accurate LED dimming across all brightness levels
- Run color calibration tests to eliminate blue-spectrum spikes that strain eyes
- Layer translucent diffusion material between the LED source and skin-facing surfaces
- Test wearable setups for 15-minute intervals before committing to full event use
These targeted measures let you push creative boundaries while keeping your lighting technically sound and physically safe throughout extended cosplay wear.
Protecting Skin From Heat
Beyond eye strain, heat buildup from LEDs pressed against skin creates a separate risk that can quietly cause discomfort or minor burns before you notice anything’s wrong. High-output LEDs—especially those cycling through intense LED color sequences—generate more thermal energy than most cosplayers expect.
Always position LEDs with a buffer layer between the component and your skin, using EVA foam or thin fabric as insulation. Monitor your power sources carefully, since over-driven batteries push excess current through circuits, amplifying heat output markedly.
Test props against your inner wrist before full wear to detect uncomfortable warmth early. For extended convention use, consider pulse-width modulation to reduce average power without sacrificing visual brightness, keeping both your components and skin operating within safe thermal limits.
Frequently Asked Questions
Can LED Lights Damage Fabric or Foam Materials Used in Cosplay?
LEDs won’t typically cause fabric safety issues or foam damage if you’re managing heat levels carefully. You’ll want to test brightness settings, embed LEDs securely in EVA foam, and avoid prolonged direct contact with delicate materials.
How Long Do LED Batteries Typically Last During a Convention Day?
You’ll plan wisely, you’ll conserve smartly—battery life varies from 4–12 hours depending on LED count and brightness. Effective power management, like using quality power banks, guarantees you’re glowing brilliantly throughout your entire convention day.
Are There Waterproof LED Options Suitable for Outdoor Cosplay Events?
You’ll find waterproof options like sealed LED strips and conformal-coated addressable lights that deliver outdoor durability. They’re perfect for powering vibrant cosplay effects through rain, humidity, and unpredictable weather without sacrificing color precision or brightness.
Can Beginners Solder LEDS Without Prior Electronics Experience?
Like striking a spark into a forge, you can solder LEDs as a beginner! Follow beginner soldering tips, prioritize soldering safety with heat-resistant gloves, and you’ll master precise connections, transforming your cosplay props innovatively.
What Tools Are Essential for Cutting and Connecting LED Strips?
For LED strip installation, you’ll need sharp scissors, a soldering iron, flux, and connectors. Prioritize soldering safety by using heat-resistant gloves and proper ventilation, ensuring you’re cutting strips precisely at designated copper pads for seamless connections.
References
- https://www.youtube.com/watch?v=OVARWsgXyjY
- https://www.reddit.com/r/cosplayprops/comments/1f1ru4c/need_ideas_on_lighting/
- https://forums.adafruit.com/viewtopic.php?t=207425
- https://www.youtube.com/watch?v=OVARWsgXyjY&vl=de
- https://www.makeuseof.com/beginner-friendly-led-cosplay-projects/
- https://www.youtube.com/watch?v=lDEjXepBkvE