
When cosplaying on dark skin, you’ll want to match your foundation along the jawline and blend it down your neck for a seamless finish. Moisturize and prime first to prevent patchiness, and choose eyeshadow shades two to three tones lighter for visible definition. Cream blush and bronzer add dimension that cameras love. Lock everything with setting spray so your look survives the convention floor. There’s much more to uncover about perfecting every detail.
Key Takeaways
- Match foundation to your jawline, blend it into your neck, and use setting spray to prevent harsh lines and ensure seamless coverage.
- Moisturize and prime before applying foundation to prevent dry patches and uneven application on dark skin.
- Choose eyeshadow shades two to three tones lighter than your skin tone for better visibility and definition in photos.
- Apply cream blush and bronzer to add dimension, as foundation alone can flatten features on dark skin.
- Use lip liner to reshape your lips and layer character-specific colors over concealer for accurate cosplay character matching.
Match Foundation to Your Dark Skin Tone
When building your cosplay look, matching your foundation to your skin tone as closely as possible makes the biggest difference in how natural and polished your base appears. Test shades along your jawline rather than your hand, since your jawline better reflects how the product will blend into your neck and chest.
Skin tone matching gets easier once you understand your undertones, whether warm, cool, or neutral. Look for foundations that complement rather than fight your complexion.
Foundation texture also matters considerably. Liquid formulas build heavier coverage for dramatic character looks, while powder or mineral options offer lighter, breathable wear during long convention hours.
Always blend your foundation down your neck to eliminate hard edges and keep your overall base seamless.
Prep Your Skin Before Heavy Makeup Application
Before applying foundation, you’ll want to moisturize your skin to protect it and help products lay down more smoothly during long convention hours.
Follow that with a primer to extend your makeup’s wear through heat, movement, and photography.
As you apply your base, blend your foundation down into your neck so there’s no harsh line where your face color stops.
Moisturize Before Applying Foundation
Prepping your skin before a heavy cosplay look isn’t just a nice extra step — it’s what keeps your foundation from settling into dry patches, creasing, or wearing unevenly through a long convention day. Hydration importance becomes clear the moment you skip it — dry skin grips pigment inconsistently, making even premium formulas look patchy.
Build moisturizer into your skincare routine before every event, applying it a few minutes before foundation so it fully absorbs. This gives your skin a smooth, receptive surface that helps liquid foundation layer more evenly and stay comfortable across extended hours.
For dark skin especially, a hydrated base preserves the depth and richness of your tone rather than dulling it under heavy product buildup.
Prime For Longer Wear
Primer is the step that turns a good foundation application into one that actually survives a full convention day. Before you apply foundation, work a thin layer of primer across your face to lock in moisture, smooth texture, and create a surface that holds pigment longer.
If you’re dealing with uneven skin tone, a color-correcting primer can neutralize discoloration before foundation goes on, giving you a cleaner, more consistent base to build from.
Texture smoothing primers fill in pores and fine lines, which matters especially under heavy or layered cosplay makeup. When you’re under hot lights, moving constantly, or posing for hours of photography, primer becomes your strongest defense against fading, creasing, and patchiness throughout the day.
Blend Face And Neck
One mistake that’s easy to overlook after priming is stopping your foundation at the jaw, which creates a visible line where your face color ends and your neck begins. Seamless blending unifies your look, especially under studio lighting or convention photography.
Follow these steps for a clean blend:
- Extend foundation downward past your jawline onto your neck using a damp sponge.
- Apply contouring techniques along the jaw to define structure without harsh edges.
- Feather the edges where your neck meets your chest for a gradual, natural transition.
- Lock everything with setting spray benefits — a fine mist seals blended layers and prevents separation during long wear.
Consistent blending across your face and neck keeps your cosplay finish looking intentional and polished.
Concealer and Highlight Placement for Dark Skin
For highlighting and concealing on dark skin, you’ll want to reach for a concealer that’s one to two shades lighter than your skin tone to brighten the under-brow area and eyelids without looking chalky or overdone.
Apply it strategically — the inner corners of the eyes, the center of the forehead, and the tip of the nose are key spots that catch light naturally and translate beautifully in convention photography.
Blending your highlight placement seamlessly into your foundation keeps the finish looking polished rather than patchy, which matters even more under harsh event lighting.
Concealer Shade Selection
Choosing the right concealer shades makes a significant difference when building a cosplay look on dark skin. Smart concealer shade selection and color correction give you control over dimension and character accuracy.
Use these four guidelines:
- Highlight strategically — choose a concealer one to two shades lighter than your skin tone to brighten under-brow areas and eyelids.
- Correct before concealing — address hyperpigmentation with color correction before applying your concealer shade.
- Soften lip shape — apply lighter concealer to the inner lip area to create stylized, character-accurate mouth shapes.
- Blend seamlessly — harsh edges undermine even the best concealer shade, so blend thoroughly into surrounding skin.
Precision here directly impacts how well your final look reads on camera.
Strategic Highlight Placement
Once you’ve locked in your concealer shades, strategic highlight placement takes that foundation work further by adding glow, dimension, and camera-ready depth to your look. Highlight contrast works best on dark skin when you apply luminous product precisely — think cheekbones, the tip of the nose, and the brow bone. These targeted zones catch light naturally and create definition that reads clearly in photographs.
Reflection techniques elevate this further. Layering a sheer, light eyeshadow over your highlighted areas intensifies brightness without muddying the surrounding skin tone. Blend edges thoroughly so highlights gradually rather than sitting as isolated patches.
For cosplay accuracy, reference your character’s design to determine whether a subtle glow or a bolder, sculpted finish better serves the look you’re building.
Choose Eyeshadow Shades That Show Up on Dark Skin
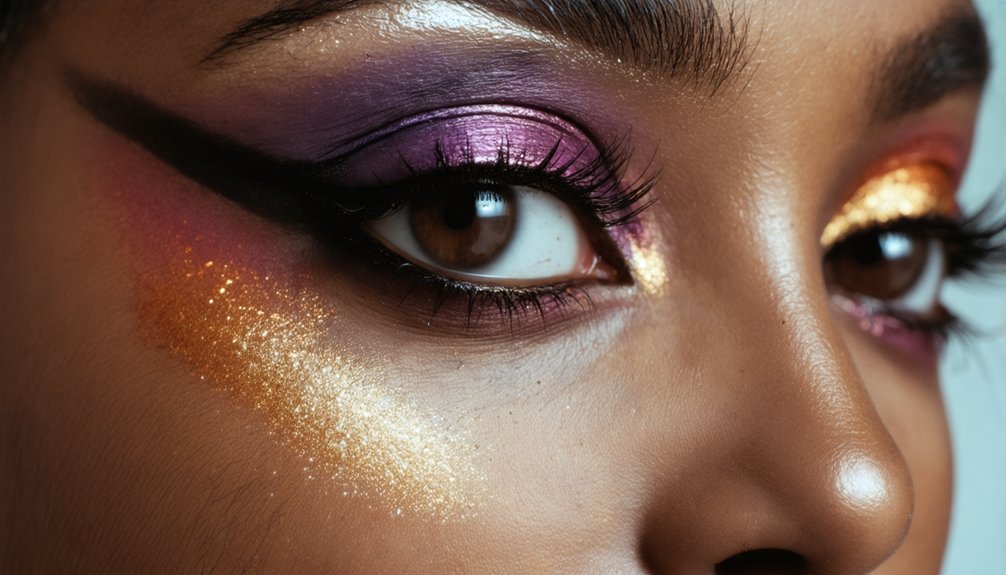
When it comes to eyeshadow on deep skin tones, contrast is everything. Without it, your look can disappear on camera or under convention lighting. You’ll want shades that create color contrast while still honoring your character’s design.
Follow these four guidelines for maximum impact:
- Go two to three shades lighter than your skin tone for visible definition.
- Choose matte formulas first — they blend cleaner and don’t muddy your base.
- Use an eyeshadow primer to intensify pigment payoff and extend wear.
- Layer shimmer effects strategically on the lid’s center or brow bone, not all over.
Building your look with intentional placement means your eyeshadow reads clearly in photos and stays sharp throughout the entire convention day.
Define Your Eyes for Camera-Ready Cosplay Results
Strong eye definition pulls your entire cosplay look together, especially under the harsh lighting conditions of convention halls and camera flashes. Mastering eyeliner techniques helps you control how the camera reads your features without flattening your expression.
For eye shape enhancement, focus liner placement along the outer third of your lash line rather than lining the full lid. This approach opens your eyes instead of narrowing them. Swap harsh black liner for deep brown when you want a softer, more dimensional finish that still photographs clearly.
Apply white eyeshadow primer to your waterline to brighten and intensify your eye area. Finish with mascara on both upper and lower lashes to anchor your liner and complete a sharp, camera-ready result.
Shape Your Brows to Match the Character’s Look
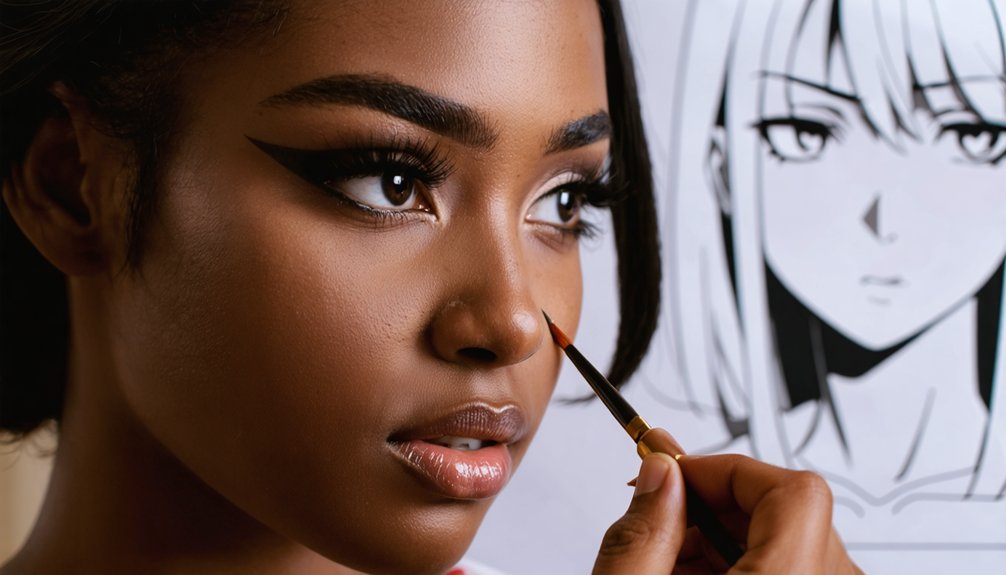
Brows frame your face and carry just as much weight as your eye makeup when it comes to character accuracy. Brow shaping transforms your look, so use reference images to nail character-specific arches precisely.
Brows carry as much power as your eye makeup — get the arch right, and your character comes alive.
- Choose a brown pencil for soft, buildable definition that photographs naturally on dark skin.
- Apply a white base underneath dark brows when your character requires a lighter shade.
- Blend the front of each brow into a gradient to avoid harsh edges on camera.
- Mirror your character’s arch style — whether thin and dramatic or full and structured — for stronger resemblance.
Precision matters here. Even slight adjustments to your arch shape shift your entire facial expression, helping you embody the character rather than simply wear the costume.
Place Blush and Bronzer to Add Depth on Dark Skin
After foundation evens out your complexion, it can flatten your face and strip away natural dimension — that’s where blush and bronzer do their work.
Bronzer techniques for dark skin focus on sculpting rather than warming, so apply it just below the cheekbones, along the temples, and lightly across the jawline to rebuild structure. Choose a bronzer two to three shades deeper than your foundation for visible contrast.
For blush placement, dust color across the cheeks and lightly onto the nose to tie the face together naturally. Cream formulas tend to melt into deeper skin tones more seamlessly than powder.
Together, these steps restore the depth foundation removed, giving your cosplay look dimension that reads clearly on camera and in person.
Style Your Lips to Match the Character

Shaping your lips for a specific character starts with using a lip liner to redefine the natural edge of your mouth. Extending liner slightly beyond your outer corners widens the lip shape, while drawing inside your natural line narrows it. Color coordination matters just as much as shape.
- Extend or reduce your lip line with liner to match the character’s mouth shape precisely.
- Apply lighter concealer to the center of your lips to mute your natural tone before adding character color.
- Layer lip color over concealer for accurate color coordination with the character’s design.
- Blend edges carefully so the liner-to-color gradation looks intentional rather than harsh in photography.
Reference your character’s design constantly to keep both shape and color accurate.
Make Your Dark Skin Cosplay Makeup Last All Day
Getting your lip color locked in is only half the battle — keeping every layer of your cosplay makeup intact through hours of convention wear is where your real prep pays off.
Start with skin smoothing steps like moisturizer and primer before you apply anything else. These create a stable base that helps color correction products and foundation grip your skin evenly.
Once your full look is built, press translucent powder over your face to reduce movement and patchiness. Follow that with a generous setting spray, which seals everything from your eyeshadow to your contour.
On dark skin especially, even application matters — any thin or patchy areas will break down faster under heat and activity.
Lock it down properly, and your cosplay look stays convention-ready all day.
Fix These Common Application Mistakes Before You Go
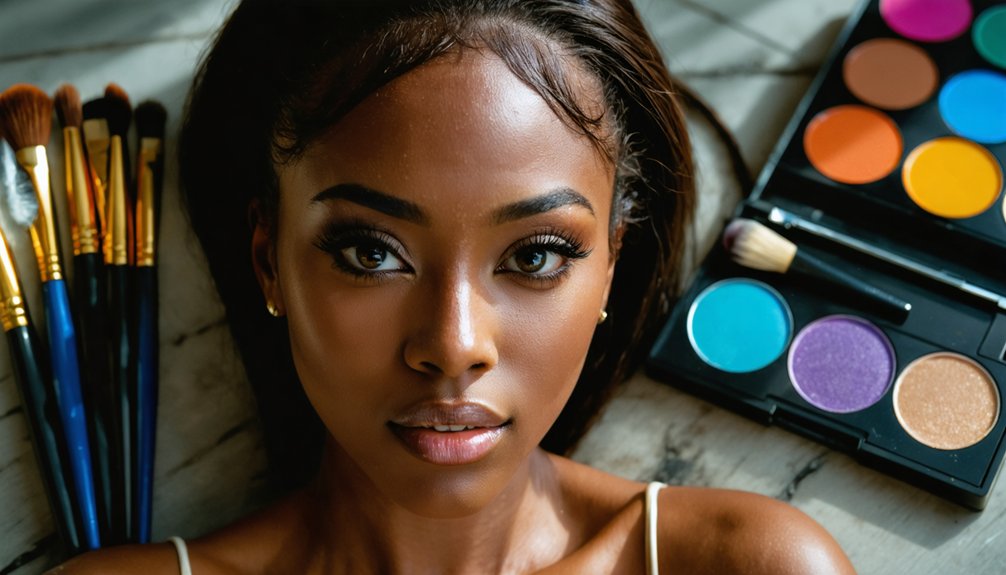
Before you head out, check your foundation edges along the jawline and hairline — unblended lines are the fastest way to break an otherwise polished look.
Blend your foundation down into your neck so there’s no visible cutoff where coverage stops.
When you’re setting with powder, apply it in light, even layers instead of pressing too much on at once, since patchy powder builds up quickly and dulls the finish you’ve worked to achieve.
Unblended Foundation Edges
One of the most noticeable foundation mistakes you’ll spot in cosplay photos is a hard, unblended edge where your foundation stops — usually along the jaw, hairline, or sides of the neck. Unblended edges and foundation streaks immediately break the illusion you’ve worked hard to create.
Fix them with these four steps:
- Extend foundation down your neck so coverage transitions naturally into your natural skin tone.
- Use a damp blending sponge along the jawline to soften any visible lines.
- Check your work in natural light before photographing — harsh indoor lighting hides streaks that cameras will catch.
- Blend upward into the hairline using light, tapping motions to eliminate visible demarcation lines.
Seamless merging is what separates polished cosplay looks from rushed ones.
Patchy Powder Application
Patchy powder is the last thing you want to discover after you’ve already packed your bag for the convention. Uneven translucent powder ruins color correction work and undermines your contouring techniques before cameras ever flash.
Apply powder in thin, buildable layers using a fluffy brush in pressing motions rather than sweeping strokes, which drag product across the skin unevenly. Focus extra attention on oilier zones like your T-zone while keeping powder lighter around the cheeks and jawline.
For dark skin, over-powdering pulls the face ashy and flattens dimension you’ve worked hard to build. A light setting spray after powder locks everything together and eliminates any remaining patchiness, giving you a seamless, convention-ready finish that photographs cleanly under any lighting condition.
Frequently Asked Questions
Can Dark Skin Cosplayers Use Colored Contacts to Enhance Their Look?
Yes, you can absolutely use colored contact options to boost your cosplay! They’re a fantastic eye color enhancement tool that pairs beautifully with your eyeshadow and liner, helping you achieve stunning, character-accurate looks effortlessly.
How Do You Remove Heavy Cosplay Makeup Without Irritating Dark Skin?
Use gentle, oil-based cleansers as your primary makeup removal methods to break down heavy products without stripping your skin. Follow with skin hydration tips like moisturizing immediately after to keep dark skin healthy and irritation-free.
Are There Specific Makeup Brands That Cater Best to Dark Skin Tones?
You’ll find brands like Fenty Beauty, Black Opal, and NARS excel at offering diverse foundation shades and highlighter techniques tailored for deeper complexions, ensuring you achieve vibrant, camera-ready cosplay looks that celebrate your skin’s unique richness.
Should Dark Skin Cosplayers Adjust Their Makeup for Outdoor Versus Indoor Events?
Yes, you’ll need to adjust! Outdoors, use setting spray and translucent powder to combat heat. Refresh your skincare routines beforehand, and swap makeup brushes for sponges to blend seamlessly under natural light for flawless, lasting coverage.
How Does Flash Photography Affect How Makeup Appears on Dark Skin?
Flash photography can wash out your features, so prioritize skin prep with moisturizer and primer to boost makeup longevity. You’ll want intensified highlights and deeper contours to maintain dimension and guarantee your look photographs beautifully.
References
- https://www.youtube.com/watch?v=av7fzxf1RAM
- https://www.youtube.com/watch?v=0_ihJmgEb8s
- https://www.youtube.com/watch?v=z9tkupcTfFc
- https://andsewingishalfthebattle.com/basic-makeup-for-cosplay-faq/
- http://thecosplaychronicles.blogspot.com/2011/03/introduction-to-basic-cosplay-makeup.html
- https://www.scribd.com/document/748937465/Cosplay-Makeup-Tips-and-Tricks
- https://www.reddit.com/r/cosplay/wiki/makeup/
- https://www.youtube.com/watch?v=4MNhZW0xjbA
- https://behindjinfinity.wordpress.com/2016/11/22/cosplay-makeup-basics/
- https://www.youtube.com/watch?v=1vS4CZA0sTE