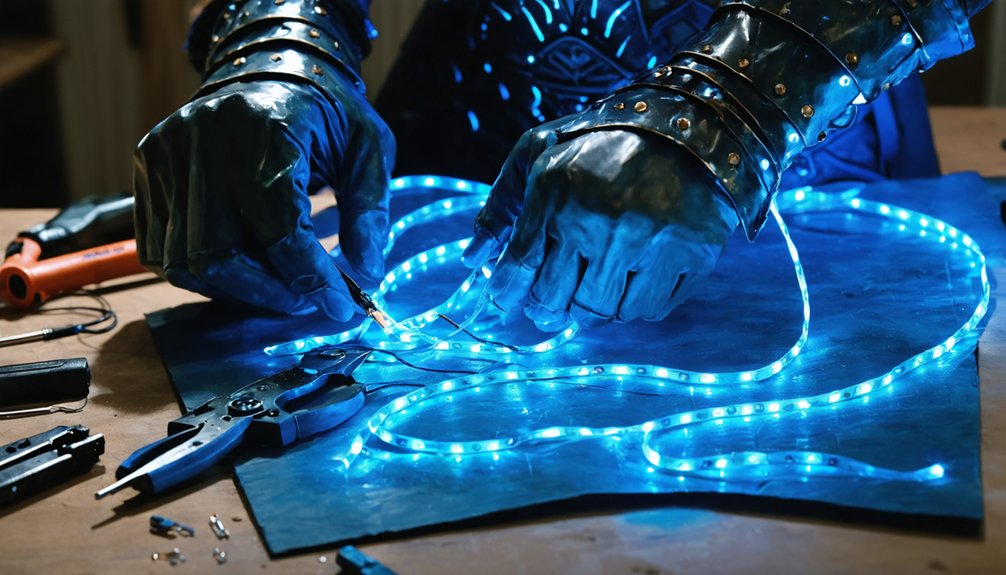
To add LED lights to your cosplay costume, you’ll need to match your LEDs to the right battery—most beginner LEDs run at 3V and pair perfectly with CR2032 button cells. Identify polarity first, then wire your LEDs in parallel using twisted connections sealed with heat shrink tubing. Plan placement before you build, route wires along seams, and add a switch for easy control. There’s much more to explore ahead.
Key Takeaways
- Match LED voltage to your power source; most beginner LEDs run on 3V, pairing perfectly with CR2032 button cell batteries.
- Plan LED placement before building by sketching diagrams to map locations, wire paths, and battery access points.
- Wire multiple LEDs in parallel, joining all positive leads together and all negative leads together for consistent power.
- Insulate connections using heat shrink tubing and reinforce stress points with hot glue to secure wires reliably.
- Diffuse harsh LED light by lightly sanding the lens with fine-grit sandpaper or layering removable diffusion film over it.
What LEDs and Batteries Work Best for Cosplay?
When starting a cosplay LED build, you’ll want to match your power source to your LED’s voltage rating. Most beginner LEDs operate at 3 volts, making a CR2032 button cell an efficient pairing.
Battery capacity directly affects runtime, so larger builds with multiple LEDs may require higher-capacity holders or AA-based packs.
LED color options expand your creative range significantly. Standard single-color LEDs suit straightforward effects, while RGB variants let you dial in custom hues for complex costume designs.
Always identify polarity before wiring—the long leg is positive, the short leg is negative.
For props requiring sustained illumination, prioritize battery capacity over compactness.
For garment integration, lightweight button cells keep the build wearable without adding bulk to your costume structure.
Plan Your Cosplay LED Placement Before You Build
Before you wire a single component, map out exactly where each LED will sit within your costume or prop structure. Sketch a diagram marking each light point, wire path, and access panel for battery replacement.
Consider your LED color options early — warm whites suit organic builds, while cool blues or greens reinforce futuristic aesthetics.
Your placement decisions directly influence which battery types make sense; compact CR2032 cells fit tight cavities, while AA holders work better in structured props with more interior space.
Identify where wires will route without bunching at joints or stress points. Plan concealment paths that keep wiring hidden but accessible.
Locking down placement before building prevents costly rework and guarantees your circuit integrates cleanly into the finished costume.
Wire Your Cosplay LEDs Without a Soldering Iron
Soldering isn’t a requirement for wiring cosplay LEDs — you can build a reliable, functional circuit using twisted wire connections and heat shrink tubing alone.
Strip each wire end, twist the positive leads together, and slide heat shrink tubing over the joint before applying heat to seal it. Repeat the process for your negative leads.
Color-code everything — red for positive, black for negative — to avoid polarity mistakes across your LED color options, whether you’re running warm white, RGB, or UV variants.
For battery safety, avoid over-discharging your CR2032 cells and never reverse polarity, which can damage LEDs instantly.
Once your connections are secured and insulated, test the circuit before mounting anything permanently inside your costume structure.
Connect Cosplay LEDs in Parallel for Multi-Light Builds
Running multiple LEDs from a single power source requires wiring them in parallel — joining all positive leads together and all negative leads together — so each LED receives the full voltage rather than sharing it.
Strip each wire, twist all positive leads together, then do the same for negatives. Secure both junctions with solder or heat shrink tubing for clean, durable connections.
Your power source types will determine how many LEDs you can run simultaneously. A CR2032 button cell handles a few low-draw LEDs, while AA battery packs support larger arrays.
Match your LED color options carefully — different colors have slightly different forward voltage requirements, so verify compatibility before finalizing your build.
Label red for positive and black for negative throughout to avoid polarity errors.
Insulate and Secure Every Wire Inside Your Costume
Once you’ve completed your parallel connections, slide heat shrink tubing over each exposed joint and apply heat to contract it tightly around the wire.
Reinforce any joints that carry mechanical stress with a small bead of hot glue, which both insulates and locks the connection in place.
Finally, anchor your wire runs inside the costume using cable ties or stitched loops so nothing shifts or pulls loose during wear.
Heat Shrink Tubing Basics
Heat shrink tubing is one of the simplest and most effective ways to insulate exposed wire joints inside a costume. Slide the tubing over your wire before making any connection, then position it over the finished joint.
Apply heat from a heat gun or lighter, and the tubing contracts tightly around the conductor, sealing it against contact with fabric or skin.
This method works across different battery types, from CR2032 cells to AA holders, keeping your power connections protected regardless of voltage.
It also accommodates various LED color options by allowing you to color-match tubing to your wiring for easier circuit identification.
Use the correct diameter tubing for each wire gauge, ensuring a snug fit that won’t slip before heat is applied.
Hot Glue For Joints
Where heat shrink tubing excels at insulating wire joints, hot glue adds a second layer of protection by physically anchoring components in place. Apply a small bead over each exposed connection to lock wires against movement and reduce stress fractures during wear.
- Anchor twisted joints – Dab hot glue directly over soldered or twisted connections, locking them against vibration and flex.
- Secure LED positioning – Fix each LED in place so your LED color choices stay precisely aligned within the prop or garment structure.
- Simplify circuit troubleshooting – Label glued joints before sealing completely, leaving minimal access points that let you trace faults without dismantling the entire build.
Keep glue beads small and controlled; excessive application traps heat and complicates future repairs.
Anchoring Wires Securely
Loose wires inside a costume are a failure point waiting to happen, so anchor every run before you close up your build. Use cable ties at regular intervals to strap wire runs against interior framing or structural panels. Route each line along edges and corners to keep it flush against surfaces rather than spanning open space.
Good wire management prevents snagging, strain on solder joints, and intermittent failures mid-wear.
For cable organization inside garments, stitch loops of ribbon or elastic along seams to channel wires cleanly toward your battery pack. Avoid sharp bends that stress insulation over time.
Where wires cross, secure the intersection with a cable tie or a dab of hot glue. Methodical anchoring now eliminates troubleshooting later.
Add a Switch and Battery Holder for Easy Control
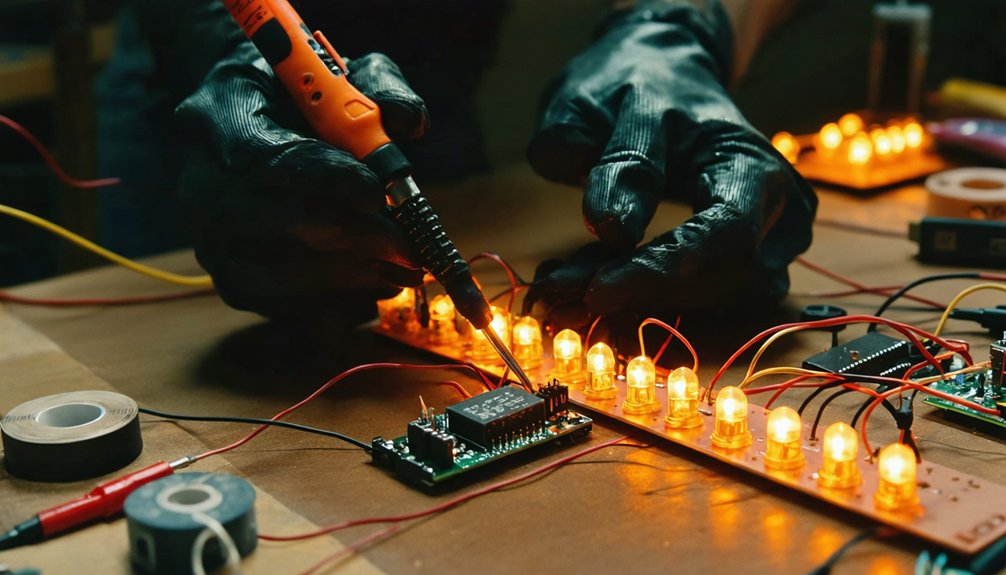
Although tape can hold a battery in place temporarily, adding a battery holder and a switch gives you far more control and makes your build much easier to maintain. Both components improve battery safety and let you power down cleanly between events.
- Install a battery holder that matches your cell size — it clips in securely and allows fast swaps without rewiring.
- Choose your switch type based on your build — toggle switches suit props, while soft-touch or slide switches integrate better into garments.
- Wire in sequence by routing your circuit from the battery holder through the switch, then to the LED, keeping red positive and black negative throughout.
This setup keeps your circuit organized and ready to scale as your LED count grows.
Diffuse Your Cosplay LEDs for a Softer, More Polished Glow
Once your circuit’s working, you can soften the harsh point-light effect of bare LEDs by lightly sanding the LED’s surface with fine-grit sandpaper, which scatters the output and produces a smoother, more even glow.
You can also layer diffusion film directly over the LED to further spread the light across a wider area without considerably reducing brightness.
Both techniques are easy to combine, giving your build a cleaner, more polished look that reads better on a finished costume.
Sanding for Softer Light
When a bare LED shines directly through your costume, it creates a harsh, concentrated point of light that looks unfinished—but sanding the LED’s lens fixes this quickly. Use fine-grit sandpaper to scuff the LED’s outer casing, scattering light across a wider angle for a softer, more diffused glow. This technique works across all LED color options, from cool whites to deep ambers.
- Start with 400-grit sandpaper and sand in small circular motions across the lens surface.
- Test the output after each pass—over-sanding reduces brightness, which shortens effective battery life considerations per charge cycle.
- Finish with 800-grit for a frosted, even finish that integrates cleanly into your build.
No additional components are required—just controlled abrasion and deliberate testing.
Using Diffusion Film
Sanding works directly on the LED itself, but diffusion film gives you a removable, repositionable layer you can place over any light source without modifying the component.
Cut the film to size and layer it over your LED output point to scatter harsh beams into a smoother, even glow. This technique also supports color mixing when you’re stacking multiple LEDs of different hues — diffusion film blends their outputs before they hit the eye, eliminating visible color banding.
Because you’re not sanding or physically stressing the diode, you’re also protecting LED lifespan by avoiding mechanical damage during modification. Secure the film with adhesive tape or a framed housing inside your prop. Swap it out anytime your build evolves without touching the wiring underneath.
Hide Wires and Keep Battery Access Inside Your Costume
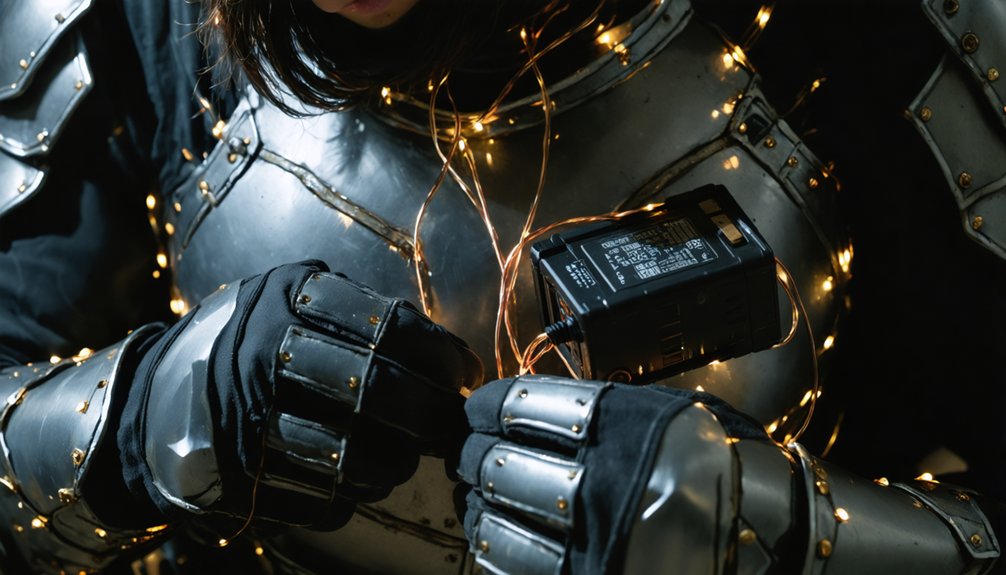
Planning wire routes and battery access points before you assemble your costume saves significant rework later. Map each wire channel along seams, internal frames, or hollow prop cavities to keep runs invisible. If you’re exploring wireless power options, small receivers can eliminate long wire spans entirely, expanding your LED color options without cluttered routing.
- Channel wires along seams — sew or hot-glue wire runs flush against interior seams so fabric conceals them naturally.
- Build a dedicated battery pocket — position it at a hip seam or inner panel where you can swap cells quickly without disassembly.
- Secure with cable ties — anchor wires at regular intervals to prevent pull tension from breaking solder joints during movement.
Frequently Asked Questions
Can I Wash My Cosplay Costume if It Has LED Lights Installed?
You shouldn’t wash your cosplay if it has LEDs installed without first removing the electronics. Follow washing instructions carefully, and verify LED waterproofing measures are in place before exposing any components to moisture.
How Long Will My LED Cosplay Lights Last at a Convention?
Your battery life depends on your power sources and LED count. A CR2032 typically lasts 4–8 hours, so you’ll want backup batteries for full convention days to keep your lights running reliably.
Are Cosplay LED Setups Allowed at All Convention Venues and Events?
Policies vary, rules differ, and venues change—so you’ll want to check each event’s cosplay lighting safety guidelines before attending. Always review LED installation guidelines per venue, as some restrict open flames, sharp props, or exposed wiring.
Can Extreme Temperatures Affect My Cosplay LED Battery Performance Outdoors?
Yes, extreme temperatures directly impact your battery efficiency. Cold weather reduces a CR2032’s output voltage, dimming your LEDs, while heat accelerates drain. You’ll want to monitor temperature impact closely when running outdoor cosplay builds.
How Do I Transport a Light-Up Cosplay Safely Without Damaging Components?
Picture your glowing build nestled safely: wrap delicate components in foam, secure wiring concealment with cable ties, and store battery safety by disconnecting power. You’ll prevent shorts, protect fragile LEDs, and arrive convention-ready.
References
- https://www.kamuicosplay.com/2018/07/18/installing-leds-into-props-and-costumes/
- https://www.youtube.com/watch?v=vX2twvU-Rlw
- https://www.reddit.com/r/cosplayprops/comments/rxjrm4/need_bulid_advise_i_want_to_add_lights_to_my/
- https://www.youtube.com/watch?v=U8H5iHnN_yw
- https://evandesigns.com/pages/using-leds-for-cosplay
- https://www.youtube.com/watch?v=A0RhcYobQNw
- https://www.youtube.com/watch?v=OVARWsgXyjY
- https://www.youtube.com/watch?v=Rwj3rxksJ28
- https://www.youtube.com/watch?v=TYCRU4Jryjk
- https://www.youtube.com/watch?v=_bCwKtTMWG0