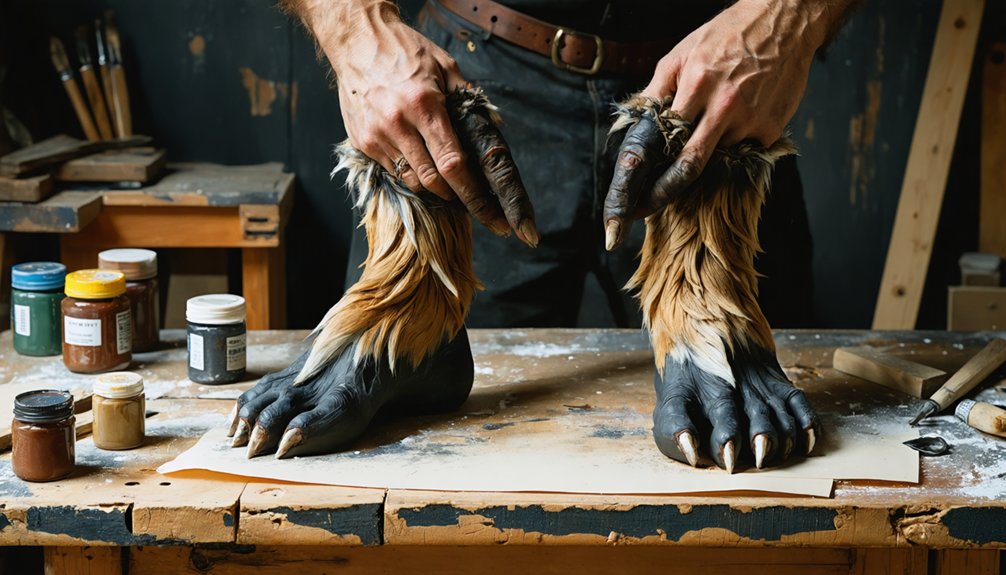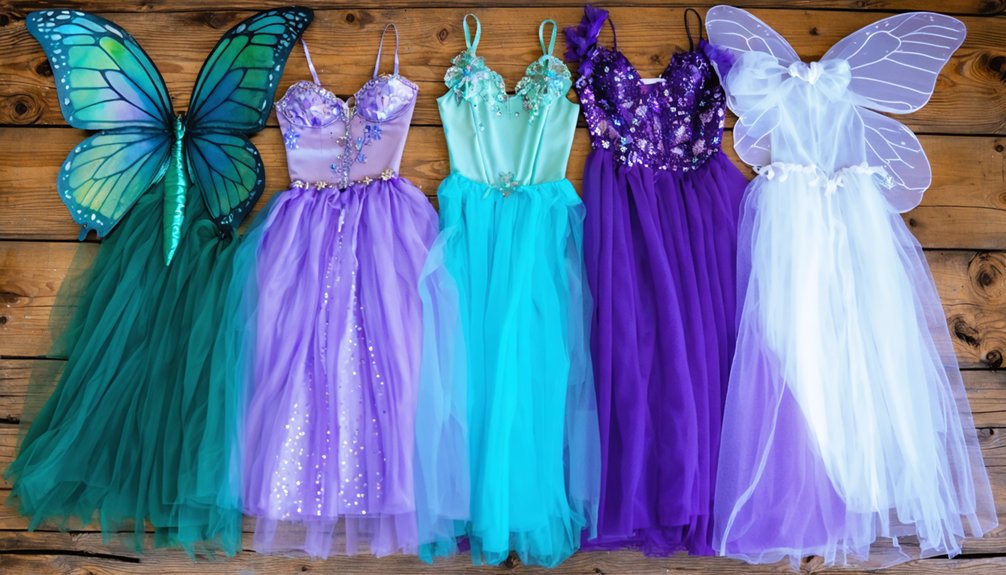
To create a dryad costume with natural materials, you’ll gather branches, pinecones, and dried vines, then wire them into a wearable silhouette using double-knotted junctions and reinforced wraps. Dye unbleached muslin with iced tea for an earthy base, shape fabric leaves over curved surfaces for realistic curvature, and add felted wool for bark texture. You can complete the entire build for under $50, and there’s much more structural and creative detail ahead.
Key Takeaways
- Gather natural branches, sticks, and bark from the environment to form the costume’s core silhouette and structural framework.
- Bundle and wire branches together at junctions, double-knotting each connection and reinforcing with overlapping layers for stability.
- Cut hundreds of leaf shapes from muslin or lace, paint veins, and press over curved surfaces for realistic curvature.
- Build a wire crown base, attach pinecones and dried vines irregularly, then extend small branches upward for organic presence.
- Dye fabric with iced tea for earthy tones, and use spray paint in bronze or black for branch depth.
What Materials Do You Need for a Dryad Costume?
Before gathering a single branch or stitching a single leaf, you’ll need to understand the layered material system that holds a dryad costume together.
Your foundation starts with unbleached muslin for the dress base, which accepts dye readily and supports intricate flower patterns without fighting the natural aesthetic.
Unbleached muslin forms the ideal dress base, eagerly accepting dye while naturally complementing delicate floral embellishments throughout your design.
Layer in sticks, branches, and wire for structural silhouette work, using pliers to bind bundles into directed, organic forms.
For torso support, canvas, buckram, or leather creates armor-grade stability.
Add felted wool for bark texture, and stock up on fabric paint, adhesive, and natural-colored yarn.
Plan your costume storage early, since branch frameworks and leaf clusters require flat, protected space to prevent crushing.
Keep your total budget lean by prioritizing wire, spray paint, and repurposed household items.
Choose the Right Base and Skill Level for Your Dryad Costume
Before cutting a single branch or dyeing a yard of muslin, you’ll need to honestly assess your sewing, wiring, and sculpting skills, since a full branch-armature harness with 700 fabric leaves demands far more technical patience than a simple accessory-level build.
Match your base material to that skill assessment: plain unbleached muslin suits beginners who’ll dye and gather fabric into a loose silhouette, while canvas, buckram, or leather serve intermediate-to-advanced builders constructing structured torso pieces with boning and grommets.
Your budget directly shapes this decision, since a shoestring $40–$50 build works when you limit complexity to spray-painted branches and a dyed muslin dress, but armor-grade elements push costs higher and demand proportionally stronger fabrication techniques.
Assess Your Crafting Skills
Whether you’re a weekend crafter or a seasoned costume builder, your skill level should directly shape the complexity of your dryad build. A beginner can channel mythical symbolism through simple leaf clusters, dyed muslin, and wired branch accents without advanced fabrication.
Intermediate builders might add felted bark textures, shaped leaf canopies, or a fitted harness with boning. Advanced crafters can pursue full structural builds — layered crowns, articulated branch limbs, and seasonal inspiration drawn from specific tree species or woodland ecosystems.
Honestly assess your comfort with wire work, fabric dyeing, and structural assembly before committing to a scope. Overbuilding leads to abandoned projects. Start with one technically demanding element — a crown or bark-textured vest — then expand outward.
Precision in planning produces more authentic results than ambition alone.
Select Your Base Materials
Once you’ve gauged your skill level, your next decision shapes everything downstream: the base material. Each option carries distinct structural properties and ties directly to forest mythology’s earthy aesthetic. Your choice determines how mythical symbolism translates into wearable form.
- Muslin: Lightweight, dye-receptive, and budget-friendly — ideal for flowing silhouettes.
- Canvas or buckram: Rigid enough for armor-style harnesses requiring torso support.
- Leather: Durable, naturally textured, and historically rooted in woodland craftsmanship.
- Crinoline or hoop skeletons: Essential when building tree-trunk silhouettes with dimensional volume.
Match your base to your construction method. If you’re dyeing fabric with instant iced tea for organic toning, muslin performs best.
If you’re constructing a wired branch harness, canvas provides the anchoring strength your framework demands.
Precision here prevents structural failure later.
Match Complexity To Budget
Dryad costumes span a wide spectrum — from a $40 shoestring build held together with wire and iced-tea-dyed muslin to a full armor ensemble with boned canvas harnesses and hundreds of individually shaped leaves — so matching your ambition to your actual budget prevents both financial strain and mid-build collapse.
Mythical creatures rooted in forest symbolism demand layered visual storytelling, but complexity doesn’t require expense. If you’re working with minimal funds, prioritize silhouette over surface detail — a well-shaped branch crown and dyed muslin dress communicate the concept immediately.
Reserve intricate leaf coverage, felted bark textures, and shell embellishments for builds with room to breathe financially. Accurately measure your materials budget against your available hours, since denser builds like 700-leaf costumes consume both simultaneously and unforgivingly.
Dye and Finish Your Dryad Costume Muslin Before You Build
Before you cut a single seam or attach one branch, dye your muslin first. Natural dyeing before construction saves you from fighting uneven coverage on a finished garment. Brew instant iced tea, submerge your raw muslin, and pull a warm bark tone that synthetic fabric simply can’t replicate. Surface finishing at this stage lets the material move and dry without seam distortion.
Dye your muslin before you build anything. Raw fabric takes color evenly. Finished garments fight back.
- Simmer muslin in strong iced tea for 20–30 minutes for deep, even saturation.
- Wring gently and hang-dry to preserve the organic, slightly uneven tone.
- Add grommets, ribbons, and waist ties after dyeing and drying.
- Seal the finished color with a light fabric fixative spray before construction begins.
Work the material raw, finish it intentionally, then build.
Build the Branch and Stick Silhouette of Your Dryad Costume
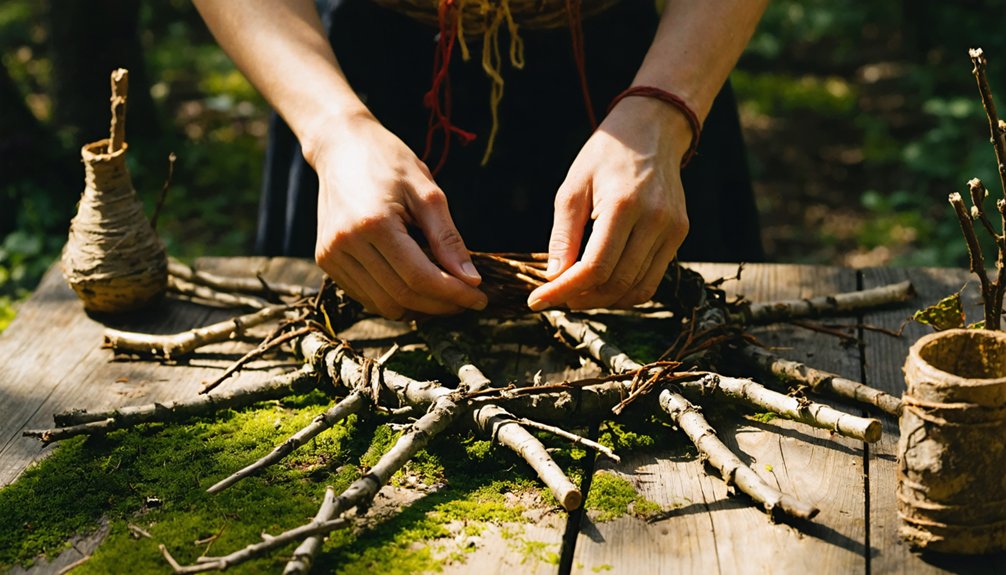
Once your muslin is dyed and dry, you’re ready to select your sticks and branches, prioritizing pieces with natural forks, curves, and varied thicknesses that suggest organic limb growth.
Bundle smaller clippings into larger structural clusters, then bind each junction tightly with wire, using pliers to cinch and lock every wrap so nothing shifts under movement.
Shape your directed limb elements last, bending wired branch bundles into upward-reaching arms or arching crown extensions that establish the silhouette’s final gesture before attachment.
Choosing Sticks And Branches
The backbone of any dryad costume starts with sticks and branches, so you’ll want to gather a varied selection of twigs, thin limbs, and woody stems before you begin binding anything together.
Branch weaving works best when you combine multiple thicknesses, letting rigid structural pieces anchor flexible decorative ones. Natural ornamentation emerges organically when your materials already vary in curve, texture, and color.
- Collect branches in multiple diameters—thick for framing, thin for layering.
- Choose pieces with interesting bends, forks, or bark texture for visual complexity.
- Avoid brittle, dry-rotted wood that’ll crack under wire tension.
- Source from fallen debris rather than living trees to preserve organic integrity.
Prioritize variety over volume; a curated mix outperforms a large pile of uniform sticks every time.
Binding Branches With Wire
With your branches selected and sorted by thickness, binding them into a unified silhouette is where raw materials become structured costume architecture. Start with your heaviest branches as the spine, then layer progressively thinner ones outward using branch weaving to build organic dimension.
Wrap wire tightly around each junction point, gripping with pliers to eliminate slack. Twist ends inward so no sharp edges protrude. For reinforcement, supplement wire with natural adhesives like pine resin or hide glue at pressure points where wire alone might slip.
Work in sections — crown, torso frame, and limb extensions — then connect them with heavier gauge wire for load-bearing joints. Bend each wired cluster deliberately, shaping the silhouette before it sets into its final structural form.
Shaping Directed Limb Elements
Shaping directed limb elements transforms your wired branch clusters from static structure into something that reads as alive — reaching, twisting, and growing outward with intention.
Mythical forest creatures aren’t symmetrical, so don’t force yours to be. Bend each wired bundle deliberately, referencing wildlife symbolism — an upward reach suggests growth, a downward curl suggests age and weight.
- Curve shoulder branches forward slightly to frame the face and create visual depth
- Angle crown elements asymmetrically so the silhouette reads organic rather than decorative
- Twist smaller side branches around larger ones to mimic natural growth patterns
- Use pliers to create tight directional bends at joint points without snapping dry wood
Test your angles while wearing the harness — what looks right on a table often reads flat on the body.
Add Bark Texture to Your Dryad Costume With Felted Wool
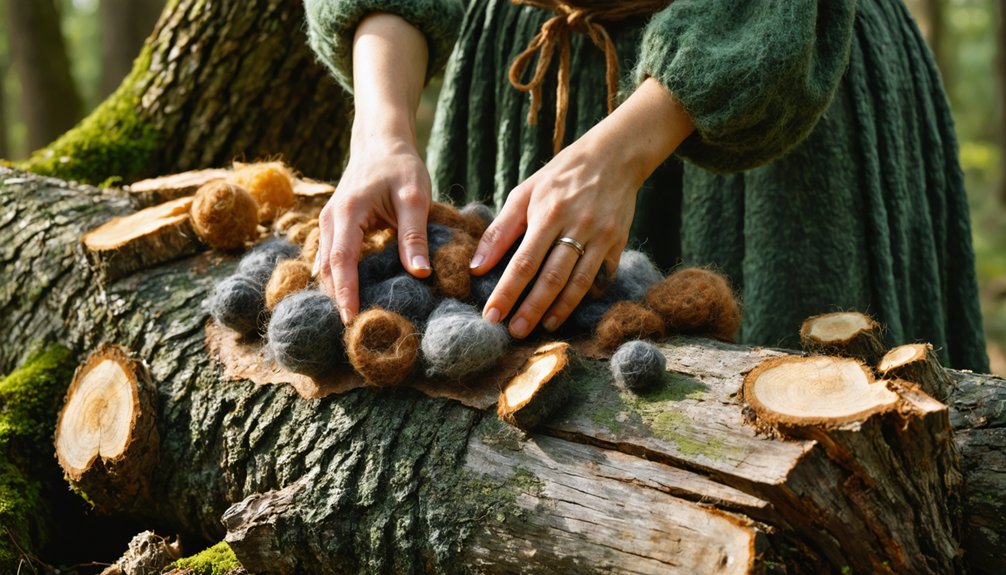
Felted wool gives your dryad costume a convincingly organic bark texture that spray paint and fabric alone can’t replicate. Work with raw wool roving, layering it directly onto vest or torso panels using wet-felting techniques. Build ridged, furrowed surfaces by compressing fibers unevenly—this mimics natural bark grain with structural depth.
Before felting, consider natural dyeing the wool with walnut husks or iron-rich water to achieve authentic bark browns and mossy grays without synthetic dye interference.
Once your bark panels are complete, integrate them alongside leaf shaping work—positioning curved fabric leaves at panel edges creates a seamless passage from trunk to foliage. Stitch felted sections firmly to your canvas harness base, ensuring flexibility at shoulder seams so movement doesn’t separate the layered fiber structure during wear.
Cut and Shape Leaves for Dense Dryad Costume Coverage
To achieve dense foliage coverage, cut hundreds of leaf shapes from fabric or lace using sharp scissors or a die-cut tool. Work in batches to maintain consistent silhouettes across the costume.
Once cut, apply pearlescent fabric paint in fine strokes along each leaf’s center and branching lines to replicate the organic structure of real leaf veins.
Finally, press each painted leaf over bubble wrap or curved plastic bottles while still damp, locking in a natural curvature that prevents the leaves from laying flat and lifeless against your costume’s surface.
Cutting Leaf Shapes Efficiently
Because a full dryad costume can demand upward of 700 individual leaf pieces, cutting them efficiently isn’t optional—it’s essential. Stack multiple fabric layers before cutting to multiply your output per pass. Varying fabric textures across batches—lace, muslin, canvas—adds dimensional contrast that mimics real foliage complexity. You can also adapt flower motifs from lace trim into stylized leaf forms, reducing waste while expanding your shape vocabulary.
- Create a rigid cardboard template for consistent leaf outlines across fabric types
- Stack four to six layers and cut simultaneously with sharp fabric scissors
- Mix elongated, rounded, and pointed silhouettes to avoid visual repetition
- Pre-sort cut pieces by size and shape to streamline the attachment phase
Precision at the cutting stage directly controls the costume’s final organic density.
Painting Organic Vein Details
Once your leaf shapes are cut, painting organic vein details transforms flat fabric pieces into convincing foliage. Load a fine brush with pearlescent fabric paint and pull a central midrib from stem to tip, applying consistent pressure for clean lines.
Branch secondary veins outward at roughly 45-degree angles, mimicking real leaf anatomy. A natural pigment wash layered beneath the pearlescent coat adds depth, preventing a plasticky finish.
Keep strokes deliberate but slightly irregular — perfect symmetry undermines the organic motifs you’re trying to replicate. Work in small batches, allowing each layer to dry fully before adding accent shading along vein edges with a darker tone.
This controlled layering creates dimensional texture that reads beautifully under both indoor and outdoor lighting conditions.
Shaping Leaves For Curvature
Painted veins give your leaves life on a flat surface, but curvature is what makes them read as real foliage once they’re attached to a costume.
For shape modeling, press each cut leaf over curved objects while the fabric paint is still slightly tacky.
Use these techniques for realistic leaf curvature:
- Bubble wrap: Press leaf centers down over raised bubbles to create natural midrib arching
- Plastic bottles: Wrap leaves around cylindrical surfaces for uniform, pod-like curves
- Finger-pinching: Fold and hold edges briefly to create asymmetrical, wind-caught angles
- Layered drying: Stack shaped leaves loosely so each dries holding a distinct position
Varying your shaping methods across a large leaf batch guarantees the finished costume reads as organic rather than manufactured.
Build a Dryad Costume Crown With Pinecones, Vines, and Wire
To build a dryad crown that feels genuinely rooted in the forest, you’ll want to start with a wire base shaped into a circle sized to your head, then reinforce it with a second looped ring for structural stability. Twist both rings together using pliers, creating a rigid double-band foundation.
From there, wire pinecones directly onto the base at irregular intervals, letting wildlife symbolism guide your placement—asymmetry reads more organically than uniform spacing. Weave dried vines between pinecones, securing each wrap with tight double-twists.
Mythical creature inspiration should inform your crown’s height; dryads command vertical presence, so angle some elements upward. Finish by threading small branches through remaining gaps, locking everything with final wire wraps until zero movement remains.
Integrate the Crown and Branches Into a Wearable Dryad Costume

With your crown finished, you’ll need to connect it to the rest of the costume so everything moves and holds together as one unified structure. Today’s costume trends favor mythical creatures with cohesive, sculptural silhouettes rather than disconnected accessories.
Wire the crown base directly into a canvas harness anchored across your shoulders and torso.
- Thread branch extensions from the crown down through boning channels in the harness to distribute weight.
- Bind junction points with wrapped wire, then reinforce with pliers for rigid, directional limbs.
- Match spray-painted tones across crown, branches, and dress so bark brown and moss green flow continuously.
- Secure the harness with grommets and ribbon ties, ensuring the full structure stays anchored during movement.
Every connection point should feel intentional, organic, and structurally sound.
Keep Your Dryad Costume Secure and Stable All Day
A fully wired and painted structure means nothing if it shifts, sags, or collapses mid-wear, so stability has to be built into every fastening choice from the start.
Secure branch harnesses using canvas or buckram with integrated boning to anchor torso elements firmly against your body. Thread grommets into your dyed muslin base, then lace ribbons and waist ties through them for a snug, adjustable fit that holds plant-inspired patterns in precise alignment throughout the day.
Double-knot every wire junction, wrap connections in overlapping layers, and thread attachments back through themselves.
For crowns and headpieces, use wire rings as interior scaffolding. Your natural color palettes of bark brown, moss green, and copper will read beautifully only when the structure underneath stays exactly where you placed it.
Build a Complete Dryad Costume for $40 to $50
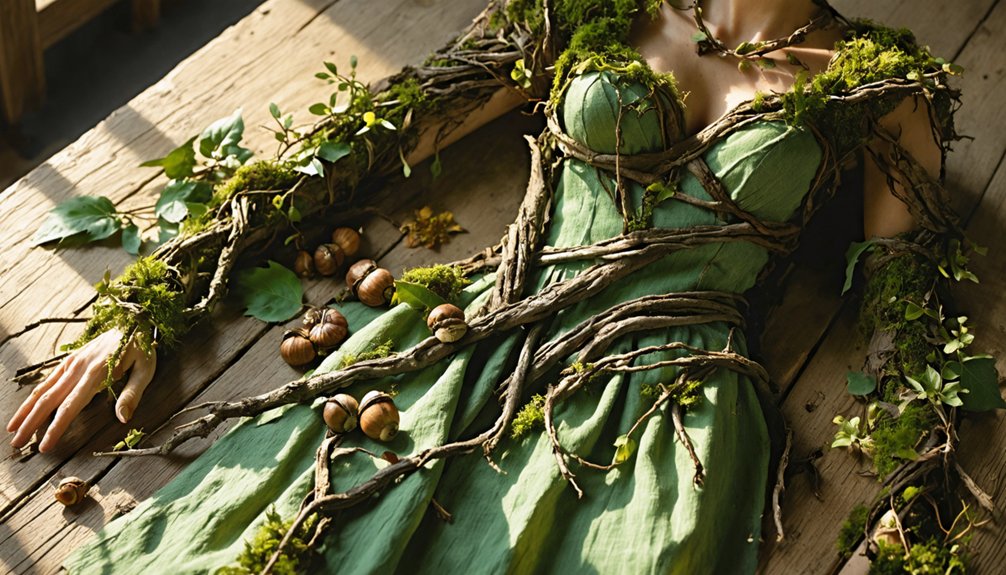
Building a complete dryad costume doesn’t require a large budget when you prioritize low-cost raw materials and repurposed household items. Rooted in mythical origins, the dryad embodies tree symbolism through texture, form, and organic layering — all achievable for $40 to $50.
Building a complete dryad costume requires only low-cost materials and repurposed household items — achievable for $40 to $50.
Focus your spending strategically:
- Spray paint (black, bronze, silver) absorbs most of the budget but delivers essential branch depth
- Muslin dyed with instant iced tea creates earth-toned fabric for under $5
- Wire, pliers, and adhesive handle structural binding across the entire build
- Bubble wrap, plastic bottles, and wire rings repurpose as free leaf-shaping and framework tools
Allocate funds toward paint and fabric first, then source natural branches, bark, and leaves from your environment at no cost.
Frequently Asked Questions
Can a Dryad Costume Be Worn Comfortably in Hot Outdoor Weather?
Yes, you can wear it comfortably by prioritizing breathable materials like unbleached muslin for temperature regulation. Layer lightweight leaves strategically, minimize dense branch clusters near your torso, and you’ll maintain airflow while achieving stunning woodland artistry.
How Do You Store a Dryad Costume Without Damaging Fragile Branches?
Store your dryad costume upright or suspended to protect fragile branches. Effective costume preservation relies on innovative storage solutions like padded hangers, breathable garment bags, and tissue-wrapped branch clusters to prevent breakage and maintain their organic, sculptural integrity.
Can Children Safely Wear a Branch and Stick Dryad Costume?
Before you assume it’s safe—pause. You’ll want to sand all edges for branch safety, reinforce connections for stick durability, and always supervise children, ensuring no sharp points threaten their comfort or movement.
How Long Does a Fully Assembled Dryad Costume Typically Take to Build?
You’ll typically invest several days to weeks building a fully assembled dryad costume, as assembly time varies by complexity. Costume durability demands patience—wiring hundreds of leaves, dyeing muslin, and reinforcing branch structures requires meticulous, innovative craftsmanship throughout every creative stage.
Can Real Leaves Be Used Instead of Fabric Leaves on the Costume?
Nature’s artistry tempts you, but real leaves compromise costume durability—they’ll wilt and crumble fast. You can incorporate real leaves sparingly for photo shoots, then replace them with fabric versions for extended wear.
References
- https://petapixel.com/2013/03/07/creating-a-dryad-costume-for-a-fantasy-photo-shoot-on-a-shoestring-budget/
- https://organicarmor.com/2017/06/magic-latex-patience/
- https://www.etsy.com/market/dryad_clothing?free_shipping=1&explicit=1
- https://www.gerusa.de/products/50890673031
- https://www.etsy.com/listing/1178500194/mother-earth-woodland-fairy-nymph-dryad
- https://www.instructables.com/Dryad-or-Wood-Elf-Hair-Accessory/
- https://www.etsy.com/uk/listing/1802862926/forest-tree-bark-dryad-top-druid-felted
- https://screenrant.com/netflix-the-witcher-costume-hidden-details/
- https://steel-mastery.com/cosplay-and-larp-armor
- https://blog.crea-mo.com/couture-projet-1-la-dryade-inspiration/