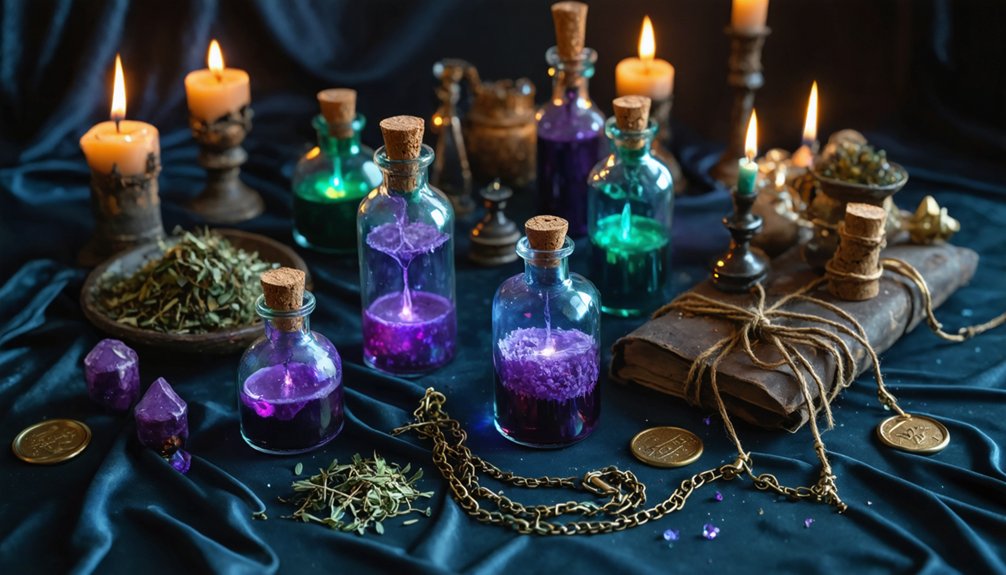
To create fantasy potion props for cosplay, start with small cork-top glass bottles for instant visual charm. Fill them with tinted water, mica powder, or clear glue for shimmer and texture. Press corks firmly, then seal with dripped colored wax for a mystical finish. Wrap jute cord around the neck and add themed labels to tie everything into your character’s world. There’s much more you can do to make each bottle feel truly enchanted.
Key Takeaways
- Use small cork-top glass bottles for an authentic fantasy aesthetic that’s easy to fill, seal, and customize for cosplay.
- Fill bottles with colored water, mica powder, or glitter to create vibrant, shimmery, or layered magical effects.
- Seal corks with hot glue, then drip colored wax over the top for a mystical, finished appearance.
- Wrap jute cord around the bottle neck and attach small tags or dried herbs for thematic character detail.
- Ensure every design choice — colors, textures, and accents — deliberately reflects your character’s specific world and aesthetic.
What Bottles Work Best for Potion Props
When it comes to potion props, your bottle choice sets the tone for everything else. Small glass jars and cork-top bottles are your best starting points — they’re sturdy, visually authentic, and easy to customize.
Your bottle choice sets the tone for everything — start with small glass jars or cork-top bottles for instant authenticity.
Clear glass is especially valuable because it lets your colors, shimmer, and textures shine through without distortion.
Cork-top designs give you that instant fantasy aesthetic while making sealing simple.
If you’re reusing bottles, strip the old labels, clean them thoroughly, and you’ve got a fresh canvas ready for custom label design that matches your character’s world.
Narrow-neck bottles benefit from a funnel during filling, keeping things clean and precise.
Your bottle materials ultimately shape every creative decision that follows, so choose intentionally and let the container inspire the potion within.
What to Put Inside Your Potion Prop Bottles
Once you’ve chosen your bottle, the fun really begins—filling it with something that looks genuinely magical. You can start simple with water and food coloring, then punch up the visual impact by mixing in mica powder or glitter for shimmer and color-shift effects.
If you want more depth, try packing in stretched cotton balls for cloudy texture or adding vegetable glycerin to suspend sparkling particles mid-liquid.
Simple Liquid Fill Options
There are just a few simple ingredients that can transform an empty bottle into a glowing, swirling fantasy prop — and you probably already have some of them at home. Start with water and food coloring for a clean, translucent base that highlights your bottle design beautifully.
Want something thicker? Mix in vegetable glycerin to slow the movement and suspend shimmer particles mid-swirl. Clear glue works similarly, giving your potion a dense, syrupy quality.
For a more opaque, swamp-like effect, tint hair gel with alcohol ink. Keep colors light enough to stay visible through the glass.
Whatever you choose, make sure your fill complements prop durability — heavier, gel-based fills are less prone to leaking and hold up better during transport and active cosplay wear.
Adding Color And Shimmer
Color is where your potion truly comes to life, and choosing the right combination of colorants and shimmer materials makes all the difference between a flat, amateur prop and something that looks genuinely magical.
Start with food dye for your base tone, keeping it light enough to stay translucent through the glass. From there, color blending becomes your creative advantage — layering two or three complementary hues creates depth that a single dye can’t achieve alone.
For shimmer layering, mix mica powder directly into your liquid base, then add a separate glitter size for contrast. Finer mica catches ambient light subtly, while larger glitter produces bold sparkle.
Alcohol ink punches up translucency with vivid, swamp-like intensity. Stir gently to preserve distinct color zones rather than muddying everything together.
Texture And Suspension Effects
Beyond color alone, three key materials can transform a plain tinted liquid into something that looks genuinely alive inside the bottle. First, stretch cotton balls and pack them loosely inside to simulate swirling clouds or magical sediment. Second, crinkle iridescent cellophane and press it in for a reflective, shifting texture that catches light beautifully. Third, mix mica or luster dust directly into your liquid to create suspended movement every time you tilt the bottle.
For layered illusions, try combining oil and tinted water — they’ll separate naturally, producing striking visual contrast without extra effort.
If you want a gel consistency, vegetable glycerin slows particle movement dramatically, keeping shimmer suspended longer. Stir gently when blending layers; aggressive mixing collapses the effect you’ve carefully built.
Color and Shimmer Effects for Potion Props on Any Budget
Whether you’re working with a five-dollar budget or splurging on premium supplies, achieving a rich, magical color effect in your potion bottles comes down to layering the right materials. Potion color mixing starts with food dye as your base — it’s affordable, versatile, and available in nearly every hue you need.
From there, shimmer layering transforms a flat tint into something genuinely otherworldly. Add mica powder for metallic depth or color-shift movement, then introduce fine glitter for surface sparkle. If you want stronger translucent tones, alcohol ink punches up saturation beautifully.
Keep your mixture light enough that color reads clearly through the glass — too dark, and you lose the visual magic entirely. Stack these elements intentionally, and even a budget build delivers stunning results.
Texture Techniques That Make Potion Props Look Magical
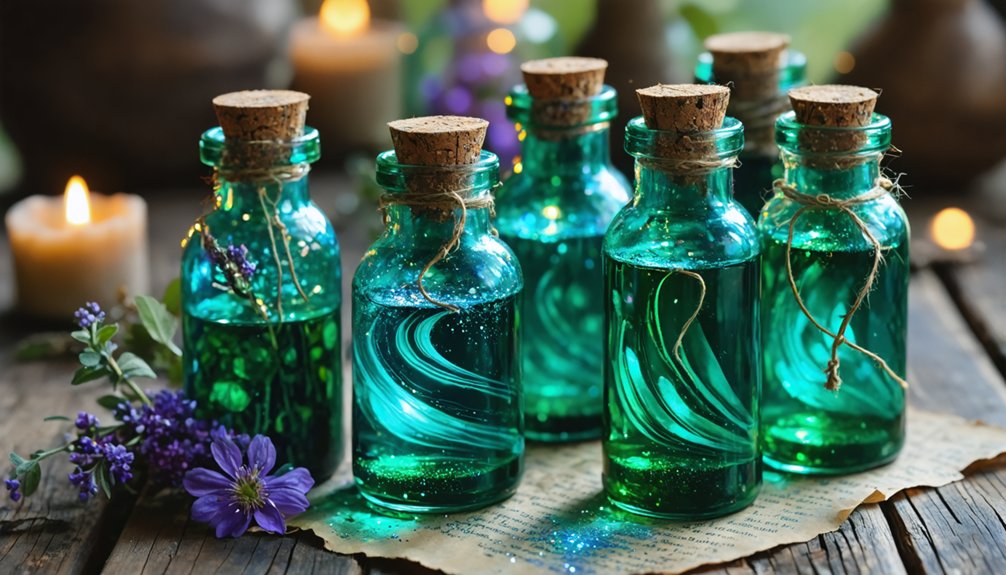
Shimmer and color pull the eye in, but texture is what makes a potion feel alive. Stretch cotton balls into wispy clouds and pack them inside your bottle to simulate magical sediment or swirling mist.
Crinkle iridescent cellophane before inserting it — it catches light unpredictably and adds dimensional depth no liquid alone can replicate.
For bubble effects, try layering oil over tinted water; the natural separation creates living visual contrast.
Mix luster dust or mica into glycerin-based liquid, then shake it gently to watch suspended particles drift.
Add glow in the dark paints to your base mixture for potions that transform under UV light. Stir carefully — over-mixing destroys translucent swirls that give layered builds their handcrafted, otherworldly character.
Seal Your Potion Prop Bottles So They Stay Closed
Once your potion looks exactly right, keeping it sealed is just as important as how it was built. Press your cork firmly into the bottle neck, then ring the base with hot glue to lock it down.
A perfect seal is just as vital as the potion itself — cork it tight, then lock it down with hot glue.
For a more inventive finish, drip colored wax over the top — you can mix in glow in the dark pigment so the seal itself becomes part of the magic.
Layer hot glue beads around the cork’s edge to mimic crystal growth textures while reinforcing the hold.
If you’re carrying your prop in a harness or bag, double-check that the lid flexes without cracking under pressure.
A tight, decorated seal protects your work and elevates the overall prop into something genuinely striking.
Decorate and Style Your Potion Props for Any Cosplay Theme
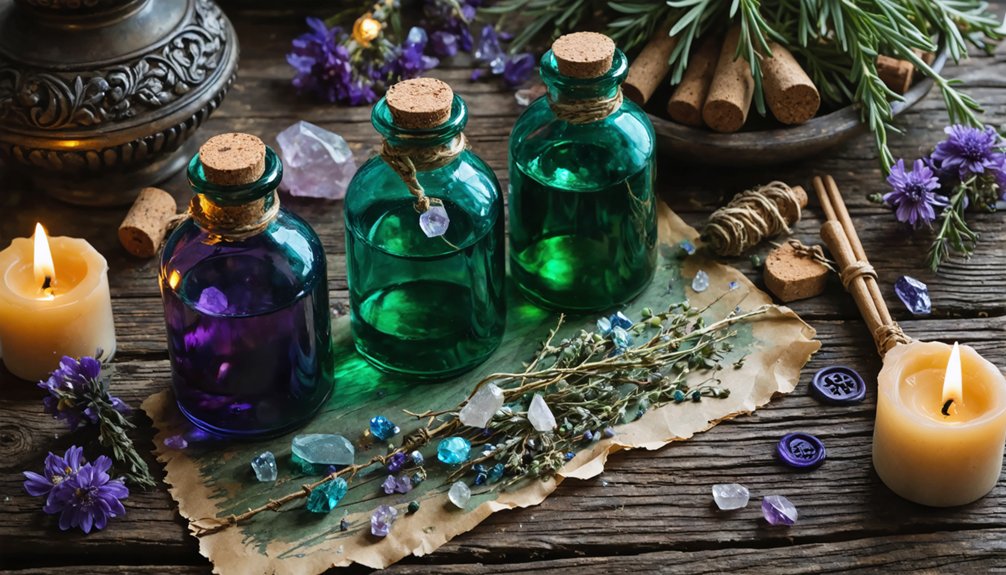
Once your bottles are sealed, it’s time to make them tell a story through decoration. Wrap jute cord around the neck, attach hand-lettered or printed labels, and dab metallic highlights onto any raised details to give each prop an aged, apothecary character.
From dripped wax seals to themed label illustrations, the finishing touches you choose should reflect your character’s world as specifically as the colors inside the bottle do.
Label and Accent Ideas
Labels and accents are what transform a simple colored bottle into a convincing fantasy artifact, so you’ll want to treat them as seriously as the fill itself. Thoughtful label design and accent embellishments instantly elevate your prop from craft project to costume centerpiece.
Try these four impactful finishing ideas:
- Print aged parchment-style labels using tea-stained paper or weathered digital textures for an apothecary aesthetic.
- Add metallic highlights to label borders or hand-lettered text using gold or copper paint pens.
- Wrap jute cord around the bottle neck to anchor a small tag label or dried herb bundle.
- Drip colored wax over the cork and upper label edge to seal the fantasy look authentically.
Each choice should reflect your character’s world-building details deliberately.
Themed Finishing Touches
With your labels and accents locked in, themed finishing touches are what finally anchor your potion to a specific cosplay world. For dark fantasy or necromancer builds, drip black or deep crimson wax over the cork and wrap dried herbs around the neck with jute cord.
Lean into vintage styling by distressing your label edges with tea staining or light singeing.
For arcane or elemental themes, tuck iridescent cellophane inside the bottle to catch magical lighting from stage or convention floor sources, amplifying that otherworldly glow.
Fairy-core props benefit from pastel mica and tiny dried flowers pressed against the glass.
Each detail should feel intentional and world-specific. When every element connects back to your character, the prop transforms from a simple bottle into a believable artifact.
Frequently Asked Questions
How Do I Keep My Potion Props From Breaking During Travel?
Pack your potions in padded pouches and secure corks with hot glue. Prioritize material selection by choosing thick glass, then do durability testing before events—shake ’em, jostle ’em, and make sure every seal holds tight!
Can Potion Props Be Made Safe for Children to Carry?
Like a knight’s foam sword, you can absolutely craft child-safe potion props! Prioritize child safety and prop durability by using sealed, glue-secured corks, non-toxic fillings, and shatterproof plastic bottles instead of glass.
How Long Do Liquid-Filled Potion Props Typically Last Before Spoiling?
Your liquid-filled props won’t last forever! Without liquid preservation techniques, water-based mixtures spoil within weeks. Swap to glycerin or glue bases to extend longevity and maintain stunning potion color variations beautifully, keeping your creations display-ready for months.
Are There Non-Glass Alternatives for Potion Props at Large Conventions?
When fragility’s a concern, you’ve got friendlier paths forward! Plastic alternatives keep you convention-safe, while foam crafting lets you sculpt convincing potion bottles that won’t shatter, spill, or raise safety flags in crowded spaces.
How Do I Attach Potion Prop Bottles Securely to a Costume Belt?
Secure your potions using D-rings or belt loops stitched onto a pouch for smart costume belt customization. You’ll love how leather cord and bottle attachment techniques using carabiners keep your magical arsenal stylishly accessible and adventure-ready!
References
- https://www.youtube.com/watch?v=_blpHmSHt1c
- https://www.reddit.com/r/DnDIY/comments/18gynzc/anyone_have_good_recipes_for_potion_props/
- https://menagerieofmagick.com/2021/10/10/potion-bottle-recipes/
- https://www.youtube.com/watch?v=eCVSyGWK-qs
- https://www.youtube.com/watch?v=keLF0P_26uk
- https://www.youtube.com/watch?v=eXAoW0Wub-M
- https://www.youtube.com/watch?v=dn9mbSb6mUI
- https://www.youtube.com/watch?v=l9j1ADAWKEg
- https://www.youtube.com/watch?v=AMzSduR0KBA