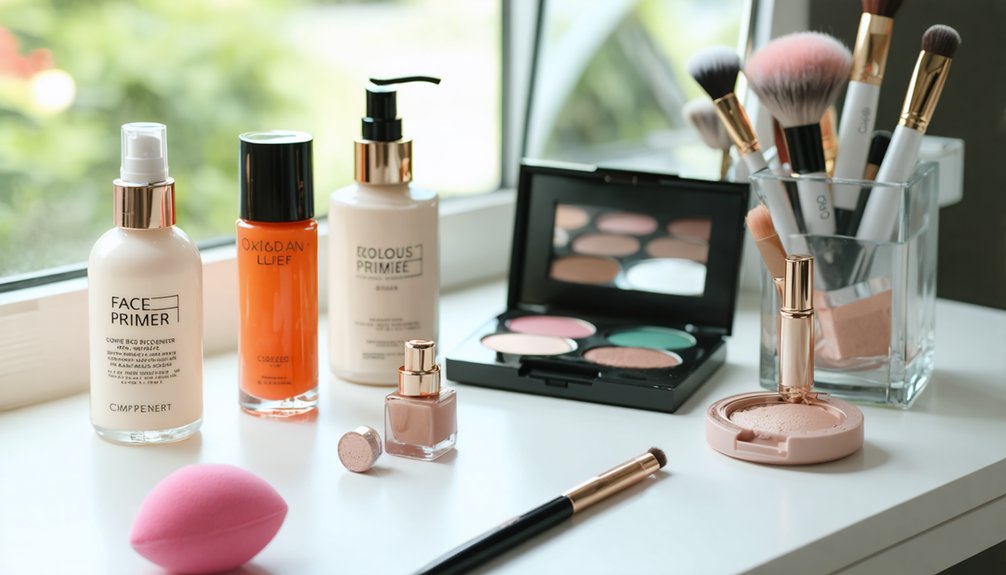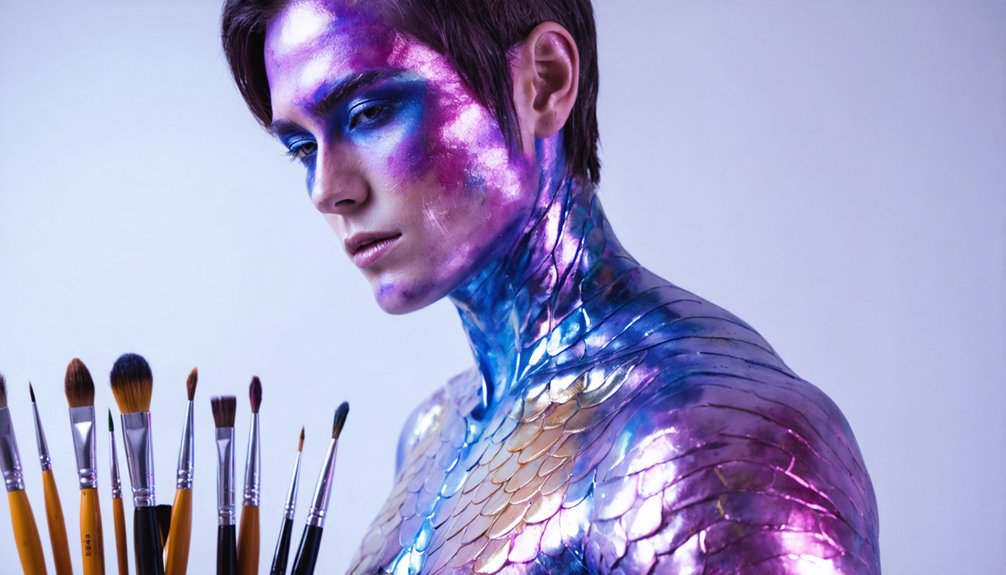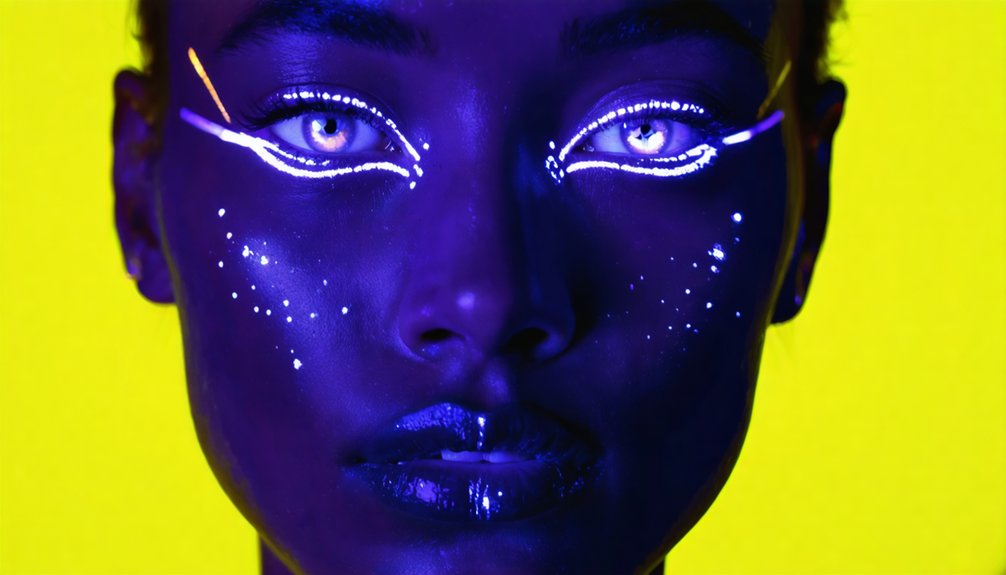
To create glowing effects with UV reactive makeup, you’ll need products specifically labeled blacklight-reactive, as standard cosmetics won’t fluoresce. These formulas contain fluorescent pigments that absorb UV radiation and re-emit visible light, producing that signature glow. Apply thin, even layers over primed skin, focusing on high-contrast zones like eyes and cheekbones. Layer neon tones, add glitter, and seal everything with setting spray. Keep exploring to master every technique that maximizes your UV look’s intensity and longevity.
Key Takeaways
- UV reactive makeup works by absorbing blacklight and re-emitting visible light, so only formulas labeled UV-reactive or blacklight-reactive will glow.
- Neon tones like pink, yellow, green, and blue produce the highest contrast and most intense glow under blacklight.
- Layer pigments in thin, even coats, allowing each layer to dry fully before adding the next for depth.
- Focus glowing elements on high-contrast zones like eyes, cheekbones, and lips, using fine brushes for precision.
- Seal each layer with setting spray to lock in pigments, prevent sweat-related breakdown, and maintain glow throughout wear.
How UV Reactive Makeup Actually Works
UV-reactive makeup works by harnessing fluorescent pigments that absorb ultraviolet light and re-emit it as visible light, making the product appear to glow under a blacklight. This process, known as UV fluorescence, occurs when pigment absorption converts invisible UV wavelengths into visible, luminous color.
The blacklight itself emits ultraviolet radiation beyond the normal visible spectrum, activating the fluorescent compounds within the formula.
Unlike phosphorescent makeup, UV-reactive products don’t store light — they require an active UV source to produce the glow effect. When you’re working with these formulas, understanding this mechanism helps you make smarter product choices.
Higher pigment concentration means stronger absorption and a more intense visible output, giving you greater control over the luminosity and precision of your final look.
Pick the Right UV Makeup Products for Your Look
Because not all UV makeup is formulated equally, selecting the right products directly determines how well your look translates under blacklight. Prioritize formulas explicitly labeled UV-reactive or blacklight-reactive, since standard cosmetics won’t fluoresce effectively.
Not all UV makeup fluoresces equally — choosing blacklight-reactive formulas is the difference between glowing and invisible.
For product textures, diversify your lineup strategically. Water-activated palettes deliver precise, blendable color placement, while gels and glitter add dimension and surface contrast. Highly pigmented formulas produce stronger emission intensity under ultraviolet exposure, so avoid diluted or sheer options.
When building color combinations, neon tones like pink, yellow, green, and blue generate the highest blacklight contrast. Layering complementary hues across face, body, and eye applications amplifies visual impact.
Prioritize smudge-resistant, quick-drying formulas to maintain structural integrity during extended wear in high-heat or high-movement environments.
Prep Your Skin Before Applying UV Makeup
Once you’ve locked in your product selection, skin preparation determines how cleanly those formulas adhere and fluoresce. Start your skincare routine by thoroughly cleansing to remove oil, dirt, and residue that would otherwise block pigment bonding. Excess sebum scatters UV-reactive particles unevenly, weakening the glow effect under blacklight.
Balance skin hydration carefully — you need enough moisture to prevent dry patches from disrupting pigment distribution, but not so much that a cream barrier prevents adhesion. Apply a lightweight, non-greasy moisturizer, allow it to fully absorb, then follow with a primer designed for long wear.
Primer locks the surface texture, creating a uniform canvas that maximizes how evenly UV pigments sit and emit light. Proper prep directly amplifies the intensity and precision of your final glowing design.
Apply UV Reactive Makeup for Maximum Glow
With your skin properly primed, you’re ready to build the glow layer by layer. Start with thin, even coats of UV-reactive pigment, allowing each layer to dry before adding the next. This method maximizes luminosity under UV light and prevents uneven buildup that dulls the effect.
Unlike phosphorescent formulas in the glow in dark comparison, UV-reactive makeup only activates under a blacklight, so precision placement directly impacts your visual result. Focus on high-contrast zones—eyes, cheekbones, and lips—using fine-tip brushes for sharp linework and fingers for broader coverage.
Prioritizing UV light safety means choosing skin-safe, cosmetic-grade formulas over industrial fluorescent products. Layer neon tones like pink, green, and blue to build dimension, using negative space strategically to amplify contrast and create a dynamic, high-impact glow.
Build Bold Designs With Color, Layers, and Glitter
To build bold UV looks, layer neon tones like pink, yellow, green, and blue in thin coats, letting each layer dry before adding the next to maximize color saturation and glow intensity.
Press glitter gels or neon pigments over dried base layers to introduce texture and three-dimensional contrast that catches blacklight from multiple angles.
Use unpainted skin as negative space to frame your design, sharpening the visual boundary between glowing color and shadow for a high-impact, structured effect.
Layering Colors For Impact
Building a bold UV look starts with color selection—bright neons like pink, yellow, green, and blue produce the strongest contrast under blacklight.
Strategic color blending and texture contrast elevate a flat design into something visually dynamic and multidimensional.
Layer colors using this sequence:
- Base layer – Apply your dominant neon tone in thin, even coats, letting each layer dry completely before adding the next.
- Color merging – Introduce secondary tones at the edges to create gradient transitions that shift dramatically under UV exposure.
- Texture contrast – Finish with glitter gels or neon pigments over dry base layers to add dimensional shimmer that catches and amplifies blacklight differently than flat pigment.
Negative space between color zones sharpens contrast, making each element read more distinctly under UV.
Adding Glitter And Texture
Glitter and texture take your layered color work further by adding a physical dimension that flat pigment can’t replicate. For glitter placement, apply UV-reactive glitter gels directly over dried pigment layers using a fine brush or fingertip. Concentrate placement on high-light zones — cheekbones, brow arches, and the inner corners of eyes — where UV light hits most directly, maximizing the reflective response.
For texture enhancement, combine chunky glitter with fine-milled iridescent powder to create contrast between coarse and smooth surfaces. This layered material approach produces visual depth that shifts as you move under blacklight. Press, don’t drag, glitter into place to prevent smearing underlying pigment.
Seal the finished design with a compatible setting spray to lock both texture and glitter into position throughout extended wear.
Using Negative Space Boldly
Negative space transforms bold UV designs by giving your glowing elements room to breathe and contrast against unlit skin. Strategic placement of bare skin alongside neon pigments creates bold contrast that amplifies the glow effect under blacklight. Let the dark areas define your design rather than filling every surface.
Apply UV-reactive color around deliberately unpainted zones to build visual tension:
- Frame eye designs with unpainted skin strips to sharpen geometric shapes.
- Leave cheekbone channels bare between layered color bands to create dimensional separation.
- Alternate glowing and dark negative space across the forehead to generate rhythmic, high-impact patterns.
Thin, precise edges along negative space boundaries make your UV elements appear more intentional. Use fine-tip brushes to control borders and maintain clean, technically executed contrast throughout the design.
Make Your UV Makeup Last All Night
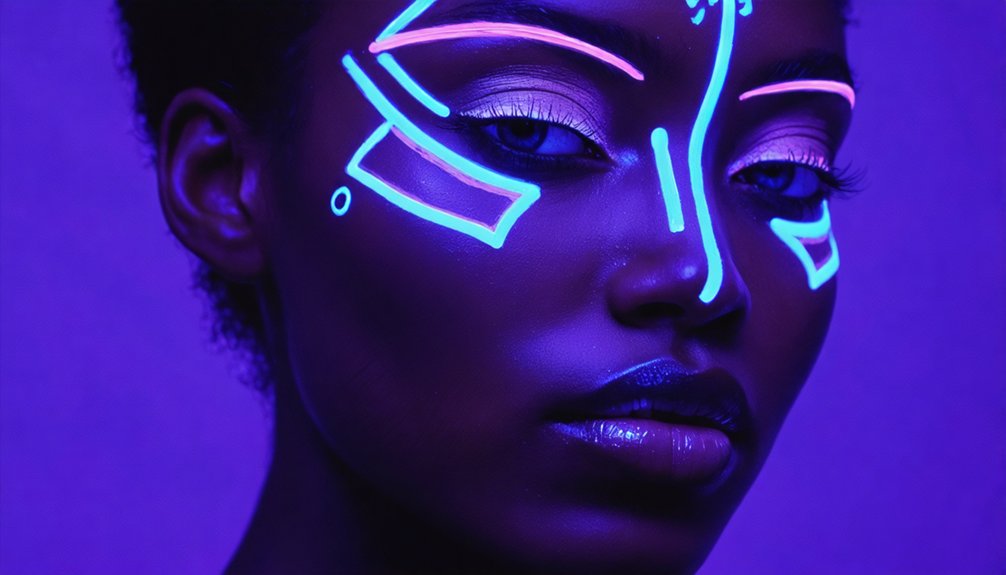
Once your UV design is complete, lock it in with a setting spray to extend wear and resist smudging throughout the night.
Apply the spray at a consistent distance, typically 8–12 inches, and allow it to dry fully before any contact with the skin.
Avoid rubbing your face, as friction breaks down pigment placement and reduces the intensity of the glow under blacklight.
Setting Spray Extends Wear
Setting spray is the final step that locks your UV makeup in place and extends its wear through heat, sweat, and movement. After completing your color blending and glitter placement, a light, even mist creates a protective barrier that preserves pigment intensity under blacklight.
Apply setting spray by holding the bottle 10–12 inches from your face and misting in an X and T motion across your features.
Follow these application priorities:
- Mist immediately after each layer dries to seal reactive pigments before adding more product.
- Apply a final coat once your full look, including glitter placement and color blending, is complete.
- Reapply lightly mid-event if you notice fading or smudging from prolonged wear.
This technique keeps your UV look vivid for hours.
Avoid Rubbing Your Face
Even with setting spray locked in place, mechanical friction remains the fastest way to break down UV pigment. Every time you touch, wipe, or rub your face, you’re displacing reactive particles from their original placement, reducing glow intensity and distorting your design. Keep your hands away from treated skin throughout the event.
Sweat and humidity accelerate this process, so resist the urge to wipe your face with fabric or fingers. If touch-ups are necessary, carry a fine brush and matching pigment for precise reapplication rather than blending by hand.
After the event, face washing should be deliberate—use a gentle, non-abrasive cleanser to lift pigment without irritating skin.
For product storage, seal unused UV pigments tightly to prevent moisture contamination and preserve fluorescent potency for future applications.
Frequently Asked Questions
Can UV Reactive Makeup Be Used Safely on Sensitive or Acne-Prone Skin?
You can use UV-reactive makeup on sensitive or acne-prone skin, but you’ll want to patch-test first to minimize skin irritation and allergy risks. Choose non-comedogenic, dermatologist-tested formulas and prep skin thoroughly beforehand.
Is UV Reactive Makeup Safe to Use Around the Eyes?
Ironically, your boldest looks carry the highest risk. You’ll want to avoid UV reactive makeup directly near your eyes, as it can trigger eye irritation and allergic reactions. Always choose ophthalmologist-tested, eye-safe formulas instead.
Can UV Makeup Be Layered Over Regular Foundation or Base Makeup?
You can layer UV makeup over regular foundation, but you’ll maximize makeup durability by ensuring your base is oil-free and fully set. This layering technique allows pigments to bind evenly, delivering consistent, high-intensity glow under blacklight.
Does UV Reactive Makeup Photograph Well Under Normal Camera Lighting?
UV-reactive makeup doesn’t perform ideally under normal camera lighting. You’ll achieve superior camera clarity by using dedicated UV light sources during shoots. Mastering UV-specific lighting techniques ensures the fluorescent pigments emit their full visible glow accurately on camera.
Are UV Reactive Makeup Products Safe for Children to Wear?
When using UV-reactive makeup on children’s skin, you’ll want to prioritize safety precautions by selecting hypoallergenic, non-toxic, cosmetic-grade formulas. Always patch-test first, avoid eye areas, and verify products meet child-safe regulatory standards before application.
References
- https://medusasmakeup.com/collections/neon-pigment
- https://www.reddit.com/r/sfx/comments/5e71dg/best_uv_reactive_glow_in_the_dark_makeup/
- https://www.youtube.com/watch?v=soSvM9Q4UM0
- https://www.youtube.com/watch?v=3dNE8wLD_wc
- https://skinsense.sg/glow-in-the-dark-cosmetics/
- https://www.youtube.com/watch?v=7dZSsU0ST1I
- https://www.illuminatedfaces.com/post/glowing-in-the-dark-the-science-behind-blacklight-reactive-face-paint
- https://www.youtube.com/watch?v=rULnxDqIma8&vl=en-US