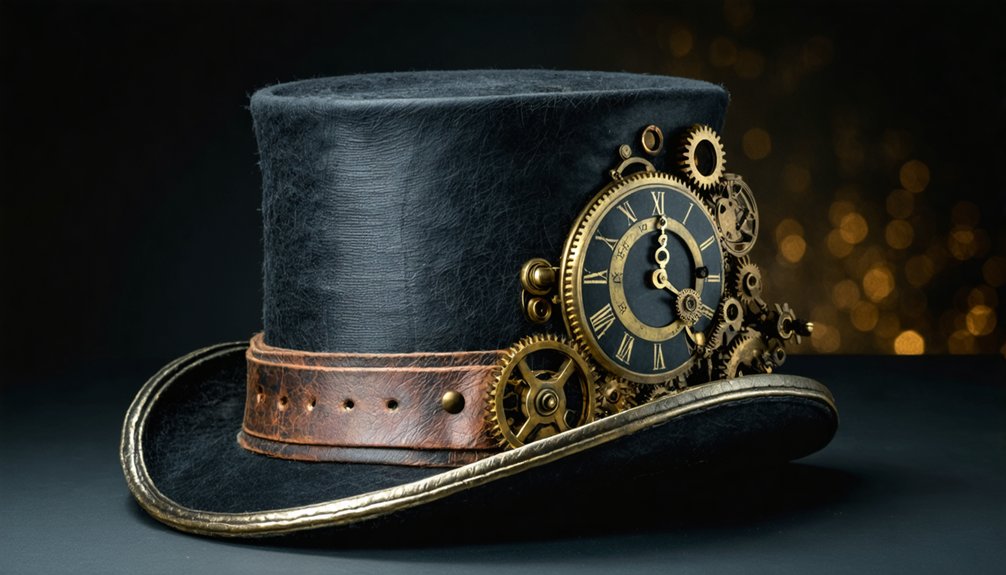
To craft your steampunk top hat with gears, you’ll need heavy cardboard, metallic wax, hot glue, and decorative cogs. Measure your head’s circumference precisely, then cut your crown band, circular brim, and top panel accordingly. Assemble each component with controlled glue runs, shape your brim with gentle heat, and bond your gears asymmetrically for that Victorian-industrial character. Age everything with black acrylic and Rub ‘n Buff for an authentically worn finish. Every intricate detail awaits your discovery just ahead.
Key Takeaways
- Use 1.5mm cardboard or plastic canvas for the hat’s structure, cutting a crown band, flat brim ring, and circular top panel.
- Measure your head’s circumference, adding 2cm for overlap, then transfer measurements precisely onto your chosen material before cutting.
- Assemble the crown, brim, and top panel using hot glue or contact cement, ensuring proper alignment and structural integrity throughout.
- Arrange layered gears asymmetrically, clustering larger ones near the brim’s left side and overlapping smaller cogs for mechanical depth.
- Finish by dry-brushing metallic wax in bronze, copper, and silver tones over a black acrylic base coat for an aged effect.
Materials You Need to Make a Steampunk Top Hat
Before you assemble a single gear or bend a single brim, you’ll need to gather the proper materials for your steampunk top hat. Drawing from historical influences of Victorian industry, your choices here directly shape the hat’s structural integrity and aesthetic authority.
For a rigid build, select approximately 1.5 mm heavy cardboard or plastic canvas. Craft foam suits lighter, wearable constructions. You’ll also need scissors, a craft knife, hot glue, and contact cement for precise bonding at every seam.
Color schemes rooted in aged brass, oxidized copper, and worn leather demand black acrylic paint, Rub ‘n Buff, or metallic wax paste. Gather decorative gears, flat-backed crystals, ribbon, and feathers to complete the Victorian-industrial silhouette.
Precision in material selection guarantees a finished piece that’s both mechanically sound and visually commanding.
Measure Your Head Before You Cut Anything
Before you cut a single strip of cardboard or trim one edge of foam, you must wrap your measuring tape around the fullest part of your head and record that figure precisely.
Mark the measurement clearly on your material, for a crown built even a fraction too narrow becomes a most unforgiving contraption once the glue has set.
Tug the tape snug but not tight, confirming the fit allows both comfort and the dignified posture such a hat demands.
Find Your Head Size
Though the grandest clockwork contraption crumbles without a proper foundation, your hat begins not with scissors or glue, but with a simple measurement.
Wrap a flexible measuring tape around your head, positioning it approximately one inch above your ears — precisely where the finished crown will rest. Note the circumference in centimeters for cleaner pattern accuracy.
Historical influences remind us that Victorian hatmakers measured twice before cutting once, a discipline that preserved both craft integrity and material sustainability.
Wasting cardboard or craft foam on an ill-fitting crown serves neither your budget nor your project’s environmental conscience.
Record your measurement clearly before approaching your materials. This single number governs every subsequent cut — the crown strip length, the brim opening, and ultimately, whether your finished hat actually wears comfortably.
Mark The Measurement
With your circumference recorded, the next mechanism engages — transferring that number onto your material before a single blade touches it. Mark your measurement directly onto the cardboard or craft foam using a fine-tipped marker, ruling a clean, precise line that follows the contour exactly.
Victorian fashion demanded exacting proportion, and historical influences from that era remind you that a poorly fitted crown renders the finest decoration meaningless. Add your approximately 2 cm allowance beyond the marked line, accounting for overlap and seam tension during assembly.
Double-check your figures before committing. Press your measuring tape flat against the material, confirm the number matches your recorded circumference, and mark two reference points before connecting them.
Precision at this stage determines whether the finished hat sits level or fights your head entirely.
Check For Comfort
How snugly a finished hat sits depends entirely on one measurement taken before your craft knife ever scores the material. Comfort considerations aren’t afterthoughts — they’re foundational engineering decisions.
Wrap your measuring tape around your head’s widest circumference and note the figure precisely, then verify fit with these three checkpoints:
- Tension test — the crown strip should press gently, never pinching your temples or sliding forward.
- Headband adjustments — add or trim your internal band incrementally, testing after each modification.
- Level confirmation — the brim must sit parallel to the floor, neither tilting forward nor listing sideways.
An ill-fitted crown undermines even your most exquisite gear-work and Victorian ornamentation.
Precision here guarantees wearability throughout every clockwork-adorned occasion ahead.
Cut the Crown, Brim, and Top Panel to Size
Once your measurements are confirmed, cut the crown strip first — a long rectangular band of cardboard sized precisely to your head circumference, forming the hat’s central cylinder. Score lightly along fold lines before bending; cardboard yields cleaner curves this way.
Next, cut the brim as a flat ring, matching its inner opening exactly to your crown strip’s diameter. Precision here determines whether industrial aesthetics read as intentional craftsmanship or hasty construction.
Finally, cut the circular top panel, trimming it flush against the crown’s upper edge. Each component — crown, brim, top panel — must align before any adhesive touches cardboard.
Vintage fashion demands structural integrity beneath its ornamentation. Sharp scissors handle curves; a craft knife governs straight edges. Confirm every cut before assembly begins.
Assemble Your Steampunk Top Hat With Hot Glue or Cement
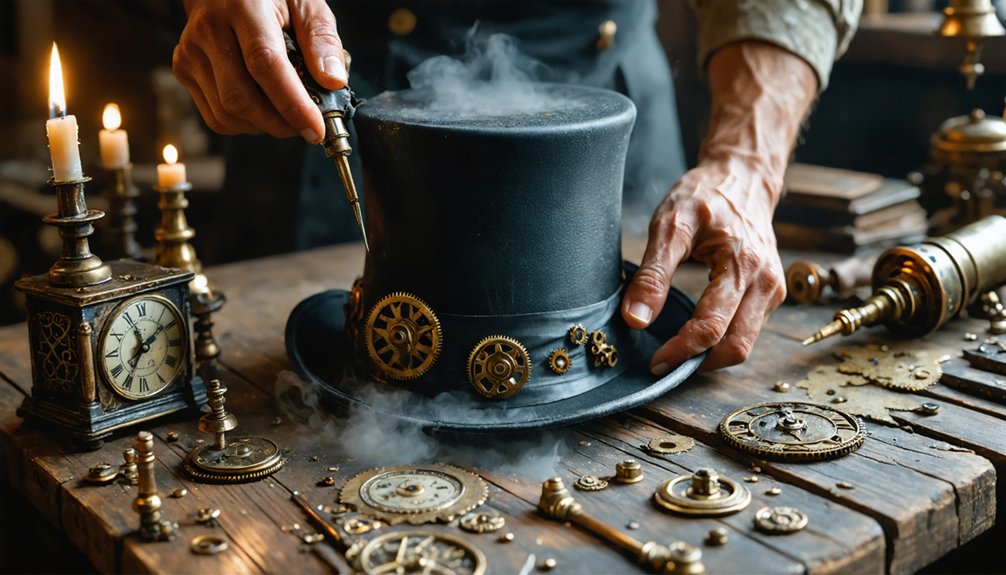
With your crown, brim, and top panel trimmed and ready, you’ll now bind them into a unified structure using hot glue for cardboard builds or contact cement for foam construction.
Apply contact cement to both foam surfaces, allow it to cure until no longer tacky, then press the pieces firmly together for a clean, durable bond.
Once the hat’s body holds its form, secure your decorative gears and mechanical ornaments with two-part epoxy, ensuring each raised detail cures fully before you attempt to wear or handle the finished piece.
Hot Glue Assembly Tips
Whether you reach for a hot glue gun or a tin of contact cement, your choice of adhesive will determine how swiftly and securely your hat takes its final form. Apply hot glue in deliberate, short runs rather than sweeping lines to prevent unsightly overflow along vintage fabrics or leather straps.
- Temperature matters — use a low-temp setting near delicate foam edges to avoid warping your carefully shaped crown.
- Press firmly for ten seconds — sustained pressure ensures the bond sets before you reposition adjoining panels.
- Work in sections — glue the brim first, then advance upward so each joined layer cures before the next bears weight.
Precision here rewards you with a structurally sound hat ready for its mechanical embellishments.
Contact Cement For Foam
Contact cement rewards the patient craftsman, for unlike hot glue, it demands a deliberate pause before bonding foam panels together. Brush a thin, even coat onto both foam surfaces, then allow each layer to rest until it no longer registers as tacky to your fingertip.
This waiting interval, though it tests your resolve, is precisely what produces a seam worthy of Victorian fashion’s exacting standards.
Once both coated surfaces achieve that characteristic matte dryness, press them firmly together with a single, confident motion. Repositioning becomes impossible, so align your crown walls and brim panels with mechanical precision beforehand.
The resulting bond mimics the durability of vintage leather, holding decorative overlays, gear clusters, and structural seams through extended wear without the visible residue that hot glue frequently leaves behind.
Securing Decorative Elements
Once your crown and brim hold their proper form, you’ll turn your attention to the most visually commanding stage of the build: anchoring gears, cogs, keys, and clustered ornaments to your hat’s exterior. Steampunk accessories demand precise placement before any adhesive touches the surface.
- Position first — Arrange your gears and keys against the vintage fabrics or painted cardboard surface, confirming visual balance before committing.
- Apply two-part epoxy — Press raised mechanical details firmly, holding each piece until the bond sets with industrial permanence.
- Layer strategically — Stack smaller cogs over larger ones, building dimensional depth that rewards close inspection.
Allow full curing before handling. Every element you secure should feel anchored like clockwork machinery — intentional, weighted, and precisely engineered for Victorian-industrial distinction.
Curve and Shape the Brim for a Classic Top Hat Profile
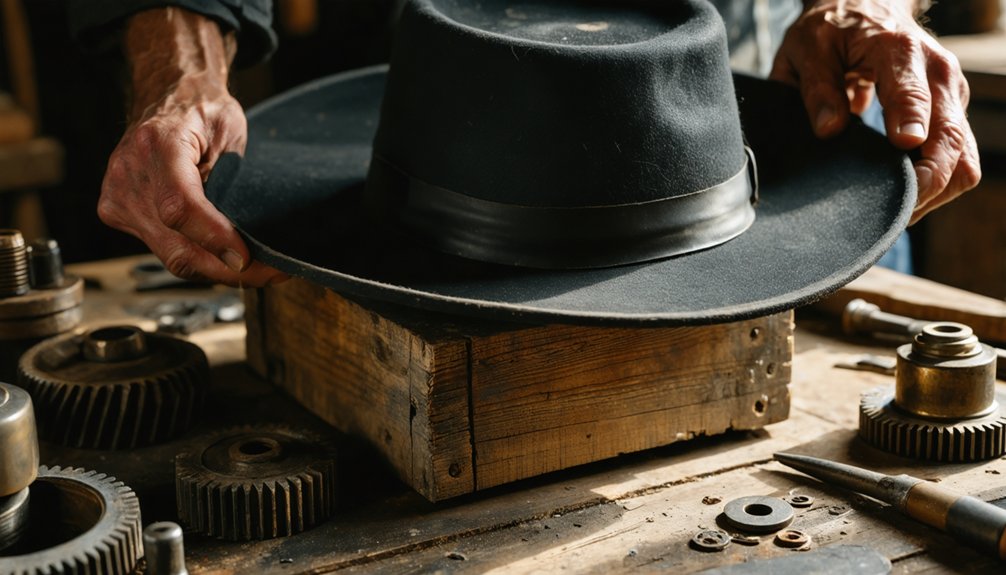
Shaping the brim transforms a flat, lifeless disc into the hallmark silhouette of Victorian engineering. If you’re working with craft foam, apply a hair dryer’s heat evenly across the brim’s surface, then curve it gently downward at the front and rear to achieve that distinguished sweep echoing vintage leather craftsmanship.
Cardboard versions respond well to careful scoring along the underside, allowing controlled bending without cracking the fibers. Hold each curve firmly until the material cools or sets completely.
You’ll want the brim opening to align precisely with your crown’s base before securing it permanently. These deliberate contours distinguish polished Victorian accessories from amateur constructions, transforming your hat into something worthy of a mechanical exposition.
Check symmetry from multiple angles before committing any adhesive.
Make Cardboard Gears That Look Metallic
With the brim’s contours fixed and your hat’s silhouette firmly established, the gears demand your attention next. These mechanical medallions define steampunk fashion’s industrial soul and transform ordinary Victorian accessories into bold, engineered statements.
Craft each gear with deliberate precision using these three steps:
- Cut paper circles, then score and snip uniform teeth around each edge for an authentic cog profile.
- Layer silver duct tape smoothly across every surface, pressing firmly into the teeth’s recesses to capture mechanical depth.
- Apply black acrylic paint sparingly into crevices, then dry-brush metallic wax paste across raised edges, simulating centuries of oxidized brass and worn iron.
Your gears now carry genuine industrial character, ready to anchor your hat’s Victorian-mechanical aesthetic with commanding authority.
Place Gears and Steampunk Details for Maximum Impact
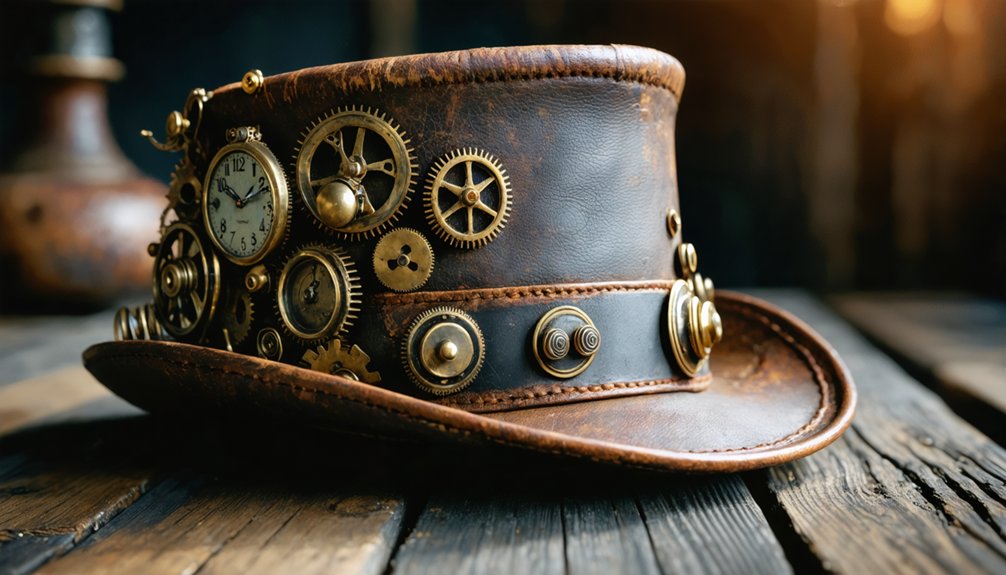
Your gears are finished, so now you’ll arrange them across the hat’s surface with the same intentionality a clockmaker applies to a movement’s architecture. Cluster your largest gear near the brim’s left side, anchoring the composition with visual weight. Layer smaller cogs above it, overlapping edges slightly so they suggest mechanical interdependence rather than scattered decoration.
Steampunk fashion rewards deliberate asymmetry, so resist centering every element. Position a compass face or skeleton key between gear clusters to interrupt repetition and deepen the narrative. Vintage accessories draw their authority from curated restraint, so leave negative space around focal points.
Secure each piece with two-part epoxy, pressing firmly and allowing full cure before handling. Once set, your arrangement transforms functional craft into a precisely engineered statement of Victorian-industrial ingenuity.
Paint and Distress Your Steampunk Top Hat for an Aged Finish
Once your gears are locked in place and the epoxy has cured, it’s time to age your hat into a relic of imagined industry. Color blending and vintage textures transform raw materials into something that reads as worn, storied, and authentically mechanical.
- Base coat first: Apply black acrylic paint across the entire surface, pressing it into seams and crevices to anchor your palette.
- Layer metallic tones: Dry-brush Rub ‘n Buff or metallic wax paste in bronze, copper, and silver, building color blending through gradual, directional strokes.
- Distress deliberately: Sand raised edges lightly, stipple dark brown near gear teeth, and dab raw umber into recesses to simulate vintage textures and oxidized wear.
Allow each layer to cure before handling.
Check Fit and Wearability Before You Call It Done

Before you declare your creation complete, set it upon your head and take honest measure of its conduct. A fine fashion accessory demands more than visual splendor — it must sit level, grip without constraint, and wear without apology. Confirm the brim holds firm and no adhered gear or ornament shifts against your temple.
Draw upon historical inspiration here: Victorian craftsmen never released a piece until function matched form. Walk, turn, and tilt your head deliberately. If the crown rides too tight, it’ll distress your patience far more than any intentional aging technique could improve your hat’s appearance.
Ensure lightweight components don’t unbalance the structure, and verify that goggles or crystals clear your ears cleanly. Only then may you commission this mechanical marvel into full service.
Frequently Asked Questions
Can I Wash or Clean My Steampunk Top Hat After Wearing It?
Spot-clean your hat gently — water won’t dissolve its Victorian soul. Hat durability thrives when you dab mild soap carefully onto soiled gears. Avoid submerging it; cleaning methods like dry brushing preserve your magnificent mechanical masterpiece beautifully.
How Long Does a Cardboard Steampunk Top Hat Typically Last?
Your cardboard creation’s hat durability spans one to three years when you’ve sealed and handled it carefully. Material longevity flourishes through strong adhesives, protective coatings, and mindful storage — ensuring your mechanical masterpiece endures many a Victorian-inspired gathering splendidly.
Can Children Safely Wear a Steampunk Top Hat With Glued Gears?
Like tiny clockwork soldiers, glued gears can pose risks! You’ll want to guarantee child safety by using epoxy-secured, smooth-edged glued gears, checking that no pieces detach during wear on your young innovator’s creation.
How Do I Store My Steampunk Top Hat Without Crushing It?
Store your magnificent creation crown-side down upon a sturdy shelf, ensuring proper hat storage preserves its noble structure. You’ll maintain gear maintenance by keeping mechanisms dust-free, preventing crushing, and safeguarding every ornate clockwork embellishment from deformation’s relentless, innovative adversary.
Can I Sell Handmade Steampunk Top Hats at Conventions Legally?
Here’s what hinges on your success — yes, you *can* sell handmade vintage accessories and costume design creations at conventions legally, but you’ll want to verify each event’s vendor licensing requirements beforehand.
References
- https://www.youtube.com/watch?v=8W4pRFXD_lE
- https://www.lostwaxoz.com/blog/2012/05/cardboard-steampunk-top-hat-tutorial
- https://www.youtube.com/watch?v=3WclYUYe6k4
- https://www.reddit.com/r/steampunk/comments/1ncm6n5/so_heres_my_new_steampunk_hat_ive_added_some_new/
- https://www.youtube.com/watch?v=gW5HKlcxVfk
- https://www.youtube.com/watch?v=1D0tcc63XdU
- https://www.instructables.com/Cardboard-Steampunk-Top-Hat-in-10-Steps/
- https://www.youtube.com/watch?v=SQUalKqKhDU
- https://www.instructables.com/Victorian-Steampunk-Hat/