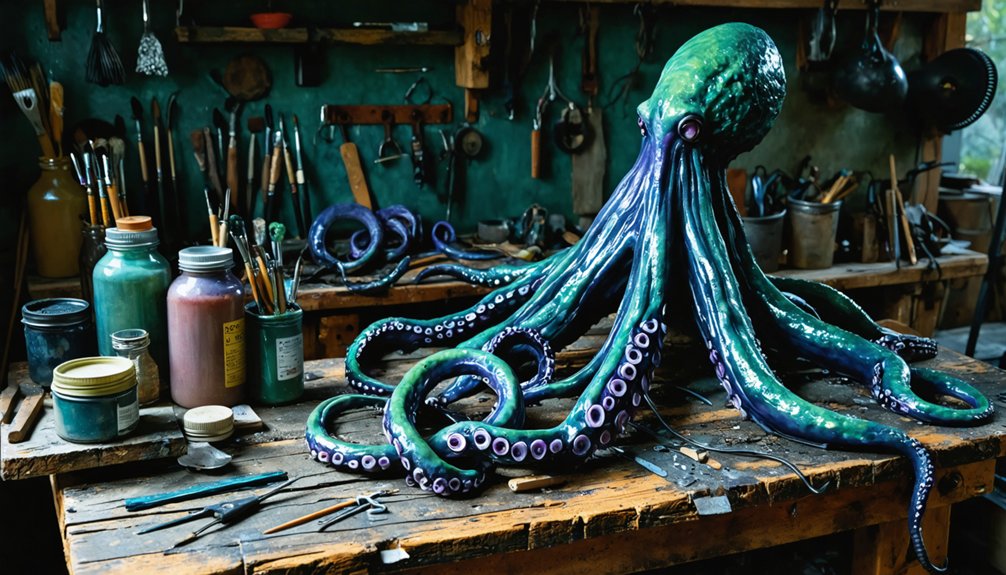
To create Lovecraftian tentacle props, you’ll start with a 14-gauge wire armature inserted into a tapered pool noodle, secured with Gorilla Glue. Layer fiberfill and EVA foam for organic texture, then carve ridges using string techniques. Attach staggered suction cups with contact cement and coat everything in tinted latex layers. Finish with gloss Mod Podge for a wet, otherworldly sheen. Advanced builders can integrate servo-driven animatronic systems for unsettling, lifelike movement—all covered in detail ahead.
Key Takeaways
- Build an armature using 14-gauge wire inserted into pool noodles with Gorilla Glue for a stable, poseable tentacle core.
- Layer fiberfill in triangle shapes, thicker at the base and thinner at the tip, to create organic-looking tentacle forms.
- Attach staggered suction cups using contact cement to mimic biological irregularity found on real cephalopod tentacles.
- Apply multiple thin latex coats, starting with a blue tint, building layers for flexible and realistic skin texture.
- Integrate servos with offset timing cycles of 200–400 milliseconds to create fluid, independent animatronic tentacle movement.
Materials You Need for Lovecraftian Tentacle Props
Before diving into construction, gather these core materials: 100 feet of 14-gauge wire for the main armature, five pool noodles at roughly $2.28 each, floral wire, fiberfill, and both 5 mm and 2 mm EVA foam sheets.
You’ll also need scrap leather, suction cups, Gorilla glue, latex, Mod Podge, and plastic wrap for layering and coating stages.
For materials sourcing, check craft stores, hardware suppliers, and online retailers to compare pricing. Budget considerations matter here—pool noodles and floral wire keep costs low without sacrificing structural integrity.
If you’re building an animatronic version, add four servos, linkage hardware, and a compressor to your list.
Essential tools include an X-Acto knife, Dremel, heat gun, and airbrush. Having everything ready before starting prevents costly mid-build delays.
Choose Between Foam, Latex, and Animatronic Tentacle Builds
Your build material choice shapes every downstream decision, so weigh EVA foam, latex, and animatronic systems against your skill level, budget, and performance demands before cutting a single piece.
Foam builds use 5 mm and 2 mm EVA sheets with contact cement and a heat gun, giving you lightweight, rigid structures you can seal with Mod Podge and finish with airbrush or spray paint.
If you need movement, an animatronic build adds four servos with mechanical linkages inside a pool noodle armature, letting select tentacles articulate independently.
Meanwhile, static latex-coated builds rely on fiberfill layers and six coats of tinted latex for a dense, flexible mass effect.
Comparing Build Material Options
Three distinct build paths exist for tentacle props—foam, latex, and animatronic—and each one demands a different skill set, budget, and tool kit.
EVA foam offers strong cost effectiveness and impressive aesthetic appeal through airbrushed finishes, though it sacrifices some material durability under repeated stress.
Latex builds deliver superior flexibility and ease of manipulation, but they require longer assembly time across six or more coating layers.
Animatronic tentacles push innovation furthest, incorporating servo-driven motion for lifelike performance, yet they introduce significant weight considerations that affect wearability throughout a full convention day.
Maintenance needs also scale with complexity—foam seals easily with Mod Podge, while animatronic mechanisms demand periodic hardware checks.
Consider environmental impact too, since latex sourcing and foam waste both carry measurable ecological footprints worth factoring into your planning.
Animatronic Versus Static Tentacles
Choosing between animatronic and static tentacle builds comes down to three practical factors: your available budget, your technical skill level, and how long you’ll wear the prop.
Static aesthetics deliver strong visual impact through layered latex coatings, suction cup detailing, and foam assembly techniques without requiring servo integration. You’ll achieve impressive results using EVA foam, pool noodles, and fiberfill construction alone.
Animatronic mechanics, however, dramatically elevate audience engagement and cosplay interaction. Installing four servos with cable linkages enables independent movement dynamics across select tentacles, transforming static props into responsive performance tools.
This approach demands drilling servo housings, managing cable routing, and applying contact cement for secure foam assembly. Weigh prop versatility against wearability — animatronic builds add weight and complexity that extended convention wear will genuinely test.
Build a Tentacle Armature That Actually Holds Its Shape
The armature is what separates a tentacle that droops after an hour from one that holds a dynamic pose all day. For maximum armature stability, feed 14-gauge wire slightly longer than your pool noodle, apply Gorilla Glue inside the noodle’s channel, insert the wire, and clamp overnight.
For thinner tentacles requiring precise shape retention, cut floral wire four times your desired finished length, fold it twice to create four strands, then twist it into a braided core using pliers and a skewer. This multi-strand approach distributes bending stress across the bundle rather than concentrating it at a single point.
Taper the pool noodle’s tip using a utility knife, creating that essential conical profile before you add any skin or texture layers.
Shape Your Cosplay Tentacle Into a Tapered, Organic Form
Once your armature is locked in place, shaping the tentacle’s body into a convincing tapered form comes down to how you layer fiberfill around the wire core.
Build even triangle-shaped layers of fiberfill, starting thick at the base and progressively thinning toward the tip. This method drives your tapered design without requiring molds or rigid forms.
For organic shaping, use a utility knife to refine the pool noodle’s tip, removing material in controlled passes until the taper feels natural.
Then pull string tightly around the noodle at irregular intervals and tie it off to carve ridges directly into the surface. Each ridge interrupts the silhouette just enough to suggest living anatomy.
Apply plastic wrap in alternating sections from the tip halfway down, letting each layer dry before adding the next.
Carve Ridges and Texture Your Tentacle Surface With String and Foam

Ridges transform a smooth foam cylinder into something that reads as organic, and string is your most precise tool for cutting them in. Pull string tight around your pool noodle at measured intervals, tie it off firmly, and let compression do the foam carving work.
Layer multiple wraps at each ridge point to deepen the definition. For surface detailing, cut small and medium foam pieces from scrap, round their edges, and overlap them across the tentacle body to build irregular mass.
These layered additions create texture enhancement that raw foam can’t achieve alone. String techniques give you clean, repeatable segmentation while foam additions introduce the unpredictable clustering that reads as genuinely biological.
Together, they eliminate the manufactured look that kills otherwise strong cosplay builds.
Attach Suction Cups and Secondary Tentacle Clusters for Mass Effect
Suction cups anchor directly to the tentacle surface and immediately signal “cephalopod” to any viewer’s eye. Press each cup firmly into your latex-coated foam, applying a dab of contact cement underneath for permanent suction cup attachment.
Press suction cups firmly into latex-coated foam with contact cement — instant, permanent, unmistakably cephalopod.
Stagger sizing — alternate small and medium cups — to replicate biological irregularity.
For tentacle clustering, cut additional small and medium foam tentacles, round their ends, then layer them together until you’ve exceeded eight pieces. You’re deliberately building chaotic mass here, so don’t hold back.
Glue these secondary clusters at the base, letting them overlap convincingly. Run fishing line between select secondary tentacles to enable shared movement, amplifying organic behavior.
This interconnected system transforms a single prop into a writhing, unsettling mass that reads as genuinely alive.
Paint and Latex Coat Your Cosplay Tentacle Props
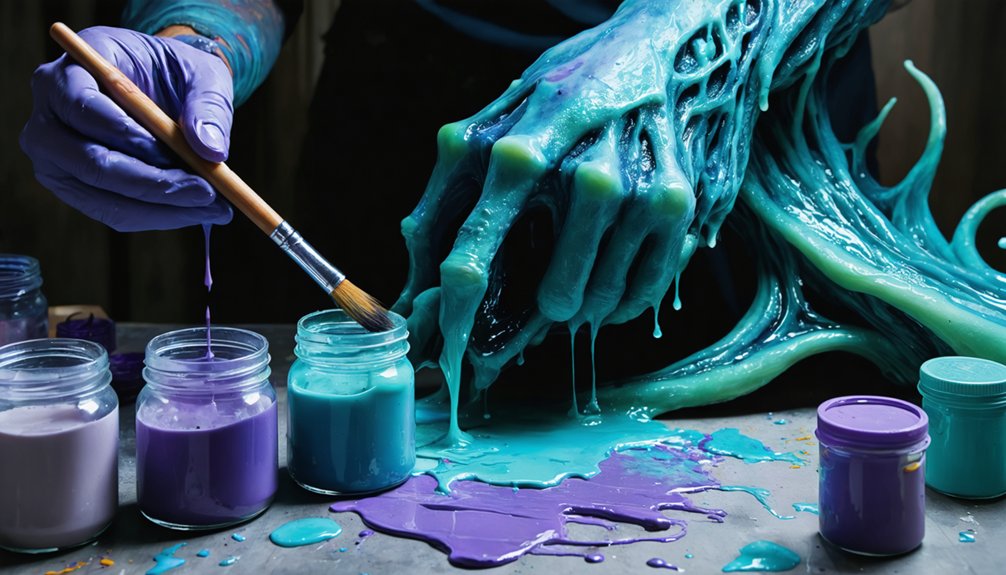
Latex coating transforms raw foam and fiberfill into a convincingly organic surface, so start by brushing a thin blue latex tint over the entire tentacle.
Your latex application techniques should build progressively—apply light blue layers along the sides after the base coat sets. Work toward six total latex layers, blending each coat seamlessly into the previous one for dimensional depth.
For EVA foam elements, switch your paint layering methods to include puffy paint, airbrush paints, and spray paint, which adhere differently than latex on porous foam.
Once the main latex dries completely, add white latex inside each suction cup to highlight their recessed detail.
Finish foam tentacles with gloss Mod Podge as a sealant, locking in texture and delivering a wet, biological sheen.
Add Servo-Driven Animatronic Movement for Advanced Tentacle Builds
To add animatronic movement, you’ll install four servos with linkages inside the tentacle’s housing, cutting the plastic halfway through at each servo section while running cables the full length between them.
You can use these linkages to translate servo rotation into lifelike bending motion along the tentacle’s core, giving each section a distinct range of movement.
For face tentacles, you’ll wire select servos independently, letting you control individual tentacles separately for more expressive, dynamic performance.
Servo Installation And Placement
When you’re ready to bring your tentacle build to life, servo installation becomes the key step that separates a static prop from a genuinely reactive animatronic.
Install four servos with linkage systems, positioning each unit inside pre-drilled 1/8-inch housing cavities within the pool noodle armature. Servo placement directly impacts your motion control range, so distribute units strategically along the tentacle’s length rather than clustering them near one section.
Cut housing pieces halfway through the plastic shell, running cables full length between servo sections for clean wiring techniques that prevent binding during movement.
Standard hobby servos handle most builds effectively, but higher-torque servo types give you more expressive, lifelike articulation on heavier tentacles.
Connect linkage arms precisely, ensuring each servo operates independently without restricting adjacent mechanisms.
Linkage Mechanisms For Motion
With servos seated and wired, your linkage mechanisms determine how effectively each servo’s rotational output translates into expressive tentacle movement. Thoughtful linkage design converts limited servo rotation into sweeping, naturalistic arcs that enhance motion dynamics considerably.
Cut your housing pieces halfway through the plastic, running cables at full length between servo sections to prevent binding during actuation.
For effective servo coordination, connect secondary tentacles using fishing line anchored at strategic pivot points, allowing one servo’s movement to cascade across multiple segments simultaneously. This shared-movement approach maximizes complexity while minimizing mechanical overhead.
Prioritize tentacle flexibility by selecting connection points that permit multi-directional travel rather than single-plane pivoting. Stiffer linkages restrict range, so test each connection under load before finalizing your assembly with contact cement or super glue.
Independent Tentacle Movement Control
Independent tentacle movement transforms your build from a static prop into a dynamic, reactive creature effect. By assigning individual servos to select face tentacles, you’ll achieve staggered, unpredictable motion that reads as genuinely alive rather than mechanically synchronized.
Start servo calibration by setting each unit’s neutral position before attaching linkage arms. Offset the timing cycles between servos by 200–400 milliseconds so tentacle mechanics produce organic, asymmetrical movement instead of uniform sweeping.
Program travel limits carefully — over-rotation stresses foam attachment points and tears latex coating.
Run independent signal cables from your microcontroller to each servo, keeping channels isolated to prevent interference. Test range-of-motion under full costume load before final assembly.
Fine-tune response curves until movement feels reactive, fluid, and unpredictable — exactly what a Lovecraftian creature demands.
Frequently Asked Questions
How Do I Safely Store Tentacle Props Without Damaging Their Shape?
Store your tentacle props upright or flat, supporting their cores to guarantee shape preservation. Your material selections—foam, latex, fiberfill—benefit from acid-free tissue padding inside curves, preventing compression damage during storage between your innovative cosplay events.
Can Tentacle Props Withstand Outdoor Convention Environments and Weather Conditions?
Like armor against the elements, your props can endure outdoors if you’ve used waterproof materials like latex and sealed foam. Conduct durability testing beforehand—check seams, coatings, and joints to guarantee they’ll withstand heat, humidity, and unexpected weather conditions confidently.
How Do I Attach Tentacle Props Securely to My Costume Body?
Use contact cement and super glue as primary attachment techniques, matching your costume materials. You’ll secure tentacles by integrating armature wire directly into your costume’s framework, ensuring stable, flexible connection points that’ll withstand active convention movement.
What Is the Approximate Total Cost for Building a Full Set?
Ballpark, you’re looking at $50–$100 for a full set. Your budget considerations hinge on material choices: five pool noodles cost ~$11.40, wire ~$15, latex ~$20, with foam and miscellaneous supplies filling the remainder.
How Long Does a Complete Tentacle Prop Build Typically Take?
You’ll typically spend 3–5 days completing a full build. Tentacle materials like latex layers need curing time between coats, directly impacting prop durability. Factor in armature construction, shaping, detailing, and painting when planning your innovative build schedule.
References
- https://www.youtube.com/watch?v=YXuJtCacaug
- http://propnomicon.blogspot.com/2009/07/making-tentacle.html
- https://www.youtube.com/watch?v=Sj37lYSkF_s
- https://www.youtube.com/watch?v=bgwdLrfdzsk
- https://www.therpf.com/forums/threads/independently-moving-tentacles.169959/