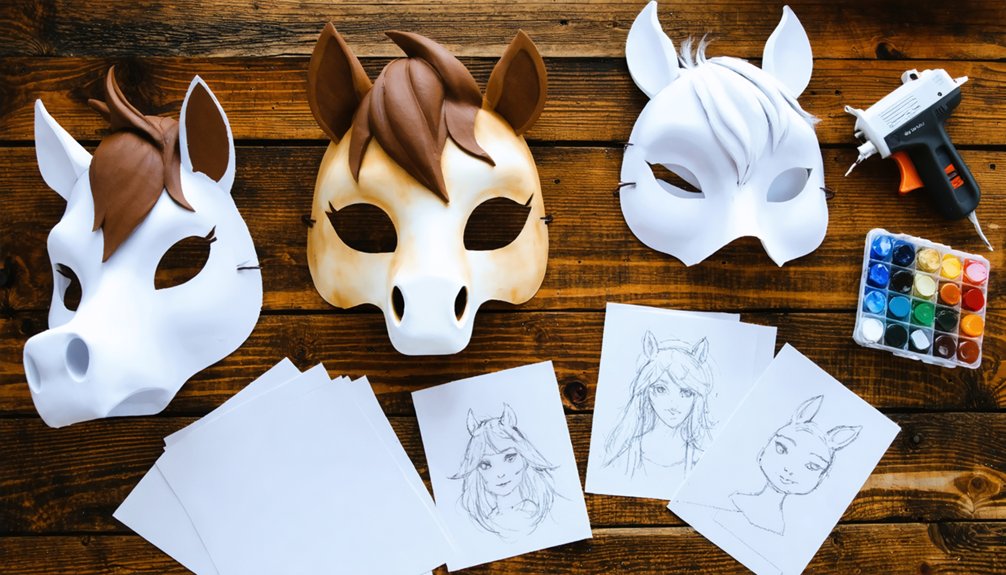
To make a BoJack Horseman mask, you’ll cut cardboard into a face-sized oval, shape a mushroom-style nose, and secure a chin strap with knotted string. Paint BoJack’s signature markings using white and black acrylic — a forehead diamond, nose triangle, and defined pupils. Cut faux fur in half, bond it with rubber cement, and blend seams with spray hair dye. You can do this for under $8, and there’s plenty more detail ahead to nail every step.
Key Takeaways
- Cut cardboard into a face-sized oval, attach side pieces with glue, and construct a mushroom-shaped nose for a 3D base.
- Paint key markings using white and black acrylic paint, including a forehead diamond, nose triangle, and defined eye pupils.
- Layer acrylic paint in 2-3 thin coats, sketching shapes first with pencil or chalk for clean, screen-accurate edges.
- Cut black faux fur in half, apply rubber cement evenly, and press firmly onto the mane zone for secure adhesion.
- Blend seams with sprayable black hair dye, thread string through chin marks, and tie double knots for a secure fit.
Gather Your Materials for the BoJack Mask
Before diving into construction, you’ll need to gather a few affordable materials to build your BoJack Horseman mask. Source black faux fur at $3 per unit, rubber cement at $2 per bottle, and both light brown and white acrylic paint at $1 per container each. Your total expenditure should stay under $8.
Building a BoJack Horseman mask costs under $8 with faux fur, rubber cement, and acrylic paint.
For tools, you’ll need an Xacto knife for precise cardboard cuts — prioritize tool maintenance by keeping the blade sharp and replacing dull tips immediately.
You’ll also need a hot glue gun, sponge applicators, and sprayable hair dye for mane texturing.
Regarding material safety, work in a ventilated space when using rubber cement and spray dye, as both release fumes during application. Protective gloves are recommended when handling adhesives throughout this build.
Build the Base Mask From Cardboard
With your materials ready, cut your cardboard into an oval shape that matches the size of your face. Then add a healthy border around the oval’s perimeter.
Use an Xacto knife for precise, clean cuts that guarantee material durability throughout the build. Apply glue along the edges to attach side pieces, pulling them together to form a structured 3D shape.
Next, cut cardboard arcs to construct a mushroom-shaped nose, securing each piece carefully along the base. Enlarge the nostril holes for improved visibility.
Punch chin marks, thread string through them, and tie double knots at the back for a secure fit.
This cardboard foundation supports your color blending work later, so precision now saves significant effort during the painting and texturing stages ahead.
Paint BoJack’s Face Markings Onto the Mask
With a fine brush and white acrylic paint, draw a diamond shape centered on the forehead and a triangle near the nose to replicate BoJack’s signature markings.
Next, apply black paint carefully to the eye areas to define the pupils, keeping your strokes controlled for clean edges.
These three focal points — the forehead diamond, nose triangle, and eye pupils — anchor the mask’s likeness to the character, so take your time with placement before committing to each stroke.
White Diamond Forehead Mark
Once the base coat is dry, grab your white acrylic paint and sketch a diamond shape centered on the forehead of the mask. Use a fine-tipped brush for clean, precise edges.
If you’re working on a latex surface, consider color mixing a small amount of white with a latex-compatible medium to improve material durability and adhesion. This prevents cracking or peeling during wear.
Lightly outline the diamond first with a pencil or chalk marker before committing with paint. Fill in the shape using thin, even layers, allowing each coat to dry fully before applying the next.
Two to three coats typically achieve solid opacity. Keep the edges sharp—BoJack’s markings are bold and defined, so precision here directly impacts the final mask’s screen-accurate appearance.
Nose Triangle Placement
After completing the forehead diamond, shift your focus down to the nose area, where you’ll paint a triangle marking that anchors BoJack‘s signature facial pattern. Nose triangle placement accuracy is critical here — misalignment throws off the entire facial design.
Position the triangle’s apex pointing upward, centering it directly beneath the snout’s midline. Use a fine-tipped brush to sketch the outline first in light pencil or chalk before committing with paint.
The triangle should sit flush against the lower nose structure, complementing the snout’s curvature naturally.
Fill the shape using white acrylic paint, applying two thin coats for clean opacity. Let each layer dry completely before adding the second.
Once dry, this marking integrates seamlessly with the surrounding brown base, sharpening BoJack’s instantly recognizable look.
Eye Pupil Detailing
Moving up from the nose triangle, the eyes demand careful attention to bring BoJack’s blank, melancholy stare to life. Load your brush with black paint and apply it directly onto the existing eye surface of the mask, working in controlled circular strokes to define pupil size accurately.
Once you’ve established the pupil size, layer white paint around the outer edges to define the sclera, sharpening the contrast between both zones.
Eye color is critical here; BoJack’s eyes carry a dark, hollow quality, so avoid any blue or brown tones.
Let each layer dry completely before adding detail, ensuring crisp, clean edges that capture his signature detached expression.
Attach the Faux Fur Mane the Right Way
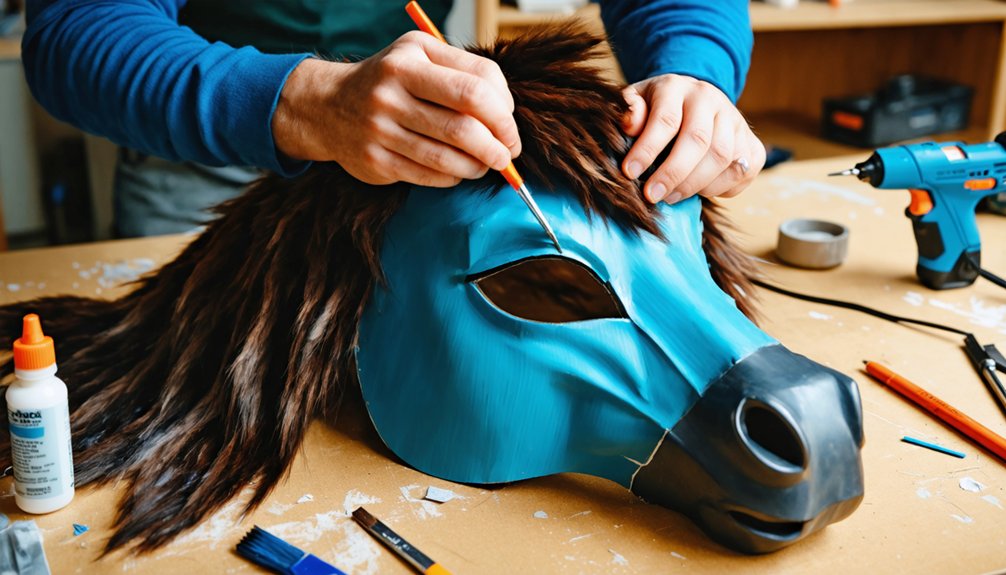
With the base mask prepared, you’ll need to cut your black faux fur in half before applying it to the mane area. Faux fur trimming ensures proper sizing and prevents bulk that distorts the silhouette.
Apply rubber cement along the mane zone, then press the fur firmly into place.
Apply rubber cement evenly across the mane zone, then press faux fur firmly into place for secure adhesion.
Key mane styling techniques to follow:
- Cut faux fur cleanly using sharp scissors for precise edges
- Apply rubber cement evenly to avoid uneven adhesion
- Press fur sections down firmly, holding for several seconds
- Use sprayable temporary black hair dye to blend seams
- Secure felt squares with hot glue lines down the center axis
These steps guarantee a polished, screen-accurate mane that holds securely throughout wear.
Fit the BoJack Mask and Secure the Chin Strap
Once the mane is secured, you’ll need to fit the mask to your face and lock it in place with a chin strap. Start by pulling the mask edges together to form a snug, three-dimensional shape that contours naturally to your face.
Use an Xacto knife to enlarge the nostril holes, improving both visibility and airflow during wear.
For the chin strap, punch two small marks along the chin area and thread string through each hole. Pull the string snugly beneath your chin, then tie double knots to prevent slipping mid-wear.
Test the mask fitting by moving your head in multiple directions — it shouldn’t shift or tilt. Adjust the string tension as needed before finalizing both knots for a secure, comfortable hold.
Apply the Final Details That Make It Look Like BoJack
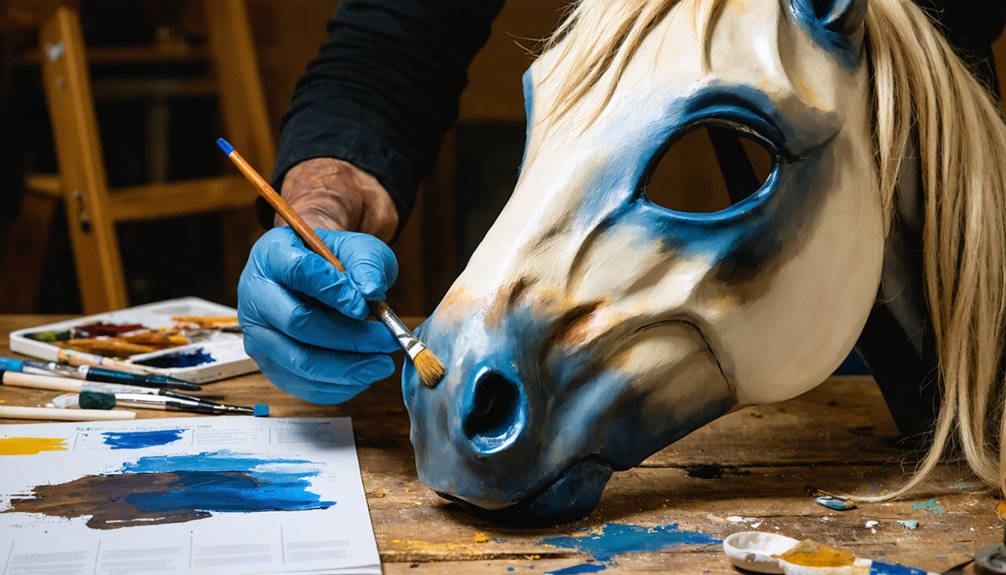
To give your mask BoJack’s signature look, draw a white diamond shape on the forehead and a triangle near the nose.
Then paint the eyes to define the pupils.
Use white and pink paint to outline the snout area, leaving the remaining face surface covered in brown.
Finally, apply sprayable black hair dye or temporary hair color to the mane, securing felt squares down the center axis with hot glue lines.
Adding BoJack’s Facial Markings
Now that your base coat is dry, you’ll add BoJack’s signature facial markings to bring the character to life. Use color blending and precise marker techniques to achieve accurate results:
- Draw a white diamond shape on the forehead
- Add a triangle shape near the nose area
- Paint the eyes to create defined pupils
- Outline the snout with white and pink paint
- Cover remaining face surfaces with brown paint
Work methodically from the forehead downward, letting each marking dry before overlapping adjacent colors.
Color blending is critical around the snout’s white and pink border—use a dry brush technique to soften edges naturally.
Your marker techniques should stay deliberate and controlled, particularly when defining the diamond and triangle shapes, ensuring clean geometric lines that instantly signal BoJack’s recognizable appearance.
Painting Eyes And Snout
With your geometric markings set, the eyes and snout details are what truly lock in BoJack’s likeness. Using black paint, carefully apply pupils directly onto the eye areas, keeping edges clean and symmetrical.
Color blending becomes critical here — layer shades intentionally rather than applying flat coats.
For the snout, outline the perimeter using white paint first, then introduce pink along the interior curves. Shading techniques help you create dimensional depth: apply darker tones toward the snout’s edges and lighter values at the center, mimicking natural contour. A fine brush gives you precise control over these transitions.
Work in thin layers, allowing each coat to dry before adding the next. This prevents muddying and keeps your color transitions sharp and defined.
Applying The Mane
Once the paint has fully dried, you’ll move on to one of the most visually defining steps: applying the mane. Achieving accurate faux fur texture and color matching is critical here.
Follow this sequence:
- Cut black faux fur in half before applying to maintain proportional scale.
- Use rubber cement as your primary adhesive for a durable bond.
- Apply sprayable temporary black hair dye to enhance mane depth.
- Secure felt squares using hot glue lines running down the center axis.
- Use spray hair color to blend any inconsistencies for seamless color matching.
Press each section firmly and allow full adhesion before handling.
The faux fur texture should flow naturally from the crown downward, mimicking BoJack’s signature dark mane without stiffness or uneven gaps.
Frequently Asked Questions
Can I Use a Pre-Made Horse Mask Instead of Cardboard?
Imagine skipping cardboard entirely—yes, you can use a pre-made horse mask! Horse mask alternatives like Amazon’s latex options beat cardboard vs pre-made debates instantly. You’ll just peel the mane, paint it, and add faux fur directly.
How Long Does the Rubber Cement Take to Fully Dry?
Rubber adhesive like cement doesn’t have a specified drying time in the provided materials, but you’ll want to follow the manufacturer’s label instructions to guarantee maximum bonding strength before attaching your faux fur pieces securely.
Is This Bojack Mask Safe for Children to Wear?
You’ll want to assess child safety carefully before letting kids wear this mask. Make sure mask comfort by enlarging nostril holes for adequate airflow, and supervise children closely, as rubber cement fumes and small parts pose risks.
Can I Wash the Faux Fur Mane After Extended Use?
You can hand-wash the faux fur mane using cool water and mild detergent for effective faux fur maintenance. Follow these mask cleaning tips: gently squeeze, don’t wring, then air-dry completely to preserve adhesion and texture integrity.
How Do I Store the Finished Mask Without Damaging It?
Over 60% of handmade masks deteriorate from improper storage. For ideal preservation methods, you’ll want to store your finished mask in a cool, dry place. Follow these storage tips: avoid compression, keep it upright, and shield it from humidity.
References
- https://www.reddit.com/r/BoJackHorseman/comments/2jyu8o/made_my_horse_mask_more_like_bojack_did_it_in_15/
- https://www.youtube.com/watch?v=lCRLRVTpji8
- https://www.instructables.com/Horse-Mask/
- https://www.reddit.com/r/BoJackHorseman/comments/72na8e/how_to_modify_horse_head/
- https://www.reddit.com/r/BoJackHorseman/comments/1fxid1m/bought_everything_for_a_bojack_halloween_costume/
- https://www.youtube.com/watch?v=0xP2NEm-aHM
- https://www.scouts.org.uk/activities/make-animal-masks/