For cosplay props, N52 neodymium magnets offer the best holding power, but you’ll need to calculate pull force carefully—multiply your prop’s weight by at least two for a safe minimum. Use nickel-plated or epoxy-coated magnets to resist sweat and humidity, and always confirm polarity before your adhesive cures. Match your adhesive to your material: epoxy for rigid prints, Shoe Goo for foam. The details on placement, embedding, and avoiding common mistakes make all the difference.
Key Takeaways
- N52 neodymium magnets offer the strongest hold for cosplay props and are available through K&J Magnets or Amazon.
- Always select magnets rated at double your prop’s weight to ensure safe, reliable attachment during wear.
- Use nickel-plated or epoxy-coated magnets to prevent rust and corrosion from sweat and humidity exposure.
- Embed magnets in foam by drilling 5mm-deep holes, using two per cavity to prevent rotation.
- Confirm magnet polarity before adhesive cures to avoid misalignment, rework, or permanent damage to your prop.
Which Magnets Actually Work Best for Cosplay Props?
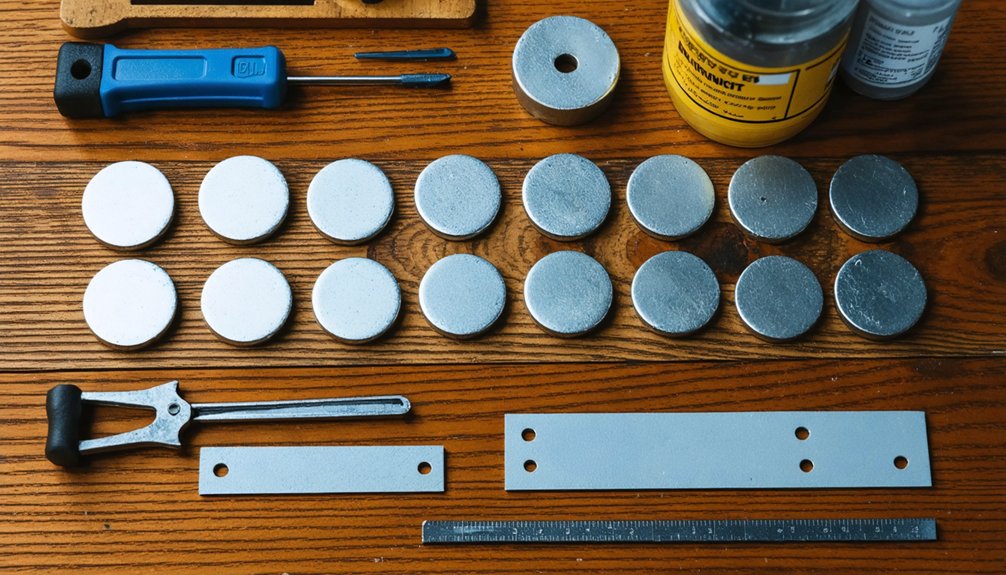
When it comes to raw holding power, N52 neodymium magnets are your best option for cosplay props. You’ll find them on AliExpress, Amazon, or K&J Magnets, where quality control remains consistent.
N52 neodymium magnets offer unmatched holding power for cosplay props, available through AliExpress, Amazon, or K&J Magnets.
K&J Magnets also provides detailed pull force and shear force data, letting you engineer precise attachment points rather than guessing.
Home Depot earth magnets work as a budget alternative, but their lower pull force limits your application range. Watch for magnet corrosion on cheaper nickel-plated units exposed to sweat or humidity — degraded coatings weaken hold strength over time.
For 3D printed helmets, masks, and foam props, neodymium disc magnets deliver the cleanest integration. Keep electronic components away from attachment zones, since magnetic field interference can disrupt battery packs or LED controllers embedded nearby.
How Much Pull Force Does Your Prop Really Need?
Before selecting a magnet, you need to calculate your prop’s weight and multiply it by at least two to determine the minimum pull force required.
Keep in mind that pull force and shear force behave differently — a nickel-plated magnet holding a 5 lb prop vertically needs 20 lb of pull force, but rubber-coated magnets cut that requirement down to roughly 7 lb by increasing shear force to about 75% of pull force.
Once you know your force requirements, you can match them against manufacturer specs from sources like K&J Magnets to choose the right magnet size and coating for your specific application.
Calculating Your Prop’s Weight
Choosing the right magnet starts with knowing exactly how much your prop weighs and how it’ll be oriented when worn. Orientation directly impacts the magnet strength you’ll need. A vertically hanging prop demands considerably more holding power than one resting flat against a surface.
For nickel-plated magnets, apply a 4:1 ratio — a 5 lb prop requires at least 20 lb of pull force. Rubber-coated magnets reduce that ratio considerably, needing only around 7 lb for the same weight.
If your prop slides sideways, shear force becomes critical, requiring roughly 10 lb per 5 lb object.
Also, account for magnetic polarity during planning. Misaligned polarity causes repulsion rather than attraction, compromising your entire attachment system. Always mark and verify pole orientation before embedding magnets permanently.
Pull Force Versus Shear Force
Pull force and shear force behave differently under load, so understanding both determines whether your magnet holds or fails mid-convention.
Pull force measures resistance along the magnetic field’s axis, while shear force measures sideways resistance.
For a 5 lb prop mounted vertically, you’ll need at least 20 lb of pull force using nickel-plated magnets. Switch to rubber-coated magnets, and that drops to roughly 7 lb.
Shear force runs about 75% of pull force when you’re using thin rubber bumper pads, making rubber-clad options highly efficient.
Magnet polarity alignment matters here too — opposing poles maximize field strength and optimize both force types simultaneously.
As a practical baseline, always select magnets rated at double your prop’s weight to account for real-world movement and convention wear.
Choosing The Right Magnet
When selecting a magnet for your cosplay prop, the weight of the object is your starting point, but it’s not the whole equation. You’ll need to account for orientation, surface type, and movement stresses.
Follow this selection framework:
- Double the prop’s weight in pull force as your baseline minimum.
- Choose rubber-clad magnets if shear force is your primary concern—they increase efficiency to approximately 75% of pull force.
- Consider magnet color options to match your prop’s aesthetic without additional painting.
- Plan magnet storage solutions during builds—misfiled N52s can damage electronics or snap together destructively.
N52 neodymium disc magnets remain the strongest practical choice. Source them from K&J Magnets for verified pull force specifications before committing to a final design.
Where to Use Magnets on a Costume (And Where Not To)
Magnets work brilliantly in cosplay, but only if you place them where the physics actually support them. Use them for detachable greeblies, removable visors, swappable lens pieces, and lightweight accessories like holstered pistols. These low-stress connection points let magnets perform reliably without fighting gravity or movement.
Magnets shine in cosplay when placed right — greeblies, visors, and lightweight accessories thrive at low-stress connection points.
Don’t rely on magnets for your armor’s structural integrity. Walking generates constant lateral shifting, which defeats even high-pull neodymium units. Use velcro or snaps for primary armor attachment instead.
For detachable panels, connecting foam props to armor exteriors eliminates visible straps entirely. Removable eye pieces let you swap between visibility and stunt versions quickly.
Consider magnet color options when finishing exposed surfaces, and always practice magnet safety by keeping strong neodymium units away from electronics and pacemakers.
Embed Magnets Into 3D Printed Props Without the Guesswork
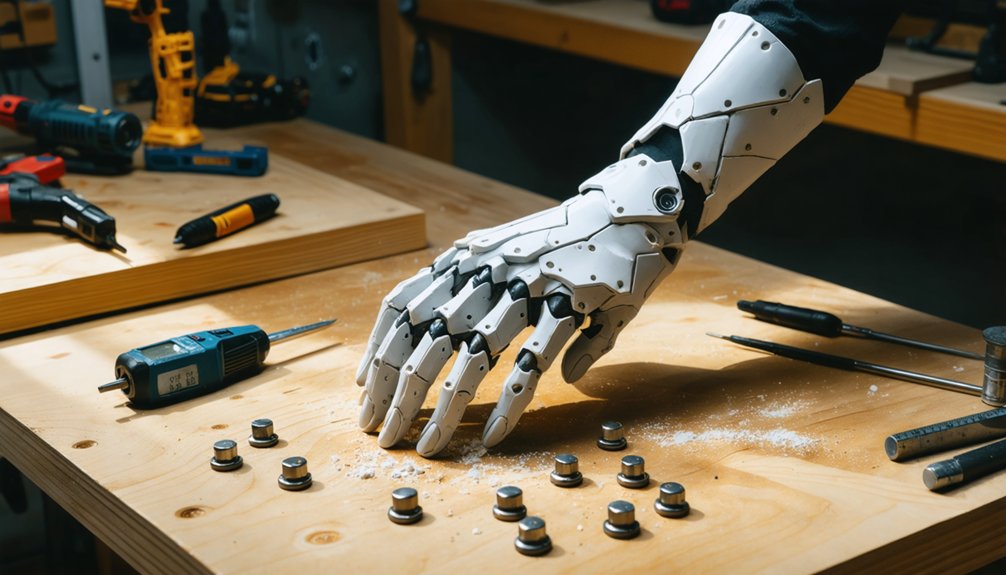
When embedding magnets into 3D printed props, start by selecting N52 neodymium disc magnets, since their high pull force makes them the most reliable option for masks, helmets, and lightweight accessories.
In your 3D software, use a Cube modifier rather than a Plane to design the magnet cavity, scaling it to barely break the surface and moving the object along the Y-axis only to keep alignment precise before applying a Boolean difference cut.
Before committing to a full print, always run a small test section first to confirm the magnet fits the cavity correctly, saving you material and reprints.
Choosing the Right Magnets
Choosing the right magnet comes down to pull force, surface type, and how much your prop actually weighs. N52 neodymium magnets deliver the highest magnetic field strength available for cosplay applications. Nickel plating resists magnet corrosion but reduces friction, requiring double the prop’s weight in pull force.
Follow this selection framework:
- Calculate pull force at minimum 2x your prop’s weight for nickel-plated magnets.
- Switch to rubber-coated magnets when shear force matters—they convert roughly 75% of pull force sideways.
- Source from K&J Magnets for verified pull and shear force specifications.
- Print a test cavity before committing to your final model.
Match magnet type to surface material—rigid prints need epoxy, foam needs Shoe Goo.
Designing Cavities in Software
Designing a magnet cavity in 3D software requires one non-negotiable rule: use a Cube modifier, not a Plane, to define the hole geometry. A Plane lacks volumetric depth, making it useless for accurate cavity dimensions.
Scale your cube until it barely protrudes from the model’s surface—this guarantees clean alignment without positional drift.
For precise magnet placement, move the object along the Y-axis only. Shifting across multiple axes introduces misalignment that compounds during printing.
Once positioned, apply a Boolean difference operation using the eyedropper tool to cut the cavity directly into your main model.
Before committing to a full print, always test your cavity dimensions on a small section first. A quick test print confirms the magnet seats correctly, saving you material, time, and frustration.
Testing Before Final Print
Before committing filament and print time to a full model, run a small test section to confirm your cavity dimensions are accurate. Print a 20mm cube containing your designed cavity, then verify fit and function before scaling up.
Follow this validation sequence:
- Insert the magnet and check for snug resistance—zero wobble indicates correct tolerances.
- Confirm magnet polarity orientation matches your mating surface before the adhesive cures.
- Test pull force against your prop’s actual weight to ensure it meets your calculated threshold.
- Evaluate magnetic shielding needs if adjacent electronics or ferrous components risk interference.
Catching errors at the test-cube stage saves hours of reprinting. Once your cavity passes all four checks, you’re cleared to run the complete model with confidence.
The Right Way to Use Cosplay Magnets in Foam Armor
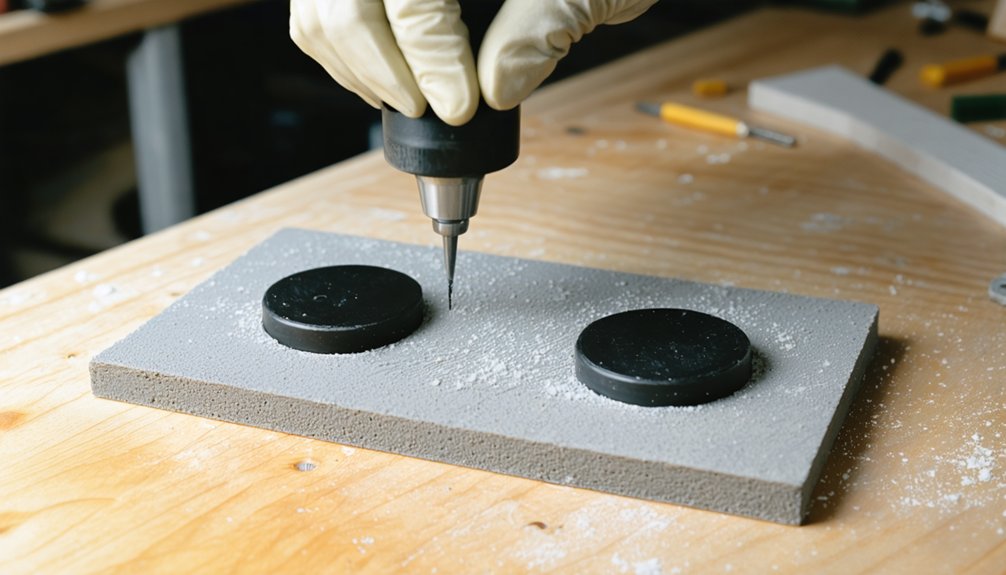
When embedding magnets into foam armor, you’ll want to start by marking your magnet positions directly on the torso template before cutting anything. Once marked, use a Dremel to drill holes roughly 5 millimeters deep into your 10 mm foam—halfway through the material.
Always embed two magnets per cavity to prevent rotation and maintain a secure hold. Apply Shoe Goo to lock them in place, then seal the surface after curing to preserve your finish.
Magnet safety matters here: double-check polarity alignment before adhesive sets, since reversing a bonded magnet wastes time and risks foam damage.
For long-term costume maintenance, inspect adhesive bonds periodically, especially after transport. Shoe Goo’s flexibility handles foam movement without compromising magnet retention.
Surface Prep and Adhesives That Keep Magnets Locked In
Proper surface preparation determines whether your magnets stay locked in place or gradually work loose over time. Skipping this step accelerates magnet corrosion and adhesive failure. Follow this process precisely:
- Remove all paint and debris from the bonding surface before applying any adhesive.
- Avoid surface polishing on bonding areas — rough texture maximizes adhesive grip.
- Use well-mixed Araldite Clear epoxy for rigid materials like helmets, ensuring full cavity coverage.
- Apply Shoe Goo exclusively to flexible foam, allowing slight movement without compromising the magnetic hold.
Mill the interior helmet surface to reduce material thickness, maximizing pull-through strength.
Once your primary magnet cures fully, glue secondary magnets onto accessories like rangefinders.
Each step compounds into a reliable, long-lasting magnetic attachment system built for active convention wear.
Magnet Mistakes That Ruin Cosplay Builds
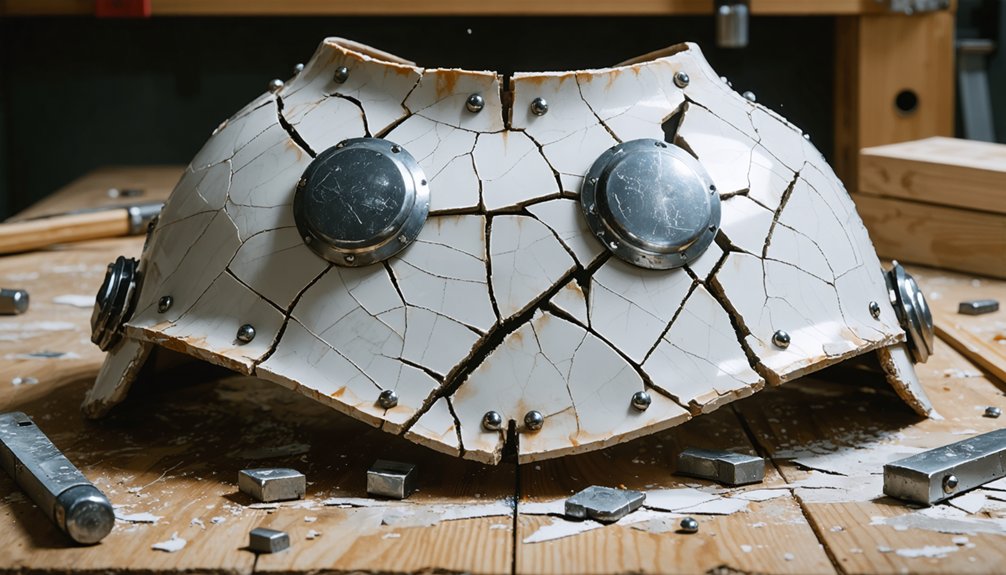
Even experienced builders make magnet mistakes that destroy months of work, so understanding the most common failures saves your build before it starts. Skipping surface prep causes adhesive failure within weeks, especially on painted or smooth materials.
Even experienced builders make magnet mistakes—and skipping surface prep is the fastest way to destroy your work.
You’ll also wreck your build by ignoring magnet corrosion—bare neodymium magnets exposed to sweat or humidity oxidize quickly, flaking rust onto your prop’s finish. Always select nickel-plated or epoxy-coated units.
Don’t overlook magnet color options either. Silver nickel plating reflects light through thin foam or resin layers, creating visible hotspots. Black epoxy-coated magnets blend seamlessly beneath dark materials.
Additionally, never skip pull force calculations—undersized magnets drop props mid-convention. Finally, avoid embedding single magnets without a paired rotation-stopper; accessories will spin freely and stress the adhesive bond until it fails completely.
Frequently Asked Questions
Can Magnets Damage Electronics or Phones Stored Near Cosplay Props?
Yes, you’ll risk magnetic interference damaging phones or electronics near strong neodymium props. Keep devices away, monitor magnet corrosion on nickel-plated units, and store props separately to protect sensitive electronic components effectively.
How Do Magnets Behave in Extreme Heat at Outdoor Conventions?
Neodymium magnets lose roughly 0.1% strength per °C — so you’ll notice heat effects on magnet strength at scorching outdoor cons. Their magnetic temperature resilience holds well under 80°C, keeping your props secure during summer events.
Are Magnets Safe for Cosplayers With Pacemakers or Medical Devices?
If you have a pacemaker or medical device, you shouldn’t use neodymium magnet types in your cosplay. They’ll interfere with electronics. Instead, explore alternative fastening solutions like velcro, snaps, or mechanical clips for safe, reliable prop attachment.
Can Magnets Lose Strength Over Time With Repeated Attachment and Detachment?
Yes, your magnets can weaken over time. Repeated impact accelerates magnetic fatigue, while moisture exposure triggers magnet corrosion, degrading pull force. You’ll maintain peak performance by storing them properly and inspecting nickel-plated surfaces regularly for wear.
How Do You Safely Transport Cosplay Props With Strong Embedded Magnets?
Contrary to belief, magnets don’t self-deactivate during transport. You’ll preserve magnet strength by separating props with foam padding, preventing accidental prop attachment. Store pieces individually in padded cases to avoid unintended snapping that could chip finishes or misalign embedded magnets.
References
- https://www.facebook.com/groups/kamuicosplaycommunity/posts/2116821982154215/
- https://www.youtube.com/watch?v=d329hFULjGE
- https://www.reddit.com/r/cosplayprops/comments/1bd8i1t/magnets_to_hold_3d_printed_armor_together/
- https://www.kjmagnetics.com/blog/cosplay-with-magnets
- https://www.youtube.com/watch?v=wZ84LV5BiM8
- https://www.youtube.com/watch?v=SqkOEypScGQ
- https://www.youtube.com/watch?v=b6PrqTZvU9k
- https://www.first4magnets.com/blog/magnets-used-in-props-and-costume-design/