Mastering cosplay wig styling means starting with heat-resistant kanekalon fibers, then detangling carefully from ends to roots before cutting conservatively with point scissors. You’ll steam sections between 70–85°C, cool them in shape, and lock spikes using hairspray combined with blow-drying. Secure your wig with wig glue near the lace edge and distribute weight using U-shaped pins. Get these fundamentals right, and everything from fiber selection to convention-day troubleshooting starts clicking into place.
Key Takeaways
- Choose heat-resistant kanekalon wigs with adjustable caps, matching the character’s color to avoid risky dyeing processes before styling.
- Detangle from ends upward, trim conservatively using point scissors, and work in sections to achieve a natural, blended look.
- Steam kanekalon fibers between 70–85°C in sections, cooling completely in shape to permanently set spikes and complex styles.
- Use the steam-and-pin technique on a foam head to lock intricate styles, reinforcing fiber memory through repeated heat-cool cycles.
- Secure wigs with wig glue near lace edges and U-shaped pins, distributing weight evenly to prevent shifting during events.
How to Pick a Wig That’s Actually Easy to Style
Choosing the right wig before you ever pick up a pair of scissors or a steamer can save you hours of frustration at the styling table.
Prioritize heat-resistant kanekalon fibers, since they’ll handle steaming between 70–85°C without melting or losing structural integrity.
Check fiber density carefully — overly thick wigs complicate accessory placement, making it harder to secure pins, clips, or embellishments cleanly into the base.
Don’t underestimate color matching either; selecting a shade that’s already close to your target character eliminates risky dyeing steps entirely.
Opt for wigs with adjustable caps to guarantee a secure fit before styling begins.
Smarter material selection upfront means every subsequent cut, steam, and shape lands exactly where you intend it.
Detangle Your Cosplay Wig Without Causing Damage
Before you touch a comb to your wig, start at the ends — not the roots. Working upward through small sections prevents fiber stress and preserves your wig’s structural integrity. Use a wide-tooth comb and manually separate stubborn knots with your fingers before combing through each section.
Fiber analysis matters here — synthetic and human hair wigs respond differently to tension. Rushing through kanekalon fibers causes irreversible frizz that even color correction techniques can’t mask post-damage.
Pull knots apart gently, then comb through the freed section before moving higher. Repeat this methodically across the entire wig. Never attack the whole piece simultaneously — that’s how tangles multiply.
Patience and section-by-section precision transform a chaotic, matted wig into a smooth, style-ready foundation.
Cut and Trim Your Wig for a Natural Cosplay Look
When trimming your cosplay wig, always point your scissors upward and cut into the hair using only the very tip of the blade, which breaks up blunt, chunky lines and creates a naturally textured finish.
Hold the hair slightly above your cutting point to protect your fingers while maintaining control over each small section you trim.
Start by cutting less than you think you need, since you can always remove more length later but can’t restore what’s already gone.
Scissor Techniques for Texture
Achieving a natural-looking wig for cosplay comes down to how you use your scissors. Rather than making blunt, straight cuts, point your scissors upward and cut into the hair vertically. This technique breaks up uniform edges, mimicking real fiber texture and eliminating that obvious synthetic stiffness.
Use only the scissor tips for precision—cutting deeper into sections creates dimension without sacrificing length. Hold hair slightly above where you’re cutting to protect your fingers and maintain control. Always trim conservatively; you can remove more later, but you can’t reattach what’s gone.
When working with color blending across multiple tones, this upward-cutting method naturally integrates different shades by softening harsh lines between them. The result is a seamlessly textured finish that elevates your cosplay beyond an obvious, store-bought appearance.
Trimming for Natural Lines
Trimming your wig for natural lines starts with a simple principle: cut less than you think you need to. Remove small amounts incrementally, then reassess — you can always take more off, never put it back.
Point your scissors upward and use only the tip to slice into the fiber texture, breaking up blunt edges that read as artificial under stage lighting. This technique mimics how natural hair falls and layers.
When working around color blending zones — where two shades meet — trim conservatively to preserve that gradient. Choppy cuts destroy the progression.
Hold hair slightly above your cutting point to protect your fingers while maintaining control. Work in sections, evaluate each one before moving forward, and let precision drive every cut.
Use Heat to Style Synthetic Wigs Without Damage
Styling synthetic wigs with heat requires a careful approach, since most fibers will melt or frizz permanently if you exceed their safe temperature range. Before applying any heat tool, always confirm your wig’s fiber type — kanekalon and heat-resistant synthetics behave very differently, making fiber comparison essential before you begin.
Heat kanekalon fibers between 70–85°C (160–185°F) using a steamer, applying heat for only a few seconds before letting the section cool in its shaped position. This controlled method also supports color preservation, since excessive heat strips vibrancy from dyed fibers quickly.
Steam straight sections individually for a more natural finish, and always pin shaped sections onto a wig form, allowing them to dry completely before handling.
Set Spikes and Shapes That Actually Hold
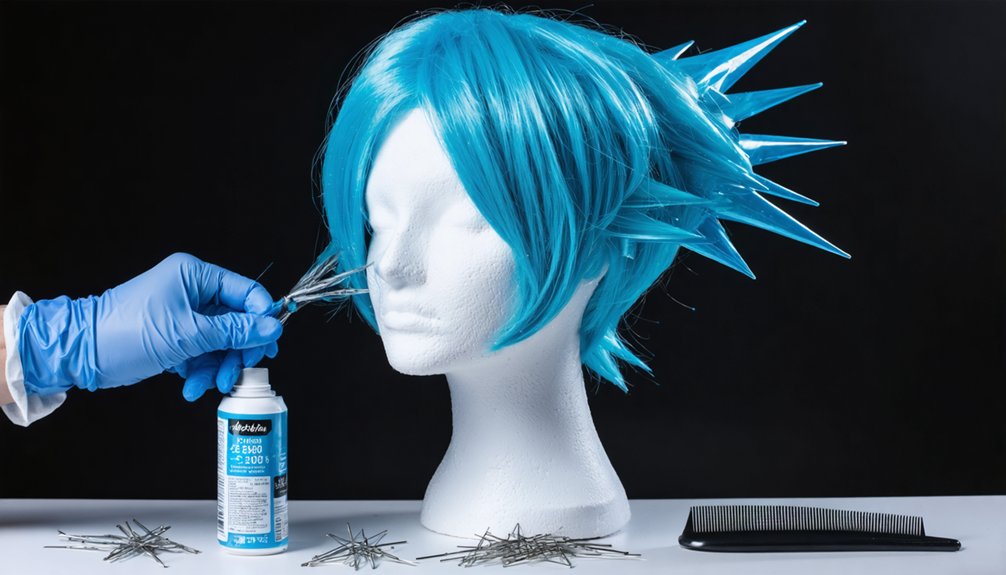
To build a spike base that holds its shape, spray the interior of each spike with hairspray before combing the smooth outer hair layer over it. Then immediately comb the hair into the wet spray before it dries.
Once you’ve locked the shape, apply a light recoat of spray to the outer layer and hit it with a blow dryer to set the structure firmly in place.
For a longer-lasting hold, steam the finished spike at 70–85°C and let it cool completely in position, which permanently molds the kanekalon fibers into the shaped form.
Building A Spike Base
Before you shape a single spike, you’ll need to build a solid interior foundation that gives each point something to grip onto. Start by spraying the interior of each spike with hairspray, then immediately comb smooth hair directly over it while the product is still wet. This locks fibers into place with structural precision rather than surface-level styling.
Color matching your base hair to the spike sections prevents visual inconsistency when layers shift. Different fiber types also respond differently to hairspray — kanekalon holds shape aggressively, while toyokalon softens faster under product saturation.
After combing, apply a light secondary coat, then blow dry the section firmly. That heat-set layer becomes your anchor point, ensuring every spike maintains its angle without collapsing throughout a full convention day.
Locking Shapes With Spray
Set Spikes and Shapes That Actually Hold
Once your base layer is heat-set, how you apply the locking coat determines whether your spikes survive an eight-hour convention floor or droop by noon. Spray the interior cavity of each spike first, then immediately comb your smooth outer fibers into the wet hairspray before it dries. This two-stage technique bonds layers without creating visible crust.
Follow with a light surface coat, then blow-dry the section firmly into position. Consider color matching your hairspray to avoid dulling vibrant pigments—matte-finish sprays preserve saturation better than glossy formulas.
Don’t finalize accessory placement until after locking, since repositioning clips or pins through set spray fractures the bond. Apply conservatively; buildup destroys definition and adds unwanted weight that fights your structure.
Steaming For Lasting Hold
Hairspray locks the surface, but steam works from the inside out—reshaping the fiber’s actual molecular structure rather than coating it.
Before steaming, confirm your wig fiber types, since kanekalon handles 70–85°C safely, while cheaper fibers can melt or lose color matching integrity under identical heat exposure.
Pin your shaped sections onto a wig form, then apply steam for a few seconds per section. Hold each spike or curl in position while it cools—that cooling phase is where the shape actually sets. Rushing it collapses your work instantly.
Work section by section rather than blasting the entire wig at once. Repeat heat-then-cool cycles on stubborn areas.
The result isn’t surface stiffness—it’s structural memory built directly into the fiber itself.
Steam and Pin Your Wig Into a Shape That Lasts
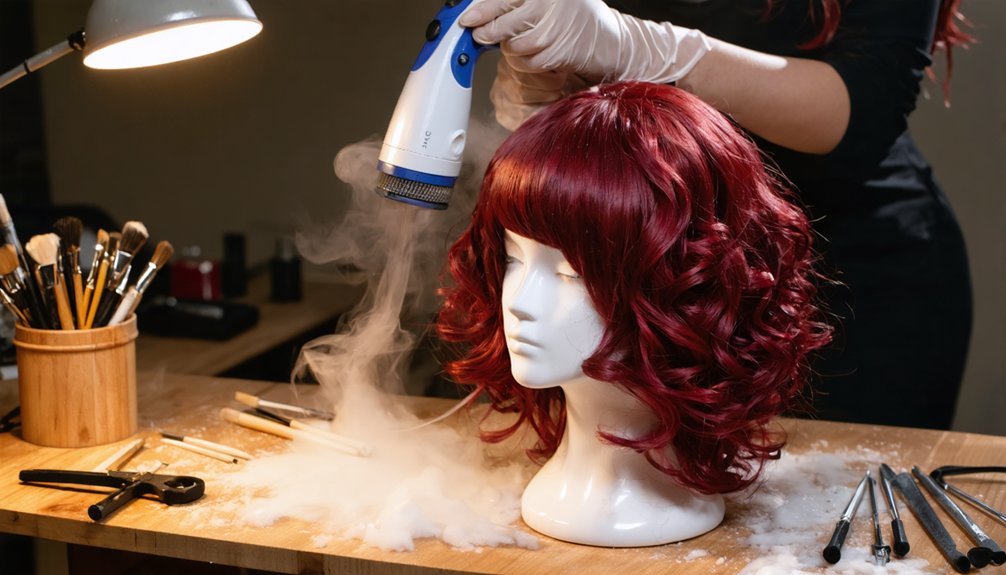
Steaming and pinning your wig into shape is how you lock in complex styles that would otherwise collapse the moment you put the wig on. Position your wig on a foam head, then pin each section deliberately — curls, spikes, or dramatic swoops — securing every curve before introducing heat.
Apply steam directly to each pinned section for several seconds, allowing kanekalon fibers to absorb moisture and reset their memory. This process also aids fiber restoration, reviving flattened or overworked strands back to their intended texture.
Let each section cool completely before removing pins; pulling them early unravels your work instantly. For styles incorporating color blending across multiple fiber types, steam each tonal section separately to guarantee uniform shaping without distorting the gradient you’ve carefully constructed.
Apply Your Cosplay Wig So It Stays Put All Day
Once your wig holds its shape off the head, the real test is keeping it there while you wear it. Slide the wig on from the back, aligning the front hairline precisely before securing the sides.
Slide the wig on from the back, nail the hairline first, then lock the sides into place.
Trim the lace a few millimeters from the hairline, then apply wig glue close to that edge for a seamless bond that supports color blending with your natural skin tone.
If your wig runs back-heavy, U-shaped hairpins or built-in clips distribute the weight evenly.
Before finalizing placement, test your bang length against your face and trim symmetrically.
Factor in accessory attachment points early — horns, headbands, or armor pieces affect balance. Secure those elements before your final fit check to avoid repositioning the wig repeatedly throughout the day.
Fix Flat Spikes, Bad Cuts, and Lace Gaps Before the Con
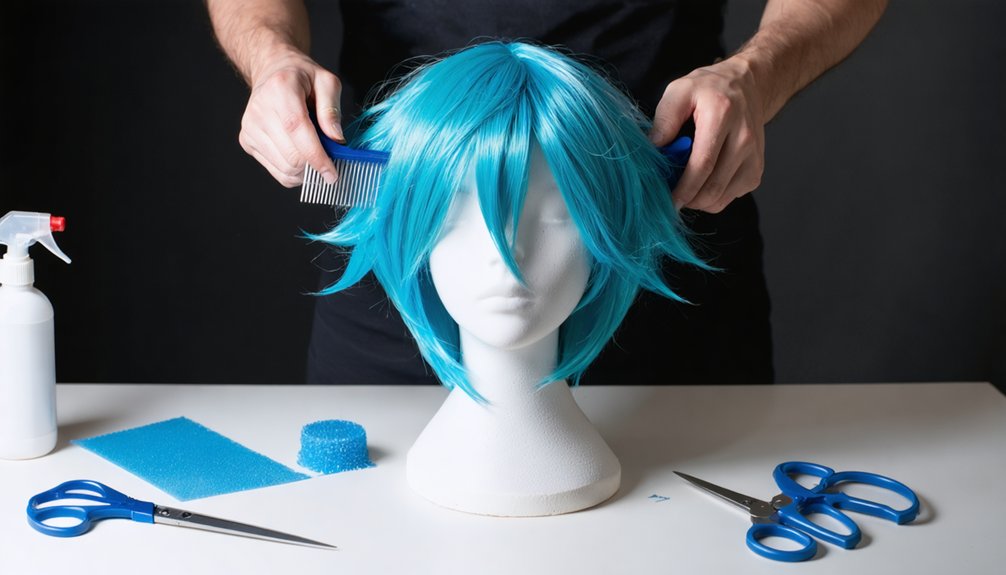
Even the most carefully styled wig can arrive at con day with collapsed spikes, uneven cuts, or visible lace gaps — but each problem has a targeted fix.
For flat spikes, spray the interior with hairspray, comb smooth hair over them immediately, then blow-dry to lock the shape firm.
For bad cuts, point your scissors upward and cut into the hair in small increments — you’ll eliminate chunky lines without sacrificing length.
Address lace gaps by applying wig glue precisely close to the hairline, pressing sections flat.
Color blending irregularities become less visible once you’ve trimmed unevenly distributed layers.
For accessory attachment points pulling the wig backward, secure U-shaped hairpins near the crown to redistribute weight evenly.
Tackle each issue individually before the con — never simultaneously.
Frequently Asked Questions
Can I Style a Cosplay Wig While Wearing It on My Head?
You can style a cosplay wig while wearing it, but prioritize wig cap fitting first. Avoid heat styling techniques directly on your head—steam and tools risk burns, so always pre-style off-head for precision.
How Do I Store a Styled Cosplay Wig Between Conventions Safely?
Store your styled cosplay wig on a wig form to preserve its shape. These smart storage solutions protect delicate styling, while proper wig maintenance means you’ll keep pins secure, avoid compression, and extend your creation’s lifespan between conventions.
What Wig Colors Photograph Best Under Convention Hall Lighting Conditions?
Ironically, those stunning neon wigs you love often wash out completely! You’ll photograph best using jewel-toned colors with high color saturation. They’ll combat harsh lighting effects in convention halls, keeping your cosplay vivid, sharp, and visually striking in every shot.
Can Two People Share One Cosplay Wig for Group Costumes?
You can share a cosplay wig, but you’ll need to prioritize wig maintenance between wearers. Wig material differences affect stretch and fit, so adjust the cap carefully and detangle thoroughly after each person’s use.
How Do I Match a Wig Color Accurately to an Anime Character?
Compare reference images under natural light for accurate color matching. You’ll want to use dye techniques like toning or fiber-safe dyes to tweak shades, ensuring your wig captures the character’s exact vibrant, animated hues authentically.
References
- https://www.youtube.com/watch?v=mQlJn0VkK9Q
- https://www.youtube.com/watch?v=exgfWFYu_h0
- https://www.thepopverse.com/cosplay-wig-wigs-cheap-tips-tricks
- https://www.youtube.com/watch?v=AOGOyBWlsMI
- https://www.youtube.com/watch?v=KfKHOOMYiZc
- https://wigs101.com/10-tips-for-wig-noobs
- https://www.youtube.com/watch?v=w8CCODasD44