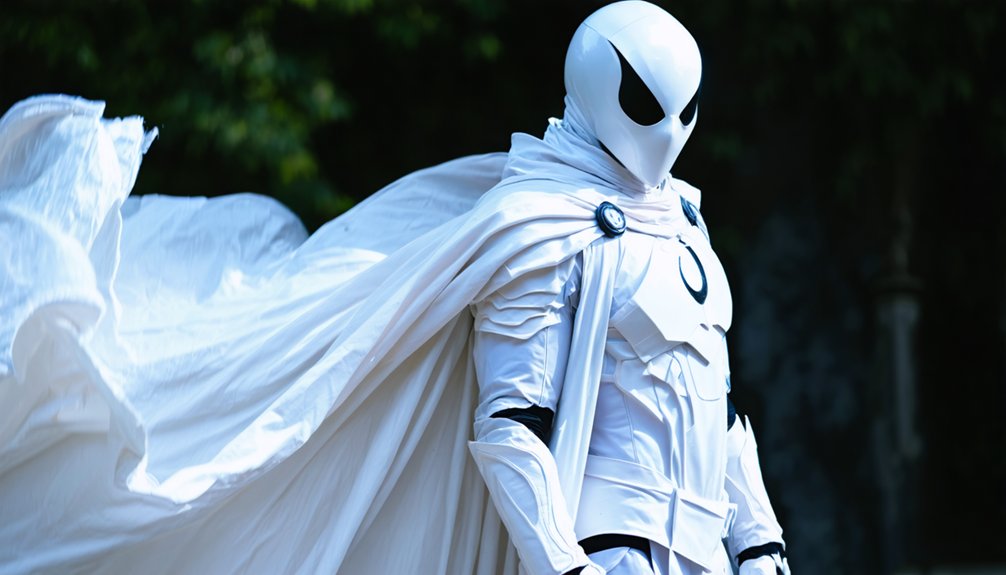
To build a screen-accurate Moon Knight cosplay, you’ll need non-stretch white fabric, a gray inner lining, and a Spider-Man face shell as your mask base. Cut your cape into a semi-circle pattern, layer both fabrics, and sandwich wire along the edges for dramatic shaping. For the mask, stretch white fabric over foam-layered shell and finish with mesh eyes and puff paint details. There’s much more to uncover as you work through each step.
Key Takeaways
- Cut the cape in a semi-circle pattern, layer white outer fabric with gray lining, and glue or sew the edges together securely.
- Insert wire along the shoulders and lower edge between fabric layers to maintain dramatic, consistent shaping and structured folds.
- Build the mask using a Spider-Man face shell, layering foam for dimension and stretching white fabric smoothly over the form.
- Integrate the hood directly into the mask construction for a seamless appearance, finishing with mesh eyes and puff paint detailing.
- Attach the cape at shoulder seams and secure the mask with elastic or hook-and-loop fasteners, reinforcing stressed points with fabric glue.
Gather Your Moon Knight Cape and Mask Materials First
Before you cut a single piece of fabric or glue anything together, you’ll need to stock up on the right materials for both the cape and mask.
For the cape, grab a non-stretch white outer fabric and a gray contrasting inner layer. If you’re exploring fabric dyeing, start with a neutral base cloth so your tones stay controlled and consistent. Consider cape embellishments like subtle silver trim to reinforce Moon Knight’s iconic aesthetic.
For the mask, you’ll need a Spider-Man face shell as your base, white fabric, white mesh for the eye area, foam for shaping, and puff paint for clean edge detailing. Optional LED lights can elevate your build significantly.
Cut and Layer Your Moon Knight Cape
Once your materials are gathered, it’s time to cut your cape into shape using a semi-circle pattern with a neck opening cut into the center.
Adjust the cape length so it drapes dramatically past your shoulders, hitting around the waist for maximum visual impact.
Next, layer your two fabric pieces together—white for the outer fabric color and gray for the inner lining.
Align the edges precisely before gluing or sewing the perimeter shut.
This double-layer construction adds weight, improving flow and silhouette as the cape moves.
Trim the curved lower edge for a natural cloak finish, then reinforce with wire if you want the cape to hold dramatic folded positions.
Test the fit over your bodysuit before finalizing any seams.
Shape Your Moon Knight Cape With Wire Support
Wire support transforms a flat cape into a dramatic, pose-ready silhouette that holds its shape even as you move. Select your wire based on your fabric choices — softer wire suits lightweight fabrics that need gentle structure, while harder wire locks stiffer materials into bold, fixed positions.
Using wiring techniques that mirror your cape’s template shape, cut the wire to match the outer curved edge before sandwiching it between your two fabric layers. Secure it with stitching or fabric glue along the perimeter, keeping the wire flush against the seam.
Focus wire placement along the shoulders and lower curved edge for maximum visual impact. This approach lets you pre-shape dramatic folds that photograph beautifully and stay consistent throughout an entire convention day.
Build Your Moon Knight Mask Base and Hood
With the cape fully shaped and wired, it’s time to shift focus to the mask — the most recognizable part of any Moon Knight build. Across historical costume variations, the mask has evolved, but its core structure remains a full-face shell with open eyes carrying deep cultural symbolism tied to the lunar aesthetic.
Start your base using these three foundational steps:
- Use a Spider-Man face shell as your structural template, trimming it to fit your face profile.
- Layer foam over the shell to build a convincing 3D helmet silhouette.
- Stretch white fabric tightly over the form, securing it cleanly around the edges.
Integrate the hood directly into the mask for a seamless, single-piece appearance that strengthens the overall silhouette dramatically.
Finish the Mask With Fabric and Eye Details
Now that your base is set, finishing the mask comes down to two things: clean fabric coverage and sharp eye detailing.
Stretch white fabric smoothly over your base, pulling it taut to eliminate wrinkles that distort facial expressions when worn. Glue edges cleanly to the interior, trimming excess for a crisp finish.
For the eyes, cut white mesh to fit each opening precisely. Mesh preserves visibility while maintaining the mask’s sleek, unbroken surface. Run puff paint along the eye edges to define the shape and reinforce the seam.
Consider integrating mask lighting behind the mesh for illuminated eyes that elevate your build beyond standard cosplay. Small LED strips or button lights fit discreetly inside the shell, creating a striking effect without adding bulk.
Attach the Cape and Mask to Your Bodysuit
Once your cape and mask are finished, bringing them together with the bodysuit is what transforms individual pieces into a complete, unified build. Proper alignment guarantees cape draping falls naturally across your shoulders while mask articulation stays centered and secure.
Bringing all pieces together transforms separate components into one cohesive, polished build ready to wear.
Follow these attachment steps:
- Anchor the cape at the shoulder seams using fabric glue or hand stitching, positioning it so the crescent silhouette drapes symmetrically.
- Secure the mask by attaching elastic or hook-and-loop fasteners that connect through the hood, keeping mask articulation stable during movement.
- Test the full fit wearing the bodysuit, confirming the cape’s neckline tube sits flush and nothing pulls or shifts.
Make small adjustments before finalizing every connection point.
Fix Common Moon Knight Cape and Mask Problems Fast
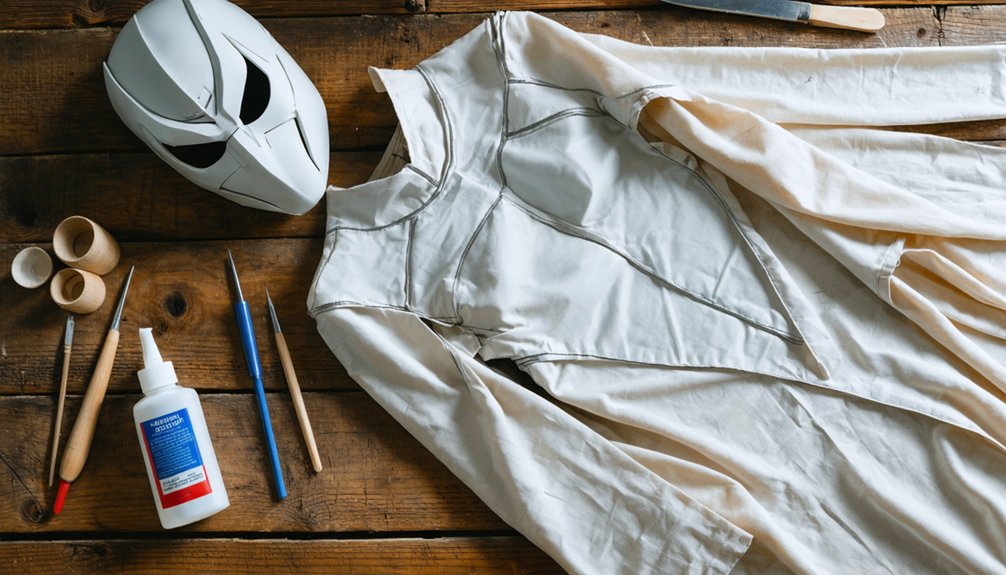
Even the most carefully built Moon Knight cosplay can develop frustrating issues during wear, but most cape and mask problems have quick, targeted fixes.
If your cape fabric durability becomes a concern after repeated wear, reinforce stressed seams with fabric glue and add a second stitching pass along the perimeter. Sagging layers respond well to wire reinforcement placed along the upper edge for better shape retention.
For mask fitting adjustments, add thin foam padding inside the shell to correct loose or shifting movement against your face. If mesh eye panels pull away, resecure them with puff paint edging for a clean bond.
Check shoulder alignment regularly since cape and mask positioning shifts during movement, and small repositioning fixes prevent larger structural failures mid-event.
Frequently Asked Questions
Can I Wash My Moon Knight Cape Without Damaging the Fabric?
You can wash your cape, but check your cape material durability first. Hand-wash gently using cold water, mirroring mask fabric cleaning methods. Avoid harsh agitation—it’ll protect your white layers and keep that dramatic drape intact!
How Long Does a Full Moon Knight Cosplay Build Typically Take?
You’ll typically spend two to four weeks building your full Moon Knight costume durability masterpiece. Plan ahead for cosplay event planning—each layer, from cape to mask, demands precise, creative attention to detail!
What Is the Average Cost to Build a Moon Knight Costume?
Your wallet’s journey varies, but you’ll typically spend $50–$200. Smart material selection—foam, white fabric, and mesh—keeps costs low while boosting costume durability, letting you craft an innovative, screen-worthy Moon Knight build confidently.
Can Children Wear a Moon Knight Cape and Mask Safely?
Yes, children can safely wear Moon Knight cosplay accessories! Make sure you’re using lightweight fabrics, avoid wire reinforcements, and secure the cape loosely. Prioritize child safety by keeping the mask’s eye mesh breathable and vision-friendly.
Where Can I Buy Pre-Made Moon Knight Cape Fabric in Bulk?
Picture crisp white fabric cascading dramatically — you’ll find bulk Moon Knight costume accessories and cosplay fabric sources at Fabric.com, JOANN, or Alibaba, where you can order wholesale white non-stretch or denim materials perfectly suited for double-layer capes.
References
- https://www.youtube.com/watch?v=CWnFZWuMMUE
- https://www.youtube.com/watch?v=rYdhf9oTz2I
- https://www.youtube.com/watch?v=GFU1WnV1Pfo
- https://www.thepopverse.com/moon-knight-marvel-mcu-disney-plus-cosplay-costume
- https://costumewall.com/dress-like-moon-knight/
- https://www.instructables.com/How-to-make-a-superhero-cape/
- https://www.therpf.com/forums/threads/moon-knight-magic-egyptian-armor-version.329526/
- https://cardboardcosplay.co/how-to-make-a-moon-knight-mask/