Imagine your favorite movie prop setting sail on a new adventure, meticulously crafted with thermoplastic using techniques that transform imagination into reality.
Each method you learn is a brushstroke in the masterpiece of prop-making, guiding you through the intricate process.
As you explore these 10 best techniques tailored for beginners, you'll uncover the secrets to creating props that enchant and mesmerize.
So, are you ready to set sail on a journey where your creativity knows no bounds and your creations speak volumes?
Key Takeaways
- Understand thermoplastic compatibility and melting points for proper selection.
- Soften thermoplastics with a heat gun for shaping precision.
- Utilize silicone molding and resin casting for detailed prop replication.
- Employ safe joining techniques and advanced effects like LED lighting for customization.
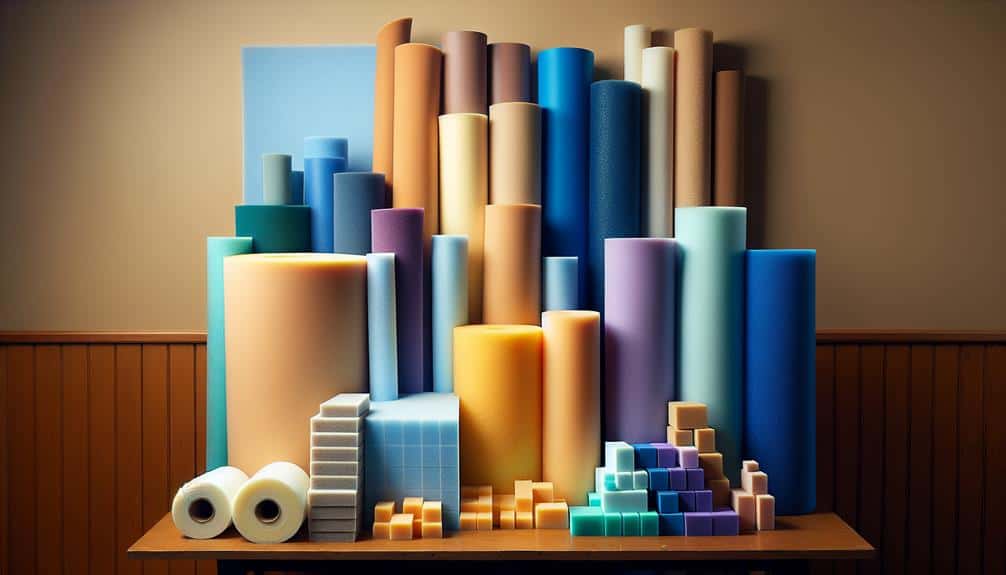
Choosing the Right Thermoplastic
When starting your prop-making journey, selecting the appropriate thermoplastic is essential for achieving professional results. Understanding thermoplastic compatibility and melting points is vital. Different thermoplastics have varying melting points, impacting their workability and applications. For example, Worbla has a lower melting point compared to Wonderflex, making it easier to shape by hand but requiring more layers for structural strength.
Color options and dye techniques are also important considerations when choosing a thermoplastic. Some thermoplastics come in pre-colored sheets, while others are white or transparent, allowing for customization through painting or dyeing. Worbla's Finest Art, for instance, can be easily dyed using fabric dyes, enabling you to achieve your desired color palette seamlessly.
Heating and Shaping Techniques
Ready to bring your thermoplastic creations to life?
Master the art of using a heat gun to soften the material for shaping, then get hands-on to mold it into your desired form with precision.
Explore various techniques to create molds that will help you achieve intricate details in your prop-making projects.
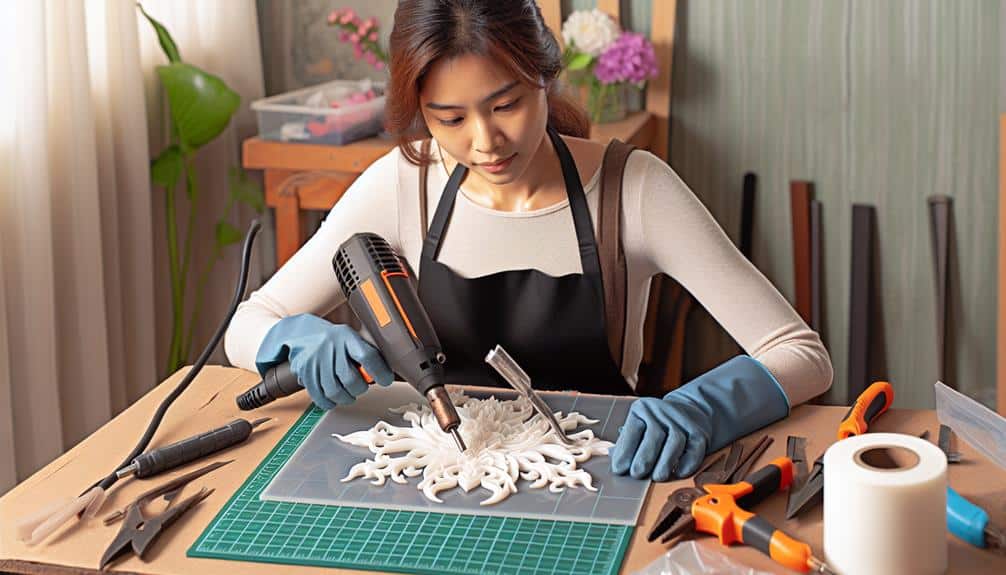
Heat Gun Basics
Mastering the art of using a heat gun in prop-making involves understanding the fundamental principles of heating and shaping techniques. When working with a heat gun, always prioritize safety by wearing heat-resistant gloves and eye protection.
To take your skills to the next level, explore advanced techniques such as layering thermoplastic sheets for added strength or creating intricate details by carefully controlling the heat application. Get creative with your projects by experimenting with different heat settings to achieve unique textures and finishes.
The heat gun is a versatile tool that allows for precise prop customization, enabling you to mold, shape, and form thermoplastics into intricate designs. With practice and patience, you'll soon be crafting professional-looking props with finesse.
Forming With Hands
To enhance your prop-making skills further, immerse yourself in the art of forming with hands using advanced heating and shaping techniques that bring your creations to life with precision and detail. Here are some tips to help you master this craft:
- Hand sculpting: Use your hands to mold and shape the thermoplastic material, allowing you to create intricate details and unique designs.
- Creative techniques: Experiment with different methods such as twisting, folding, and stretching the heated thermoplastic to achieve various textures and shapes.
- Texture creation: Utilize sculpting tools like knives, rollers, and sculpting pens to add texture and fine details to your props.
- Practice precision: Work slowly and methodically, paying attention to every curve and contour to achieve professional-looking results.
Mold Creation Techniques
Embrace the transformative power of heat and precision as you explore the art of mold creation techniques using thermoplastic materials.
Silicone molding offers a versatile way to create detailed molds for your props. Start by sculpting your design, then encase it in silicone to capture every intricate detail. Once the silicone sets, carefully remove the original sculpt to reveal the mold ready for resin casting.
Resin casting allows you to replicate your prop with ease and durability. Mix the resin according to the manufacturer's instructions, pour it into the silicone mold, and wait for it to cure. The result? A high-quality prop that mirrors your original design, thanks to the magic of silicone molding and resin casting.
Adding Details and Texture
As you start adding details and texture to your thermoplastic props, the tools for texturing will become your best friends, helping you create intricate designs and patterns effortlessly.
Techniques for detailing will allow you to enhance the realism of your props, giving them a professional finish that wows your audience.
Remember to follow surface treatment tips to establish that your thermoplastic creations not only look amazing but also withstand the test of time.
Tools for Texturing
Considering the intricate details and textures that can elevate your prop-making projects, selecting the right tools is essential for achieving professional results. Here are four must-have tools for adding depth and authenticity to your thermoplastic creations:
- Texturing Stamps: These tools allow you to imprint intricate designs and patterns onto your thermoplastic surfaces with ease, enhancing the overall look of your props.
- Sculpting Tools: Perfect for creating custom textures and adding fine details to your props, sculpting tools help you achieve a professional finish.
- Heat Gun: Ideal for creating weathering effects and distressing techniques, a heat gun can simulate aging effects and add realism to your props.
- Texture Rollers: These tools are great for quickly adding consistent textures to larger surface areas, saving you time while maintaining quality in your projects.
Techniques for Detailing
To enhance the intricacy and authenticity of your prop-making projects, mastering techniques for detailing is essential in achieving professional-level results. Detailing techniques elevate your props from basic to extraordinary.
Use advanced tools like sculpting knives, detailing pens, and texture stamps to add fine lines, intricate patterns, and realistic textures. Experiment with texturing tips such as stippling, dry brushing, and sponging to create depth and dimension.
Embrace creative approaches like layering different textures, mixing materials, and utilizing everyday objects for unique details. Practice precision and patience when adding details, ensuring each element contributes to the overall aesthetic of your prop.
Surface Treatment Tips
Enhance the visual appeal and tactile quality of your prop creations by incorporating surface treatment tips that focus on adding intricate details and textures. To elevate your prop-making skills, consider the following techniques:
- Weathering Techniques: Use dry brushing or sponge painting to simulate wear and tear on your props, adding a touch of realism.
- Distressing Methods: Employ sandpaper, wire brushes, or heat guns to create aged and worn-out effects on the surface of your props.
- Surface Finishing: Experiment with varnishes, sealants, or specialized sprays to protect your props and give them a polished look.
- Texture Application: Utilize techniques like stippling, stenciling, or adding layers of different materials to create unique textures that enhance the overall appearance of your props.
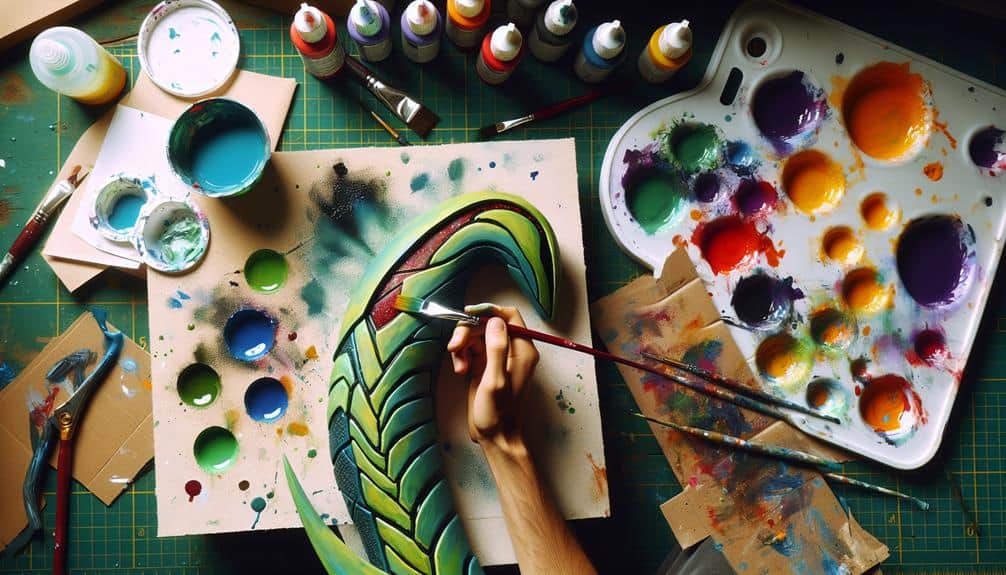
Painting and Finishing Tips
Exploring various painting and finishing techniques can elevate the quality and realism of your thermoplastic prop projects. When it comes to painting your props, brush techniques play an important role. Experiment with different brush sizes and strokes to achieve varying textures and effects. For an added touch of authenticity, consider incorporating aging effects such as dry brushing or stippling to create a weathered appearance.
Once your prop is painted to perfection, sealing and weatherproofing are essential steps to guarantee its longevity. Sealants not only protect the paint job but also provide a smooth base for additional layers. Opt for sealants that are compatible with thermoplastics to prevent any unwanted reactions. When weatherproofing, consider the environment in which your prop will be used. Choose weather-resistant coatings that can withstand outdoor elements if your prop will be displayed outside.
Creating Molds and Patterns
When creating molds and patterns for your thermoplastic prop projects, precision and attention to detail are key to achieving professional results. Here are some essential tips to help you master the art of creating molds and patterns:
- Sculpting Techniques: Utilize various sculpting tools and materials to craft your original design with finesse. Pay close attention to detail and guarantee smooth surfaces for a flawless mold.
- Pattern Making: Create precise patterns that will serve as the blueprint for your final prop. Accuracy is vital at this stage to guarantee a perfect mold.
- Silicone Molds: Invest in quality silicone mold-making materials to capture all the intricate details of your pattern accurately. Silicone molds are durable and flexible, making them ideal for casting thermoplastics.
- Casting Methods: Practice different casting techniques to ensure successful replication of your prop. Master the art of pouring and setting the thermoplastic material within the mold for professional-looking results.
Joining Thermoplastic Pieces
When it comes to joining thermoplastic pieces, you can explore various techniques to guarantee a secure and seamless bond.
The heat bonding method allows you to meld thermoplastic parts together using heat guns or ovens.
Additionally, adhesive options and mechanical fastening techniques can provide alternative ways to join thermoplastic pieces for your prop-making projects.
Heat Bonding Method
To effectively join thermoplastic pieces using the heat bonding method, begin by selecting your heat source and preparing the surfaces to be bonded. Here are four essential steps to master this technique:
- Heat Source Selection: Choose a heat gun or an oven for precise control.
- Surface Preparation: Clean the surfaces thoroughly to remove any dirt or residue.
- Heating the Thermoplastic: Apply heat evenly to both pieces until they start to soften.
- Bonding: Press the softened surfaces together firmly, ensuring a strong bond.
Adhesive Options
For a more versatile approach to bonding thermoplastic pieces, exploring adhesive options opens up a world of creative possibilities in prop-making. Adhesive application is a vital skill to master, as it allows for seamless connections between different components.
When selecting an adhesive, consider factors like strength, drying time, and compatibility with the thermoplastic material. Popular bonding methods include using super glue for quick fixes and E6000 for strong, flexible bonds. Apply the adhesive evenly on the surfaces to be joined, ensuring a firm press to promote adhesion.
Experiment with different adhesives to find the best fit for your project, and remember to follow safety precautions when working with chemicals. Mastering adhesive techniques will elevate your prop-making skills to new heights.
Mechanical Fastening Techniques
Consider employing rivets, screws, or snap fasteners to achieve secure connections when joining thermoplastic pieces for your prop-making projects. For robust constructions, follow these advanced techniques:
- Rivet Application: Utilize a rivet gun to secure pieces together. Make sure the rivet's size matches the thickness of the thermoplastic for a snug fit.
- Screw Attachment: Pre-drill pilot holes in the thermoplastic pieces to prevent cracking. Use screws with flat heads for flush connections.
- Bolt Securing: For heavy-duty props, opt for bolts to join thicker thermoplastic sections. Choose bolts of appropriate length to accommodate the material's thickness.
- Nut Fastening: Pair bolts with nuts to reinforce connections. Tighten the nuts securely to prevent loosening during use. Mastering these techniques will enhance the durability and professional finish of your thermoplastic props.
Adding LED Lights Effectively
Enhance your prop creations with mesmerizing LED lights that bring a dynamic and eye-catching element to your projects. When incorporating LED lights into your thermoplastic props, consider customized designs with remote control capabilities for added assurance. Opt for battery-powered options to maintain portability and flexibility in prop placement. Explore color-changing options to create mood-enhancing effects or to match different themes.
To effectively add LED lights to your props, start by planning the placement of the lights to highlight specific features or create a desired ambiance. Secure the LED lights using adhesive strips or glue suitable for thermoplastics to assure they stay in place. Conceal wires within the prop by creating channels or grooves to maintain a clean and professional look.
Experiment with different lighting patterns and effects to elevate your props to the next level. Test the lights before finalizing their placement to assure they work correctly. With practice and creativity, you can master the art of incorporating LED lights into your thermoplastic props seamlessly.
Weathering and Distressing Props
When weathering and distressing your props, infuse character and depth into your creations by artfully aging and altering their appearance. Here are some essential tips to help you achieve that authentic, weathered look:
- Rust Effects: Utilize techniques like salt and vinegar solutions or commercial rusting agents to add realistic rust effects to your props, giving them a weathered and aged appearance.
- Aging Techniques: Experiment with methods such as dry brushing, sponge painting, or airbrushing to simulate wear and tear on your props, creating a sense of history and use.
- Weathering Tools: Invest in tools like sandpaper, wire brushes, and heat guns to distress the surface of your props, mimicking natural wear patterns and adding texture to the finished piece.
- Distressing Materials: Explore using items like acrylic washes, shoe polish, or even real dirt and grime to add layers of distress and dirt, enhancing the overall realism of your props.
Incorporating Foam and Worbla
To elevate the craftsmanship of your props, integrating foam and Worbla can provide versatility and durability in prop-making projects. Foam armor is a fantastic addition to prop-making, offering lightweight and easy-to-shape material for creating intricate details. When working with foam, consider layering it to build up depth and dimension in your props.
Worbla techniques involve heating the thermoplastic material and molding it around the foam to create a smooth and sturdy outer layer. Worbla's adhesive properties allow for seamless integration of different materials in your prop-making process.
When combining foam and Worbla, start by shaping the foam into the desired form and then using Worbla to encase it, creating a strong and detailed surface. Worbla can be molded and sculpted to add texture and embellishments to your foam armor pieces. Remember to heat Worbla evenly for a smooth finish and secure adhesion. Experiment with different Worbla techniques such as sandwiching foam layers between Worbla sheets for added strength.
With practice and creativity, the combination of foam and Worbla can take your prop-making skills to the next level.
Troubleshooting Common Issues
Facing challenges while working on your prop-making projects can be a part of the creative process, requiring problem-solving skills and attention to detail. Here are some troubleshooting tips to help you overcome common issues:
- Equipment Maintenance: Regularly clean and lubricate your heat gun to prevent it from overheating and establish consistent temperature control.
- Material Selection: If you encounter warping issues with your thermoplastic, try using a thicker gauge or preheating it more evenly to avoid deformities.
- Troubleshooting Techniques: When dealing with air bubbles in your prop, make sure to poke a small hole and apply heat to smooth out the surface without damaging the material.
- Common Issues: If you notice that your thermoplastic is cracking after cooling, it may be due to rapid temperature changes; try reheating and reshaping it more gradually to prevent this from happening.
Frequently Asked Questions
How Can I Incorporate Magnets Into My Thermoplastic Props for Easy Attachment and Detachment?
When incorporating magnets into your thermoplastic props, consider strategic placement for secure attachment. Experiment with different magnet strengths to find the right balance between easy detachment and a strong hold. Practice and refine for best results.
Can Thermoplastic Props Be Used for Cosplay Competitions and Conventions, or Are They More Suited for Casual Use?
In cosplay competitions and conventions, thermoplastic props can shine with their blend of durability and aesthetics. Their customization options allow you to create standout pieces for any event, ensuring your props are versatile and eye-catching.
Are There Any Specific Safety Precautions I Should Take When Working With Thermoplastic Materials?
When working with thermoplastic materials, make safety a priority. Guarantee proper ventilation, wear protective gear, set up a heat-resistant workspace, and handle hot materials with caution. These precautions are essential to prevent accidents and injuries.
Is It Possible to Combine Different Types of Thermoplastic Materials in One Prop, and if So, What Are the Best Methods for Doing So?
Crafting enchanting props involves cleverly blending materials. Joining techniques like heat welding or adhesive bonding are key. Experiment with compatibility and bonding strength to create a seamless fusion of thermoplastic wonders in your next creation.
How Can I Protect My Thermoplastic Props From Damage and Wear Over Time, Especially if They Are Frequently Used or Handled?
To protect your thermoplastic props from wear, store them properly in a cool, dry place. Use weatherproofing techniques like sealants or coatings to shield them from environmental damage. Regular maintenance and care will help prolong their lifespan.