Did you know that Worbla has become a staple material in 82% of cosplay prop-making projects worldwide? From crafting intricate armor pieces to detailed weapons, mastering essential Worbla techniques is important for bringing your cosplay creations to life.
As you navigate the world of prop-making, understanding how to choose the right Worbla type, build a sturdy base structure, and finesse shaping and detailing techniques will elevate your craftsmanship.
Stay tuned to uncover the secrets behind painting and adding finishing touches, as well as troubleshooting common Worbla issues that may arise during your prop-making journey.
Key Takeaways
- Choose the right Worbla type for your prop's size and detail requirements.
- Craft a sturdy foam base structure for prop strength and durability.
- Utilize shaping tools and layering techniques for intricate prop detailing.
- Finish with high-quality paints, weathering effects, and attention to realistic details for authenticity.
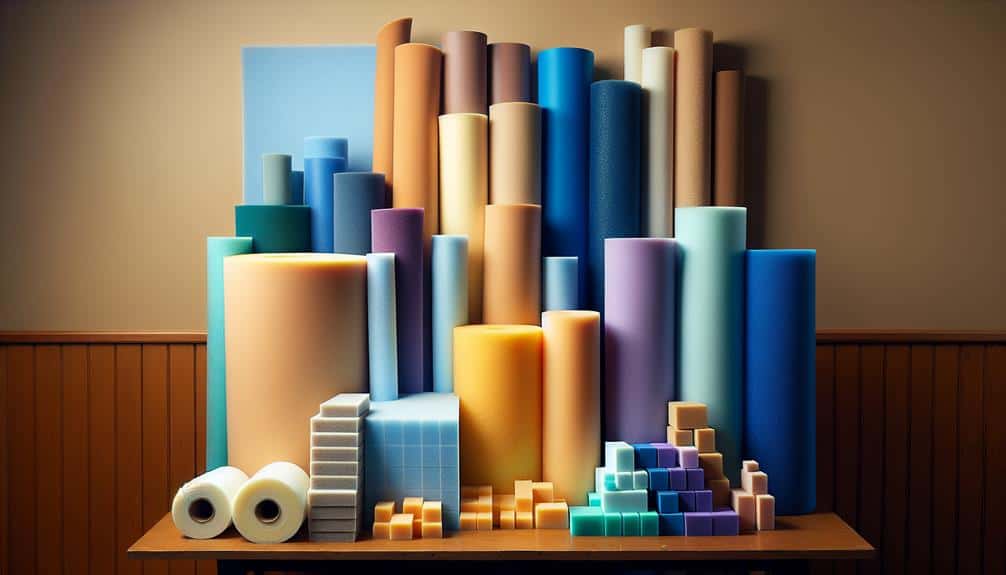
Choosing the Right Worbla Type
When selecting the perfect Worbla type for your cosplay project, consider the specific requirements of your design and the desired level of detail and durability. Worbla comes in various types, each with its own unique characteristics that can greatly impact your crafting process. Understanding the heating methods required for each Worbla type is essential. Some Worbla varieties, like Worbla's Finest Art, activate at lower temperatures, making them ideal for intricate detailing work, while others, such as Black Worbla, require higher heat and are better suited for larger, more structural pieces.
In addition to heating methods, adhesive options play a significant role in the Worbla selection process. Depending on the type of Worbla you choose, certain adhesives may work better than others. For instance, thermoplastics like Worbla's Finest Art adhere well to themselves when heated, allowing for seamless joins, whereas thermosets like Black Worbla may require a stronger adhesive for bonding.
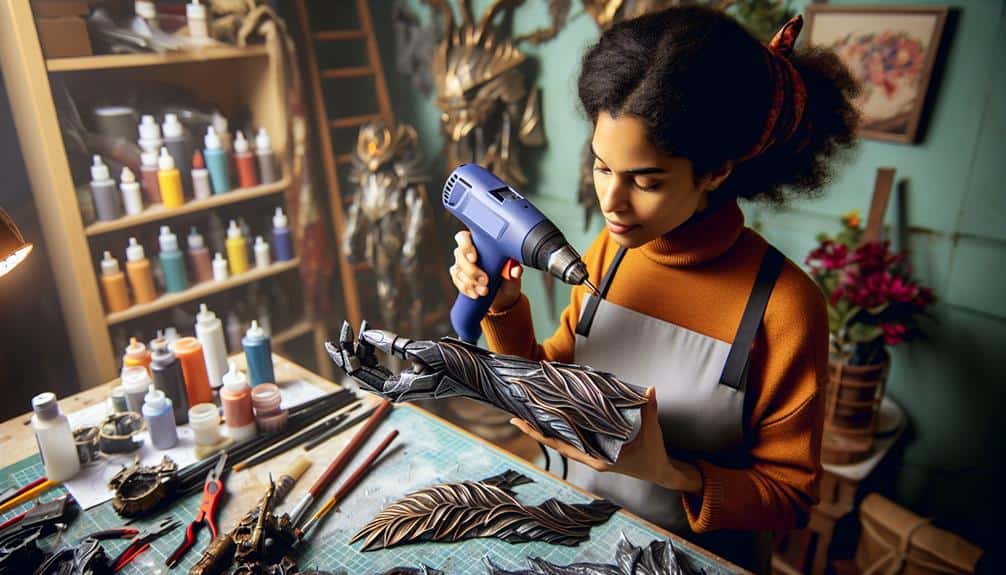
Building a Base Structure
To create a sturdy foundation for your Worbla prop, the initial step involves constructing a base structure that will serve as the framework for your cosplay masterpiece. Begin by shaping foam through intricate carving techniques to achieve the desired form of your prop. Foam carving allows for versatility in design and guarantees that your prop is lightweight yet durable.
Once your foam base is complete, it's time to initiate the magic of Worbla through heat activation. Heat activation is a critical step in the process as it allows the Worbla thermoplastic material to become pliable, enabling you to mold and adhere it to the foam base structure seamlessly. By heating the Worbla with a heat gun or hot water, you can then wrap it around the foam, creating a secure bond that will give your prop the strength and detail it needs.
Building a solid base structure is the foundation upon which you'll bring your cosplay vision to life, so take your time and make sure it's sturdy and well-crafted before moving on to shaping and detailing techniques.
Shaping and Detailing Techniques
Get ready to elevate your Worbla prop-making game with expert-level shaping and detailing techniques that will bring your cosplay creations to the next level of realism and intricacy. When it comes to shaping and detailing your Worbla creations, precision and creativity are key.
Here are some essential techniques to help you master this aspect of prop-making:
- Sculpting Tips: Utilize sculpting tools to carve intricate designs and shapes into your Worbla pieces. Experiment with layering Worbla to create depth and dimension in your props.
- Embellishment Ideas: Explore adding decorative elements like gems, studs, or filigree to enhance the visual appeal of your props. Consider using Worbla scraps to craft unique embellishments that add character to your creations.
- Texturing, Molding Techniques: Experiment with various textures by pressing fabrics, stamps, or textured surfaces onto heated Worbla to create realistic textures. Additionally, master molding techniques to replicate complex shapes and details with precision.
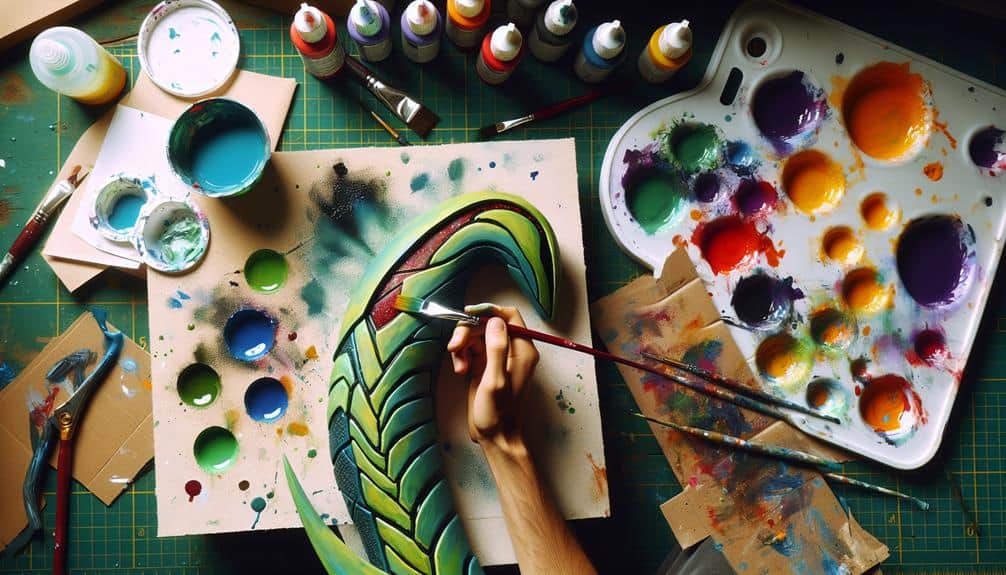
Painting and Finishing Touches
Elevate your Worbla prop creations to a professional level by mastering the art of painting and applying meticulous finishing touches that will bring your cosplay props to life with stunning realism and polish.
When it comes to painting your Worbla creations, the key is in blending colors seamlessly. Use high-quality acrylic paints and thin layers for a smooth finish. Start with a base coat and gradually build up layers, blending different shades to create depth and dimension.
To add a touch of authenticity to your props, consider incorporating weathering effects. Use techniques like dry brushing or sponge painting to create a worn or aged look. Pay attention to details such as scratches, rust, or dirt build-up in areas that would naturally wear over time. These weathering effects can truly make your prop stand out and look like it has a history of its own.
Troubleshooting Common Worbla Issues
When troubleshooting common Worbla issues, understanding the material's properties and potential challenges is essential for resolving any issues effectively. Worbla can be a fantastic material for cosplay props, but like any material, it can present its own set of problems.
Here are some tips to help you tackle common Worbla issues:
- Repairing Cracks: If you encounter cracks in your Worbla prop, don't panic. You can easily mend them by reheating the area and pressing the cracked edges together. Once the Worbla cools down, the crack should be sealed.
- Improving Adhesion: Worbla sticks to itself well, but sometimes you may need to enhance its adhesion to other materials. To improve adhesion, roughen the surface of the Worbla slightly before attaching it to another material. This will create a better bond between the two surfaces.
- Seeking Professional Help: If you're struggling with persistent issues or need more advanced repairs, don't hesitate to reach out to experienced cosplayers or prop makers for guidance. Sometimes, a fresh perspective can make all the difference in troubleshooting Worbla problems.
Frequently Asked Questions
Can Worbla Be Reheated and Reshaped Multiple Times, or Is It a One-Time Use Material?
Yes, Worbla can be reheated and reshaped multiple times, making it a versatile material for prop-making. Its long term durability and flexibility allow for intricate designs. However, there are limitations, and alternatives like foam can be considered.
Is It Possible to Create Intricate Details and Textures With Worbla, or Is It Better Suited for Smoother Finishes?
You can absolutely achieve intricate details and textures with Worbla through skillful heat manipulation. It's versatile enough to cater to both smooth finishes and intricate detailing techniques, allowing for stunning prop creations in cosplay.
How Does Worbla Hold up in Different Weather Conditions, Such as Extreme Heat or Cold?
In extreme conditions, Worbla proves durable with proper care. Shield it from intense heat by storing in a cool place. Cold may make it brittle, so warm gently. Regular maintenance and sealing extend its lifespan, unleashing endless creative opportunities.
Are There Any Special Tools or Techniques Recommended for Working With Worbla That Can Make the Process Easier?
When working with Worbla, using the right tools is like wielding magic! For painting techniques, try layering colors and dry brushing. Sculpting tips involve heating & shaping, while finishing touches rely on precision and detail work.
Can Worbla Be Combined With Other Materials, Such as Foam or Fabric, to Create More Complex Cosplay Props?
When creating cosplay props, you can absolutely combine Worbla with other materials like foam or fabric. This versatility in designs allows for more complex and dynamic creations, offering endless possibilities to bring your cosplay visions to life.