Elevating your superhero cosplay starts with treating every construction decision as intentional design. Match your character choice to your current fabrication skills, then study multiple reference images to catch layering sequences and panel placements you’d otherwise miss. Limit your color palette to 2–3 dominant hues, fit your base layer precisely before adding any details, and choose four-way stretch spandex with EVA foam for durability. Keep exploring, and you’ll uncover exactly how each element works together.
Key Takeaways
- Start with characters matching your skill level, studying color symbolism, silhouette shapes, and emblem details from multiple reference sources.
- Limit your costume to 2–3 dominant colors, using airbrushing for depth while maintaining strong visual harmony.
- Take precise body measurements and test fabric flexibility before adding paint, emblems, or foam attachments.
- Choose four-way stretch spandex for base layers and closed-cell EVA foam for armor to ensure durability and comfort.
- Study signature poses, use rim lighting, and shoot from slightly below eye level to maximize visual impact.
Pick a Superhero Cosplay That Matches Your Skill Level
Choosing the right superhero to cosplay starts with an honest assessment of your current fabrication skills. If you’re building your first suit, select a character with a streamlined silhouette and limited accessories. Complex armor rigs, multi-layered costume fabric, and intricate prop durability requirements demand intermediate-to-advanced construction experience you’ll want to develop gradually.
Study your chosen character’s core design elements before purchasing materials. A classic, two-color uniform teaches fundamental patterning and assembly techniques without overwhelming your workflow. Once you’ve mastered base construction, you can introduce EVA foam armor, weathered finishes, and functional prop elements.
Scaling difficulty incrementally sharpens your technical precision, reduces costly errors, and guarantees each build produces a cleaner, more accurate result than the last.
Study Your Character’s Design Before You Build Anything
Focus on these four design fundamentals:
- Map the color symbolism driving each zone of the costume.
- Identify the silhouette’s defining shapes and proportions.
- Locate where accessories anchor functionally versus decoratively.
- Note how the emblem scales relative to the full body.
Cross-referencing multiple sources exposes inconsistencies between adaptations, letting you choose the most accurate version deliberately.
You’ll spot layering sequences, panel line placement, and material shifts that single images miss entirely.
This research phase prevents costly rebuild mistakes later.
Choose a 2–3 Color Palette That Fits Your Character
Once you’ve locked in your character research, the color palette becomes your most powerful structural tool. Limit your build to 2–3 dominant hues to establish strong color harmony across every component. Spreading too many colors fragments the silhouette and dilutes the character’s visual identity.
Color harmony is your most powerful structural tool — limit your palette to 2–3 dominant hues for maximum visual impact.
Select colors that reflect your hero’s theme, not just their aesthetics. A cold-energy character benefits from blue-to-white gradients, while a fire-powered build demands deep reds anchored by orange accents.
Apply shading techniques to foam, fabric, and printed elements to create depth without introducing new colors. Airbrushing darker tones along panel edges or muscle contours adds dimension while preserving palette discipline.
Build your base uniform first, then layer accessories within the same defined palette to keep every element unified and purposeful.
Get the Fit Right Before Adding Details
Before you add a single logo, armor plate, or accessory, the fit of your base layer has to be dialed in completely. Seam accuracy and fabric flexibility determine how the finished costume moves, holds shape, and photographs.
Follow this build sequence:
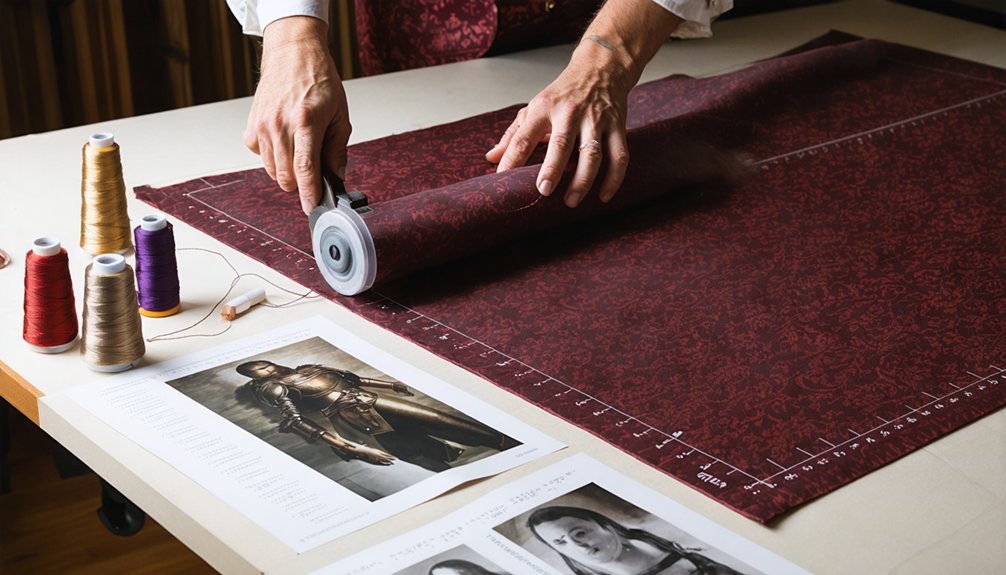
- Measure your body at the chest, waist, hips, and inseam before cutting any material.
- Test fabric flexibility by simulating your planned poses in the base layer alone.
- Check seam accuracy at stress points—knees, shoulders, and elbows—where pulling or bunching appears first.
- Adjust fit issues before applying paint, emblems, or foam attachments.
Skipping this step means any detail work you add will shift, pucker, or distort. Lock in the foundation first, then build upward.
Select Materials That Hold Up Through Long Convention Days
Conventions run long, and the materials you choose determine whether your costume survives eight hours of walking, posing, and climate-controlled indoor heat. Fabric durability isn’t optional — it’s the difference between a costume that photographs well at noon and one that’s falling apart by the afternoon panel.
Prioritize four-way stretch spandex for base layers; it resists pilling, holds shape under strain, and breathes reasonably well. For armor sections, closed-cell EVA foam outperforms craft foam in both flexibility and longevity.
When selecting comfort materials for masks or fitted pieces, test each fabric against your skin before committing. Avoid scratchy Velcro directly against bare areas, and line interior seams where friction accumulates.
Smart material choices prevent mid-convention failures before they happen.
Build Accessories That Serve a Clear Purpose
Every accessory you add should earn its place by strengthening the character read, not decorating empty space. Prioritize function-driven pieces that reinforce your hero’s identity through deliberate emblem placement and purposeful construction.
- Utility belts should carry visual weight matching the character’s tech level or power set.
- Position emblems at the chest’s optical center so they read clearly from ten feet away.
- Secure capes, masks, and gauntlets with hidden fastenings that won’t shift during movement.
- Eliminate any accessory that obscures your silhouette or conflicts with your primary color palette.
Test each piece during full-costume dry runs before the event. If an accessory requires constant adjustment or breaks your pose flow, cut it. Precision beats excess every time.
Photograph and Display Your Costume to Its Best Advantage
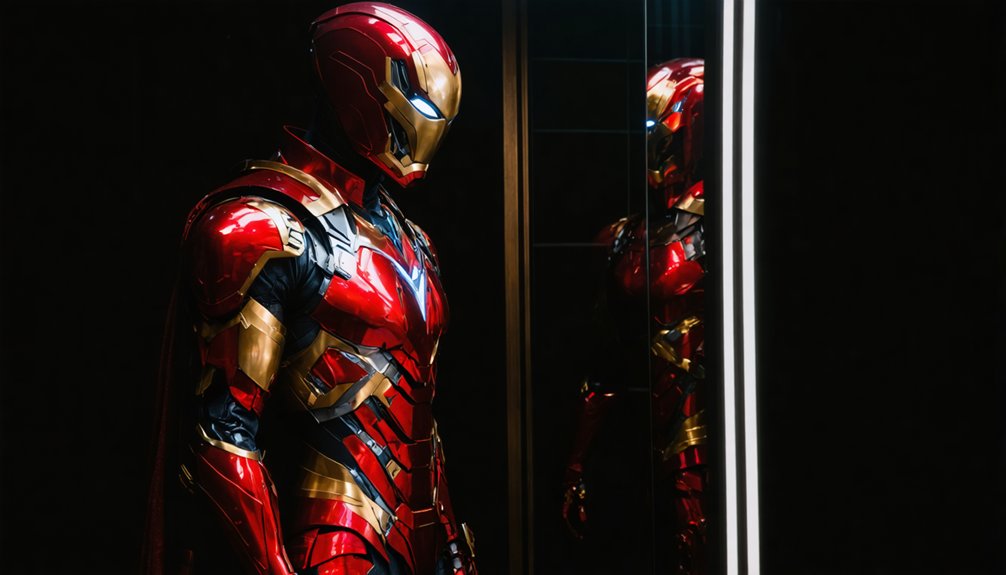
Once your costume is complete, how you present it determines whether your work reads as polished or unfinished. Study your character’s reference poses and replicate the stance, weight shift, and expression that define their presence. Practice these before the event so they feel natural under pressure.
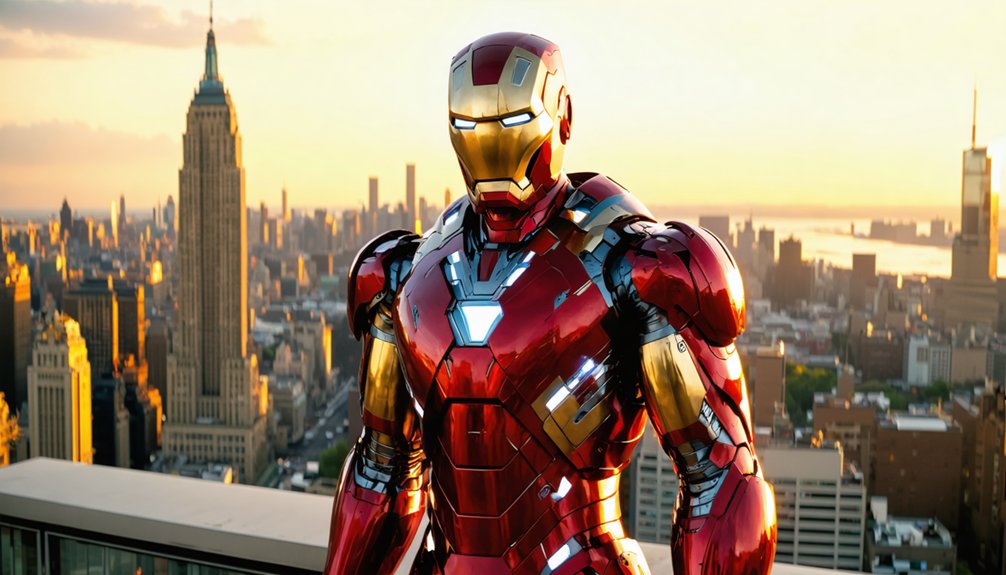
Apply lighting techniques strategically — soft directional light eliminates harsh shadows on armor textures and emblem details, while rim lighting sharpens your silhouette. Avoid flat overhead lighting, which flattens dimension.
Background selection matters equally. Choose environments that reinforce the character’s world — urban architecture, dramatic skies, or neutral studio-style backdrops work cleanly. Cluttered or mismatched settings dilute your costume’s visual impact.
Shoot from slightly below eye level to project authority, and review angles that highlight your strongest design elements before committing to final shots.
Finish Strong With Poses and Presentation
Posing transforms a finished costume into a living character, so study your hero’s signature stances before stepping onto the convention floor. Dynamic poses and a confident stance elevate your cosplay from wearable art to performance.
A powerful pose breathes life into your costume, transforming it from wearable art into an unforgettable character performance.
- Pull reference frames from comics, films, or promotional art to identify your character’s most iconic body positions.
- Practice each dynamic pose in front of a mirror, checking arm placement, weight distribution, and head angle.
- Build a confident stance by engaging your core, squaring your shoulders, and owning your character’s emotional energy.
- Match your facial expression and posture to the hero’s personality, whether commanding, determined, or fierce.
Rehearse flow between poses so movement feels natural, not mechanical, during photos and crowd interactions.
Frequently Asked Questions
How Do I Store My Superhero Costume Safely Between Conventions?
Ironically, your costume’s worst enemy is your closet. For smart costume preservation, use breathable garment bags, avoid plastic. Explore storage solutions like acid-free boxes, padded hangers, and cool, dry spaces to keep materials intact between conventions.
Can I Sell or Commission Superhero Costumes I Have Built?
You can sell custom superhero costumes, but you’ll navigate costume legality carefully. Intellectual property laws protect character designs, so avoid trademarked logos or direct replicas. Commission original-inspired builds instead, modifying designs creatively to stay legally compliant.
How Do I Repair a Damaged Costume Quickly at a Convention?
Pack a repair kit essentials pouch with fabric glue, safety pins, needle, thread, and matching tape. You’ll fix torn costume fabric choices fast by securing seams, reattaching accessories, and patching visible damage without disrupting your convention schedule.
What Is the Average Cost of Building a Beginner Superhero Costume?
You’ll typically spend $50–$150 on a beginner superhero costume. Prioritize budget planning early, focusing costume material choices on spandex and foam. Start simple, track every expense, and you’ll build a polished, functional look without overspending.
Are There Communities or Groups Where Cosplayers Share Superhero Costume Advice?
You’ll find active cosplay forums like Reddit’s r/cosplay and The Replica Prop Forum where members share costume tutorials, critique builds, and exchange technical advice on materials, fit, and character accuracy to elevate your superhero designs.
References
- https://www.wikihow.com/Design-a-Costume-for-a-Superhero
- https://www.youtube.com/watch?v=d7UmY2CdnyI
- https://4neodesigns.com/diy-superhero-costume/
- https://cosplaywarrior.com/cosplay-101-how-to-design-a-superhero-costume/
- https://www.reddit.com/r/comicbooks/comments/wz1vox/when_creating_a_superhero_whats_the_best_advice/
- https://www.wikihow.com/Make-a-Superhero-Costume
- https://www.youtube.com/watch?v=v1exkPZsP6U
- https://longboxgraveyard.com/how-to-create-the-perfect-superhero-cosplay/
- https://www.cosercos.com/blog/Unleash-Your-Inner-Hero-A-Guide-to-Superhero-Cosplay/
- https://www.wikihow.com/Cosplay