Creating a cosplay costume from scratch starts with choosing a character that genuinely excites you, then collecting reference images from every angle. You’ll draft precise patterns, sew mockups, and refine your fit before cutting into final fabric. For armor and props, you’ll shape EVA foam with heat, bond pieces with contact cement, and finish with layered acrylics and weathering techniques. Master each step, and you’ll build costumes that turn heads everywhere you wear them.
Key Takeaways
- Start by selecting a character that excites you, then collect reference images from multiple angles to break the costume into buildable components.
- Establish a clear budget, source materials from thrift stores and online marketplaces, and prioritize structural materials before decorative elements.
- Take precise body measurements, draft paper patterns, and test fit using muslin mockups before cutting into final fabric.
- Match stitch types to fabric, press seams after sewing, and shape EVA foam with heat guns for armor and prop construction.
- Seal foam with flexible primer, apply layered acrylic paints with weathering techniques, then conduct a full movement test before wearing publicly.
Pick a Character You Can Actually Cosplay
Choosing the right character shapes every decision that follows — the materials you’ll buy, the techniques you’ll need, and how long the build will take.
Start by collecting full-body reference images from every angle: front, back, left, and right. You’ll need these to accurately analyze each costume component.
Break the design into distinct parts — wig, top, bottom, footwear, armor, and accessories. Sketch a quick build plan to clarify construction priorities.
Consider color theory early; mismatched tones across materials destroy visual cohesion.
Factor in fabric care requirements for each textile you’re considering, since some materials demand hand-washing or dry cleaning, which affects long-term wearability.
Matching your skill level to the character’s complexity keeps the project achievable and technically rewarding.
Gather References and Break Down the Costume
Once you’ve locked in your character, pull reference images from every angle — front, back, left, and right — so you’re working from a complete visual blueprint rather than guessing at hidden details.
You’ll then want to break the costume into distinct components like the wig, top, bottom, footwear, armor, and accessories, treating each as its own mini-project with its own material and construction needs.
Grab a sketchpad and rough out a simple diagram of these parts, because translating your references into a build plan now will save you from costly mistakes the moment you start cutting fabric or foam.
Choosing Your Character
Where you start with your character choice will shape every decision that follows, from your material list to your total build time. Pick a character whose design genuinely excites you, because that enthusiasm drives better execution across every build phase.
Assess the character’s complexity honestly. A heavily armored design demands foam fabrication skills, structural reinforcement, and strong adhesives to achieve costume durability across long convention days.
A simpler design lets you focus on fabric quality and character consistency through precise color matching and accurate silhouette work.
Consider your current skill level, available tools, and budget before committing. Ambitious builds reward builders who plan carefully, not those who rush material selection.
Your character choice is your blueprint — make it a deliberate, well-researched decision that sets your entire project up for success.
Analyzing Costume Components
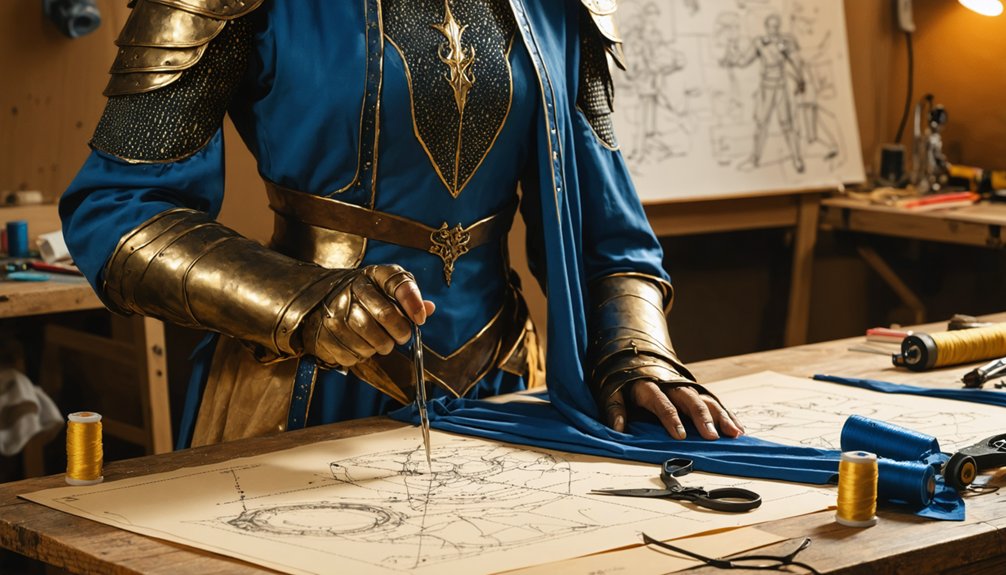
After locking in your character, your next move is building a solid reference library before you touch a single material. Pull front, back, and side-view images to capture every angle of the design. Don’t rely on a single source — cross-reference official art, figure models, and high-quality fan builds for accuracy.
Once your references are solid, break the costume into distinct components: wig, makeup, top, bottom, footwear, armor, and accessories. This deconstruction drives smarter decisions around fabric selection, since each piece may demand different materials — stretch knit for fitted underlayers, structured woven for panels, or EVA foam for hard elements.
Accessory detailing also becomes clearer at this stage, letting you map complexity and flag which pieces need the most build time. Sketch it out and prioritize accordingly.
Budget Your Build and Source Your Materials
Before you cut a single piece of fabric or fire up a hot glue gun, you need a clear budget and a solid materials list. Smart budget management keeps your build efficient and prevents costly mid-project pivots. Break costs down by component: fabric, EVA foam, Worbla, paint, adhesives, and tools each need their own allocation.
Material sourcing is where innovation pays off. Hit thrift stores for base garments and secondhand sewing machines. Online marketplaces offer competitive pricing on craft foam, vinyl, and thermoplastics. Compare suppliers before committing, since quality varies considerably across vendors.
Build a prioritized shopping list ranked by necessity. Core structural materials come first; decorative elements come last. This discipline keeps your cosplay ambitious without blowing your financial ceiling.
Measure Yourself and Draft Your Patterns
Before you cut a single piece of fabric, grab your measuring tape and record your bust, waist, hip, chest, and garment length with precision, since even a centimeter off can throw your entire fit.
Use those measurements to draft a paper pattern, matching seam lines and proportions directly to your character’s silhouette.
Then add seam allowance to every piece before moving forward.
Always test your pattern by sewing a mockup from muslin or old sheets first, so you can catch fit issues and make corrections before committing your final fabric.
Taking Accurate Body Measurements
Once you’ve selected your character and analyzed the costume components, taking accurate body measurements becomes the foundation that everything else builds on. Grab a flexible measuring tape and record your bust, waist, hip, chest, and garment length precisely — even a centimeter off can compromise pattern adjustment and throw off your entire construction plan.
Always measure over fitted clothing or directly against your skin for the most reliable data. Have someone assist you to maintain correct tape positioning, especially across the back and shoulders. Document every measurement in a dedicated notebook before you touch any material.
These numbers directly drive your pattern sizing decisions, ensuring that fabric cutting produces pieces that align cleanly with your body’s actual proportions, reducing costly errors and minimizing unnecessary rework throughout the build.
Drafting Your Paper Pattern
With your measurements documented, you’re ready to translate those numbers into a paper pattern that becomes your construction blueprint. Grab large craft paper or newspaper sheets, then draft each costume component individually using your exact measurements as guides.
Mark seam lines first, then add seam allowance around every edge before cutting. This critical distinction prevents costly sizing errors during fabric manipulation later.
Label each piece clearly, noting grain lines, cut quantities, and any directional requirements.
Compare your drafted pieces by aligning seam lines together, confirming they match precisely before proceeding. Pattern alteration happens here, not after fabric’s been cut.
Adjust curve depths, lengthen bodice sections, or reshape armholes until proportions mirror your reference images accurately.
This drafting stage rewards precision enthusiasts — every careful measurement now eliminates frustrating rework during actual construction.
Testing Fit With Mockups
Your paper pattern is ready, but don’t cut into your final fabric yet — sew a mockup first using muslin or old bedsheets to test fit before committing to expensive or limited yardage.
Mockups let you evaluate costume ergonomics without risking your primary materials. Pin the mockup pieces together, then wear the assembled shell and move deliberately — walk, sit, raise your arms, and crouch.
You’ll immediately spot pulling seams, tight armholes, or misaligned panels that compromise both fabric durability and freedom of movement. Mark every correction directly onto the mockup using a fabric marker, then transfer those adjustments back to your paper pattern before cutting your final fabric.
This critical step guarantees your finished costume fits precisely and performs under real convention conditions.
Sew and Construct Your Fabric Garments
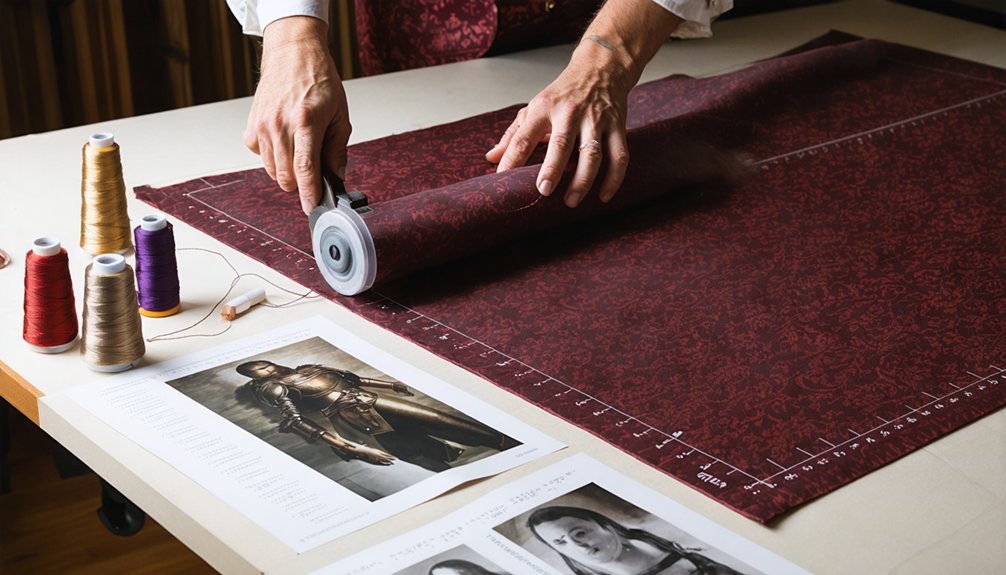
Before you start stitching, iron your fabric flat to reduce distortion and get cleaner, more accurate cuts. Pin every seam before sewing to keep pieces aligned throughout your fabric stitchery process.
Match your stitch type to your fabric:
- Use a straight stitch for woven, non-stretch fabrics.
- Switch to a zigzag stitch for stretchy or knit materials.
- Always test stitches on scrap fabric before committing to final pieces.
After sewing each seam, press it open with your iron to sharpen the garment’s shape and improve seam finishing quality. This step elevates your construction from amateur to polished.
Work methodically through each component, assembling smaller sections before joining larger panels. Precision at every stage compounds into a structurally sound, visually accurate costume you’ll wear confidently.
Build Your Armor, Props, and Hard Accessories
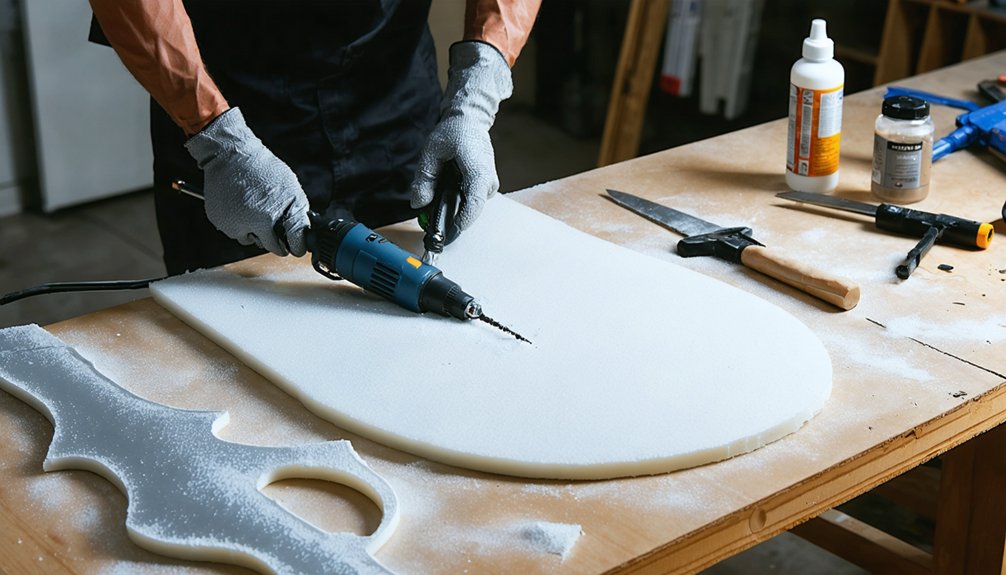
Armor, props, and accessories are built separately from your fabric garments, so approach each piece as its own focused mini-project.
Start with craft foam or EVA foam for lightweight, shapeable components. Foam shaping becomes intuitive once you apply heat — a heat gun softens EVA foam instantly, letting you curve, bend, and mold it precisely against your body contours. Score details with a blade before heating for sharper, cleaner definition.
Heat transforms EVA foam instantly — curve, bend, and mold it precisely to your body with a heat gun.
Master your adhesive techniques next. Contact cement creates aggressive, permanent bonds between foam layers, while hot glue handles quick assembly and gap-filling. Use Worbla over foam for added rigidity on structural pieces.
Once assembled, sand edges smooth, apply plastidip as a base coat, then layer acrylics and dry-brush highlights to achieve professional, battle-worn finishes that elevate your entire build dramatically.
Paint, Weather, and Seal Your Foam and Prop Pieces
Once your foam and prop pieces are fully assembled and sanded smooth, you’re ready to lock in a professional finish that transforms raw construction into polished costume components. Start with a flexible primer coat to seal porous foam surfaces before applying color.
Nail your color matching by layering acrylic paints from dark base tones upward toward highlights. Then elevate realism using these weathering techniques:
- Dry brushing — drag a nearly dry brush across raised edges to simulate worn metal or aged surfaces.
- Washes — diluted dark paint settles into recesses, creating natural shadow depth.
- Stippling — sponge irregular texture onto surfaces for battle-damaged or corroded effects.
Finish every piece with a flexible clear coat to protect paintwork, prevent cracking during movement, and lock your weathering permanently.
Do a Full Cosplay Test Before You Wear It Out
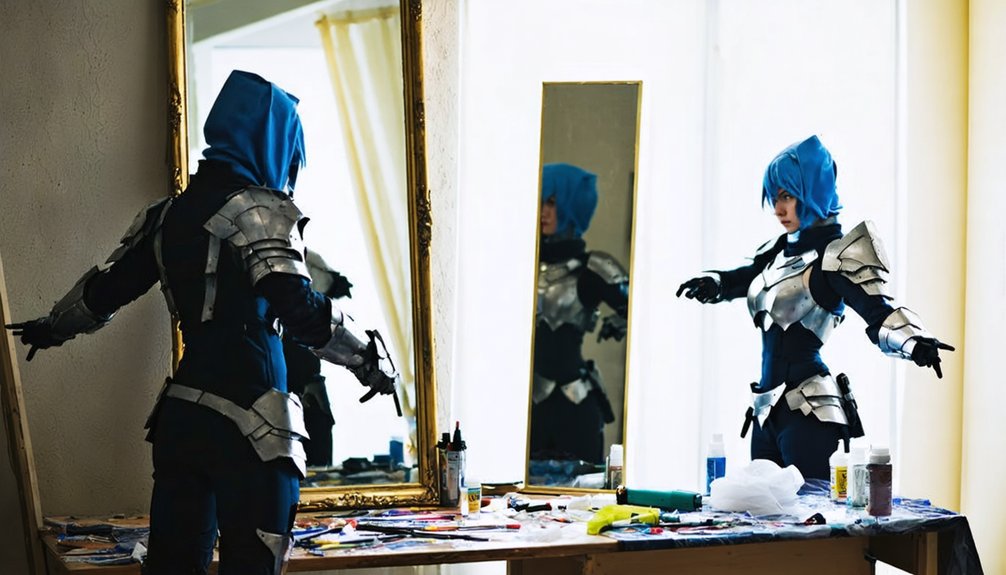
Your full cosplay test is the final checkpoint that separates a costume that looks great on a hanger from one that actually performs under real conditions. Put everything on simultaneously — wig, armor, props, shoes — and run deliberate movement testing through walking, sitting, crouching, and posing sequences.
You’re identifying real failure points, not imagined ones.
Check costume fit critically during each motion. Do seams pull? Does armor shift or dig in? Are closures holding under stress? Flag every issue immediately and note its fix. Velcro that loosens, straps that slide, or foam pieces that flex incorrectly need targeted corrections before your public debut.
This test isn’t optional — it’s your quality assurance phase. A single wear test session prevents embarrassing malfunctions and transforms your build into a genuinely convention-ready costume.
Frequently Asked Questions
How Do I Store My Finished Cosplay Without Damaging It?
Store your finished cosplay using smart storage solutions like breathable garment bags and acid-free tissue! Apply preservation techniques by hanging fabric pieces, boxing foam armor separately, and keeping everything climate-controlled to prevent warping, fading, and deterioration. You’ll protect your masterpiece brilliantly!
Can I Sell Cosplay Costumes I Make From Scratch Legally?
Like steering through a minefield, selling cosplay involves copyright concerns you can’t ignore! You can sell original handmade designs, but selling regulations restrict profiting from copyrighted characters without licensing agreements. Always research intellectual property laws before launching your cosplay business!
How Do I Transport Large Props and Armor Pieces Safely?
Pack your armor using foam-lined cases for transportation safety, securing each piece with prop padding to prevent shifting. You’ll want custom-cut inserts that cradle every detail, keeping your innovative builds convention-ready and damage-free!
What Should I Do if My Costume Breaks at an Event?
Carry an emergency repairs kit with safety pins, hot glue sticks, and Velcro for quick costume reinforcement! You’ll tackle any breakage confidently—reattach loose pieces, resecure seams, and keep innovating your look throughout the entire event!
How Do I Clean and Maintain Fabric Cosplay Costumes After Wearing?
Fresh sweat, old glory—you’ll preserve both with smart fabric care! Hand-wash delicate costume cleaning using cold water, mild detergent, and gentle agitation. Air-dry flat, avoid harsh chemicals, and store pieces properly to maintain vibrant, convention-ready results!
References
- https://www.kamuicosplay.com/startingwithcosplay/
- https://www.reddit.com/r/cosplayers/comments/v2ogz3/how_to_start_making_cosplay/
- https://blahmage.com/guide-to-cosplay-for-beginners/
- https://www.youtube.com/watch?v=TF4Zj4uZxME
- https://www.arrowsewing.com/blog/cosplay-101
- https://www.youtube.com/watch?v=xXjssMwKRZg
- https://www.faeryevents.com/step-by-step-guide-to-making-your-own-diy-cosplay-costume/
- https://www.instructables.com/How-to-Make-a-Cosplay-Costume/
- https://www.diy.org/challenges/build-a-cosplay-costume
- https://creedleather.com/blogs/costume-guide/how-to-build-a-cosplay-costume-from-scratch-a-beginner-s-guide