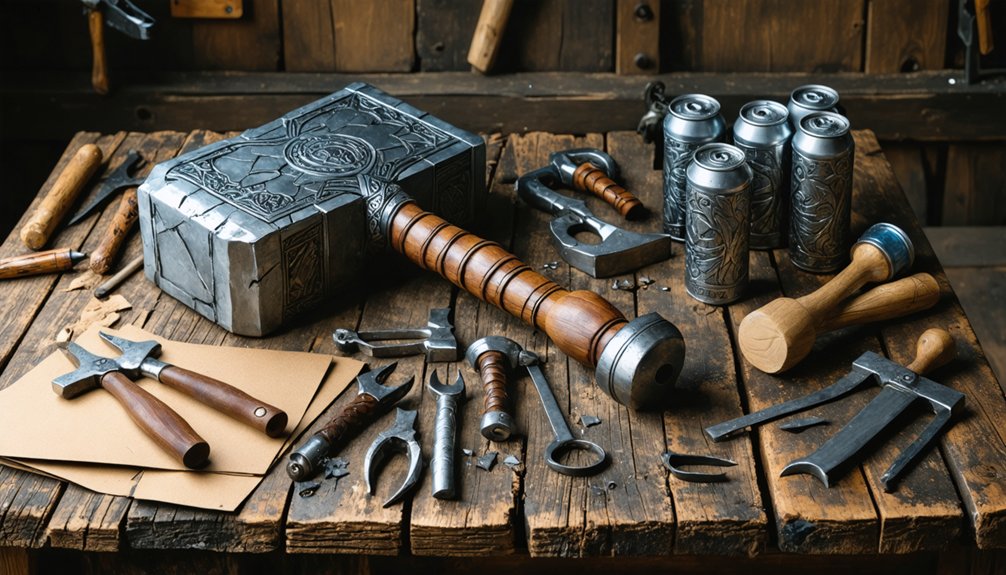
To build a screen-accurate Thor cosplay, you’ll start with EVA foam blocks and a 25mm CPVC pipe handle core, using contact cement and Plasti-Dip to seal and reinforce every layer. Shape Mjolnir’s head by beveling foam corners, scoring panel lines, and heat-gunning edges for clean definition. Finish with black base coats, dry-brushed silver highlights, and stippled rust weathering for battle-worn realism. Stick around and you’ll uncover every precise technique to elevate your build to exhibition quality.
Key Takeaways
- Shape Mjolnir’s head from EVA foam blocks, beveling corners and scoring panel lines for a realistic, faceted appearance.
- Seal all foam surfaces with 2–3 Plasti-Dip coats, then base coat black and dry-brush silver for a metallic finish.
- Build the handle using a 25mm CPVC pipe cut to 42cm, wrapped with spiral-wound faux leather strips.
- Reinforce the hammer’s handle-to-head connection using contact cement, masking tape, and internal foam collars for durability.
- Elevate your display by etching Norse knotwork into a weighted base platform using a Dremel rotary tool.
Materials You Need for a Thor Cosplay Build
Before you make a single cut or fire up your heat gun, having the right materials on hand will determine how clean and durable your final build turns out.
For the hammer head, grab EVA foam blocks or stacked foam sheets — they’re lightweight, shapeable, and ideal for precise foam cutting techniques.
Your handle core needs either 25 mm CPVC pipe or a rigid wooden dowel for structural integrity.
Supporting supplies should include contact cement, hot glue, masking tape, and Plasti-Dip for surface sealing.
For costume accessories like the handle wrap, stock brown faux leather or vinyl.
Round out your toolkit with a heat gun, rotary tool, and sandpaper.
These materials collectively define your build’s precision, durability, and overall visual authenticity.
How to Shape the Mjolnir Hammer Head From EVA Foam
Once your foam block is in hand, the shaping process begins with accurate patterning to keep Mjolnir’s silhouette symmetrical and proportionate to your build. Use masking tape templates for pattern transfer onto all six faces before making a single cut. This precision prevents costly asymmetry later.
Symmetry starts before the first cut — template every face before your blade touches foam.
Start by cutting the block into a clean rectangle, then systematically remove each corner at a deliberate inward bevel, creating Mjolnir’s signature faceted geometry.
Your foam carving work continues by scoring recessed panel lines and trenches into the face surfaces, adding depth that flat blocks simply can’t deliver.
Apply heat gun passes to seal carved edges and lock in your angles.
Smaller foam strips glued along the hammer face simulate bolt plates, building convincing surface complexity without adding significant weight.
How to Build and Wrap the Hammer Handle
With the hammer head shaped and ready, your next task is driving the handle core through the body and locking it in place. Use 25mm CPVC pipe cut to 42cm, then secure it with contact cement and internal foam collars for solid handle reinforcement.
Wrap the exterior using these layered components:
- Brown faux leather strips spiral-wound tightly, overlapping each edge by 5mm for seamless coverage
- Nylon webbing bands positioned at grip intervals, stitched or hot-glued to prevent unwinding during wear
- A shaped end cap pressed onto the bottom, finished with matching paint to unify the silhouette
Your handle wrapping technique defines how premium the finished prop feels. Keep tension consistent throughout each pass, and seal every seam with contact cement before the leather fully sets.
Surface Finishing Techniques for a Realistic Mjolnir Look
Once you’ve shaped your foam, seal the entire surface with two to three coats of Plasti Dip, letting each coat dry fully before applying the next. This prevents paint from soaking in and gives you a durable, flexible base.
Follow that with a black base coat, then dry-brush a silver topcoat over edges and raised details, deliberately leaving darker recesses to simulate battle-worn metal.
For deeper realism, you can mix silver powder into a flexible sealant and apply it selectively with an airbrush to control shading gradients across Mjolnir’s faceted surfaces.
Sealing And Smoothing Foam
Sealing your EVA foam before painting is one of the most critical steps in achieving a convincing metallic finish on Mjolnir. Foam sealing locks the porous surface, preventing paint from absorbing unevenly and ruining your metallic effect.
Surface smoothing eliminates cut marks, tool scratches, and edge imperfections that would otherwise look amateur under shiny paint.
Apply your chosen sealant using these methods:
- Plasti-Dip: Spray 2–3 flexible coats, allowing full drying between applications for a skin-tight, paint-ready surface
- Wall putty or fiberglass filler: Brush into low spots and sand smooth for a rigid, professional finish
- Heat gun pass: Quickly glide heat across sealed foam to tighten the surface and eliminate remaining micro-pores
Each method builds toward sharper edges and cleaner paint adhesion.
Weathering For Metallic Realism
Weathering transforms a flat metallic finish into something that looks battle-worn and ancient, and it’s where your Mjolnir shifts from prop to artifact.
Start with a black base coat, then drybrush silver over raised edges, letting darker underlayers bleed through naturally in recessed areas. This contrast builds immediate visual depth.
For rust effects, mix burnt sienna and raw umber, then stipple sparingly into crevices, panel seams, and impact zones using a torn sponge. Rust color should appear concentrated near bolt plates and carved surface details, never spread uniformly.
Layer a thin burnt orange wash over dried rust patches to push warmth forward.
Seal everything with a matte topcoat to kill unwanted shine while preserving the textured, aged surface your airbrushing and drybrushing worked to create.
Paint Your Mjolnir for a Weathered Metallic Finish

Before you apply any paint, seal your foam with Plasti-Dip—this protects the surface and gives your paint something to grip. Once dry, layer on a flat black base coat, letting it fully cure before moving forward.
This dark foundation drives your color contrast, making the silver pop with dimensional depth.
Apply silver with an airbrush in controlled, directional strokes to simulate lighting effects across each faceted surface:
- Catch the high points by hitting raised edges with bright silver, mimicking overhead light
- Leave trenches dark so recessed panel lines read as shadow and depth
- Dry-brush selectively along hammer face corners to suggest battle-worn metal
This layered approach transforms flat foam into convincing, battle-hardened steel.
How to Reinforce and Display Your Finished Thor Hammer
Once your Mjolnir is painted and weathered, reinforce the handle-to-head connection by packing hot glue or contact cement into any gap where the PVC pipe meets the foam core, then wrap the joint with a layer of masking tape before applying your leather grip.
If you’re displaying the hammer rather than carrying it, a simple angled stand built from scrap wood or a PVC base plate keeps the head elevated and the handle at a dramatic, gallery-worthy angle.
You can also drill a small recess into the bottom of the foam head and epoxy a rare-earth magnet there, letting you mount Mjolnir flush against a steel plate on a wall shelf for a striking, space-saving display.
Internal Structural Reinforcement Tips
Reinforcing your Thor hammer from the inside out is what separates a prop that survives a convention from one that splits apart at the seams. Your internal frame is the skeleton everything else depends on. Smart reinforcement methods keep stress points from failing under real handling conditions.
Consider these structural upgrades during your build:
- Run CPVC pipe through the hammer head’s core, epoxying contact points where pipe meets foam to eliminate rotation and wobble
- Laminate foam layers with contact cement rather than hot glue alone, creating molecular-level bonds that resist shear stress
- Pack hollow cavities with expanding foam, preventing compression collapse when the prop absorbs impact from transport or enthusiastic posing
Each layer of internal support compounds durability without adding significant weight.
Display Stand Options
When you’re finished, Mjolnir is too good to leave stuffed in a gear bag. A dedicated display stand transforms it into a centerpiece worth showing off.
Cut a angled cradle from leftover EVA foam or hardwood to cradle the handle at roughly 30 degrees. Prioritize display stand stability by weighting the base with embedded steel washers or a hidden sand pocket.
Pipe flanges mounted to wooden platforms create clean, industrial-style mounts that lock the handle firmly upright.
For decorative base designs, etch Norse knotwork or runic patterns into the platform using a Dremel, then finish with weathered stain or metallic paint to echo the hammer’s aesthetic.
Add a nameplate or acrylic engraving for an exhibition-quality presentation that elevates your build beyond functional prop into collectible craftsmanship.
Frequently Asked Questions
Can I Use a Yoga Block Instead of EVA Foam for the Hammer Head?
Yes, you can use a yoga block as a material alternative for the hammer head! It’s carvable and lightweight, but consider design considerations like density differences from EVA foam, which may affect beveling and heat-shaping flexibility.
How Do I Scale Mjolnir Proportionally to My Body Size?
While eyeballing it might seem fine, you’ll regret it—start with a scaled template. Measure your height, then size Mjolnir proportionally as cosplay costume accessories, using prop material comparison data to guarantee your hammer visually balances your full costume.
What Safety Gear Do I Need When Building a Thor Hammer?
You’ll need safety glasses, a respirator mask, and heat-resistant gloves for hammer construction. These essentials protect you during cutting, heating, and painting phases, ensuring your cosplay safety while you innovate with foam and sealers.
Can Wooden Dowels Replace PVC Pipe for the Handle Core?
Yes, you can swap PVC pipe for wooden dowels as your handle core. Wooden dowels offer superior rigidity, making them ideal when you’d prefer a firmer, less flexible grip over PVC pipe’s lightweight versatility.
How Do I Keep the Handle Secure Inside a Foam Hammer Head?
Over 70% of prop failures happen at joints! For solid handle reinforcement, you’ll insert the core, then apply foam attachment techniques like contact cement, hot glue layering, and tape wrapping to lock everything firmly in place.
References
- https://www.youtube.com/watch?v=3kY2ih0WylI
- https://www.youtube.com/watch?v=hBVFP67ajo8
- https://www.youtube.com/watch?v=YhLJG9LbdI4
- https://www.youtube.com/watch?v=UrNAfwMIVU4
- https://www.youtube.com/watch?v=j74BYfJOyMs
- https://www.youtube.com/watch?v=EKA3tPYqBrw
- https://www.youtube.com/watch?v=P9H-cDI3PCw
- https://www.youtube.com/watch?v=NhIsbuLTL48
- https://www.instructables.com/How-to-make-the-Hammer-of-Thor/
- https://thethingswellmake.com/diy-thor-costume/