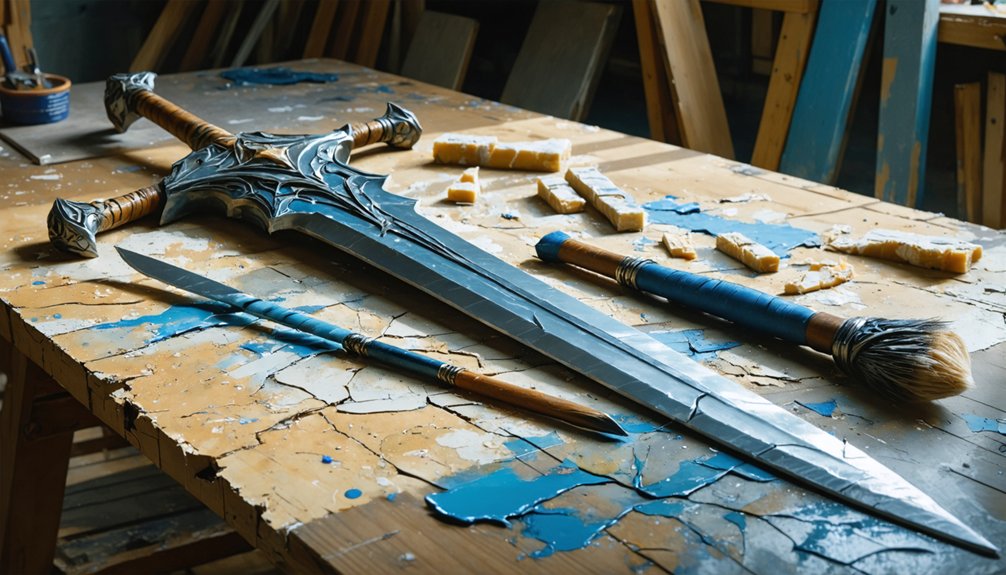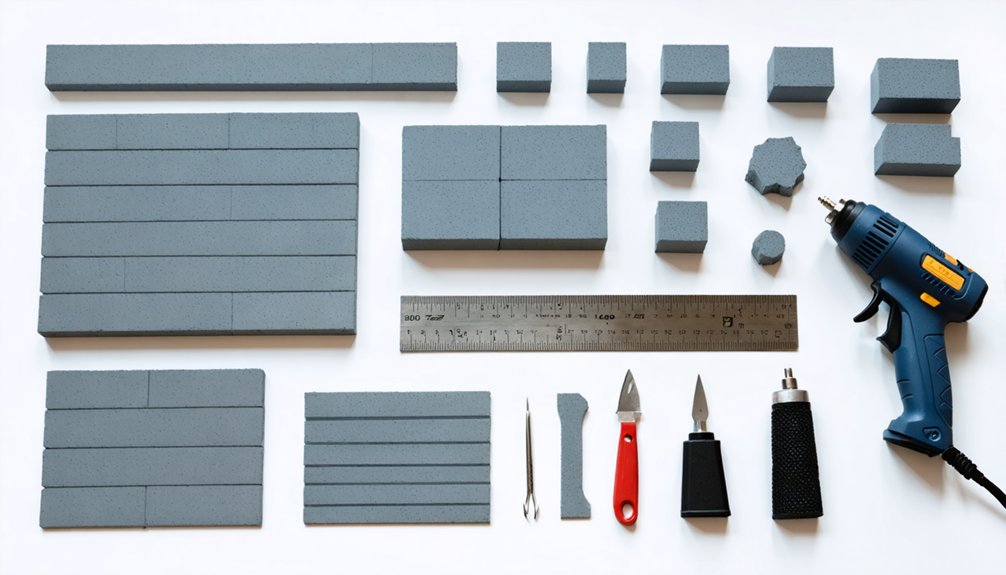
For cosplay armor, EVA foam is your best material choice because it’s lightweight, heat-formable, and easy to cut. Use 85–100 kg/m³ high-density foam in 5mm sheets for chest plates and shoulders, 3mm–4mm for vambraces and greaves, and 2mm for trim and surface details. Premium sheets outperform floor mats for visible components, offering cleaner edges and more consistent density. The right foam selection sets the foundation for everything that follows.
Key Takeaways
- EVA foam is the top choice for cosplay armor, offering lightweight, heat-formable, and easy-to-cut properties ideal for complex shapes.
- Target 85–100 kg/m³ density for structural pieces like chest plates and shoulders to ensure long-term shape retention.
- Use 5mm sheets for structural shells, 3mm–4mm for vambraces, and 2mm for surface details and trim.
- Premium EVA sheets outperform floor mats with consistent density, cleaner edges, and better heat-forming results for visible components.
- Mixing foam thicknesses within a single build enhances both structural integrity and visual depth across armor panels.
Why EVA Foam Dominates Cosplay Armor Builds
EVA foam dominates cosplay armor builds because it combines three properties that most other materials can’t match: it’s lightweight, heat-formable, and easy to cut with basic tools.
When you apply heat, the foam becomes pliable, holds the shape you force it into, and sets firm once it cools. That process lets you create curved chest plates, contoured pauldrons, and compound-angle geometry without molds or casting equipment.
The foam texture responds well to sealing and surface treatments, meaning you can achieve smooth, rigid-looking finishes or deliberately rough surfaces depending on your design intent.
Color options in base foam sheets also give you flexibility during the build phase, making it easier to track layers visually.
No other affordable material delivers that combination of workability, formability, and finishing range at this scale.
Why Foam Density Makes or Breaks Your EVA Armor
When you’re selecting EVA foam, density directly controls how well your armor holds its formed shape after heat shaping and cooling.
Low-density foam tends to flex and deform under stress, while foam rated at 85 kg/m³ or higher maintains crisp edges and sculpted structure through regular wear.
For rigid armor panels like chest plates and shoulder guards, you’ll want to prioritize density data over marketing labels when comparing sheets across suppliers.
Density Impacts Shape Retention
Foam density is one of the most critical variables in EVA armor construction, and it directly determines how well your finished piece holds its formed shape over time. When you heat and form low-density foam, it tends to relax and drift after cooling, compromising your intended geometry.
Higher-density foam—specifically in the 85–100 kg/m³ range—resists that relaxation, locking into formed curves and angles with far greater consistency.
Shape retention isn’t just about aesthetics. It affects how your armor fits, moves, and survives repeated wear. If you’re building structured chest plates or shoulder armor, you’ll want foam density that maintains crisp edges and stable panel geometry.
Prioritize published density ratings over vague marketing labels when sourcing materials—they give you the most reliable performance data.
Choosing The Right Density
When you’re layering foam for raised details or panel breaks, mismatched densities create visible inconsistencies that complicate color matching during finishing.
Higher-density foam absorbs sealers more uniformly, giving you a stable base where paint lands predictably across the full surface.
Don’t rely on marketing labels—request published density specs from suppliers.
Matching density to part function, rather than defaulting to one foam type, is what separates precise builds from inconsistent results.
The Best EVA Foam Thickness for Each Armor Piece
Choosing the right foam thickness for each armor component directly affects structural integrity, flexibility, and visual accuracy. Match thickness to function: use 2mm sheets for trim, surface accents, and EVA foam textures that add layered dimension without bulk.
Step up to 3mm–4mm for vambraces and greaves, where moderate rigidity meets wearability. For chest plates, back plates, and shoulder armor, 5mm delivers the structural shell you need.
Reserve 10mm for heavy props or load-bearing frames requiring maximum rigidity.
Mixing thicknesses across a single build produces better results than defaulting to one sheet size throughout. Also, apply smart foam storage tips—keep unused sheets flat, away from heat sources, to prevent warping before you cut.
Precision in selection now prevents costly corrections later.
Floor Mat EVA Foam vs. Premium Sheets: Which Wins for Armor?
Both floor mat EVA foam and premium sheets can build solid armor, but understanding where each material excels helps you spend smarter and cut waste. Floor mat tiles work well for practice runs, large structural base layers, and low-budget experimentation. However, their foam texture is often inconsistent, and color options are typically limited to basic grays and blacks, which restricts finishing flexibility.
Premium sheets deliver tighter density ratings, more predictable foam texture, and broader color options, giving you greater control over edge definition and heat forming results. For visible chest plates, shoulder armor, and detailed trim layers, premium foam consistently outperforms floor mats.
Use floor mats where precision matters less, and invest in premium sheets wherever surface quality, density consistency, and clean seams directly affect your finished build.
Top High-Density EVA Foam Picks for Armor Builds
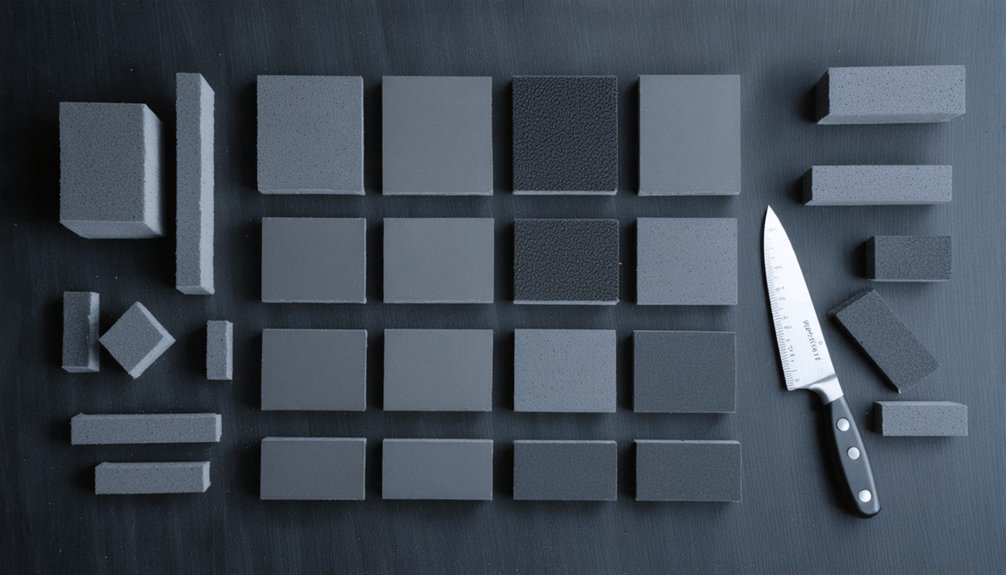
Once you’ve settled on premium sheets over floor mats for your structural panels, narrowing down which high-density EVA foam to buy comes down to matching density ratings, thickness options, and sheet dimensions to the specific armor components you’re building.
Target 85–100 kg/m³ density for chest plates and shoulder armor using 5mm sheets, and reserve 2mm high-density foam for trim and detail layers.
Prioritize suppliers offering:
- Multiple thickness options (2mm, 5mm, 10mm) within the same density grade
- Foam color options beyond black and grey, enabling pre-colored base layers that reduce paint coats
- Large sheet formats that simplify storage and transport without compromising panel continuity
Matching density to function—not defaulting to one foam type—consistently produces cleaner edge definition and better shape retention across finished builds.
Which Foam Densities to Layer for Structure and Detail
When layering foam for cosplay armor, you’ll want to build your structural base from high-density EVA foam in the 85–100 kg/m³ range, using 5mm or thicker sheets to hold shape and support the panel’s overall form.
For surface accents, trim, and fine details, you switch to softer, lower-density foam at 2mm thickness, which bends and conforms more easily around curved edges and tight geometry.
Combining these two density types lets you achieve rigid-looking armor with crisp raised details without adding unnecessary weight to the finished build.
High-Density Structural Base Layers
Building rigid-looking armor that holds its shape under convention conditions starts with selecting the right density for each functional layer.
For structural base layers, you’ll want EVA foam rated at 85–100 kg/m³. This density range delivers superior edge definition and shape retention after heat forming.
When evaluating sheets, look beyond foam color and consider these performance indicators:
- Density rating over marketing labels when comparing suppliers
- Texture variety across sheet surfaces, since smoother faces bond more consistently with contact cement
- Thickness of 5mm–10mm for chest plates, back plates, and load-bearing panels
Higher density foam resists compression and maintains sculpted geometry through repeated wear.
Pair your structural base layer with correct thickness, and you’ll build a foundation that supports every detail layer above it.
Soft Foam Detail Accents
Detail accents work best when you layer softer, lower-density foam over your rigid structural base rather than cutting everything from the same sheet.
For trim, raised paneling, and surface accents, 2mm foam gives you the flexibility to bend around curved armor sections without cracking or lifting at the edges.
Lower-density foam also accepts heat embossing more readily, letting you press in foam texture patterns that higher-density sheets resist.
When you’re layering, keep color matching in mind before sealing — painting separate density layers identically is harder than it sounds because each absorbs sealant differently.
Use contact cement for clean adhesion between layers, apply it to both surfaces, and press firmly once the glue flashes.
Consistent layering across densities is what separates refined armor detailing from flat, one-dimensional builds.
Combining Densities Effectively
Effective armor builds rely on layering foam densities intentionally rather than defaulting to a single sheet type throughout. Use high-density foam (85–100 kg/m³) for structural shells and lower-density sheets for detail layers on top. This approach supports both rigidity and texture enhancement across the same panel.
When combining densities, keep these pairings in mind:
- 5mm high-density foam for chest plates, back panels, and shoulder shells
- 3mm–4mm mid-density foam for secondary armor elements like vambraces
- 2mm soft foam for trim, surface accents, and color mixing layers that add visual depth
Contact cement bonds each layer securely. You’ll get cleaner edge definition and stronger shape retention by matching each foam’s density to its structural role rather than forcing one material to perform every function.
How to Cut and Heat-Shape EVA Foam Without Warping
Once you’ve cut your EVA foam pieces, controlling heat application and cooling is what separates clean, stable armor panels from warped, distorted ones. Use a sharp blade to minimize torn edges before applying any heat.
A heat gun set to medium distance lets you warm the foam evenly without scorching the foam texture or softening one zone faster than another.
Apply heat in slow, consistent passes rather than concentrating on a single spot. Form the piece immediately while it’s pliable, then hold the shape firmly until it cools completely. Rushing this step causes spring-back and warping.
Consider foam texture and color selection before sealing, since heat can slightly alter surface appearance. Seal after shaping to lock in the final form and prepare the surface for accurate paint adhesion.
Gluing and Seaming EVA Foam Armor the Right Way
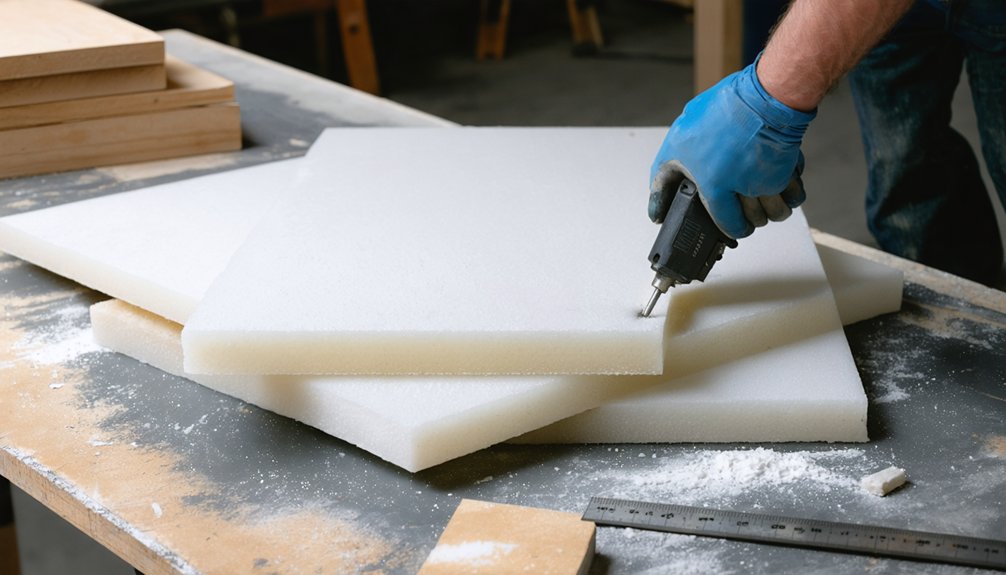
Once you’ve cut and shaped your panels, you’ll want to reach for contact cement as your primary adhesive. Applying thin coats to both mating surfaces and letting them tack before pressing the seams together.
You should fill any visible gaps or join lines with a flexible seam filler or thin strips of foam before moving on to sealing. Since paint will highlight every imperfection rather than hide it.
Getting your seams tight and your surfaces smooth at this stage directly determines how clean your finished armor looks once paint goes on.
Choosing The Right Adhesive
Choosing the right adhesive is as critical as choosing the right foam, because a weak or incompatible bond will cause seams to separate under the flex and stress of wear. Contact cement remains the industry standard for EVA foam armor assembly, creating a strong, flexible bond that moves with your build.
Before applying any adhesive, confirm your pattern design accounts for overlap allowances at every seam edge. Foam color can also influence your finishing approach, since darker foams may expose adhesive bleed more visibly.
Key adhesive application principles:
- Apply contact cement to both surfaces and allow each coat to become tacky before joining
- Press seams firmly together immediately after contact for maximum bond strength
- Clamp or hold curved joins for at least 60 seconds to prevent separation
Seam Filling Before Painting
With your seams bonded and your adhesive fully cured, the next step before any paint or sealer touches your build is filling those joins so they disappear into the surface. Seam visibility kills an otherwise clean armor build, so treat every gap, ridge, and edge *connection* before moving forward.
Flexible fillers like Plasti-Dip, latex caulk, or foam clay work well depending on joint width and flex requirements. Apply in thin passes, let each layer cure fully, then sand lightly between coats for a flush finish.
This prep work directly controls paint adhesion quality because uneven or porous surfaces cause topcoats to crack, lift, or settle unevenly. Filling seams correctly means your sealer and paint bond to a uniform surface rather than fighting inconsistent texture beneath them.
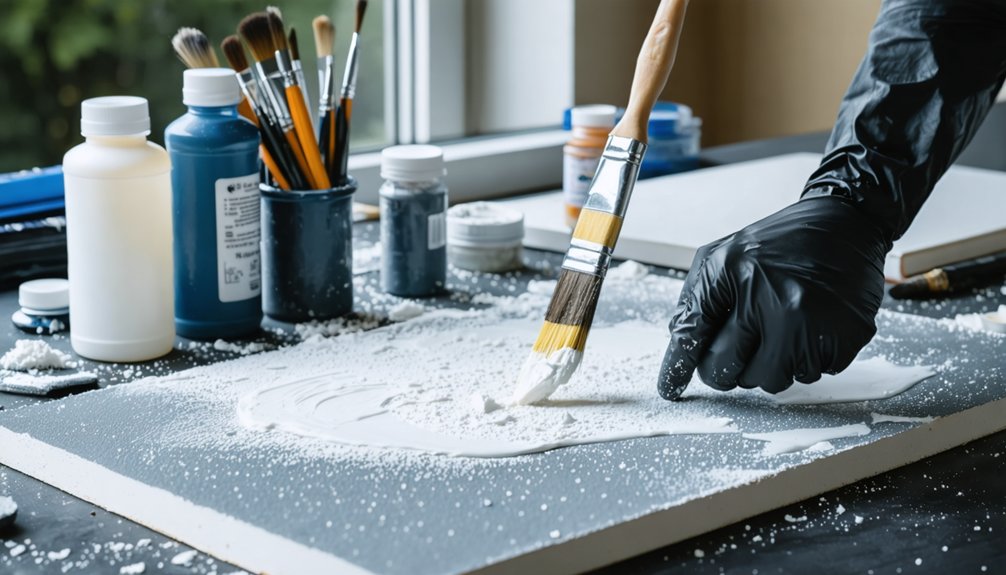
Seal Your EVA Foam Before You Ever Touch Paint
Before you apply any paint to your EVA foam armor, you need to seal the surface completely — raw foam is too porous to hold paint evenly, and skipping this step causes peeling, cracking, and uneven coverage. Sealing locks down texture variation across the foam surface and creates a stable base that accepts foam color consistently.
Use a trusted sealer and apply it methodically:
- Mod Podge works well for beginners and bonds reliably to EVA surfaces
- Apply 2–3 thin coats, allowing full cure time between each layer
- Sand lightly between coats to minimize surface grain and improve adhesion
Don’t rush the cure. A fully sealed, smooth surface is what separates professional-looking armor from builds that fail at the paint stage.
Budget EVA Foam Kits for First-Time Armor Builders
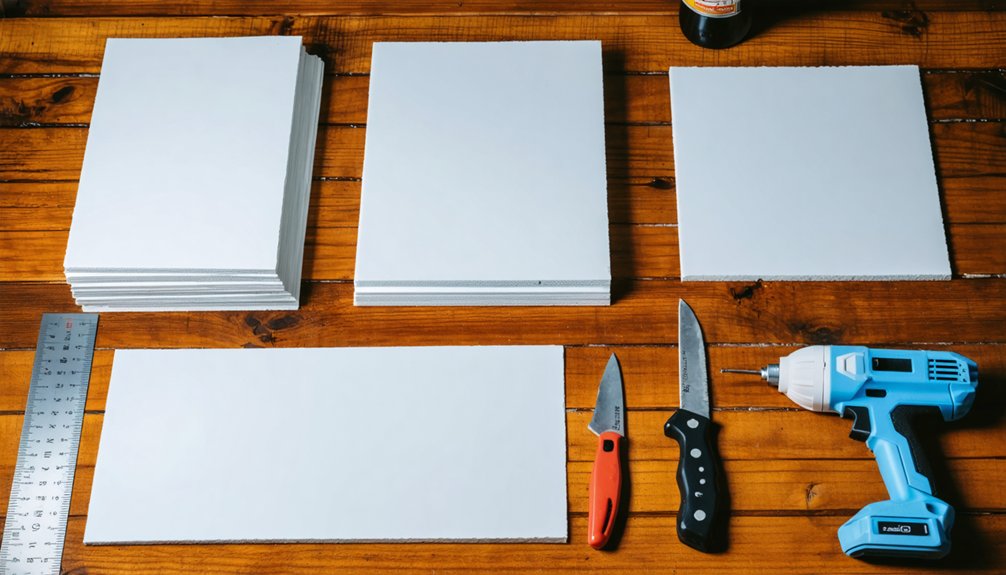
Budget foam kits give first-time builders a low-risk entry point for experimenting with cuts, heat-forming, and adhesive work before committing to premium materials. Most starter multi-packs include floor-mat-style EVA tiles that let you test contact cement bonds, practice heat shaping, and refine pattern transfers without waste anxiety. You won’t get consistent density ratings, but you’ll build muscle memory that transfers directly to premium builds.
Pay attention to foam color across your kit pieces, since color variation often signals inconsistent density batches that’ll behave differently under heat. Some budget sets also include mixed texture patterns on one side, which can interfere with paint adhesion if you don’t sand or seal aggressively.
Use these kits to prototype every major panel before you cut into high-density sheet stock.
Frequently Asked Questions
How Long Does Finished EVA Foam Armor Typically Last With Regular Use?
With proper sealing, your finished EVA foam armor’s material longevity spans two to five years of regular use. Foam durability depends on how well you’ve sealed, stored, and maintained each panel between wears.
Can EVA Foam Armor Be Safely Worn in Hot Outdoor Convention Environments?
Like armor tested by fire, EVA withstands heat but you’ll face UV resistance degradation and breathability concerns. You can wear it outdoors safely—seal it thoroughly, monitor deformation, and take cooling breaks frequently.
How Do You Repair a Cracked or Torn EVA Foam Armor Piece?
Apply contact cement to both torn edges, press firmly, then use foam sealing compound for crack filling. Once cured, sand smooth, reseal the repaired zone, and repaint to restore your armor’s structural integrity seamlessly.
Is EVA Foam Armor Safe for Children to Wear at Conventions?
EVA foam material is generally safe for children, but you’ll want to inspect edges, avoid sharp details, and guarantee proper fit. Prioritize child safety by smoothing all surfaces and supervising wear throughout convention activities.
How Do You Store Finished EVA Foam Armor Without Warping It?
Store your finished armor flat—it’ll last a million years longer this way. For ideal foam storage and warping prevention, you’ll want to keep pieces horizontal, away from heat sources, and supported evenly across their entire surface.
References
- https://www.reddit.com/r/cosplayprops/comments/zlyqsc/eva_foam_advice_and_recommendations/
- https://www.reddit.com/r/CosplayHelp/comments/1h78xbe/what_thickness_of_eva_foam_should_i_buy_for_this/
- https://www.405th.com/forums/threads/foam-guide.50964/
- https://www.youtube.com/watch?v=txFoQDyePY0
- https://thefoamory.com/
- https://www.youtube.com/watch?v=-WUi1VhVFdo
- https://www.thebrucehighqualityfoundation.com/best-eva-foam-for-cosplay-armor/
- https://www.narcosis-the-game.com/best-eva-foam-sheets-for-cosplay/
- https://thewearify.com/best-foam-for-cosplay/
- https://www.skywarriorbooks.com/best-eva-foam-armor-kits-for-cosplayers/