To pull off a convincing superhero body paint look, you’ll need to start with thoroughly cleansed, exfoliated, and primed skin to maximize paint adhesion. Build your base coat in thin, even layers, letting each dry fully before adding the next. Use contouring techniques with light and shadow to create dimension, then finish details with fine brushes and stencils. Seal everything with setting powder and spray for lasting wear. There’s much more to uncover ahead.
Key Takeaways
- Prep skin by cleansing, exfoliating, and applying oil-free moisturizer before painting to ensure smooth, long-lasting adhesion.
- Build the base coat gradually using thin, overlapping layers, letting each dry fully before applying the next.
- Add depth by applying darker shades to shadow areas and lighter tones to raised facial features.
- Use small detail brushes and stencils to achieve precise, symmetrical logos and sharp costume features.
- Seal finished paint with setting powder and spray, repeating on high-movement areas for convention-ready durability.
Prep Your Skin for Superhero Body Paint
Before applying a single stroke of paint, you’ll need to prepare your skin properly—skipping this step leads to poor adhesion, uneven coverage, and premature cracking. Choosing the right skin prep products makes a noticeable difference: start with a thorough cleanse to eliminate oil, dirt, and makeup residue that block paint bonding.
Follow with gentle exfoliation to smooth rough patches and create a uniform surface. Apply a light, oil-free moisturizer to address dryness without compromising adhesion.
Among the best tools for body painting preparation, wig caps and wig grips are essential for securing hair away from the hairline and ears before paint application begins. Finish prep with a dedicated barrier or primer product to strengthen paint grip and substantially extend wear time during high-movement performances.
How to Apply a Flawless Superhero Base Coat
Once your skin is prepped and primed, applying a thin, even base coat is the foundation of a clean superhero look. Load your sponge lightly and work in controlled, overlapping passes across large surface areas to build uniform coverage fast.
A thin, even base coat sets the stage — light sponge loads and overlapping passes build flawless coverage fast.
Switch to a flat foundation brush for edges and defined zones where precision matters most.
Avoid heavy application — thick layers crack and streak as you move. Instead, build opacity gradually through multiple thin passes, letting each dry fully before continuing.
This layered approach also supports smoother color blending when you shift between costume hues or skin tones later.
Keep your paint at a creamy consistency throughout. Watery paint loses saturation and weakens adhesion.
Master these brush techniques early, and every detail layer that follows will perform at a higher level.
Layer and Contour Your Superhero Body Paint for Depth
With your base coat fully dry, you’re ready to build dimension through layering and contouring. Apply each layer only after the previous one dries completely — this preserves opacity and prevents smearing. Use patting or stippling motions to minimize brush streaks and help subsequent layers adhere cleanly.
For shadow sculpting, apply darker shades under your cheekbones, along the jawline, at the temples, and around the eyes to define facial structure and costume contours. Then introduce lighter shades on raised areas — cheekbone tops, the nose tip, and inner eye corners.
Color blending is critical here; harsh edges flatten your character’s appearance instantly. Blend gradations smoothly to achieve a three-dimensional, visually dynamic result. High-movement zones like the face typically require more layers for durability and detail saturation.
Paint the Logos and Costume Details That Make Characters Pop
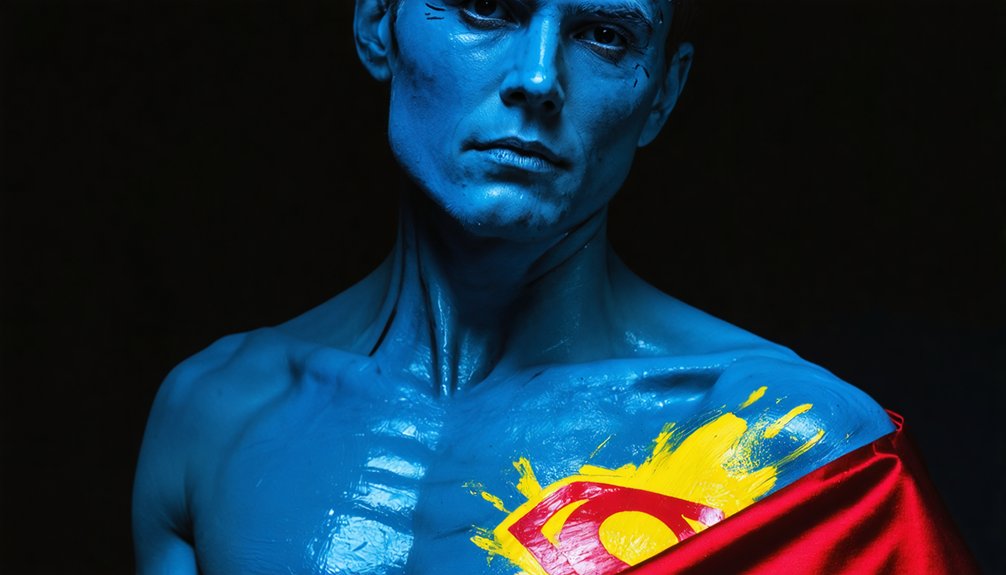
After your base coat and contour layers have fully set, switch to a small detail brush to begin rendering logos, costume symbols, and fine facial features. Use stencils for repeating patterns requiring clean symmetry, and apply color blending techniques at symbol edges to avoid hard, unnatural borders.
Switch to a small detail brush once base layers set—stencils and blending keep logos crisp and borders natural.
Outline each logo carefully before filling it in—this preserves definition against surrounding shading. For special effects like metallic accents or shimmer textures, layer tinted or reflective products over sealed base coats to match suit details accurately.
Once base detailing’s complete, add eyeshadow or liquid liner over sealed layers for sharper precision. Avoid excessive layering in tight areas, which causes cracking.
Every deliberate stroke you apply at this stage directly determines whether your character reads as authentic or flat.
Seal Your Superhero Body Paint So It Actually Lasts
Sealing your body paint correctly determines whether your work survives a full convention day or starts breaking down within the first hour. After your color blending and brush control work is complete, apply a matte setting powder across all painted surfaces.
Matte formulas support a natural, skin-like finish without introducing unwanted glitter interference. Follow with a setting spray, holding it several inches from the skin for even distribution.
Let it dry fully, then repeat the spray-and-dry cycle on high-movement zones like your arms and face. Avoid dragging brushes across sealed areas, since that disrupts coverage and reactivates paint.
Each repeated sealing layer compounds protection, extending wear remarkably. This layered sealing approach transforms fragile surface paint into a durable, convention-ready finish that holds through hours of wear.
Frequently Asked Questions
How Long Does Superhero Body Paint Typically Last Throughout a Convention Day?
With proper sealing, your cosplay durability typically spans 6–8 hours before paint cracking emerges. You’ll extend wear by applying setting spray, avoiding friction zones, and reapplying thin touch-up layers during breaks throughout your convention day.
Can Body Paint Cause Allergic Reactions or Irritate Sensitive Skin Types?
Before you paint, know this: yes, body paint can trigger allergic reactions and skin irritation. You’ll want to patch-test formulas 24 hours early, choose hypoallergenic products, and prep sensitive skin with a barrier primer first.
What Is the Safest Way to Remove Superhero Body Paint After an Event?
Use gentle, oil-based cleansers as your primary removal techniques—they’ll break down paint without stripping your skin’s barrier. Follow immediately with a hydrating moisturizer to restore skin hydration and prevent post-event dryness and irritation.
Does Body Paint Photography Require Different Lighting Than Regular Cosplay Shoots?
Like tuning a precise instrument, lighting angles dramatically affect color accuracy in body paint shoots. You’ll need diffused, directional light to reveal contours, prevent wash-out, and capture paint’s true pigmentation far more critically than standard cosplay photography demands.
Are There Body Paint Brands Specifically Recommended for Full-Body Superhero Coverage?
You’ll find brand recommendations like Mehron, Kryolan, and Snazaroo dominate full-body coverage. Prioritize long-lasting formulas with creamy consistency—they’ll resist cracking, support layering, and maintain color saturation throughout extended superhero cosplay shoots.
References
- https://cosplaysass.wordpress.com/2018/12/27/cosplay-101-beginners-guide-to-body-painting/
- https://www.youtube.com/watch?v=KwXpMKiwGD8
- https://www.youtube.com/watch?v=VvScmV8SiIw
- https://www.youtube.com/watch?v=G25gq9R4NYk
- https://www.youtube.com/watch?v=TyIguERBZfM
- https://www.crazecosplay.com/blogs/questions/how-to-apply-body-paint-for-cosplay