Building a convincing cosplay sword or shield starts with choosing the right materials—EVA foam and non-metallic cores keep you convention-compliant while delivering durability. You’ll need to scale props to your height using character reference ratios, score and heat-form foam for clean bevels, and seal every surface before painting. Bond joints with two-part epoxy, not craft glue. Weathering, LEDs, and motion sensors elevate your build from basic to breathtaking—and there’s much more to unpack ahead.
Key Takeaways
- Choose EVA foam or plastic materials, as most conventions require non-metallic props to comply with safety regulations and prevent confiscation.
- Insert a core rod (wood, fiberglass, or metal) into foam blades for structural stability and durability.
- Scale your weapon accurately by measuring character-to-weapon ratios using official artwork and applying them to your personal height.
- Use two-part epoxy for bonding joints, avoiding craft glues that cause delamination under stress.
- Seal all foam surfaces with flexible primer like Plasti-Dip before painting to prevent moisture damage and improve paint adhesion.
What Conventions Actually Allow for Cosplay Sword Props?
Before packing your foam blade or resin-cast sword for a convention, you’ll need to verify the event’s specific prop weapon policies, since these rules vary considerably across organizers.
Most conventions mandate non-metallic construction for cosplay sword safety, requiring EVA foam or plastic materials exclusively. You’ll also encounter peace-tying requirements, meaning your prop must remain sheathed and secured throughout the event.
EVA foam and plastic keep cosplay swords convention-safe, while peace-tying rules ensure props stay sheathed all day.
Check each convention’s published guidelines directly, as major events like San Diego Comic-Con maintain stricter convention weapon policies than smaller regional gatherings.
Props resembling functional firearms or bladed weapons typically face outright bans. Some venues require pre-event prop inspection at designated check-in stations.
Confirm blade length restrictions, material specifications, and sheathing requirements well before your event date to avoid on-site confiscation or entry denial.
Choose the Right Core Material for Cosplay Sword Rigidity
When building a cosplay sword, your core material determines the prop’s structural integrity and overall performance. You’ll want to select from options like metal rods, wood dowels, or golf club shafts, each offering distinct rigidity-to-weight trade-offs suited for different blade lengths and combat simulation needs.
The most reliable construction method sandwiches your chosen core rod between two foam layers, with a precision-cut channel securing the rod firmly in place for a stable, durable finished prop.
Core Material Options
Choosing the right core material directly determines how rigid, durable, and convention-safe your cosplay sword will be. Each option carries distinct historical inspiration and cultural symbolism that influences your final build’s authenticity and structural performance.
Consider these proven core materials:
- Metal rods – 6mm steel or aluminum delivers maximum rigidity for large, dramatic blades.
- Wood dowels – lightweight, easy to shape, and ideal for traditional cultural weapon replicas.
- Fiberglass rods – flexible yet strong, perfect for curved or tapered blade profiles.
- Golf club shafts – pre-engineered taper provides excellent balance and convention compliance.
- Bendable metal wire cores – essential for replicating curved blades like katanas with anatomical accuracy.
Match your core selection to your blade’s length, curvature, and target convention’s prop safety requirements.
Foam And Rod Sandwich
The foam-and-rod sandwich method gives your cosplay sword its structural backbone by locking a rigid core between two foam layers. You’ll cut a channel into 6mm EVA foam, insert a matching metal rod — referencing historical weaponry construction principles — then cap both sides with 4mm foam sheets.
This technique distributes stress evenly across the blade, directly improving material durability under handling and transport conditions.
Use two-part epoxy to bond each layer permanently, preventing delamination during active wear. For curved blades like katanas, bend a malleable metal rod before inserting it, preserving authentic profile geometry.
The result is a lightweight yet structurally sound prop that resists flex and warping. Prioritizing this internal architecture early eliminates structural failures that surface-level finishing can never correct.
How Do You Scale Your Cosplay Sword to the Right Size?
To scale your cosplay sword accurately, you’ll need to measure the character-to-weapon ratio by comparing the blade’s length to the character’s full height in reference images.
Once you’ve established that ratio, apply it to your own height to determine the correct prop dimensions.
Pull reference images from official artwork, game models, or film stills to lock in precise proportions before you cut a single piece of foam.
Measuring Character-to-Weapon Ratios
Scaling your cosplay sword accurately starts with one foundational measurement: your own height.
Historical sword styles and mythical weapon symbolism both demand proportional integrity—your prop must visually read as authentic against your body.
Follow these five ratio benchmarks:
- Longswords: typically 45–50% of your total height
- Greatswords: 80–100% of your height, sometimes exceeding it
- Katanas: blade length equals roughly 60% of your height
- Fantasy broadswords: scale 10–15% larger than historical equivalents for dramatic effect
- Daggers and short swords: 25–30% of your height
Measure your reference character’s weapon against their body in official artwork, then apply that exact percentage to your own measurements.
This mathematical approach eliminates guesswork, ensuring your finished prop commands the same visual authority as its source material.
Scaling From Reference Images
Once you’ve locked in your character-to-weapon ratio, reference images become your most precise scaling tool. Pull multiple high-resolution screenshots, official art sheets, and model renders to cross-reference dimensions accurately. Don’t rely on a single source — inconsistencies exist across promotional materials.
Grid your reference image digitally, then map each grid square to a real-world measurement. This method guarantees proportional scaling across every element, from blade curvature to hilt length. If your character stands 6 feet tall and the sword reaches their shoulder, calculate that exact ratio against your costume height.
Transfer measurements directly onto foam using a chalk line or straight edge before cutting. Precise marking eliminates guesswork and preserves the weapon’s structural integrity throughout the build process.
Score, Heat-Form, and Bevel EVA Foam for Clean Blade Edges
Scoring, heat-forming, and beveling EVA foam are the three core techniques that separate a polished blade replica from a rough, amateurish cut. Mastering foam shaping and blade sharpening transforms flat EVA sheets into convincing, edge-defined blades.
- Score the foam surface with a sharp knife at a shallow angle to establish your bevel line precisely.
- Apply a heat gun evenly across scored sections, letting the foam compress and curve naturally.
- Bevel both blade faces symmetrically to create a realistic tapered edge profile.
- Sand progressively from 80-grit to 220-grit for smooth, clean transition along the edge.
- Seal heat-formed surfaces immediately with Plasti-Dip or contact cement to lock in shape.
These steps build a structurally sound, visually sharp blade that holds its geometry through convention handling and transport.
Secure Every Joint Before You Add a Single Layer of Paint
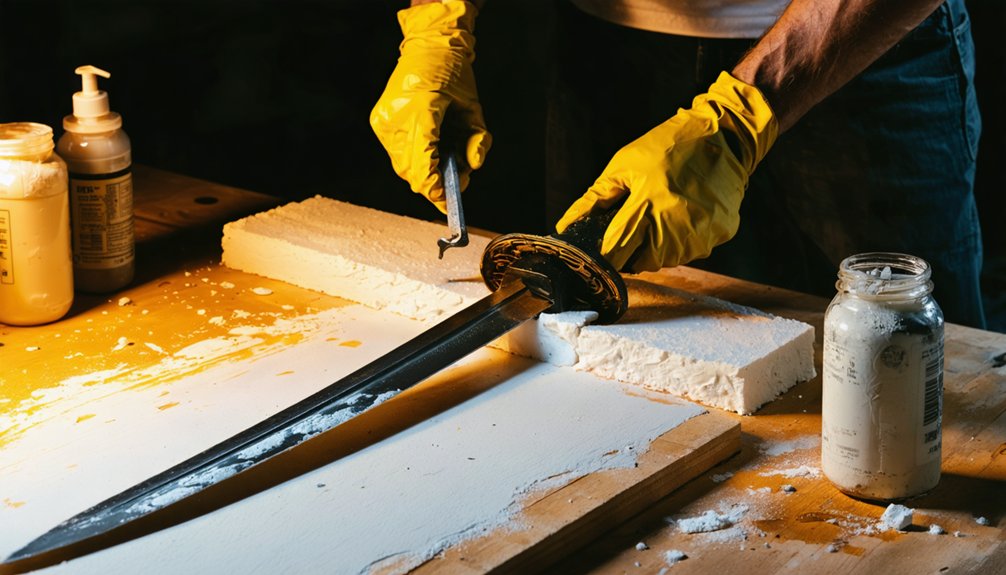
Joints that fail mid-convention can’t be fixed with a fresh coat of paint. Before you apply any primer, stress-test every connection point by flexing the prop through its full range of motion.
Pay particular attention to areas where blade curvature changes direction — those transition zones concentrate stress and separate first. Use two-part epoxy at structural joints and reinforce core flexibility points with polyurethane glue, which maintains bond integrity under repeated bending.
Clamp every joint for the full cure time; premature handling weakens adhesion permanently. Sand bonded surfaces before gluing to maximize contact area.
Once you’ve confirmed zero movement, separation, or creaking under firm pressure, you’ve earned the right to prime. Paint reveals flaws — it doesn’t hide them.
Build a Guard and Hilt That Hold Up All Day
The guard and hilt take more physical abuse than any other section of your prop — your grip torques them constantly, and crowds bump them from unpredictable angles. Prioritize guard durability and hilt wrapping from the start.
- Cut your guard from Worbla or dense wood for rigid, impact-resistant structure.
- Bond all guard layers with two-part epoxy, not standard craft glue.
- Reinforce guard-to-blade joints with rivets or embedded dowels for lateral stability.
- Execute hilt wrapping with leather strip or grip tape, pulling consistent tension throughout.
- Seal wrapped sections with contact cement at both ends to prevent unraveling.
These choices eliminate mid-convention failures. A compromised hilt breaks your character presentation and risks dropping the prop entirely. Build it overengineered — you won’t regret the extra effort.
Prime and Paint EVA Foam So Color Actually Sticks
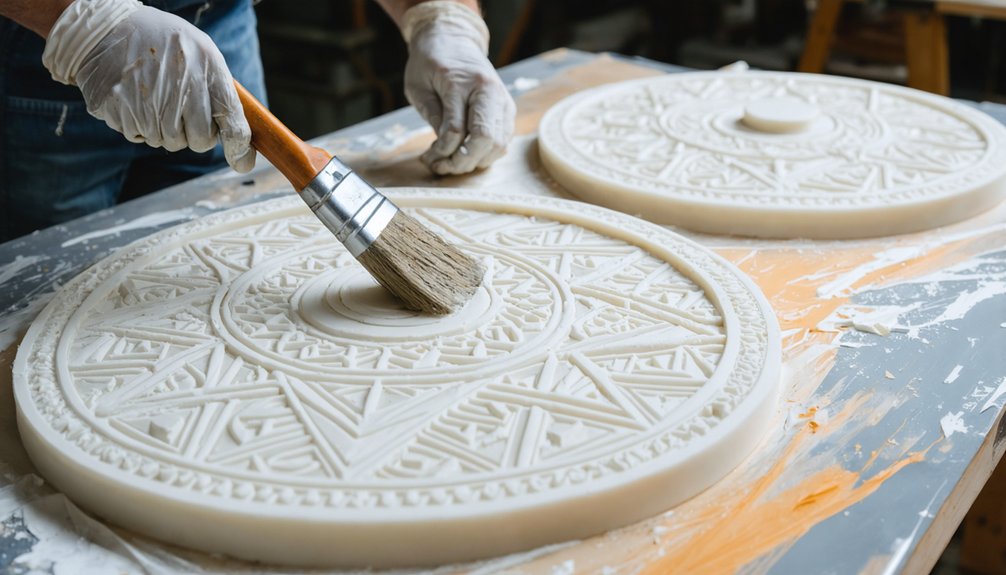
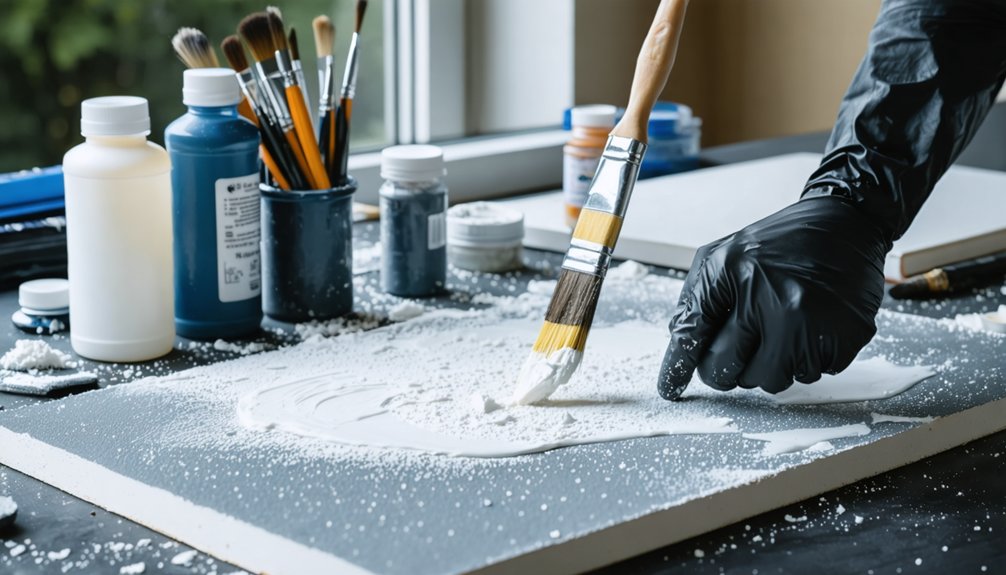
Before you apply any color, you’ll need to seal EVA foam with a flexible primer like Plasti-Dip or a dedicated foam primer to prevent paint from cracking or peeling.
Sand the surface lightly between coats to build a smooth, uniform base that accepts pigment evenly.
Once primed, use high-adhesion acrylic or enamel paints for vibrant, durable color that won’t flake under the physical demands of a full convention day.
Priming EVA Foam Properly
Priming EVA foam correctly determines whether your paint job lasts through a full convention day or starts peeling by noon. Before applying color to your fantasy armor or costume accessories, you’ll need to seal the porous foam surface first.
Follow these essential priming steps:
- Apply 2–3 thin coats of Plasti-Dip or liquid latex to seal foam pores completely.
- Sand lightly between coats using 220-grit sandpaper for a smoother surface.
- Use a heat gun briefly to tighten the foam’s surface before priming.
- Apply a dedicated spray primer after sealing for superior paint adhesion.
- Allow full drying time between every layer—rushing causes bubbling and peeling.
Skipping proper priming guarantees paint absorption into raw foam, producing uneven, dull finishes that deteriorate quickly under convention wear.
Applying Paint Effectively
Once your primer coat has fully cured, you’re ready to apply color—and how you do it determines whether your finish looks professional or amateur. Use high-adhesion acrylic or enamel paints in thin, layered coats rather than single heavy applications. Thick coats crack when foam flexes, destroying paint durability over extended wear. Build opacity gradually, allowing each layer to dry completely before adding the next.
For color blending, use a damp blending brush or airbrush to gradually transition between tones seamlessly—this technique replicates magical energy effects, elemental gradients, or natural metal variations with precision.
Dry-brush metallic silver or bronze over darker base coats to simulate edge highlights. Seal everything with a flexible matte or gloss clear coat to lock in your work and resist chipping.
Weathering Tricks That Make Cosplay Swords Look Battle-Worn
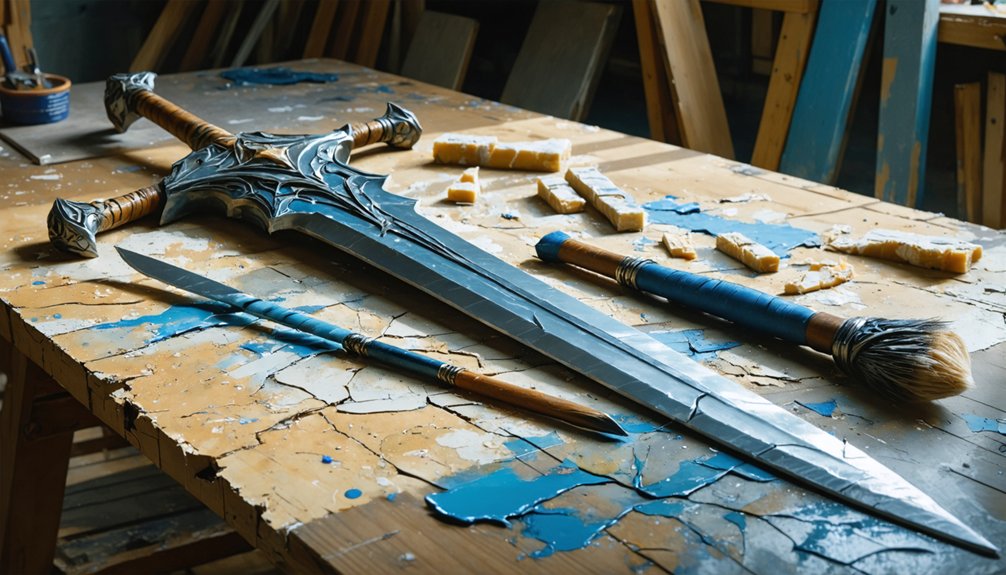
Weathering your cosplay sword transforms it from a pristine prop into a convincing battle-hardened weapon. These weathering techniques deliver a battle worn finish that elevates realism dramatically:
Weathering your cosplay sword transforms a lifeless prop into a battle-hardened weapon dripping with hard-fought authenticity.
- Sand surface edges with 80-grit sandpaper to simulate genuine blade wear and micro-scratches.
- Apply watered-down brown and orange acrylics using a dry brush to replicate rust streaks authentically.
- Dab darker paint into recessed areas using wash techniques to create depth and shadow contrast.
- Stipple silver metallic paint along high-contact edges to mimic paint chipping from combat impact.
- Seal completed weathering layers with matte clear coat to lock in texture and prevent smearing.
Layer each technique progressively rather than simultaneously. Start subtle, then intensify effects until you achieve convincing battlefield authenticity without overwhelming the blade’s core design identity.
Add LEDs and Motion Sensors to Glowing Cosplay Sword Blades
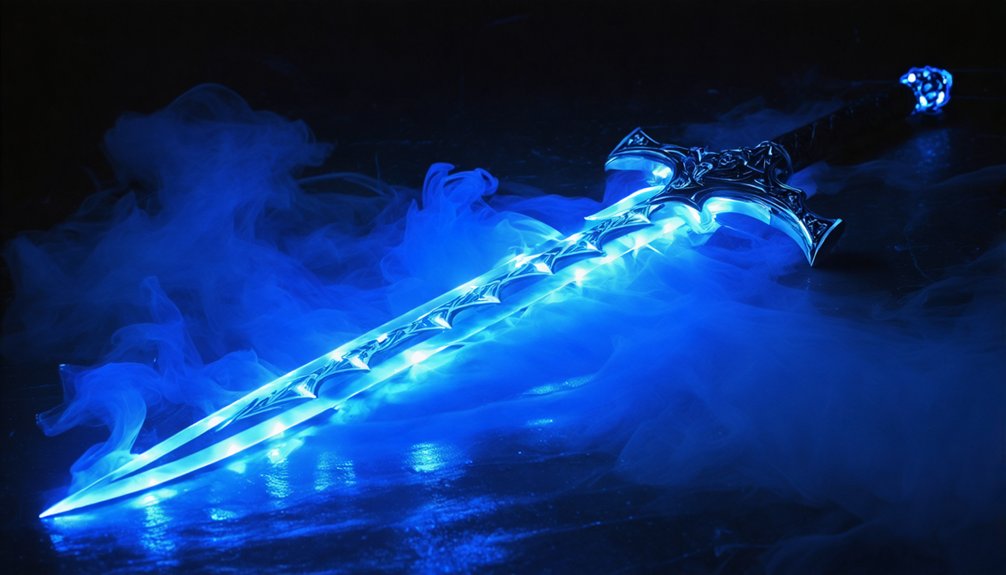
Integrating LEDs and motion sensors into your cosplay sword blade elevates a static prop into a dynamic, interactive showpiece. Route LED strips through a pre-cut channel inside your foam blade, securing them against the core rod for consistent LED placement along the full blade length.
Connect the strips to a compact battery pack concealed within the hilt. For motion sensor integration, wire a tilt or accelerometer sensor to trigger color shifts or flickering effects when you swing the blade.
Use heat-shrink tubing to insulate all connections, preventing shorts during active wear. Diffuse the light by sanding the outer foam layer lightly, softening harsh hotspots into a smooth glow.
Seal all electronics with a clear conformal coating to protect against sweat and convention humidity.
Fix the Mistakes That Destroy Cosplay Swords at Conventions
Building a glowing, motion-reactive sword means nothing if it falls apart the moment you arrive at a convention. Structural failures stem from predictable errors you can eliminate before packing your prop.
Avoid these critical mistakes:
- Wrong foam density: Low-density foam compresses under stress, distorting blade curvature and weakening structural integrity.
- Skipping the core rod: Without a rigid internal spine, blades flex, warp, and eventually snap.
- Weak joint adhesives: Standard craft glue fails under transport pressure—use two-part epoxy exclusively.
- Unpainted bare foam: Unsealed surfaces absorb moisture, accelerating deterioration throughout convention day.
- Ignoring peace-tie requirements: Non-compliant props get confiscated at entry checkpoints, wasting your entire build effort.
Reinforce every joint, select appropriate foam density for your blade dimensions, and verify convention weapon policies before you leave home.
Frequently Asked Questions
Can Cosplay Shields Use the Same Core Materials as Swords?
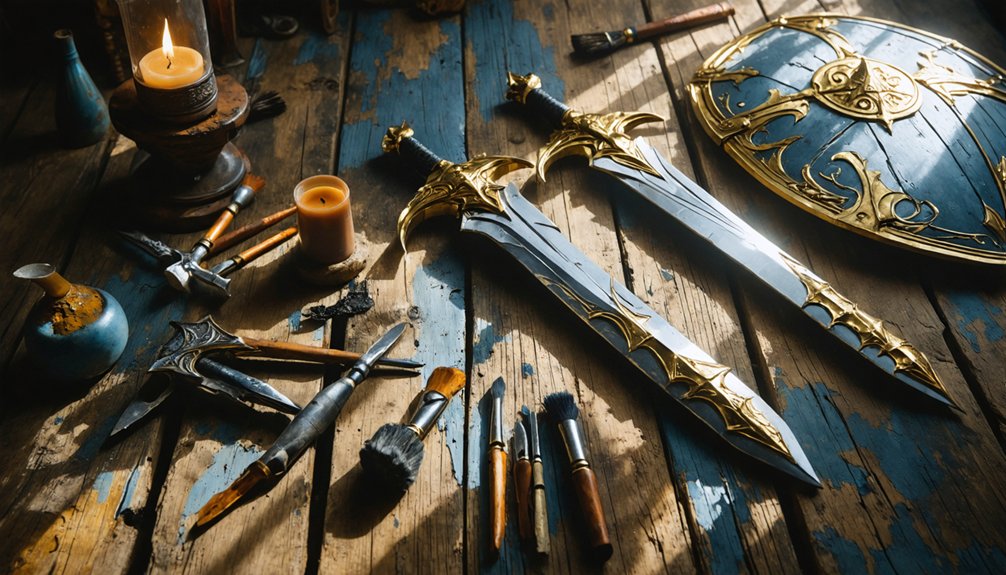
Yes, you can use the same cosplay shield materials and sword core options—EVA foam layers, metal rods, and Worbla wrapping—to build durable, lightweight shields that maintain structural rigidity while supporting innovative designs and surface detailing.
How Do You Safely Transport Oversized Cosplay Sword Replicas to Conventions?
You’ll want to disassemble oversized replicas when possible, securing foam blades in padded cases. Follow cosplay safety protocols by peace-tying props upon arrival. These transportation tips guarantee you’re compliant, protected, and convention-ready without compromising your innovative build’s integrity.
What Glues Work Best for Bonding Worbla Directly Onto EVA Foam?
Want flawless foam reinforcement? You’ll achieve the best adhesive compatibility by using contact cement to bond Worbla directly onto EVA foam—apply it to both surfaces, let it tack, then firmly press together.
How Do You Replicate Engraved Runes or Symbols on Foam Blades?
You’ll replicate engraved runes using foam carving techniques with a heated wood-burning tool or Dremel. Carve symbols precisely, apply 3D-printed resin castings for intricate detail, then use dry-brushing engraving techniques to highlight recessed areas dramatically.
Can Beginners Realistically Build a Cosplay Sword Without Prior Crafting Experience?
You’ll craft mountains out of foam! Beginners absolutely can build cosplay swords using EVA foam, mastering cosplay weapon safety and costume accessory coordination from day one—no prior experience needed, just precise cuts, strong adhesives, and bold creative commitment.
References
- https://www.reddit.com/r/cosplayprops/comments/pqwvpr/whats_the_best_way_to_make_a_prop_sword/
- https://cos-bond.com/2019/04/06/planning-and-patterning-cosplay-weapons/
- https://battlingblades.com/blogs/news/how-to-select-the-best-replica-medieval-weapon-to-display-or-use-for-cosplay
- https://www.youtube.com/watch?v=Tfo5lFfhuYo
- https://swordsswords.com/blog/customizing-swords-and-armor-for-an-authentic-cosplay-look/
- https://www.alibaba.com/product-insights/making-cosplay-swords.html