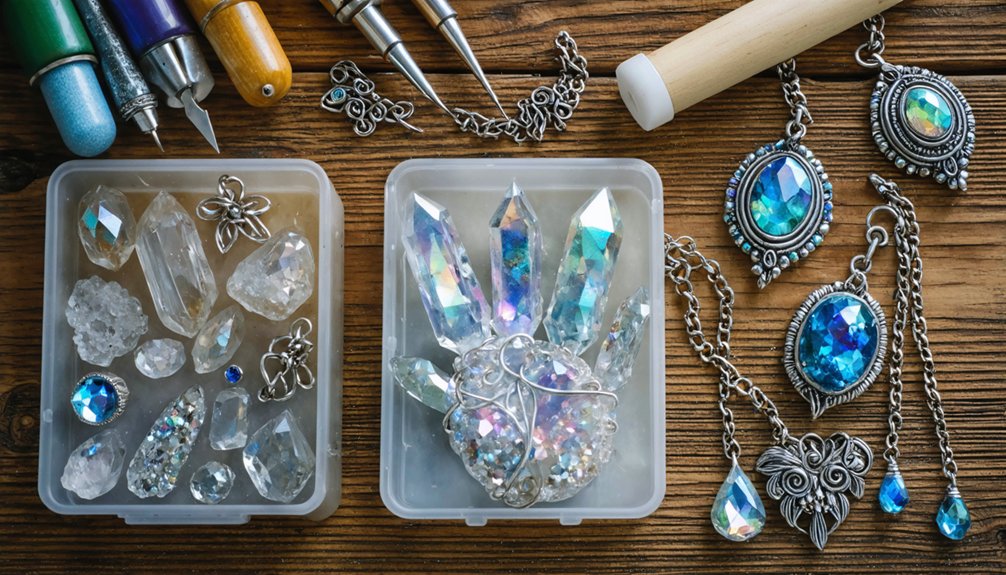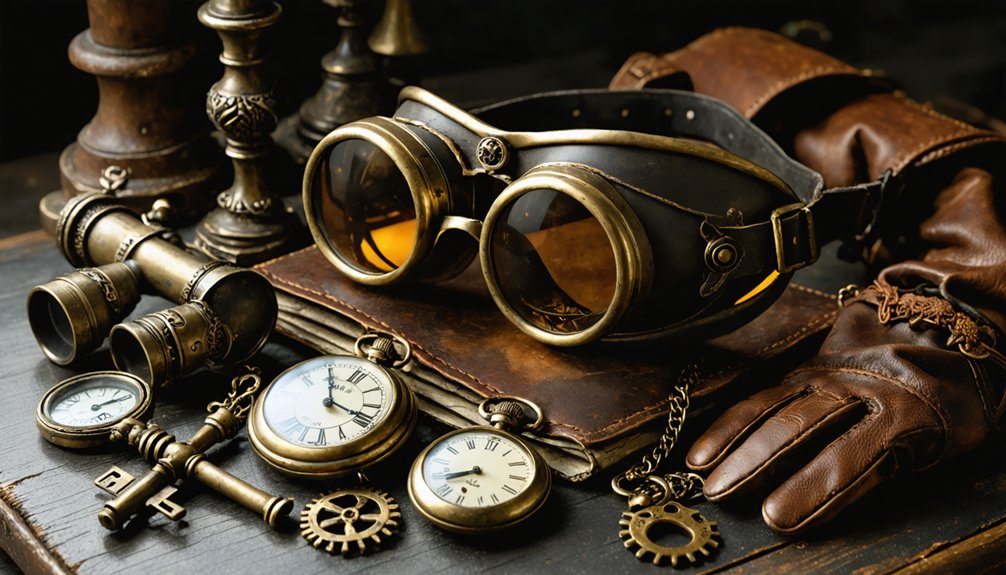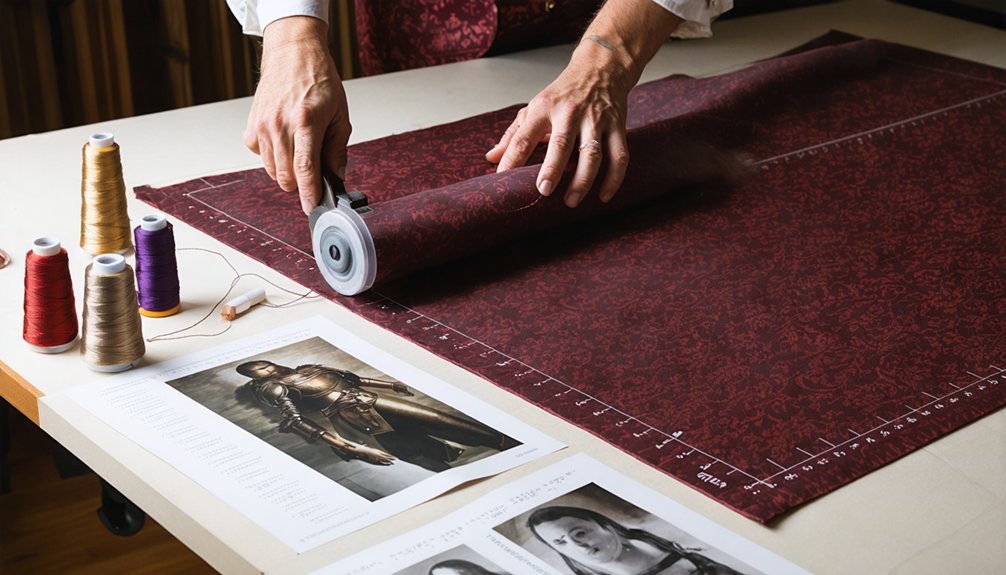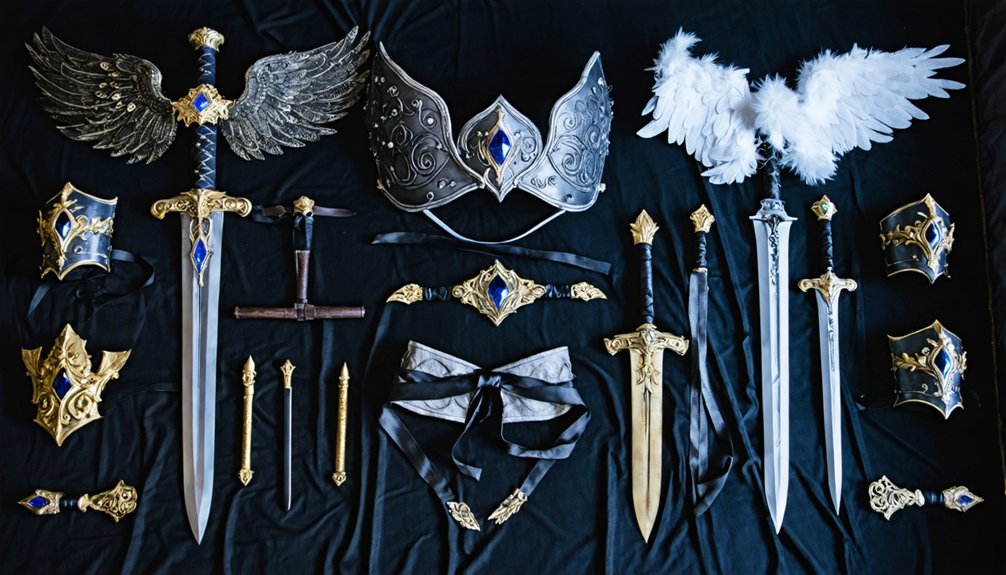
To build traditional cosplay accessories authentically, you’ll need to match materials like EVA foam, Worbla, faux fur, and period-accurate fabrics to each component’s structural demands. Start by anchoring your design in verified cultural references, then pattern precisely, cut carefully, and shape with controlled heat. Bond, carve, and layer details before priming, painting, and sealing your finished pieces. Master each stage, and you’ll find the complete step-by-step breakdown ahead covers everything in full.
Key Takeaways
- Select materials like EVA foam, faux fur, or thermoplastics based on each accessory’s flexibility, durability, and surface finish requirements.
- Research cultural and historical references to ensure silhouettes, ornamentation, and color palettes accurately reflect the source material.
- Create paper templates first, then transfer shapes precisely using fine markers before cutting foam with sharp blades.
- Bond components with contact cement, reinforce seams with hot glue, and add carved or sculpted surface details for authenticity.
- Prime, layer thin acrylic coats, apply weathering techniques, and seal finished pieces to protect durability and enhance visual accuracy.
Traditional Cosplay Accessory Styles You Should Know How to Build
Whether you’re recreating a historical figure, an anime character, or a fantasy archetype, knowing which accessory types appear most often in traditional cosplay gives you a practical starting point for your builds. Focus on these core categories: ears and tails, hats and headpieces, masks and eye patches, gauntlets and hand pieces, and ornamental emblems.
Each type demands specific materials, shaping methods, and finishing techniques. Ears and tails rely on faux fur and wire armatures. Headpieces require structural cores with modern embellishments like tassels or decorative trim. Masks use foam or thermoplastic for rigid form. Gauntlets combine layered foam with fabric linings. Emblems need detailed carving or sculpting.
Mastering these categories lets you apply DIY shortcuts strategically without compromising the authenticity or visual impact of your finished costume.
What Makes a Traditional Cosplay Accessory Authentic
When building a traditional cosplay accessory, you’ve got to anchor every design decision in verified cultural and historical context rather than generalized assumptions.
You should cross-reference period-accurate details like silhouette shapes, hardware styles, and ornamentation patterns against documented sources before cutting or assembling any component.
Material authenticity also counts — matching the weight, texture, and finish of historically appropriate fabrics, metals, or structural materials strengthens the overall accuracy of your build.
Cultural Context Matters
Authentic traditional cosplay accessories demand more than surface-level imitation—they require you to understand the cultural, historical, and symbolic frameworks that define the original design. Cultural symbolism shapes every design decision, from color placement to structural silhouette. A misapplied color or incorrectly positioned emblem signals inauthenticity immediately.
Research the origin culture’s visual language before selecting materials or cutting patterns. Material symbolism carries equal weight—silk signals status in East Asian court dress, while leather communicates warrior function in European historical contexts. You can’t substitute arbitrarily without losing meaning.
Cross-reference primary historical sources, museum archives, and culture-specific documentation rather than relying solely on fan interpretations. This foundational research phase directly informs your material selection, construction method, and finishing approach, ensuring every component reflects accurate cultural intent rather than generalized aesthetic approximation.
Accurate Period Details
Period accuracy transforms a costume accessory from a vague aesthetic impression into a historically grounded artifact. You’ll need to study era-specific silhouettes, construction techniques, and ornamentation before cutting a single piece of material.
Historical accuracy depends on identifying the correct shapes, proportions, and decorative motifs tied to a specific time period and culture.
Material sourcing directly affects authenticity. Match your base materials to the textures and finishes documented in your references—silk for formal period headwear, structured board for rigid crown forms, or embossed faux leather for ceremonial trim.
Avoid substituting modern finishes that contradict the visual language of the era. Cross-reference front, side, and detail shots to confirm placement and scale.
Every accessory element you build should reflect deliberate, research-driven decisions rather than approximation.
Material Authenticity Counts
Material choice defines whether a traditional cosplay accessory reads as authentic or merely decorative. When you’re building for historical accuracy, you can’t substitute materials arbitrarily. Silk behaves differently than polyester; EVA foam reads differently than carved wood. Each material carries visual weight, texture, and finish that either supports or undermines your period reference.
You’ll want to match material durability to the accessory’s function and wear frequency. A ceremonial headpiece worn briefly needs different reinforcement than gauntlets handled throughout a convention.
Select thermoplastics for rigid, detail-heavy components and faux leather or structured interfacing for flexible, fabric-based pieces.
Always cross-reference your material decisions against source imagery. If the original design features lacquered surfaces or woven trims, replicate those qualities using appropriate modern substitutes that honor the original’s visual intent.
Pick the Right Materials for Your Traditional Accessory
Once you’ve locked in your reference images, your next step is matching each part of your accessory to the material that fits its structural and visual requirements.
For rigid, molded components, you’ll choose between EVA foam—which cuts and heats easily for lightweight builds—and thermoplastics like Worbla, which offer greater detail retention and durability under stress.
Fabric choices such as faux leather, interfacing, or faux fur handle softer elements like ears, tails, and trims, so align your material list directly with the weight, finish, and flexibility each design element demands.
Foam Versus Thermoplastic Options
Choosing between EVA foam and thermoplastic materials like Worbla will directly shape how your traditional accessory looks, holds up, and fits into your build process. Each material suits different construction demands, so match your choice to your design’s complexity and finish requirements.
- EVA foam cuts cleanly, heat-shapes easily, and keeps weight low for larger structural pieces.
- Worbla activates with heat and self-bonds, replicating metalworking techniques for rigid, detail-heavy armor components.
- Digital design tools help you prototype templates before committing to either material, reducing costly errors.
- Hybrid builds layer foam cores beneath Worbla shells, combining lightweight structure with a hard, paintable exterior surface.
Assess rigidity needs, surface detail density, and wear duration before purchasing either material in bulk.
Fabric Choices For Accessories
While foam and thermoplastics handle rigid structural builds well, fabric takes over wherever your accessory needs drape, texture, flexibility, or soft volume. Match your selection to the accessory’s function: faux fur for ears and tails, faux leather for eye patches and arm warmers, silk or organza for veils and ornamental trims, and stiff interfacing for structured hats.
When targeting historical fabric palettes, prioritize period-accurate weaves, weights, and surface finishes. A pillbox hat demands firm millinery felt or buckram, not lightweight cotton.
For an innovative, responsible build, explore sustainable fabrics like organic linen, recycled polyester brocade, or deadstock silk. These materials reduce waste without compromising authenticity.
Always test drape and stiffness before cutting. Apply interfacing layers to control shape and prevent collapse in structured pieces.
Matching Materials To Design
Every material choice should trace back to your reference images, because the wrong base material undermines structure, finish, and wearability before you’ve cut a single piece.
Match each component using these four criteria:
- Structural demand – Use Worbla for rigid, molded pieces; EVA foam for lightweight armor panels requiring curvature.
- Color harmony – Select base materials already close to your target palette to reduce paint layers and preserve surface integrity.
- Texture contrast – Combine faux leather with faux fur or silk with interfacing to replicate layered, period-accurate ornamentation authentically.
- Durability versus flexibility – Assign thermoplastics to high-stress attachment points and fabric-based materials to areas requiring movement.
Cross-reference weight, finish, and adhesive compatibility before committing. Mismatched materials create weak joins and inconsistent visual results.
Pattern, Cut, and Shape Your Pieces Without Guesswork
Before you make a single cut, you’ll want a clear template in hand. Sketch your component shapes on paper first, then transfer them onto your material using a fine marker. This step eliminates guesswork and protects symmetry across mirrored pieces.
When cutting foam, use sharp blades and apply shallow, repeated passes on thicker sections to prevent tearing.
For curved armor plates or domed hat forms, apply controlled heat to bend the material into shape and hold it until it sets.
Factor in historical symbolism and color theory early—your silhouette choices and palette decisions should reflect the source culture’s visual language, not generic approximations.
Precision at the patterning stage means fewer corrections later and stronger structural integrity throughout the full build.
Build and Detail Every Traditional Accessory Component
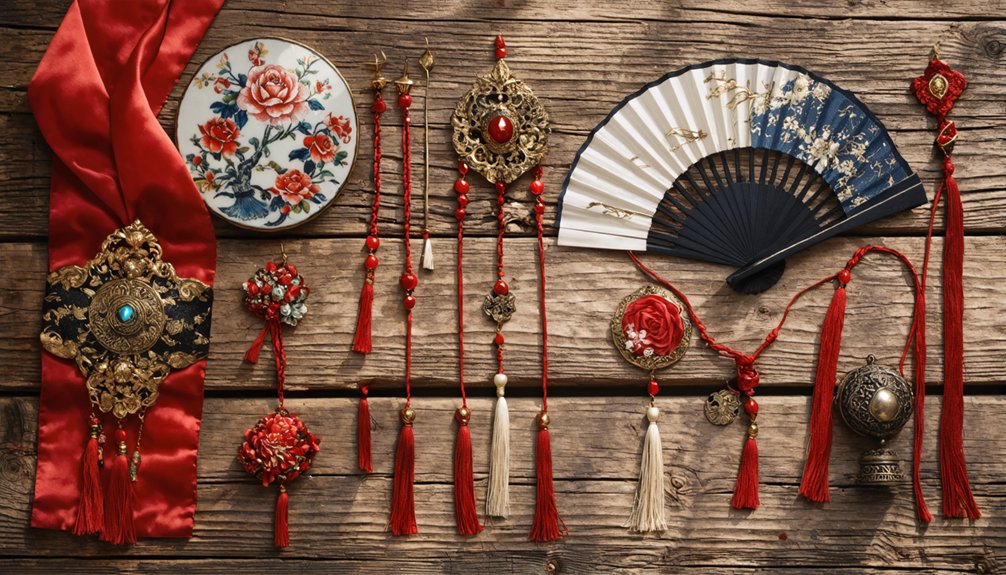
Once your pieces are cut and shaped, you’ll bond foam components with contact cement first, pressing seams firmly before the adhesive fully sets. Reinforce joins with hot glue for added stability. Handcraft techniques elevate every component when you work methodically through detailing.
Follow this sequence for precision results:
- Carve ornamentation using a rotary tool to achieve sharp, historically accurate embellishments like studs, trims, or emblems.
- Apply foam clay to build raised surface details that match your reference’s texture and depth.
- Attach closures using Velcro, elastic, or reinforced straps to guarantee a secure, wearable fit.
- Layer decorative elements — tassels, trim, or panels — to mirror historical accuracy in silhouette and ornamentation.
Check balance and attachment points throughout assembly to prevent shifting during wear.
Prime, Paint, and Seal Your Traditional Accessories for a Lasting Finish
Sanding rough edges before you reach for primer makes every coat that follows adhere more cleanly and look more refined. Apply a flexible primer to EVA foam or thermoplastic surfaces, since rigid primers crack under movement.
Once primed, begin your base coat with acrylics, building toward color blending through thin, layered applications rather than single heavy passes. This method preserves surface detail and allows accurate hue gradations across complex forms.
For ceremonial or aged pieces, introduce weathering techniques using dry brushing, watered-down darks in recessed areas, and edge highlighting to simulate wear or antiquity. Each technique adds visual depth without overcomplicating the palette.
Finish every component with a clear sealant matched to the desired sheen, whether matte, satin, or gloss, to lock in your work and extend durability.
Frequently Asked Questions
How Do I Store Finished Traditional Cosplay Accessories Without Damaging Them?
Store your finished pieces using smart accessory preservation techniques: wrap items in acid-free tissue, box them individually, and apply storage solutions like padded containers or hanging displays to prevent crushing, moisture damage, and paint cracking.
Can Traditional Accessories Be Adjusted to Fit Different Body Sizes?
Yes, you can achieve size customization by integrating elastic bands, adjustable straps, or Velcro closures into your builds. These solutions enhance accessory flexibility, letting you resize hats, gauntlets, and masks to accommodate different body proportions efficiently.
How Long Does Building a Traditional Cosplay Accessory Typically Take?
Time’s a moving target—you’ll spend hours or weeks depending on complexity. Your material sourcing and design inspiration phase alone can stretch timelines, so plan carefully, as simpler accessories take days while intricate builds demand weeks.
Are Traditional Cosplay Accessories Allowed at All Convention Events?
You’ll find policies vary by event, so always check each convention’s guidelines beforehand. Prioritize cosplay etiquette and accessory authenticity to meet approval standards, ensuring your traditional pieces comply with specific weapon, size, and material restrictions.
How Do I Safely Transport Large or Fragile Traditional Accessories to Events?
Pack your fragile packaging using rigid cases, foam inserts, and compartmentalized dividers. You’ll maximize transportation safety by securing loose pieces with bubble wrap, labeling delicate zones, and disassembling modular components before travel to prevent structural damage.
References
- https://www.crazecosplay.com/blogs/questions/how-to-make-cosplay-accessories
- https://shop.clearstone.co.jp/blogs/column/guide-to-making-your-own-cosplay-accessories
- https://cosplayadvice.com/30-cosplay-accessory-sewing-tutorials/
- https://starstruckpanda.com/top-retro-cosplay-accessory-trends/
- https://www.comixasylum.com/how-to-make-custom-jewelry-for-your-cosplay/
- https://cosplayadvice.com/category/sewing-tutorials/accessories/
- https://toxigon.com/how-to-make-your-own-cosplay-accessories
- https://starstruckpanda.com/how-to-create-character-accurate-cosplay-accessories/
- https://blog.dma.org/2013/05/02/make-this-cosplay-armor-and-accessories/
- https://www.dremel.com/ap/en/make-with-dremel/how-to/how-to-start-making-cosplay-props—with-waynes-workshop