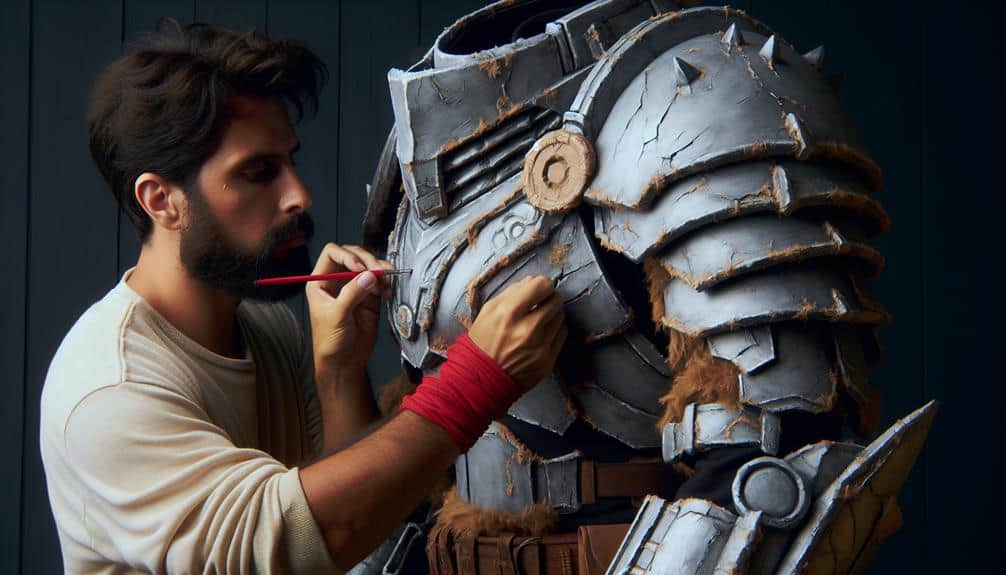
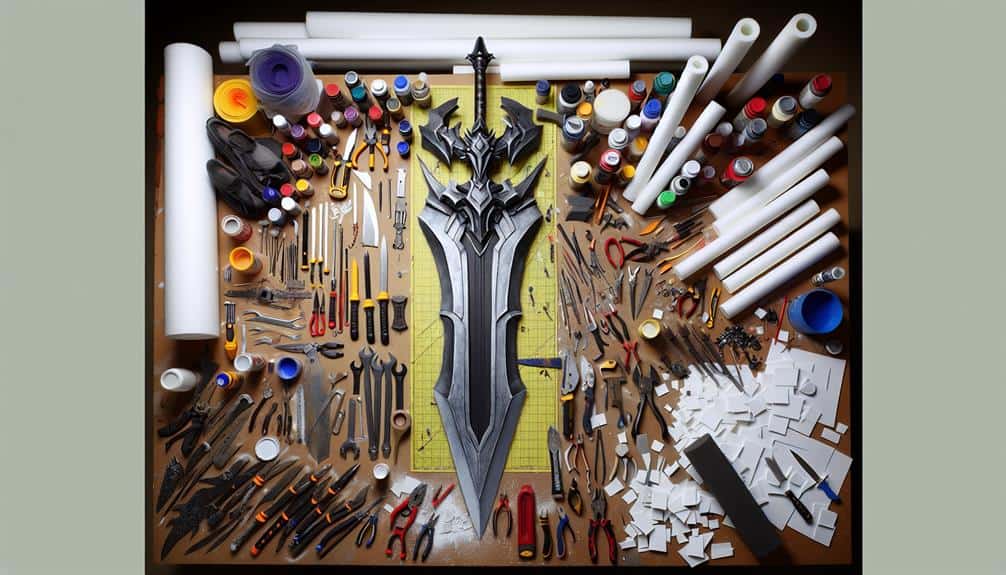
When it comes to enhancing your foam armor for cosplay, think of it as sculpting a masterpiece in progress. Each step you take to weather, distress, and age your armor adds depth and authenticity to your character portrayal.
But how can you guarantee your foam armor stands out from the rest of the cosplay crowd? By mastering techniques that go beyond the basics and elevate your armor to a whole new level of realism.
In this discussion, we will explore advanced methods to transform your foam armor into a work of art that commands attention and admiration at every convention.
Key Takeaways
- Prepare foam surface meticulously for paint adhesion.
- Create realistic battle damage effects with precision painting techniques.
- Apply rust and aging details for a weathered look.
- Seal foam armor with quality acrylic sealer for durability.
Preparing Foam Surface for Weathering
To enhance the realism of your foam armor for cosplay, consider weathering the surface to add depth and character. Before you begin painting, proper surface preparation is key. Start by using sanding techniques to smooth out any imperfections on the foam surface. Begin with a coarse grit sandpaper to remove any rough areas or bumps. Gradually move to finer grit sandpaper to achieve a smooth finish. This step is essential as it guarantees the paint adheres evenly to the foam.
When it comes to painting tips, choose acrylic paints for their durability and vibrant colors. Before applying the paint, make sure to prime the foam surface with a suitable primer to prevent the paint from flaking or chipping. When painting, use thin layers and allow each layer to dry completely before adding another coat. This technique helps prevent the paint from pooling or streaking on the surface, resulting in a professional-looking finish.
Choosing the Right Weathering Techniques
Enhance the authenticity of your foam armor by carefully selecting the ideal weathering techniques to bring depth and character to your cosplay creations. Weathering adds a touch of realism, making your armor look battle-worn and rugged.
Here are three key techniques for your consideration:
- Gradient Shading: Use varying shades of paint to create depth and dimension on your foam armor. Start with a base color and gradually darken or lighten areas to mimic shadows and highlights. This technique adds a sense of realism and makes your armor look more dynamic.
- Paint Chipping: Mimic wear and tear by strategically adding paint chipping effects to your foam armor. Use a small brush or sponge to create tiny, irregular chips along the edges and high-traffic areas. This detail will make your armor appear weathered and battle-tested.
- Weathering Washes: Apply diluted paint or specialized weathering washes to your foam armor to create grime, rust, or dirt effects. This technique can make your armor look aged and add a level of authenticity to your cosplay outfit. Experiment with different colors and concentrations to achieve the desired weathering effect.
Adding Realistic Battle Damage Effects
As your foam armor begins to take on a weathered and battle-worn appearance through the selected weathering techniques, it's time to infuse your cosplay creation with realistic battle damage effects that will truly bring your character to life.
Creating texture on your foam armor is important for achieving a convincing battle-damaged look. You can use tools like heat guns to melt small areas, creating dents and scratches. Additionally, sandpaper can be used to roughen edges and simulate wear from combat.
When it comes to painting techniques, precision is key. Start by using dark shades to outline the damaged areas, mimicking the effect of shadows. Then, gradually build up lighter colors to create depth and highlight the impact points. Adding splatters of metallic paint can give the illusion of chipped metal, adding another layer of realism to your armor.
Incorporating Rust and Aging Details
Immerse your foam armor in character authenticity by skillfully infusing rust and aging details that will elevate your cosplay creation to a new level of realism. To achieve this, consider the following techniques:
- Rust Effects: Start by applying a base coat of dark brown or reddish-brown acrylic paint to areas where rust would naturally accumulate, such as around joints, edges, and corners. Next, use a sponge or a small brush to dab on orange and light brown paint to mimic the appearance of rust. Finally, lightly dry brush metallic silver or copper paint over the rusted areas to create a weathered metal look.
- Aging Techniques: Experiment with different aging techniques like dry brushing with a mixture of grey or black paint to add depth and create a worn-out appearance. You can also use sandpaper or a Dremel tool to gently wear down edges and surfaces to simulate years of use and exposure to the elements.
- Final Touches: Seal your rust and aging effects with a clear acrylic sealer to protect the finish and make adjustments as needed to achieve the desired level of realism. Remember to step back periodically to assess the overall look and guarantee longevity.
Finalizing With Sealing and Protection
For a flawless finish that guarantees longevity and protection, seal your foam armor with a high-quality clear acrylic sealer. Sealing your foam armor is important to ensure its durability and resistance to wear and tear. To achieve the best results, consider using sealing techniques that involve applying thin, even coats of the sealer. This will help prevent any drips or uneven coverage that could compromise the final look of your armor.
When choosing a clear acrylic sealer, opt for one that offers protective finishes specifically designed for foam materials. These finishes can provide an added layer of protection against scratches, moisture, and fading, keeping your foam armor looking pristine for longer periods. Additionally, some sealers offer UV protection, which can help prevent the colors of your armor from fading when exposed to sunlight.
Frequently Asked Questions
How Can I Incorporate LED Lights Into My Foam Armor for Added Visual Effects?
To incorporate LED lights into your foam armor for visual effects, strategically plan light placement and wiring for a dynamic display. Experiment with color options and effects to enhance your cosplay. Bring your creation to life with luminous creativity.
What Are Some Tips for Creating a Weathered Look That Is Specific to a Certain Character or Theme?
To achieve character customization with precision, focus on theme accuracy. Implement advanced weathering techniques to create a realistic distressed look. Explore innovative methods to authentically reflect your character or theme, enhancing your cosplay success.
Are There Any Techniques for Creating a Metallic Sheen on Foam Armor Without Using Actual Metal?
Want your foam armor to gleam like metal? Try faux finish techniques for a metallic sheen. Use metallic paint alternatives and shine enhancement tricks. Create a weathered look with depth and character for an epic cosplay outfit.
How Can I Ensure That My Foam Armor Is Comfortable to Wear for Long Periods of Time?
To guarantee comfortable foam armor, add foam padding strategically for cushioning. Enhance air circulation with breathable materials. Optimize weight distribution to prevent strain. Beware of mobility restrictions; prioritize movement. With these tweaks, conquer long cosplay quests with ease!
What Are Some Creative Ways to Attach Accessories, Such as Capes or Additional Armor Pieces, to Foam Armor?
For your foam armor, get creative with Velcro attachments for capes and extra pieces. Consider strap solutions for secure and comfortable wear. These methods guarantee your accessories stay in place, enhancing your cosplay success.


