Have you ever wondered how to give your cosplay props that authentic, 'lived-in' look? Imagine transforming your pristine creations into weathered masterpieces that tell a story of battles fought and adventures had.
From the subtle nuances of the Dry Brushing Technique to the dramatic effects of the Salt Weathering Method, these 5 best weathering techniques will elevate your cosplay game to a whole new level.
Discover the secrets behind creating props that look like they've weathered the test of time and experience the satisfaction of bringing your favorite characters to life in a way that truly captures their essence.
Key Takeaways
- Dry Brushing enhances prop texture with minimal paint for a realistic finish.
- Salt Weathering creates a textured rust effect for a weathered look.
- Rust Effect Application involves layering rust-colored paints for authenticity.
- Paint Chipping adds an authentic weathered appearance using metallic base coats and salt techniques.
Dry Brushing Technique
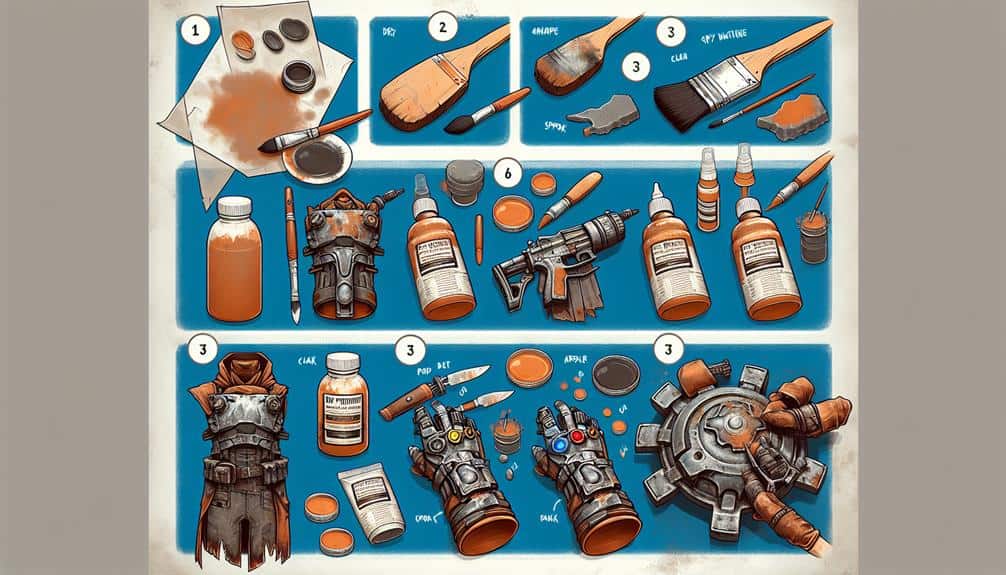
To enhance the texture and depth of your cosplay props, consider incorporating the dry brushing technique for a realistic and detailed finish. Dry brushing involves using a brush with very little paint to highlight shadows and blend colors seamlessly. This technique is perfect for adding a weathered look to props like armor, weapons, or any other cosplay accessory.
Start by selecting a base color for your prop and applying it evenly. Once the base coat is dry, dip your dry brush lightly into a slightly lighter or darker shade of paint, depending on the effect you want to achieve. Remove most of the paint by brushing it off onto a paper towel until only a small amount remains on the bristles.
Gently drag the brush over the raised areas of your prop, allowing the paint to catch on the edges and create a natural shadow effect. This method adds depth and dimension, making your props look more realistic and enthralling. Experiment with different shades and intensities to achieve the perfect weathered look for your cosplay creations.
Salt Weathering Method
Enhancing the weathered look of your cosplay props can be taken further with the innovative and intriguing Salt Weathering Method. This technique creates a realistic rust effect that adds depth and authenticity to your props.
Here's how you can master this weathering application:
- Preparation: Begin by applying a base coat to your prop. Once dry, dampen the surface with water where you want the rust effect to appear.
- Salt Application: Sprinkle salt over the damp areas. The salt will absorb the paint when applied, creating a textured look resembling rust.
- Painting and Removal: Apply your rust-colored paint over the salted areas. After the paint dries, gently brush off the salt to reveal the weathered effect underneath.
With attention to detail and practice, you can achieve a striking rust effect using the Salt Weathering Method, elevating the realism of your cosplay props.
Rust Effect Application
To achieve a realistic rust effect on your cosplay props, consider experimenting with different shades of rust-colored paint for added depth and dimension. Start by applying a base coat in a dark rust color to create a foundation for the weathering process. Then, using a sponge or a brush, lightly dab on varying shades of lighter rust tones to mimic the natural oxidation patterns found on rusty metal. Pay attention to areas where rust would typically form, such as edges, corners, and crevices, to enhance the authenticity of the corrosion effects.
For a more textured look, you can sprinkle on a fine layer of textured powder while the paint is still wet. This will add a gritty, realistic texture to your props, making them appear even more like weathered metal. Remember to blend the different rust shades seamlessly to achieve a cohesive and natural rust effect.
Paint Chipping Technique
Embrace the art of imperfection by mastering the paint chipping technique to add an authentic weathered look to your cosplay props. Achieving a distressed finish through paint chipping can elevate the realism of your prop and make it stand out.
Here's how you can nail this technique:
- Preparation is Key: Begin with a base coat of metallic paint to create a foundation for the chipping effect.
- Salt Method: Sprinkle salt over the metallic paint while it's still wet. Once dry, apply your desired color over the salt. As you scratch off the salt, it will reveal the metallic undercoat, mimicking chipped paint.
- Dry Brushing: Use a dry brush technique with a lighter paint color to add subtle highlights to the chipped areas, enhancing the depth and realism of the weathering effect.
Staining and Aging Props
Shifting from achieving a realistic worn look through paint chipping, you can now explore staining and aging techniques to further enhance the character of your cosplay props. To create a weathered appearance, consider using a staining technique. Stains can simulate dirt, grime, or even rust, depending on the desired effect. Start by diluting acrylic paints or using specialized stain products to achieve a realistic aged look. Apply the stain strategically in areas that would naturally accumulate dirt or wear over time, such as corners, edges, and crevices.
For an added touch of realism, aging props with a burning effect can give them a weathered and battle-worn look. Use a heat gun or a soldering iron to carefully scorch certain areas of your prop. This technique works exceptionally well on props meant to portray weapons or armor. Just remember to practice caution and work in a well-ventilated area.
To enhance the aged appearance further, consider adding a mossy appearance to your props. This effect can give them a weathered, abandoned look. Apply a mixture of green and black paint, along with a textured medium, in areas where moss would naturally grow, such as damp or shaded regions. By incorporating these staining and aging techniques, you can elevate the authenticity of your cosplay props to a whole new level.
Frequently Asked Questions
Can Weathering Techniques Be Used on Any Type of Material, or Are There Certain Materials That Work Best?
When weathering props, consider the material. Metal and leather can take on rust and wear realistically. Foam and plastic benefit from dry brushing and washes to simulate aging. Experiment with techniques to achieve desired effects.
How Can Weathering Techniques Be Combined to Create a More Realistic Effect on Cosplay Props?
To create a more realistic effect on cosplay props, start by mixing techniques. Layer effects for depth. Age props by distressing finishes. Combining methods like dry brushing, sponge dabbing, and airbrushing can enhance the overall look.
Are There Any Special Considerations or Precautions to Take When Using Weathering Techniques on Props That Will Be Worn or Handled Frequently?
When using weathering techniques on props that will be frequently worn or handled, consider weathering durability and maintenance. Assure the weathering is secure, sealed, and touch-ups are easy. Prioritize longevity and authenticity in your weathering process.
Is It Possible to Reverse or Remove Weathering Effects if They Are Applied Too Heavily or Incorrectly?
If you find your weathering techniques to be too heavy or incorrect, fear not! Weathering restoration and overweathering removal are possible. Explore weathering correction and reverse aging techniques to restore your cosplay props to perfection.
Are There Any Alternative Weathering Techniques That Can Be Used in Addition to the Ones Mentioned in the Article for More Advanced Weathering Effects?
For advanced techniques in weathering, your creativity can shine through experimentation. Try custom effects to add artistic flair. With a meticulous approach, you can elevate your cosplay props to masterful levels of authenticity.


