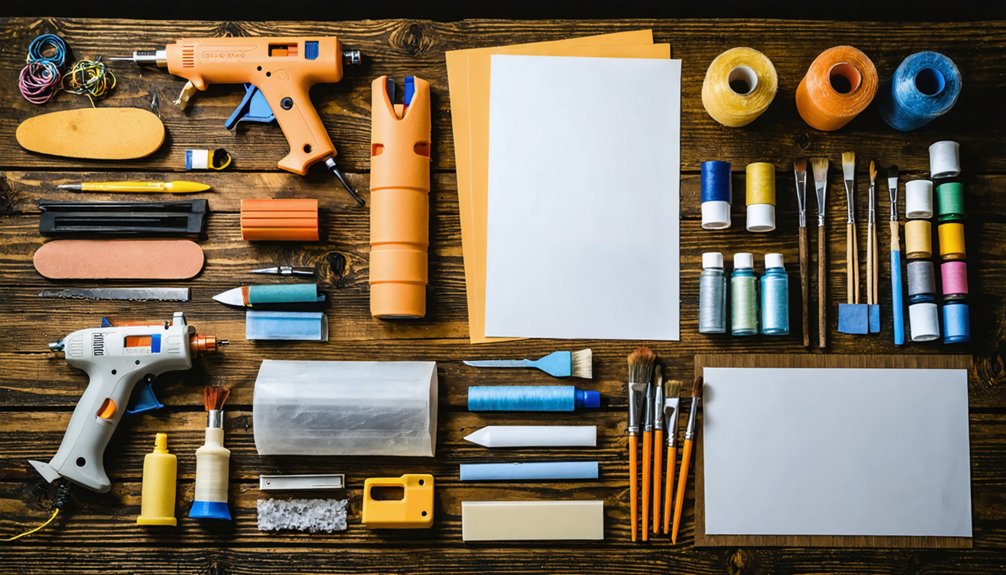
For basic cosplay crafting, you’ll need a utility knife for clean, controlled cuts, a precision craft knife for intricate detailing, and a hot glue gun for fast foam and fabric bonding. Add contact cement for permanent large-piece adhesion, a flexible tape measure for accurate fits, and sandpaper for smooth, paint-ready surfaces. A variable-speed rotary tool ties everything together for shaping and finishing—and the deeper you go into your toolkit, the more professional your builds become.
Key Takeaways
- A utility knife or precision craft knife is essential for making clean, controlled cuts on foam, fabric, and thermoplastics.
- A hot glue gun provides fast, flexible bonds for EVA foam, fabric, and plastic, making it a versatile beginner adhesive.
- A sewing machine with a walking foot handles thick costume fabrics smoothly without slipping or uneven stitching.
- A flexible tape measure and clear plastic ruler ensure accurate measurements for well-fitting, professional-looking costumes.
- A sandpaper variety pack allows progressive smoothing of materials, creating paint-ready surfaces for polished final results.
Why Cheap Tools Ruin Cosplay Builds Before They Start
Cheap tools don’t just underperform — they actively sabotage your build at every critical stage. Poor tool quality creates jagged foam cuts, uneven heat distribution, and adhesive failures that compromise project longevity from the start.
Budget considerations matter, but investing in the wrong direction costs you more through wasted materials and repeated fixes.
Beginner mistakes often stem from misunderstanding material compatibility — a flimsy utility knife drags through EVA foam instead of slicing cleanly, while low-grade heat guns scorch Worbla unevenly.
Crafting efficiency collapses when you’re fighting your tools instead of building your vision.
Tool versatility and consistent tool maintenance separate functional kits from frustrating ones. A quality rotary tool that sands, carves, and engraves outlasts ten cheap alternatives while delivering precision that actually elevates your finished cosplay.
Cutting Tools Every Cosplay Crafter Actually Needs
Whether you’re slicing through dense EVA foam or trimming delicate thermoplastic edges, your cutting tools determine how cleanly your vision transfers from pattern to material.
Mastering utility knife techniques starts with choosing segmented blades you snap fresh regularly.
Three essential cutting tools you actually need:
- Utility knife — Delivers straight, controlled cuts using advanced cutting methods on thick EVA foam and rigid plastics.
- Precision craft knife — Executes intricate pattern work where precision cutting tips matter most on fabric and thermoplastics.
- Folding scissors — Handles fraying edges and loose threads efficiently during travel or quick fixes.
Crafting blade maintenance isn’t optional — dull blades tear materials rather than cut them.
Blade maintenance isn’t a suggestion — neglected edges destroy materials, ruin clean cuts, and sabotage your finished work.
Sharp tools produce professional edges that glue, paint, and finish properly.
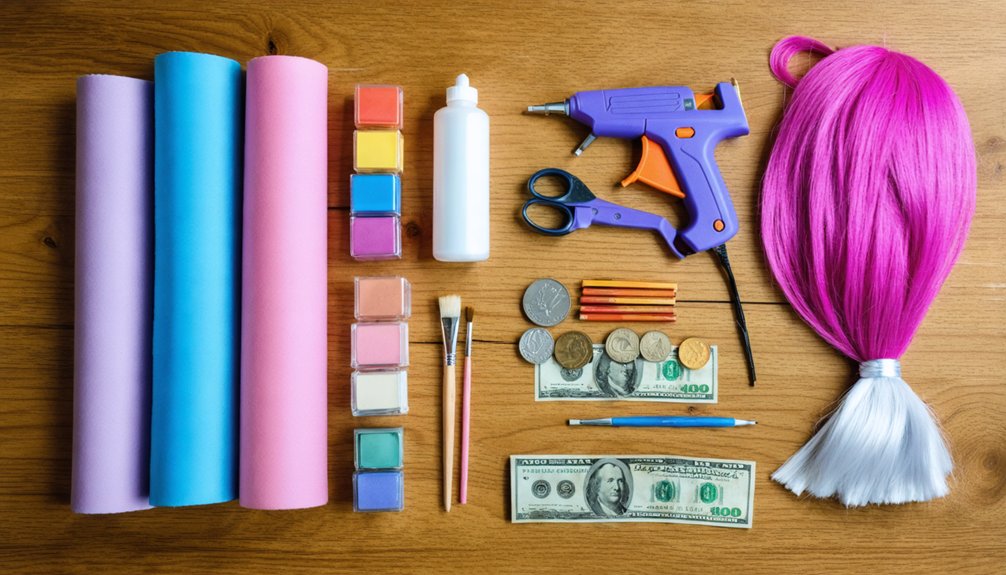
The Best Adhesives for Cosplay: Foam, Fabric, and Plastic
When bonding foam, fabric, or plastic in your builds, you’ll rely on two workhorses: the hot glue gun and contact cement.
Your hot glue gun delivers fast, flexible bonds across materials ranging from EVA foam armor to anime outfit details and superhero boots, with dual-temperature models like the Dremel Glue Gun 930 giving you greater material-specific control.
For stronger, more permanent assemblies — particularly large foam pieces — contact cement outperforms hot glue by creating a firm, lasting hold that won’t buckle under stress or heat.
Hot Glue Gun Uses
Holding a cosplay build together often comes down to one trusty tool: the hot glue gun. You’ll find it indispensable across virtually every crafting techniques scenario, from anime outfits to superhero boots.
Here’s where hot glue genuinely excels:
- Foam Bonding – Rapidly fuses EVA foam layers, letting you shape and reposition armor pieces before the bond fully sets.
- Fabric Attachment – Secures decorative trim, ribbons, and fabric panels without threading a needle.
- Plastic and Mixed Materials – Adheres lightweight plastic embellishments directly onto finished surfaces cleanly.
For precision work, consider the Dremel Glue Gun 930, which offers dual temperature settings, giving you control over delicate versus heavy-duty applications.
Master your hot glue application pressure and angle, and you’ll dramatically elevate your build’s structural integrity.
Contact Cement Benefits
Hot glue gets the job done fast, but when you need a bond that won’t buckle under heat, stress, or repeated flexing, contact cement is your go-to upgrade.
Contact cement applications span EVA foam armor assembly, thermoplastic layering, and fabric-to-foam attachment — delivering a durable, semi-flexible hold that outperforms most contact cement alternatives under convention conditions.
You’ll apply it to both surfaces, let each coat flash dry, then press them firmly together for an almost instant, aggressive bond. There’s no repositioning, so precision matters.
Use in a ventilated space, since fumes are potent. Brands like Barge or Dap Weldwood work exceptionally well for high-stress joints like boot soles or chest plate edges — areas where hot glue simply surrenders.
Contact cement rewards methodical cosplayers with professional-grade results.
Adhesives For Different Materials
Matching the right adhesive to the right material separates clean, lasting builds from frustrating failures mid-convention. Each substrate demands a tailored approach:
- Foam bonding — Contact cement delivers aggressive strong holds on EVA foam, creating flexible, durable seams without brittleness.
- Fabric adhesion — Hot glue guns with temperature control settings handle delicate textiles without scorching fibers, making quick fixes seamless during crunch builds.
- Plastic attachment — Super glue or two-part epoxy locks thermoplastics like Worbla securely, resisting convention-floor stress.
You’ll want your adhesive toolkit diversified rather than reliant on a single solution. A Dremel Glue Gun 930’s dual-temperature functionality bridges foam and fabric needs efficiently.
Recognizing material compatibility upfront saves you from mid-build disasters and structural failures that compromise your final costume’s integrity.
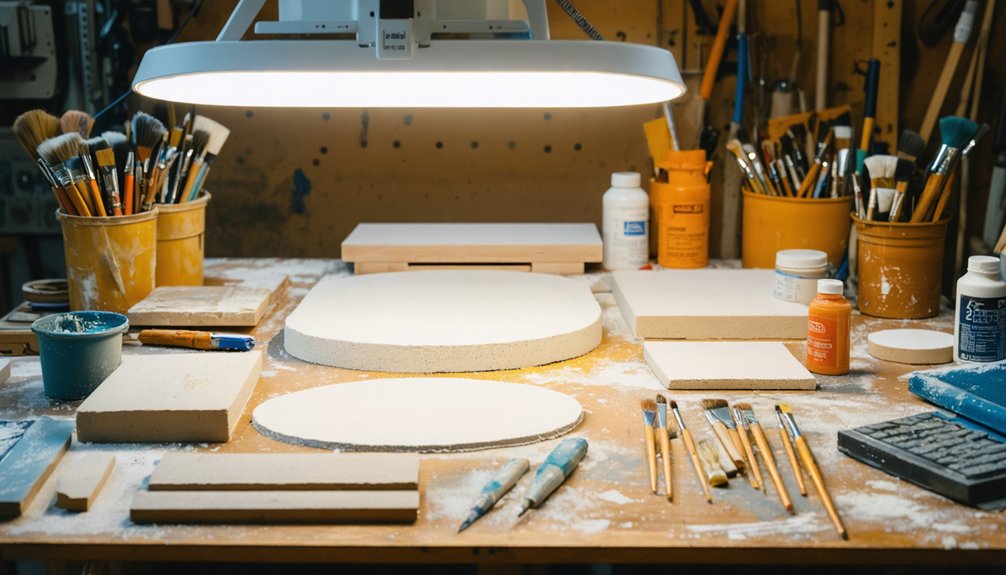
Sewing and Measuring Tools for Cosplay Costume Bases and Wearables
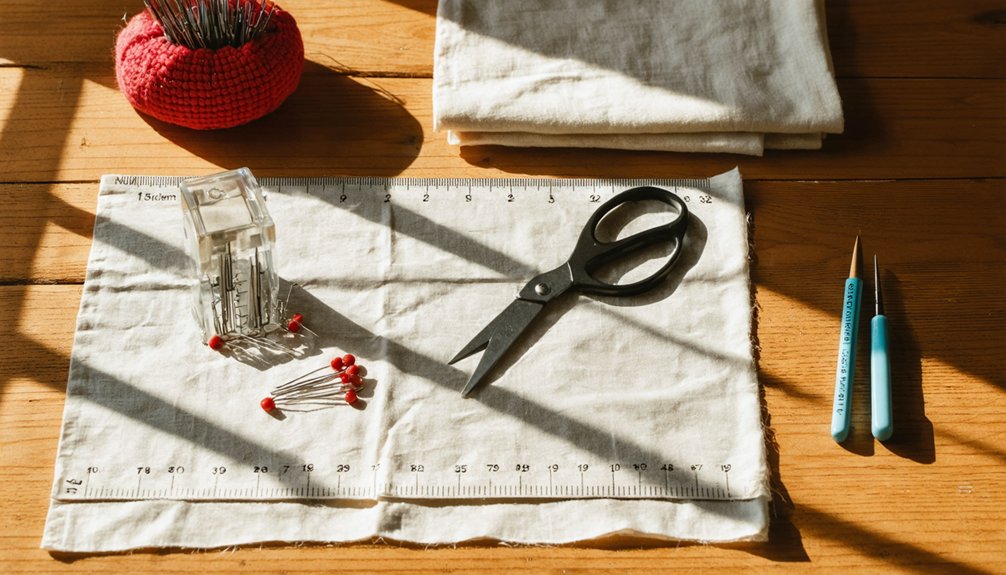
Six essential sewing and measuring tools form the backbone of any cosplay costume base, and knowing how to use each one effectively separates a polished build from a frustrating mess.
Your sewing machine’s walking foot handles thick, layered fabrics without slipping, while advanced sewing techniques keep seams clean under stress. Pair it with a hand sewing kit for tight repairs and fine detailing.
A walking foot conquers thick layers while hand stitching handles the details machines simply cannot reach.
Measurement accuracy starts with a reliable flexible tape, clear beveled plastic rulers, and non-permanent marking tools that disappear cleanly after cutting.
You’ll also want dressmaker’s pins, glass head pins, and a seam ripper for inevitable corrections. A metal loop turner handles straps and narrow tubes efficiently.
Master these tools, and you’ll engineer wearables that perform structurally while maintaining sharp, professional aesthetics throughout every build.
How to Shape EVA Foam and Thermoplastics Like a Pro
Shaping EVA foam and thermoplastics demands the right heat application at the right moment, and your heat gun is the centerpiece of that process.
Master these foam shaping techniques and thermoplastic molding tips to elevate your builds:
- Heat EVA foam evenly using sweeping motions, then immediately mold it against curved surfaces or forms before it cools.
- Activate Worbla at 160°F–170°F, pressing layers together without adhesive since the material self-bonds under heat.
- Work in sections on complex armor pieces, allowing each segment to cool completely before joining them.
Your rotary tool refines hardened edges post-shaping, while your heat gun corrects warping.
Precision timing separates amateur builds from professional-grade results — you’re sculpting, not just cutting.
Sand and Finish Your Props So They Actually Look Professional
Sanding transforms a rough prop into something that reads as real under convention lighting, but only if you work the grits in sequence rather than jumping straight to fine. Start with 80–120 grit to knock down seams and glue blobs, then step through 220 before finishing at 400 for a paint-ready surface.
Your sanding techniques should include circular motions on curved armor sections and straight strokes along flat panels to avoid uneven dips. Attach rotary tool sanding drums for tight recesses where your fingers can’t reach.
Once the surface feels glassy, wipe it with isopropyl alcohol before priming. These finishing touches seal micro-scratches and prevent paint from pooling. Skipping any grit level creates visible scratches that primer only amplifies under harsh lighting.
How to Build a Starter Cosplay Kit on a Budget
Once your props look polished and paint-ready, the next question hits every new cosplayer the same way: how do you build the toolkit that got you there without draining your wallet?
Start lean with budget-friendly materials and scale intentionally.
Prioritize these three essential tool upgrades:
- Utility knife – Segmented blades stay sharp longer and replace cheaply, making precision cuts sustainable.
- Hot glue gun – Bonds foam, fabric, and plastic instantly without expensive adhesives.
- Sandpaper variety pack – Grits from 80 to 400 progressively smooth any surface affordably.
Once you’ve mastered these fundamentals, reinvest savings into a variable-speed rotary tool like the Dremel 4000.
It consolidates sanding, carving, and finishing into one device, eliminating redundant single-purpose purchases while dramatically expanding your creative capability.
Frequently Asked Questions
Can Rotary Tools Be Used Safely by Beginner Cosplayers Without Experience?
You can safely use rotary tools as a beginner by prioritizing smart tool selection, like the Dremel Lite, and following essential safety practices—wear protective gear, start at low speeds, and you’ll master detailed finishes confidently.
Which Dremel Model Works Best for Engraving Fine Details on Helmets?
For engraving techniques on helmets, you’ll want the Dremel 8220. Its EZ Twist Nose Cap and LED light give you precision control that wins all tool comparisons, letting you carve intricate, innovative details flawlessly.
How Do You Maintain Blade Sharpness When Cutting Thermoplastics Repeatedly?
Like Excalibur’s legendary edge, you’ll keep your blade razor-sharp with a sharpening stone. These blade maintenance techniques and thermoplastic cutting tips guarantee you’re stropping regularly, replacing segmented blades often, and maintaining clean, precise cuts through Worbla effortlessly.
What Sandpaper Grit Should Beginners Start With for Foam Props?
Start your foam sanding journey with 80-120 grit coarse sandpaper, then progressively work toward 400 fine grit. These beginner tips help you systematically smooth surfaces, achieving professional-grade finishes on your innovative foam props efficiently.
Can a Soldering Iron Integrate LED Lights Into Non-Electronic Foam Props?
Yes, you can use a soldering iron for LED integration into foam props! Master basic soldering techniques to wire lights creatively, transforming static builds into glowing masterpieces. Beginner tips: insulate connections carefully to prevent foam damage.
References
- https://twincitiesgeek.com/2017/12/6-essential-tools-every-cosplay-crafter-should-own/
- https://atozcosplay.com/10-essential-tools-every-cosplayer-needs-in-their-workshop/
- https://www.dremel.com/gn/en/make-with-dremel/shopping-guide-8-essentials-for-making-your-own-cosplay-props-and-costumes
- https://www.firststopcosplay.com/blogs/fsco-blog/unveiling-our-favorite-essential-sewing-101-tools-for-diy-cosplay-creation
- https://www.youtube.com/watch?v=BKyqporHsgw
- https://www.wardrobesupplies.com/arts-crafts/cosplay-supplies.html
- https://juliechantal.com/en/blogs/crafting/10-cosplay-materials-to-try