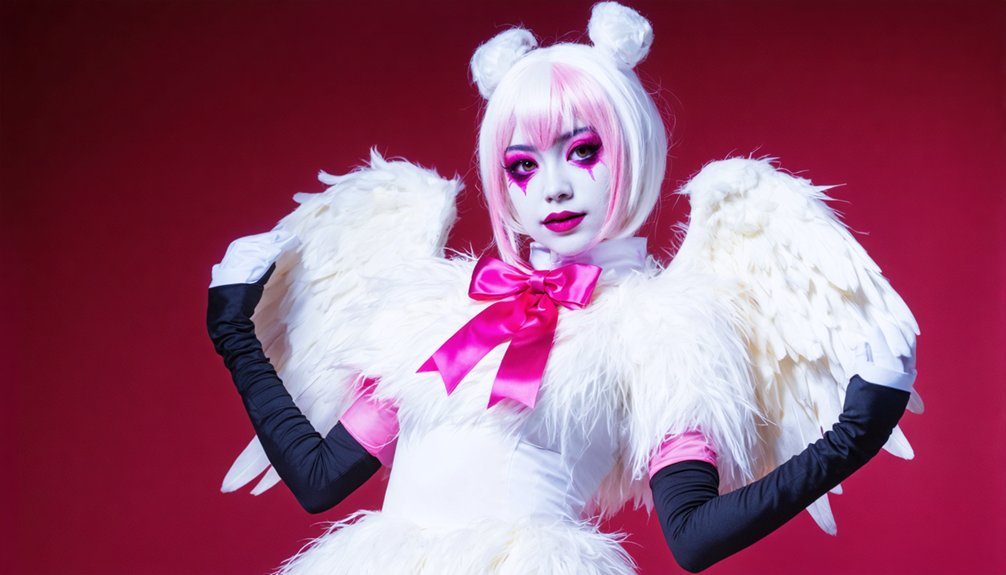
To pull off Angel Dust’s iconic look, you’ll need a pink-striped bodysuit, chest fluff, extra spider arms, and bold character makeup. Gather faux fur, polyfill, nylon webbing, buckles, wire armature, and face paints before you start. Build extra limbs on a concealed backpack harness, airbrush your chest piece for dimension, and layer white base with pink stripes and gems for his animated aesthetic. There’s plenty more detail ahead to make every element convention-ready.
Key Takeaways
- Dye a white bodysuit with pink stripes using tailor’s chalk patterns; sew separate components like bow tie, collar, and gloves onto it.
- Build extra spider arms using wire armature, foam padding, and stretch fabric, mounted on a concealed backpack harness with elastic joints.
- Apply a white face paint base, then add pink stripes, contoured shadows, gems, and extended winged eyeliner for Angel Dust’s animated look.
- Assemble the chest fluff piece with faux fur and polyfill, then airbrush a heart shape using painter’s tape for clean, dimensional results.
- Buy affordable items like gloves, thigh-highs, and boots; DIY the chest fluff and collar, as these pieces are difficult to source.
Gather Every Tool, Fabric, and Product for Angel Dust Cosplay
Before diving into construction or makeup, you’ll want every material and tool within arm’s reach so nothing interrupts your workflow mid-project.
Gather every material and tool before starting — interruptions mid-project kill momentum and cost you time.
Angel Dust’s design draws inspiration from mythical creatures, demanding precision materials that honor that otherworldly aesthetic.
For the chest fluff, stock up on faux fur, cotton backing fabric, polyfill stuffing, an air-soluble marker, and a hand-sewing needle alongside machine thread.
Nylon webbing, slide buckles, and center release buckles ensure costume durability through long convention days.
Your makeup arsenal should include white base, pink cream paint, black eyeshadow, brow glue, winged eyeliner, adhesive gems, and optional shimmer.
Keep painter’s tape and an airbrush ready for heart detailing.
Organizing everything beforehand prevents costly mid-build interruptions and keeps your creative momentum sharp from start to finish.
Build the Angel Dust Costume Bodysuit and Core Pieces
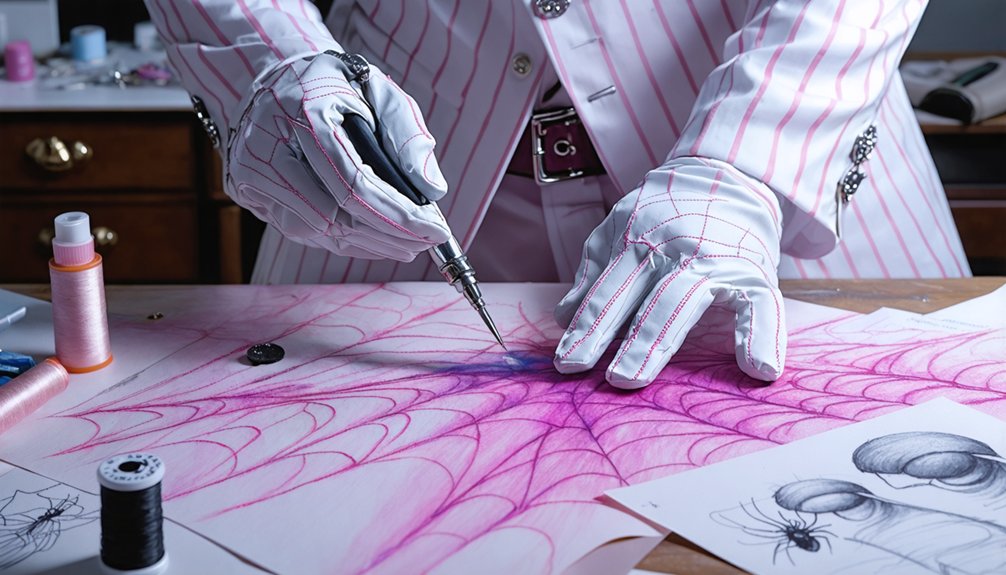
Once your materials are sorted, you’ll want to start with the white bodysuit as your costume’s backbone, since every other element builds on top of it. Use fabric dyeing techniques to achieve Angel Dust’s signature pink stripes with precision.
Key construction priorities:
- Trace pink stripe patterns directly onto the bodysuit using tailor’s chalk before dyeing.
- Stitch the bow tie and stylized collar as separate accessory crafting components.
- Attach long pink or black gloves, ensuring clean seams at the wrist connection.
- Secure thigh-high boots or legwear that align with the character’s proportions.
- Add optional extra arms using wire armature and matching fabric for the spider aesthetic.
Layer each element deliberately, checking visual alignment against reference images throughout assembly.
Add Extra Arms to Complete the Spider Demon Silhouette
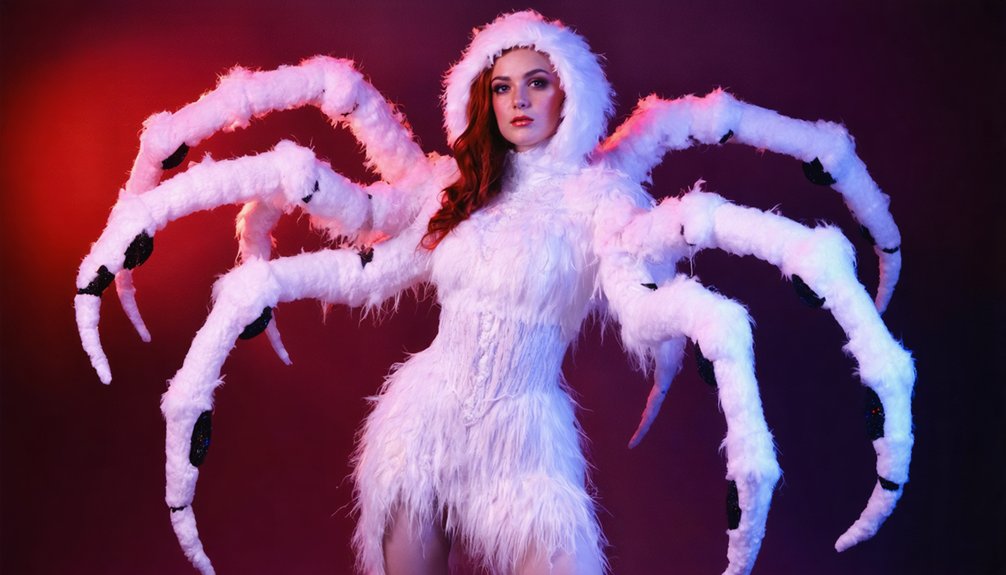
Adding Angel Dust’s extra arms transforms the costume from a stylish outfit into a genuinely unsettling spider demon silhouette, so you’ll want to build them with wire armature as your structural core.
Study spider anatomy to position all four secondary limbs convincingly — upper pairs should emerge near the shoulder blades while lower pairs angle outward from the ribcage zone.
Wrap thick gauge aluminum wire with foam padding, then cover everything with a stretch fabric matching your bodysuit’s white-and-pink palette.
Mount the completed arms onto a hidden backpack harness secured beneath your costume.
For extra limb mobility, connect joints with short elastic loops, allowing each arm to shift naturally as you move.
Pose them mid-gesture for maximum dramatic impact during photographs.
Apply the White Base, Contouring, and Face Markings
Transforming your face into Angel Dust’s sharp, animated visage starts with a solid white base layer, so apply white face paint or cream makeup evenly across your entire face, patting it in with a damp sponge to avoid streaking. Once dry, color blending becomes critical—use cool grey or light taupe to contour nose hollows, cheekbones, and jawline. Think of fabric selection principles here: layering tones builds dimension just like layering textiles.
A flawless white base is everything—blend, contour, and layer tones to sculpt Angel Dust’s striking animated dimensions.
Key steps to nail the markings:
- Fill brows with black eyeshadow for razor-sharp definition
- Stroke pink face paint along cheeks for signature stripe markings
- Add forehead marks using the same pink shade
- Dust light shimmer onto cheekbones for animated luminosity
- Set everything with translucent powder to lock layers firmly
Nail the Eyes, Lips, and Pink Stripe Details
For the eyes, start with a vibrant pink eyeshadow to define the shape, then extend winged eyeliner outward and accent it with small gems for that sharp, animated edge.
Dot three hot pink circles beneath each eye, draw fine individual lash lines along the lids, and finish by applying white eyeshadow to the lower lash line to balance the look.
When placing the pink stripes, use face paint or cream makeup to draw them precisely along the cheeks and forehead, referencing the character’s design closely so the markings stay symmetrical and true to Angel Dust’s signature style.
Eye Makeup Application Steps
Once you’ve laid down your white base, the eyes become the focal point that sells the entire Angel Dust look. Strategic color theory guides every placement here, ensuring vibrancy without muddiness.
- Apply vibrant pink eyeshadow, shaping it dramatically outward.
- Draw winged eyeliner, then extend tips with adhesive gems for costume durability through long convention wear.
- Dot three hot pink circles directly beneath each eye.
- Sketch individual lash lines along the upper lid for animated drama.
- Press white eyeshadow along the lower lash line to mirror the upper eye.
Each step builds intentional contrast between the bold pinks and crisp whites. Setting every product with translucent powder locks the design firmly, preventing smudging during extended wear while keeping colors sharp and visually striking throughout your cosplay event.
Pink Stripe Placement Tips
With your eyes locked in and commanding attention, the pink stripes and lip details carry that same bold energy across the rest of your face. Start with pink face paint or cream makeup for color blending precision — apply the cheek stripes diagonally, pulling outward from the nose bridge toward each ear. Keep edges crisp using a fine brush or stencil.
Add the forehead marks symmetrically, referencing your character sheet constantly.
For lips, outline with eyeliner first, extending corners slightly outward. Layer a lighter tone base, then shade darker inward for dimension. Fill remaining areas with black eyeshadow for that animated contrast.
Think of fabric selection when choosing your face paint formulas — just as material quality defines costume longevity, high-pigment, transfer-resistant products ensure your stripes stay sharp through hours of wear.
Build and Stuff the Chest Fluff With Fur and Polyfill
Building Angel Dust’s chest fluff is where your costume fabric really starts taking shape. Unlike standard makeup techniques, this step is hands-on construction requiring precision and patience.
Follow this assembly sequence carefully:
- Trace your pattern onto backing cotton using air-soluble marker or tailor’s chalk
- Fold, pin, and stitch fabric edges to create clean, durable hems
- Hand-stitch darts on fur pieces to avoid machine damage
- Press fur against cotton with furry sides facing inward before sewing
- Fill the pocket between layers with polyfill stuffing for a dimensional, puffy look
Once stuffed, use a toothpick to free any fur trapped inside seams. This keeps the texture clean and full.
Your chest fluff should feel lightweight but visually voluminous, matching Angel Dust’s fluffy silhouette authentically.
Attach Straps, Buckles, and Airbrush the Final Details
To secure your chest fluff comfortably, measure nylon webbing straps from the top of the fluff to the back of your neck, then attach slide buckles and center release buckles to each strap end for a snug, adjustable fit.
Once your straps are locked in, press painter’s tape over the fur where you want the heart design, then use an airbrush loaded with light pink paint to shade the top and sides of the fluff for dimension.
Finish by running a toothpick along every seam to free any fur caught in the stitching, giving your chest piece a clean, polished look worthy of Angel Dust himself.
Measuring and Attaching Straps
Once the chest fluff is fully assembled and stuffed, you’ll need nylon webbing straps to secure it comfortably around your body. Proper strap measurement guarantees a clean, functional fit that complements your fabric selection and overall construction quality.
Measure your nylon webbing from the top of the chest fluff to the back of your neck, adding extra length for adjustability. Here’s what to keep in mind:
- Cut two equal strap lengths for balanced support
- Thread each strap through a slide buckle for length adjustment
- Attach center release buckles at the strap ends for easy wear
- Stitch buckle connections securely to prevent mid-wear failure
- Test the full fit before finalizing any permanent stitching
These steps lock in both comfort and durability throughout your cosplay event.
Securing Buckles Properly
With your straps cut and threaded, securing the buckles correctly keeps everything locked in place without digging into your skin or shifting mid-event. Feed each strap end through the center release buckle, folding the tip back and stitching it down with a bartack or tight zigzag stitch for maximum hold.
For strap adjustment, thread the remaining length through the slide buckle, which lets you tighten or loosen the fit on the fly without removing the chest fluff entirely. Pull each strap taut before locking it to eliminate any slack that could cause sagging.
Once you secure buckles on both sides, test the full range of motion by moving your arms overhead. Reposition as needed until the piece sits centered and comfortable across your chest.
Airbrushing Final Details
Now that your buckles are locked and your chest fluff sits exactly where you want it, airbrushing brings the whole piece to life with depth and dimension. Using airbrushing techniques and color blending, you’ll transform flat fur into a sculptural, character-accurate centerpiece.
- Use painter’s tape to mask the heart shape before applying any paint.
- Apply light pink in thin, layered passes across the top and sides of the fluff.
- Build shadow gradually — never saturate one area in a single pass.
- Blend outward strokes toward the edges for a soft, dimensional fade.
- Use a toothpick to free any fur trapped inside seams after painting.
Color blending done right keeps gradual progressions smooth, preventing harsh lines that break the illusion of Angel Dust’s iconic, animated aesthetic.
Buy or DIY Each Angel Dust Cosplay Element
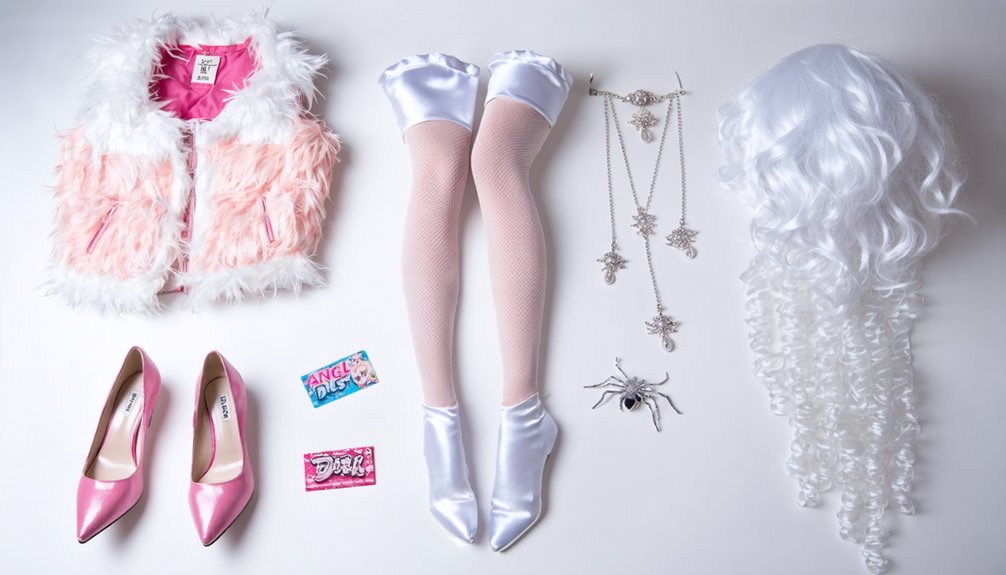
Whether you’re a seasoned cosplayer or just starting out, every piece of Angel Dust’s look comes with a choice: track it down online or build it yourself. For the white bodysuit with pink stripes, buying saves time, but DIYing gives you control over color matching against your specific skin tone and lighting conditions.
Prioritize fabric durability when selecting materials — spandex blends handle movement better than cheaper alternatives. The chest fluff and collar are nearly impossible to source pre-made, making them strong DIY candidates using the construction techniques already covered.
Long gloves and thigh-highs are easy to buy affordably. For boots, look for white or customizable platform styles.
Accessories like buckled straps and bow ties sit comfortably in either category depending on your budget and timeline.
Frequently Asked Questions
Can Angel Dust Cosplay Be Adapted for Different Body Types?
Like a canvas awaiting bold strokes, you can absolutely adapt this cosplay! Embrace body positivity through costume customization—adjust the bodysuit’s fit, modify strap lengths, and tailor contouring techniques to celebrate your unique silhouette beautifully.
How Long Does a Full Angel Dust Cosplay Take to Complete?
You’ll typically spend 6–8 hours completing your full look. Cosplay makeup alone takes 2–3 hours, while crafting costume accessories like the chest fluff, straps, and buckles can consume several additional creative, detail-driven hours.
Is Angel Dust Cosplay Appropriate for All Ages of Conventions?
Over 60% of conventions have age guidelines. Angel Dust’s mature themes make it less ideal for family friendly cosplay events. You’ll want to take into account age appropriate costumes for younger attendees when choosing which conventions to attend.
How Do You Store and Transport the Finished Angel Dust Costume?
Store your costume using breathable garment bags for smart fabric selection protection, and pack accessories in labeled compartmentalized cases. You’ll find these storage solutions keep your Angel Dust ensemble convention-ready, preventing wrinkles and damage during transport.
What Is the Estimated Total Cost for a Complete Angel Dust Cosplay?
Like a medieval craftsman pricing their masterpiece, you’ll spend $150–$400 total. Your makeup techniques, wig styling, fabric, and accessories drive costs. You can innovate by DIYing pieces to slash your budget considerably!
References
- https://www.youtube.com/watch?v=MVa2LPeDQY8
- https://www.youtube.com/watch?v=3JNAyRDNQUg
- https://pinkpetal.studio/angel-dust-cosplay-chest-fluff-tutorial/
- https://www.youtube.com/watch?v=FzUXt3h0UaA
- https://www.pinkyparadise.com/blogs/news/angel-dust-cosplay