Starting your first cosplay prop build means choosing simple geometric shapes like basic hand cannons or knives. You’ll want EVA foam for its affordability and easy shaping, paired with essential tools like a craft knife, heat gun, and hot glue gun. Focus on finish quality over complexity, and always prime before painting. Layer acrylics, add weathering effects, and seal your work for a polished result. The techniques ahead will transform your approach entirely.
Key Takeaways
- Start with simple props like basic hand cannons or knives, prioritizing clean geometric shapes over complex designs to build foundational skills.
- EVA foam is ideal for beginners due to its affordability, easy shaping, and versatility across various prop geometries.
- Essential tools include a craft knife, heat gun, rotary tool, and hot glue gun for cutting, shaping, and assembly.
- Always apply flexible primer in thin, even coats before painting to ensure proper adhesion and a professional finish.
- Weathering techniques like dry-brushing and washes add realism, while a protective topcoat preserves your completed prop’s appearance.
How to Pick the Right Prop for Your First Build
Choosing the right first prop can make or break your early experience in prop-making. One of the most common beginner mistakes is overestimating your starting skill level and selecting a build with excessive prop complexity. Instead, prioritize props with clean geometric shapes, minimal moving parts, and limited surface detail.
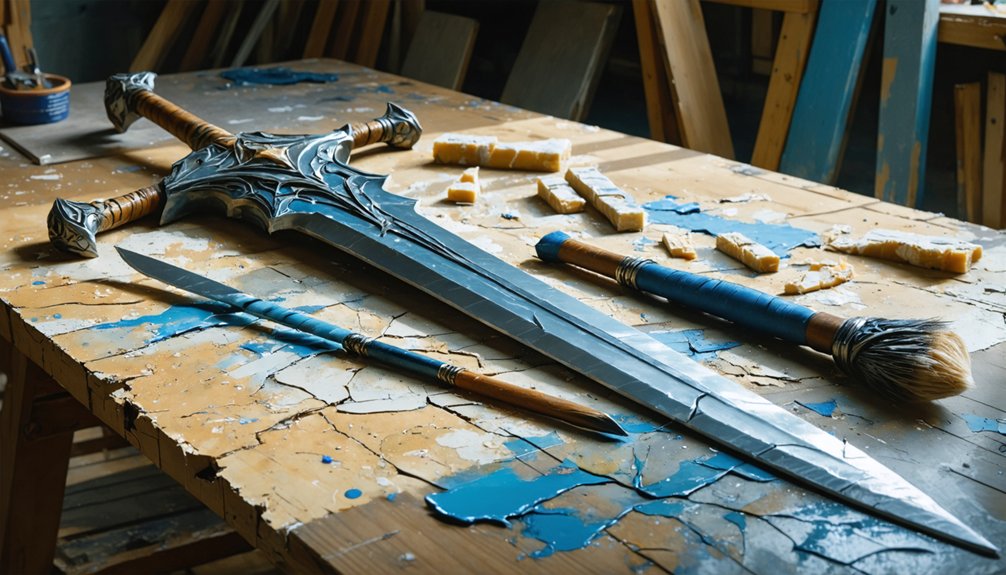
Plastic props you already own are excellent candidates for repainting and simple modification. If you’re scratch-building, consider a basic hand cannon or knife — both offer manageable scope without overwhelming your toolkit. Reducing complexity lets you focus on what actually defines a successful prop: finish quality.
Your first build isn’t about impressing everyone — it’s about developing core techniques. Nail the fundamentals now, and complex builds become genuinely achievable later.
Foam, Cardboard, or Paper Mâché: Which Material to Use
Once you’ve settled on a prop concept, your next decision is material selection — and it shapes everything from your workflow to your final finish.
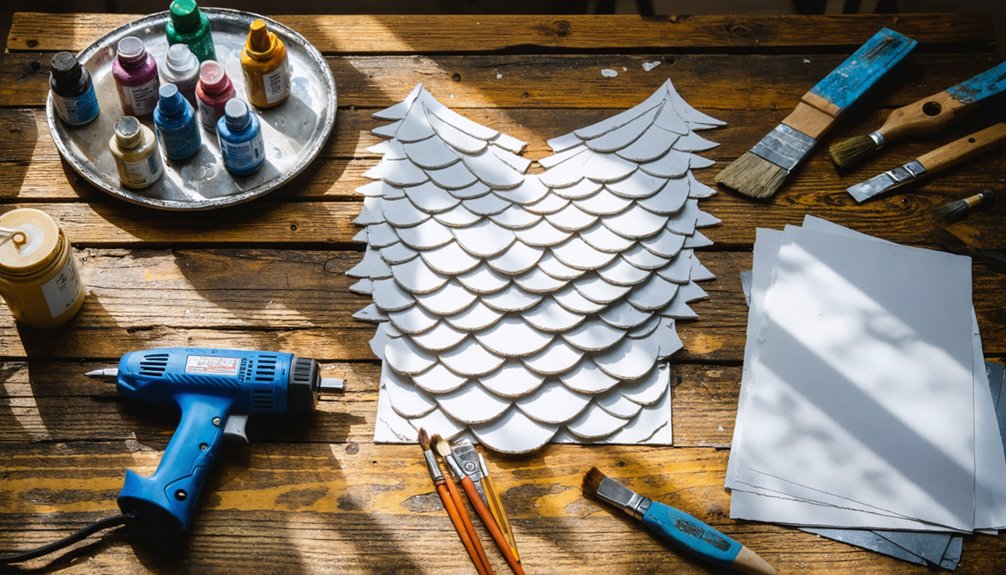
EVA foam advantages include easy shaping, affordability, and excellent texture finishing results when primed correctly. It’s the strongest all-around choice for most prop types.
EVA foam shapes easily, finishes beautifully, and remains the strongest all-around material choice for most prop builds.
If you’re prioritizing material cost effectiveness, cardboard durability makes it a reliable option for shields and flat blades — layering techniques dramatically increase its rigidity and structural integrity.
Paper mâché flexibility suits organic, curved forms where lightweight construction matters most, though it requires wire or tape reinforcement for added strength.
Each material demands a different workflow, so match your choice to your prop’s geometry, your available tools, and the finish quality you’re committed to achieving.
The Only Tools You Need to Start Building Cosplay Props
The right tools make the difference between a clean build and a frustrating one. Before diving into project planning, audit your budget considerations carefully — you don’t need everything at once.
Start with four essentials: a sharp craft knife, a heat gun, a rotary tool, and hot glue gun. These cover cutting, forming, shaping, and assembly across most beginner builds.
Workspace organization matters as much as the tools themselves. Designate zones for cutting, heating, and finishing to reduce accidents.
Follow basic safety precautions — always cut away from your body and use heat-resistant gloves.
Keep blades fresh through consistent tool maintenance; dull edges tear foam rather than slice it.
Add sanding bands and engraving bits as essential accessories once your budget allows.
Build Your First Cosplay Prop Step by Step
Every successful first build starts with one decision: choosing a prop that matches your current skill level. Select something with clean geometry, minimal surface detail, and no moving parts — a hand cannon or basic knife works well.
Transfer your paper pattern onto EVA foam, then cut cleanly using a sharp craft knife. Bevel your edges using a rotary tool to refine your silhouette. These design techniques dramatically improve structural definition before assembly begins.
Sharp cuts and beveled edges aren’t details — they’re the foundation every clean build depends on.
Apply heat to form curves, then bond sections using hot glue. Follow these assembly tips: glue in stages, align edges carefully, and clamp pieces until set.
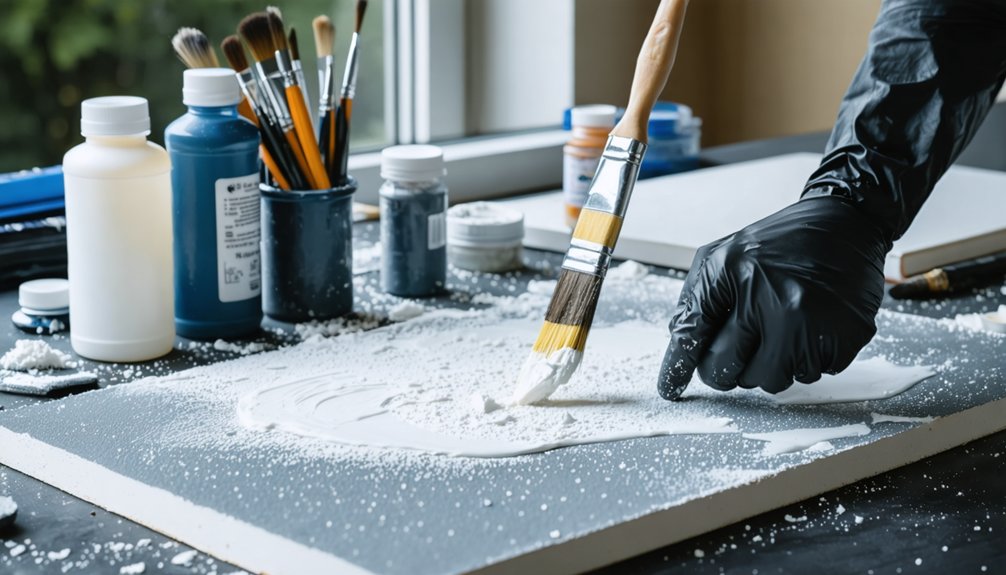
Sand surfaces smooth, apply flexible primer, then layer your paint for metallic or weathered effects. Finish quality — not complexity — determines your first build’s success.
How to Prime, Paint, and Weather Your First Cosplay Prop
With your prop assembled and sanded smooth, priming is your next critical step — and skipping it will show. Surface preparation directly impacts paint adhesion, so apply flexible primer designed for EVA foam using thin, even coats. Rushing this stage guarantees visible texture bleed-through.
Once primed, select paint types strategically. Acrylic paints work well for base layers, offering strong coverage and fast drying times. Use layering methods to build depth — start dark, then gradually highlight raised edges through color blending.
Weathering effects transform flat-looking props into convincing replicas. Dry-brushing metallic tones onto edges simulates wear, while dark washes settle into recessed areas for detail enhancement.
Seal everything with a matte or gloss topcoat as your finishing touches to lock in realism and protect the surface.
Frequently Asked Questions
How Do I Safely Transport a Finished Cosplay Prop to Conventions?
Over 60% of prop damage occurs during transit. You’ll maximize prop protection by wrapping pieces in foam padding and using rigid cases as transport methods, keeping your finished builds convention-ready and intact.
Can I Sell Cosplay Props I Make Without Copyright Infringement Issues?
When selling handmade props, you’re entering complex copyright considerations. You can’t legally sell props based on copyrighted characters without a license. Research fair use, obtain permissions, or create original designs to avoid infringement risks entirely.
How Do I Make My Prop Lightweight Enough for All-Day Wear?
Like a feather dancing on air, you’ll master lightweight props by choosing EVA foam materials and applying smart balance techniques—distribute weight evenly, hollow unnecessary sections, and secure attachment points firmly to your costume for comfortable all-day wear.
What Should I Do if My Prop Breaks During a Convention?
Pack emergency repairs supplies like hot glue sticks and foam scraps in your bag. When breakage happens, you’ll execute quick fixes by reattaching pieces, reinforcing weak joints, and securing loose sections before returning confidently to the convention floor.
How Do I Attach Props Securely to My Costume or Body?
Use strong attachment techniques like neodymium magnets, velcro, or Chicago screws for reliable securing methods. You’ll want to reinforce connection points with interfacing or boning to distribute weight evenly, preventing strain on both costume fabric and prop.
References
- https://www.reddit.com/r/cosplayprops/comments/17ierew/firsttimer_at_making_props_how_to_start/
- https://www.dremel.com/gb/en/make-with-dremel/how-to/how-to-start-making-cosplay-props—with-waynes-workshop
- https://eyecandys.com/blogs/news/diy-cosplay-props
- https://www.youtube.com/watch?v=-WUi1VhVFdo
- https://www.joycedesign.nl/beginnersguidetocosplayarmorandprops/
- https://www.punishedprops.com/new-maker/
- https://www.arrowsewing.com/blog/cosplay-101
- https://nekocos.com/blogs/news/the-ultimate-beginners-guide-to-cosplay-how-to-solve-props-for-beginners-01
- https://www.youtube.com/playlist?list=PLUUk3Kbfv-_q1SKE776edGIYaAhkrKLu2
- https://s3-us-west-2.amazonaws.com/punished-props-files/beginners_guide_props_bill_doran_v1-2.pdf