To showcase intricate cosplay details through photography, you’ll need to align your background with your character’s world, use softboxes or ring flashes to reveal texture, and shoot with a macro lens for close-up craftsmanship. Three-quarter angles and low camera positions add depth and presence, while post-processing tools like Lightroom and Photoshop refine color grading and contrast. Each technical choice either elevates or erases your hard work — and there’s much more to unpack ahead.
Key Takeaways
- Macro lenses capture fine costume details at 1:1 ratios, revealing intricate beadwork, stitching, and embellishments with exceptional clarity.
- Focus stacking combines multiple exposures to achieve sharp front-to-back detail across complex, multi-layered costume props.
- Small LED panels and ring flashes create dimensional shadows, emphasizing texture without washing out delicate colors.
- Oblique secondary lighting reveals costume details that frontal lighting misses, adding depth to intricate surface elements.
- Post-processing contrast adjustments in Lightroom define textures and edges, while subtle vignettes direct attention toward craftsmanship.
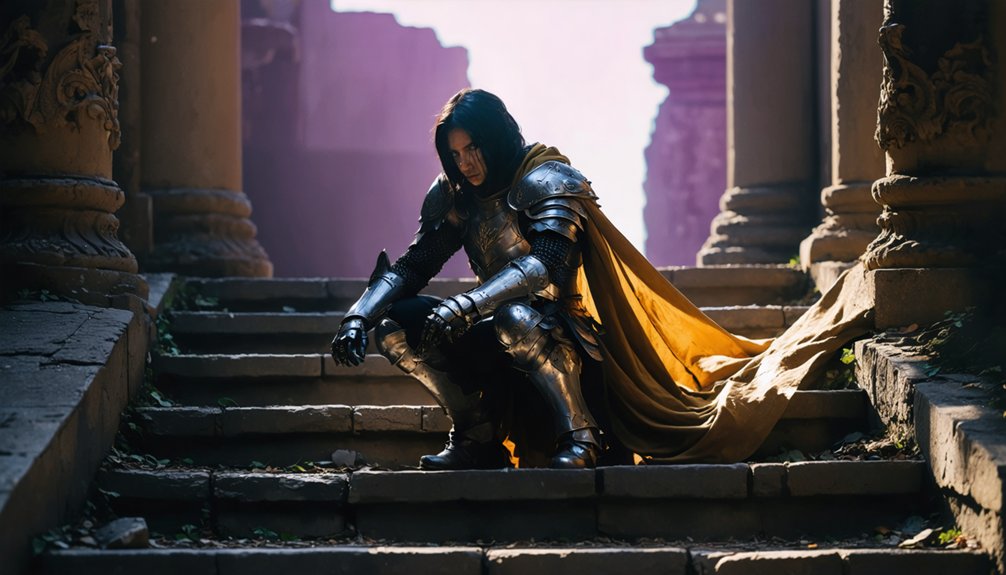
Backgrounds That Make Your Cosplay Setup Work Before You Shoot
Every background decision you make before the shoot shapes the entire narrative arc of your cosplay photographs. During location scouting, you’re not simply finding empty space — you’re engineering visual storytelling that reinforces character authenticity. A wide aperture blurs distracting urban elements, keeping viewers anchored to your subject’s intricate details.
Prioritize narrative consistency by matching environments to your character’s world. Cinderella belongs at an ornate ballroom, not a concrete parking structure. That contextual alignment transforms individual frames into cohesive sequences.
Scout locations specifically for natural lighting conditions that reveal embroidery, textures, and prop craftsmanship without requiring heavy artificial compensation.
Evaluate background selection based on color contrast against your costume palette, ensuring the environment amplifies rather than competes with your cosplay’s visual complexity.
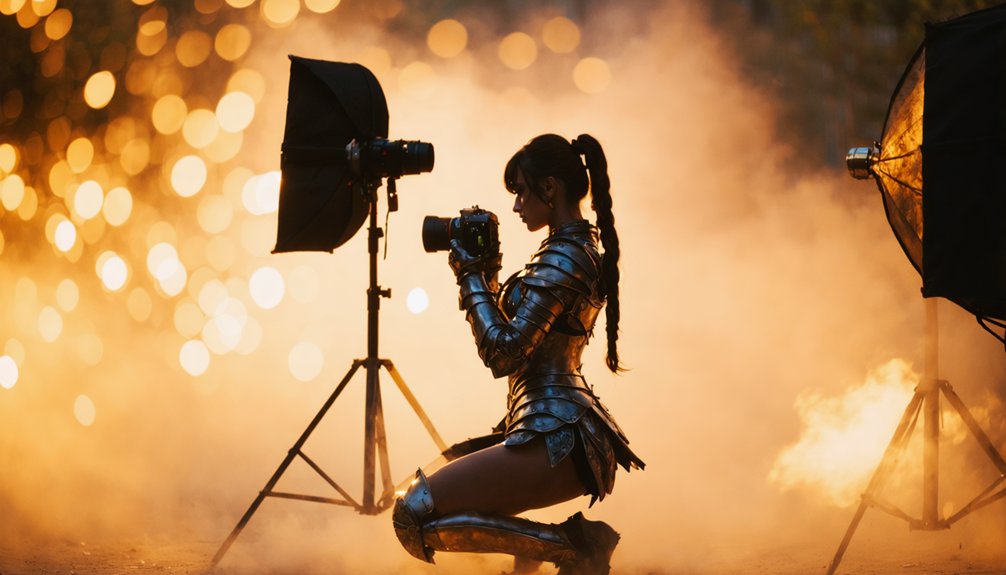
Lighting Setups That Reveal Texture, Color, and Fine Costume Detail
Lighting transforms flat costume surfaces into dimensional showcases of craftsmanship — and your first tool should be a softbox, which delivers even illumination that pulls embroidery, fabric weave, and prop textures into sharp relief without harsh shadows flattening the detail work.
Dial your lighting intensity carefully; too much power washes out delicate surface variation, while too little buries it in shadow. Layer colored gels to shift color temperature toward your costume’s dominant hues, making metallics gleam and saturated fabrics sing with accuracy.
For electroluminescent wire props, drop your shutter speed and let streaks trail naturally across the frame. Dramatic secondary lights positioned at oblique angles rake across surfaces, revealing stitching and sculpted detail that flat frontal lighting completely misses.
Each setup decision compounds into a technically precise, visually striking image.
Poses and Camera Angles That Frame Your Cosplay Craftsmanship Intentionally
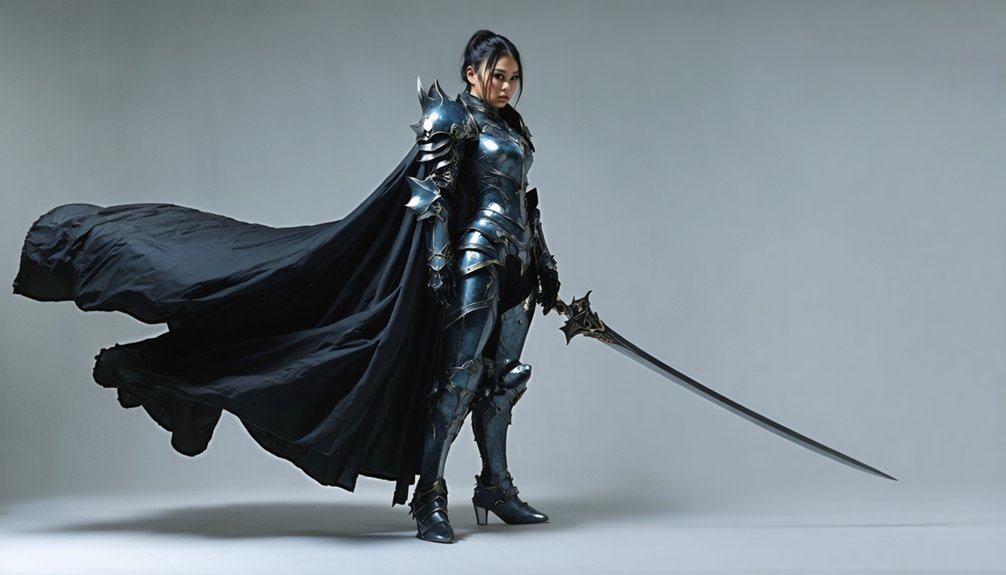
Posing isn’t incidental — it’s a compositional decision that either showcases your costume’s craftsmanship or buries it. Use dynamic poses that direct the viewer’s eye toward embroidery, structural seams, or articulated armor pieces.
Tilt your body at a three-quarter angle to layer visual depth while avoiding flat, symmetrical compositions.
Camera angles dictate hierarchy. Low angles make characters appear commanding, while elevated shots expose elaborate headpieces or shoulder details often missed straight-on.
Apply the rule of thirds to anchor your subject with intentional negative space.
Character expressions complete the frame — a vacant face undermines even flawless craftsmanship. Integrate authentic emotion alongside deliberate hand placement and prop positioning.
These composition tips transform individual costume elements into a cohesive, narrative-driven image that rewards close inspection.
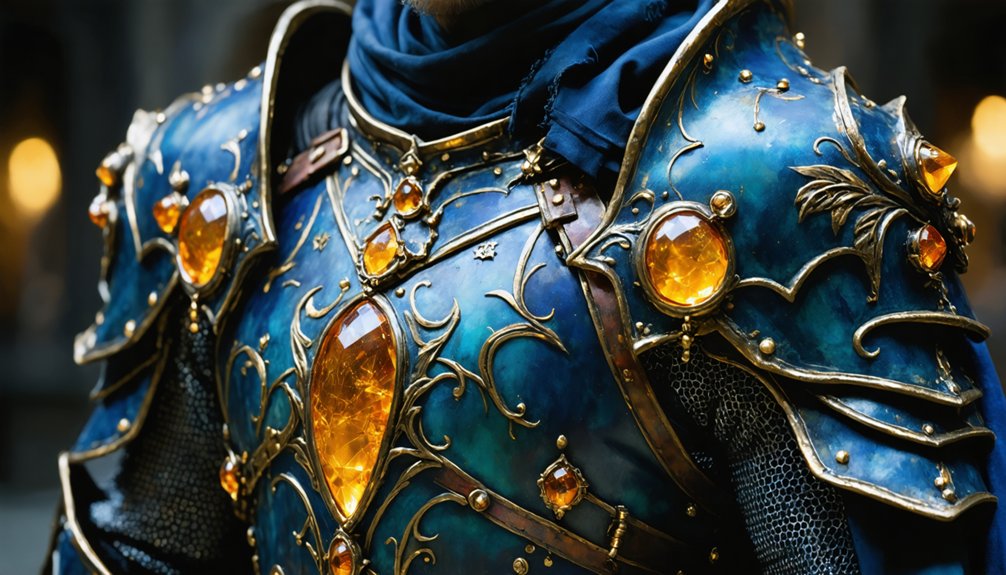
Macro Photography Tricks for Tiny Cosplay Costume Elements
Dozens of painstaking construction hours go unnoticed when standard focal lengths flatten embroidery threads, reduce gemstone facets to indistinct blobs, and compress layered fabric textures into a single muddy tone.
Macro lens techniques solve this by magnifying your costume’s finest elements at 1:1 ratios or greater, revealing crystalline bead structures, hand-stitched metallic threadwork, and resin casting imperfections that communicate authentic craftsmanship.
Macro lenses transform costume details into storytelling—every bead, thread, and casting flaw becomes proof of your craftsmanship.
Deploy focus stacking when shooting multi-layered props—capture sequential frames at incremental focal distances, then merge them in post-processing to achieve front-to-back sharpness impossible in a single exposure.
For close up lighting, position a small LED panel or ring flash at oblique angles to rake across textured surfaces, generating dimensional shadows that emphasize relief without washing out delicate color gradients your costume demands.
Post-Processing Edits That Make Your Cosplay Photos Look Finished and Professional
Even the sharpest in-camera captures benefit from targeted post-processing that separates polished cosplay work from casual snapshots.
Start with contrast adjustments in Lightroom to define fabric textures and prop edges without crushing shadow detail. Use Photoshop to darken competing backgrounds, isolating your subject cleanly against the scene.
Color grading transforms emotional tone — cool blues reinforce armored warrior aesthetics, while warm amber elevates fantasy elegance.
Apply cinematic filters selectively rather than globally to preserve authenticity.
Introduce subtle vignette effects to direct viewer attention inward toward costume craftsmanship, avoiding heavy-handed darkening that reads as dated.
Run noise reduction on shadow regions, particularly in dramatic low-light setups, maintaining crisp highlight detail.
Finally, enhance electroluminescent prop streaks by boosting glow selectively, reinforcing the character’s narrative energy throughout the final image.
Frequently Asked Questions
How Does Character Research Improve the Overall Cosplay Photography Planning Process?
Like a map guiding your journey, character research sharpens your planning by revealing key character traits, helping you craft visual storytelling through intentional poses, lighting choices, and prop placement that authentically capture the cosplay’s essence.
What Role Does Cosplayer-Photographer Communication Play in Achieving Desired Results?
Effective cosplay collaboration aligns your creative vision with technical execution. You’ll communicate pose preferences, lighting moods, and prop positioning upfront, ensuring every shot captures intricate costume details with precision, artistic intent, and innovative storytelling cohesion.
How Should Makeup Details Align With a Character’s Story and Personality?
Over 70% of viewers notice makeup first. You’ll achieve character alignment by treating makeup symbolism as storytelling—mirror your character’s personality through deliberate color choices, weathering effects, and subtle details like dirt under nails for authentic narrative cohesion.
Why Does Narrative Cohesion Matter Across Wardrobe, Lighting, and Mood Choices?
Narrative cohesion unifies your wardrobe harmony, lighting consistency, and mood alignment, creating powerful storytelling elements. You’ll amplify authenticity, ensuring every technical detail—fabric texture, color grading, and shadow placement—works cohesively, transforming isolated components into an innovative, emotionally resonant visual experience.
How Does Precise Prop Positioning Improve Cosplay Shots Taken on Phone Cameras?
You’ll elevate your shots by mastering prop angles that guide the viewer’s eye. Use framing techniques to position props deliberately, letting your phone’s lens capture craftsmanship, depth, and intentional storytelling within every precisely composed, detail-rich frame.
References
- https://starstruckpanda.com/capturing-intricate-cosplay-details-in-photos/
- https://animecorner.me/cosplay-photography-capturing-the-character-through-the-lens/
- https://www.brittfoxx.com/blog/cinematic-style-in-cosplay-photography/
- https://digital-photography-school.com/epic-cosplay-shoot-behind-the-scenes/
- https://fstoppers.com/education/create-cinematic-cosplay-photos-seven-steps-256085
- https://www.youtube.com/watch?v=AnfGjpSNlyY
- https://www.facebook.com/groups/comicstyle/posts/344235476495092/
- https://www.reddit.com/r/CosplayHelp/comments/1qc2zjw/cosplay_photography/
- https://spandexsimplified.com/cosplay-photography-tips/
- https://www.behindtheshutter.com/getting-started-in-cosplay-photography/