For cosplay props, you’ll want to match your filament to the job—PLA for detailed static pieces, PETG for wearable armor, and TPU for flexible joints. Dial in your wall thickness to 3-4 perimeters, use gyroid infill for stress distribution, and drop your layer height to 0.12mm for crisp surface detail. Tree supports handle complex geometries cleanly, and proper sanding with progressive grits guarantees a polished finish. There’s plenty more technique refinement ahead.
Key Takeaways
- Choose PLA for detailed static props and PETG for durable wearable armor, as each filament offers distinct advantages for cosplay applications.
- Scale models using Blender or Fusion 360 to match your body measurements, splitting oversized pieces into interlocking sections for manageable printing.
- Use 3-4 perimeter walls for armor pieces and gyroid infill patterns at 15-40% density depending on the required structural strength.
- Apply tree supports for complex geometries at 10-15% density to minimize scarring and preserve fine surface details on intricate props.
- Sand progressively from 120 to finer grits, apply primer, then layer base and accent colors using metallic waxes for realistic finishing.
Choose the Right Filament for Your Cosplay Props
Choosing the right filament comes down to two core options for most cosplay builders: PLA and PETG.
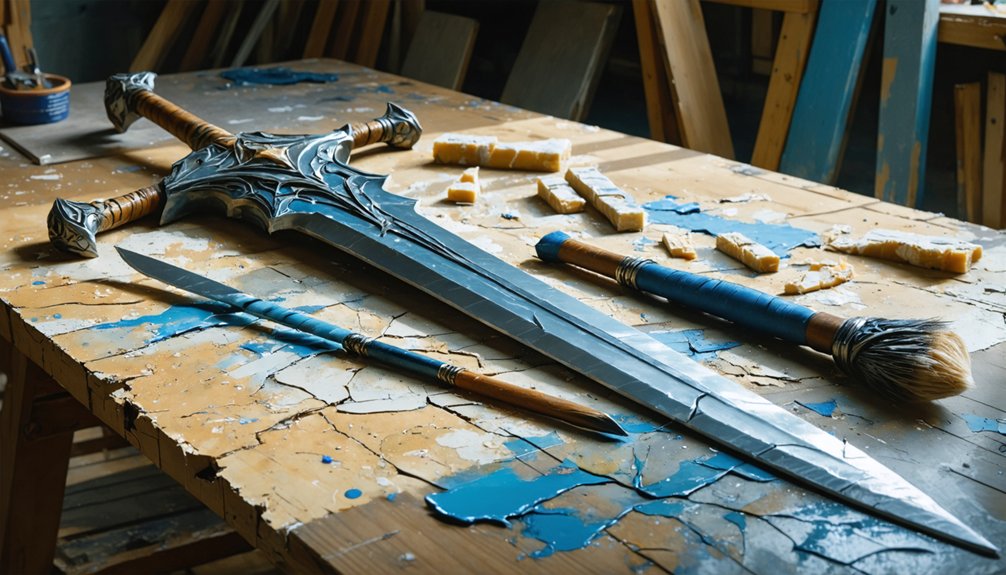
PLA’s filament properties make it ideal for static props — swords, staffs, and display pieces — where crisp detail and easy finishing techniques matter most. It’s affordable, eco-friendly, and accepts paint beautifully across diverse color choices.
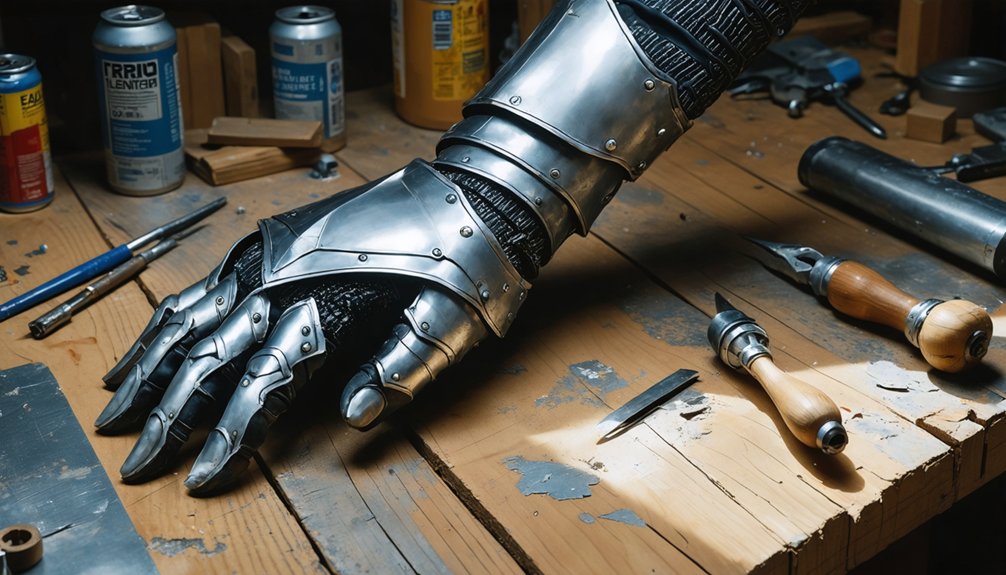
When print durability becomes your priority, PETG steps up. Its superior heat resistance protects wearable armor in hot outdoor environments, and its impact resistance handles the physical demands of convention wear.
However, PETG’s texture effects are harder to smooth, requiring more dialed-in settings and stronger adhesives during assembly.
For flexibility options, consider TPU for straps or articulated joints.
Matching filament to your prop’s functional demands — not just aesthetics — separates amateur builds from professional-quality cosplay creations.
Model and Scale Your Cosplay Props Before You Print
Before a single layer of filament hits the build plate, 3 foundational steps shape every successful cosplay print: modeling, scaling, and splitting. Digital modeling in Blender or Fusion 360 demands dimensional accuracy and sharp surface detail from the start.
Before a single layer of filament hits the build plate, dimensional accuracy and sharp surface detail shape everything that follows.
Scaling techniques must reflect your actual body measurements, not the original model’s defaults.
- Scale precisely: Match helmet circumference, limb dimensions, or prop display size before slicing.
- Split strategically: Divide pieces exceeding your print bed’s limits into interlocking sections.
- Build in alignment features: Embed dowel holes, pins, and seam tabs directly into the model.
These steps eliminate costly reprints and assembly headaches.
When alignment features are modeled in advance, you’re engineering a prop that fits together cleanly and holds its structure under real-world cosplay conditions.
Wall Thickness, Infill, and Layer Height for Cosplay Prints
Three print settings—wall thickness, infill, and layer height—directly control how strong, light, and surface-ready your cosplay props come out.
Increase wall strength by running three to four perimeters on armor pieces, which markedly improves print durability without overloading weight balance. Thinner walls work fine for static display props, but wearable components demand solid layer adhesion throughout.
For infill patterns, gyroid and cubic structures distribute stress more evenly than grid, preserving structural integrity across curved armor sections.
Keep infill between 15–25% for lightweight props and push toward 40% where joints absorb repeated impact.
Layer height directly shapes your surface finish.
Drop to 0.12mm on helmet face plates and visible panels where detail matters. Reserve 0.2–0.28mm for internal structural sections where speed outweighs appearance.
Choose the Right Support Strategy for Complex Props
Support strategy shapes whether a complex prop prints cleanly or becomes a cleanup nightmare—so understanding when to use tree supports versus standard grid supports gives you real control over your results.
Print orientation directly affects where supports land, how easily removal techniques work, and how much cleanup strategies you’ll need afterward.
- Tree supports excel at complex geometries like curved helmets and undercut armor panels, minimizing contact points for cleaner removal.
- Grid supports offer stronger print stability for flat-bottomed props with heavy overhangs requiring firm foundation.
- Support density should drop between 10–15% for intricate surface areas, reducing scarring without sacrificing structural integrity.
Dialing in support placement before slicing—not after—saves significant post-print labor and preserves the crisp surface detail your prop demands.
Remove Supports and Assemble Your Printed Parts
Once the print bed cools and your parts are in hand, methodical support removal protects the surface detail you worked hard to preserve.
Use dedicated support tools—flush cutters, dental picks, and needle-nose pliers—to strip material cleanly without gouging surrounding geometry.
Apply cleanup tips strategically: work inward from edges, never pry against detailed surfaces.
For assembly techniques, dry-fit every section before committing adhesive. Built-in alignment methods like dowel pins and keyed slots eliminate guesswork and reinforce joint strength considerably.
Choose adhesive options based on your filament—two-part epoxy bonds PETG reliably, while cyanoacrylate handles PLA quickly.
Deploy repair strategies early: reprint compromised sections rather than masking flaws.
Finally, light sanding and spot-filling become seamless finishing touches that set up flawless primer adhesion.
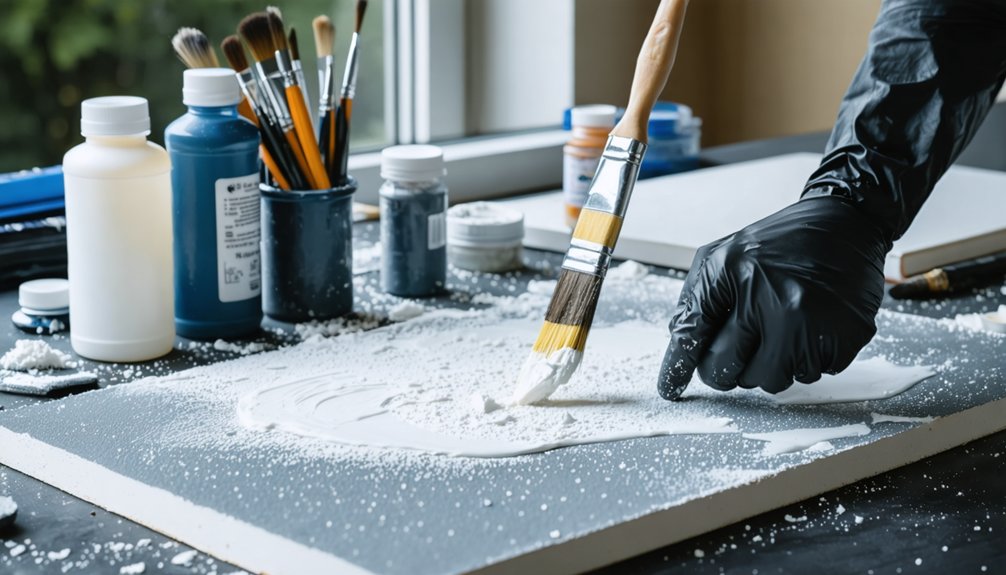
Sand and Prime Your 3D Printed Cosplay Props
Sanding transforms raw prints into refined surfaces ready for paint, so start with 120–220 grit paper to knock down layer lines and any leftover support nubs. Progress through finer grits for smoother results, then apply primer to seal everything before painting.
Smart sanding techniques and primer types make a measurable difference:
- Rustoleum Painter’s Touch 2X Ultra Cover bonds reliably to PLA and PETG, filling hairline cracks with minimal coats.
- Spot putty applied with scrap EVA foam acts like a squeegee, packing material into low spots efficiently.
- UV resin reaches intricate recesses that sandpaper and brushes can’t, curing quickly under a UV lamp.
A white primer base improves color brightness and cuts down total paint coats, saving you time and materials.
Paint and Detail Your 3D Printed Cosplay Props
Paint transforms a primed prop from a blank shell into a finished piece, and you’ll get the most out of it by working in deliberate layers.
Begin paint application with a white base to maximize color techniques and reduce coat count. Spray paint establishes broad coverage, while acrylic markers handle precision detail enhancement across panel lines and edges.
A white base coat maximizes color vibrancy and cuts down on layers before detail work begins.
Layering methods reveal depth — apply base colors first, then build accent colors selectively on raised geometry.
Metallic waxes like Rub ‘n Buff deliver fast texture effects on edges and trim. Weathering techniques, including dry brushing and wash application, add realism by simulating wear and shadow.
Finish with targeted finishing touches: seal wearable props with a durable topcoat, and prioritize gloss or matte choices based on your display intent.
Frequently Asked Questions
Can EVA Foam Be Combined With 3D Printed Parts in One Prop?
Yes, you can combine EVA foam with 3D printed parts to maximize prop durability. Leverage material compatibility by using foam for flexible sections while 3D printing delivers complex geometry, crisp detail, and structural precision throughout your build.
How Do You Store Finished Cosplay Props Without Heat Damage?
Like a knight shielding armor from dragon’s fire, you’ll protect your props through proper storage, temperature control, and humidity management. Use protective cases, avoid hot cars, and store PETG pieces in cool, stable environments.
What Software Is Best for Beginners Designing Their First Cosplay Prop?
For beginner software, start with Blender or Fusion 360—both offer extensive design tutorials online. You’ll find Blender’s creative flexibility and Fusion 360’s precision complement each other well when crafting your first detailed cosplay prop.
How Do You Split a Large Prop That Exceeds Your Print Bed?
Ironically, your print bed’s limits reveal smarter design. You’ll split oversized props in your modeling software, adding alignment pins, dowel holes, and seam tabs to each section for seamless prop assembly later.
Can Broken Printed Parts Be Repaired Instead of Fully Reprinted?
Yes, you can repair broken printed parts using smart repair techniques instead of fully reprinting. Apply two-part plastic bonders or UV resin as reliable adhesive options to restore structural integrity and seamlessly revive damaged props efficiently.
References
- https://makersuite.net/blogs/makersuite-blog/how-to-make-epic-cosplay-props-using-a-3d-printer-step-by-step-tutorial
- https://www.dremel.com/ap/en/make-with-dremel/how-to/how-to-start-making-cosplay-props—with-waynes-workshop
- https://mandarin3d.com/blog/3d-printing-for-cosplay-armor-props-and-accessories
- https://www.creativebloq.com/3d/3d-software/how-to-3d-print-cosplay-props-from-spider-man-masks-to-thors-hammer
- https://www.reddit.com/r/cosplayprops/comments/1087tyi/so_this_is_just_a_more_loaded_question_this_is_my/
- https://pinkpetal.studio/finishing-3d-prints-for-cosplays/
- https://cosplayqueries.com/2020/08/08/finishing-3d-prints-for-cosplay-a-beginners-guide/
- https://www.youtube.com/watch?v=ChyUv4i1euk
- https://www.facebook.com/groups/kamuicosplaycommunity/posts/1792643901238693/
- https://www.405th.com/forums/threads/a-painting-guide-from-raw-3d-print-to-con-ready-with-lojak.54868/