For cosplay skits, you’ll want to use a USB microphone like the Blue Snowball, positioning it 6–12 inches from your mouth and targeting audio levels around -12 dB to avoid distortion. Treat your recording space with rugs and curtains to eliminate reverb. Position softboxes at 45-degree angles above eye level, and map lighting changes to audio cues for dramatic impact. Master these fundamentals, and every technical layer beyond them gets sharper.
Key Takeaways
- Treat your recording space with rugs, curtains, or foam panels to absorb reflections and minimize unwanted ambient noise.
- Use a USB microphone like the Blue Snowball, positioned 6–12 inches from your mouth for consistent audio clarity.
- Target audio levels around -12 dB to avoid distortion while preserving dynamic headroom throughout your performance.
- Position softboxes at a 45-degree angle above eye level to achieve uniform, shadow-free illumination that highlights costumes.
- Use cool blues for stoic characters and deep reds for villains, mapping lighting changes to audio cues for dramatic effect.
What Judges Actually Notice About Cosplay Skit Audio and Lighting
Judges evaluate cosplay skits with a trained eye for technical execution, and audio clarity ranks among their top priorities. They’ll immediately detect muffled dialogue, inconsistent sound quality, or poorly synced lip movements. These flaws break performance immersion and signal weak preparation.
Lighting impact matters equally. Judges assess whether your setup achieves visual coherence — meaning your costume details, facial expressions, and prop interactions remain clearly visible throughout the performance. Poor lighting obscures character expression and diminishes your skit’s overall score.
Judge feedback consistently highlights two failure points: distorted audio and flat, unflattering illumination. You can avoid both by treating technical execution as seriously as costume craftsmanship.
When audio clarity and lighting work together precisely, they elevate your performance immersion and communicate professional-level commitment to every judge watching.
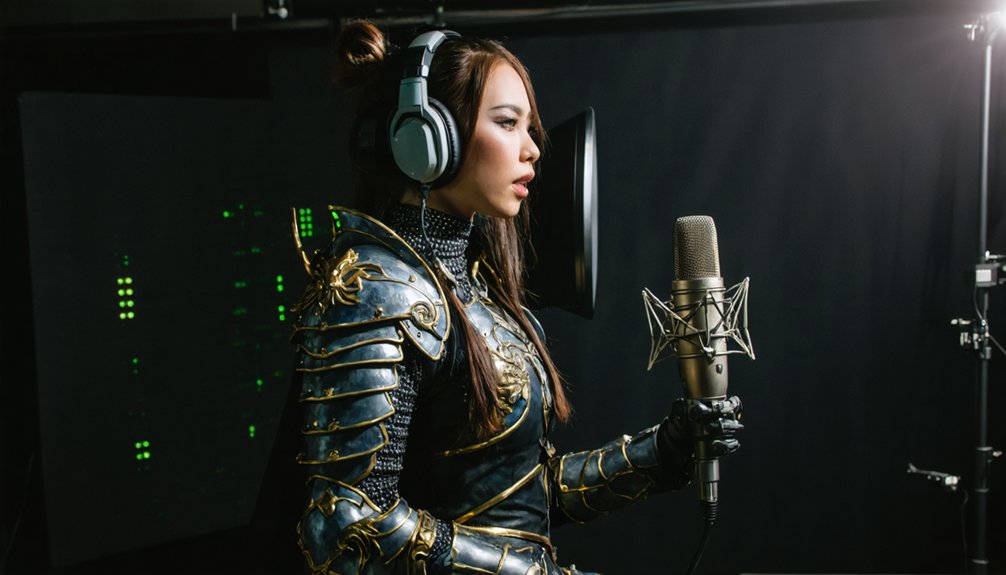
Choose the Right Microphone for Cosplay Audio
For cosplay audio recording, you’ll get the best results from a USB microphone like the Blue Snowball, which delivers clear dialogue capture without complex setup.
Position the microphone 6–12 inches from your mouth to maintain consistent audio levels around -12 dB, giving you clean recordings with sufficient headroom.
Avoid headset microphones entirely, as they introduce unwanted noise and greatly degrade the clarity of your voice lines.
USB Microphone Benefits
Choosing the right microphone can make or break your cosplay audio quality, and USB microphones like the Blue Snowball offer a straightforward, high-performance solution without the complexity of XLR setups.
USB microphone advantages include plug-and-play USB microphone compatibility across Windows and Mac systems, eliminating interface dependencies.
USB microphone types range from cardioid to omnidirectional patterns, giving you targeted USB microphone usage based on your recording environment.
USB microphone features like built-in preamps deliver consistent USB microphone quality without external hardware.
USB microphone cost remains considerably lower than professional XLR alternatives, making them ideal for cosplayers prioritizing budget efficiency.
For best USB microphone performance, follow core USB microphone tips: position it 6–12 inches from your mouth and monitor levels during USB microphone setup to maintain clean, distortion-free dialogue captures.
Optimal Recording Distance
Once you’ve locked in your USB microphone choice, placement becomes the next variable that directly impacts recording clarity.
Applying ideal recording distance tips guarantees you’re capturing clean, full-bodied dialogue without distortion or proximity artifacts.
Follow these microphone placement strategies for consistent results:
- Position your mouth 6–12 inches from the microphone’s front capsule to balance presence and clarity
- Target audio levels around -12 dB during test clips to preserve headroom and prevent clipping
- Use headphones during test recordings to immediately identify distance-related issues before committing to a full session
Small adjustments in positioning produce measurable differences in output quality.
You’ll eliminate muddiness, reduce unwanted room noise, and capture dialogue that translates clearly across both convention environments and edited video productions.
Avoiding Headset Microphones
While headset microphones offer hands-free convenience, they’ll consistently underdeliver when it comes to capturing clean cosplay audio. Their positioning near the cheek rather than directly in front of your mouth creates immediate clarity issues, degrading vocal definition and character intelligibility.
Headset drawbacks extend beyond placement. Their compact capsules amplify noise interference from costume movement, fabric friction, and ambient crowd sounds.
These compounding variables directly hurt your performance impact, making dialogue feel muddy and unconvincing to your audience.
Instead, you should opt for a USB condenser microphone like the Blue Snowball. Its cardioid pickup pattern isolates your voice with surgical precision while rejecting off-axis noise.
Position it correctly, and you’ll deliver audio that reflects the technical quality your cosplay performance demands.
Set Up Your Cosplay Recording Space for Clean Audio
Once you’ve chosen your microphone, your recording environment becomes the next critical variable in audio quality.
Place rugs, curtains, or acoustic foam on walls to absorb reflections, silence noisy appliances, and close windows to eliminate unwanted ambient noise.
A USB microphone like the Blue Snowball won’t perform to its potential if you’re recording in an acoustically untreated space, so address your environment before you press record.
Optimize Your Recording Environment
Before you hit record, your environment shapes the quality of your audio more than any microphone upgrade will. Acoustic treatment and echo reduction directly impact dialogue clarity, so address environmental factors first.
- Place rugs, curtains, or acoustic foam strategically to eliminate sound reflections before finalizing microphone placement.
- Silence appliances, close windows, and reduce ambient noise by recording during quieter periods.
- Apply soundproofing tips like layering soft materials across flat surfaces to prevent unwanted reverb.
These recording techniques cost nothing but transform your results.
After implementing acoustic treatment, run audio testing with headphones before committing to a full session. Listening critically through this process exposes hidden environmental factors your recording equipment can’t self-correct.
Treat the space first, then trust your gear to capture clean, professional-grade cosplay dialogue.
Choose The Right Microphone
How you capture your voice determines whether your cosplay performance sounds professional or amateurish. Selecting the right microphone type directly impacts audio clarity, so choose a USB condenser microphone like the Blue Snowball for straightforward, high-fidelity dialogue capture.
Avoid headset microphones entirely—they introduce unwanted noise and compromise your recording’s integrity.
Position your microphone 6–12 inches from your mouth to balance presence and sound isolation without capturing room reflections. Monitor your input levels targeting -12 dB to prevent distortion while preserving dynamic headroom.
Before committing to a full session, always record short test clips through headphones to identify frequency problems early. These precise recording tips eliminate guesswork, letting you focus on delivering a performance that genuinely connects with your audience.
Record Your Cosplay Voice Lines at the Right Audio Levels
Recording your cosplay voice lines at the correct audio levels is one of the most critical steps in producing clean, professional-sounding dialogue. Poor audio level adjustments destroy dialogue clarity before editing even begins.
Target -12 dB during recording to eliminate distortion while preserving dynamic headroom.
Follow these core level-monitoring practices:
- Monitor in real time using headphones during test clips to catch clipping or low-signal issues immediately.
- Set input gain carefully on your USB microphone before committing to a full session.
- Avoid recording too quietly—signals below -24 dB introduce noise when boosted in post-production.
Getting levels right at the source means less corrective editing later. Precise audio level adjustments upfront protect dialogue clarity and give your cosplay skit a polished, immersive sound.
Blend Takes and Add Sound Effects in Audacity or Cap Cut
Once you’ve locked in clean levels, the next step is shaping your best raw takes into a polished final track.
Audio blending lets you combine multiple recorded clips, selecting the strongest inflections and emotional delivery from each take. In Audacity, use the multi-track timeline to layer clips, trim precisely, and crossfade shifts seamlessly.
Cap Cut offers comparable functionality on both mobile and desktop, making it accessible for any workflow.
After blending your dialogue, integrate sound effects directly onto separate tracks. This separation gives you independent volume control without affecting your voice lines.
Position sound effects to sync with specific dialogue moments for maximum impact.
Export your final mix as a high-quality WAV or MP3 file, ensuring it’s convention-ready and performs consistently through external playback systems.
Position Softbox Lights to Show Every Costume Detail Onstage
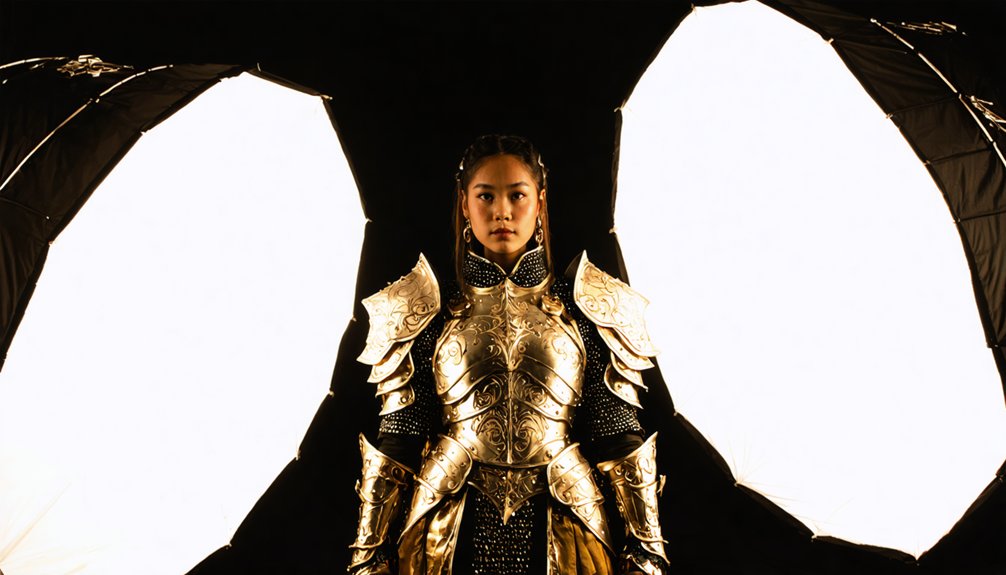
Softbox lights are your most reliable tool for revealing every seam, texture, and prop detail your costume carries onstage. Strategic softbox placement eliminates harsh shadows that flatten dimensional costume elements.
Position each softbox at a 45-degree lighting angle to your face and body, ensuring uniform illumination across layered fabrics, armor pieces, and accessories.
Apply these softbox placement principles for maximum costume visibility:
- Mount softboxes slightly above eye level to sculpt facial features without casting downward shadows onto costume layers.
- Angle secondary softboxes toward your sides to eliminate shadow gaps between props and costume edges.
- Test lighting angles during rehearsal to confirm shiny materials don’t produce audience-blinding glare.
Precise softbox placement transforms flat stage lighting into dynamic, detail-forward illumination your audience clearly sees from every row.
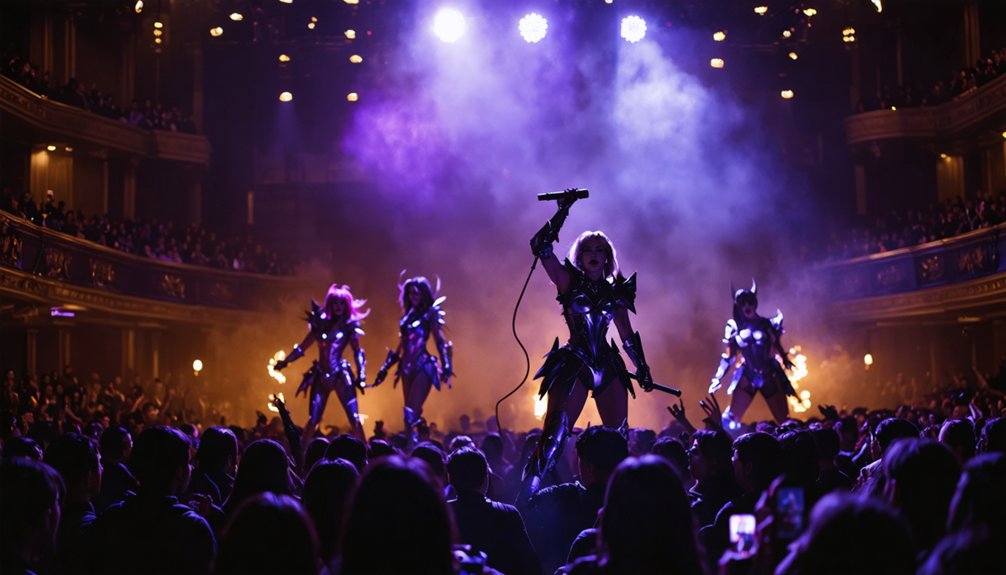
Match Your Lighting Colors to Your Character’s Theme
Lighting color directly shapes how your audience perceives your character’s identity and mood before you speak a single line. Leverage lighting color psychology by selecting hues that reinforce your character’s archetype — cool blues for stoic warriors, deep reds for villains, warm golds for heroic leads.
Character mood matching isn’t aesthetic preference; it’s strategic communication that primes your audience emotionally before your performance begins.
Maintain theme consistency across every lighting shift throughout your skit. If your character shifts from controlled to chaotic, adjust your lighting temperature accordingly. These deliberate changes amplify emotional impact and signal narrative beats without dialogue.
Angle colored lights carefully to avoid washing out costume details or creating unflattering skin tones. Test every color combination during rehearsal, not during the performance itself.
Trigger Your Lighting Changes to Hit Right on Your Audio Cues
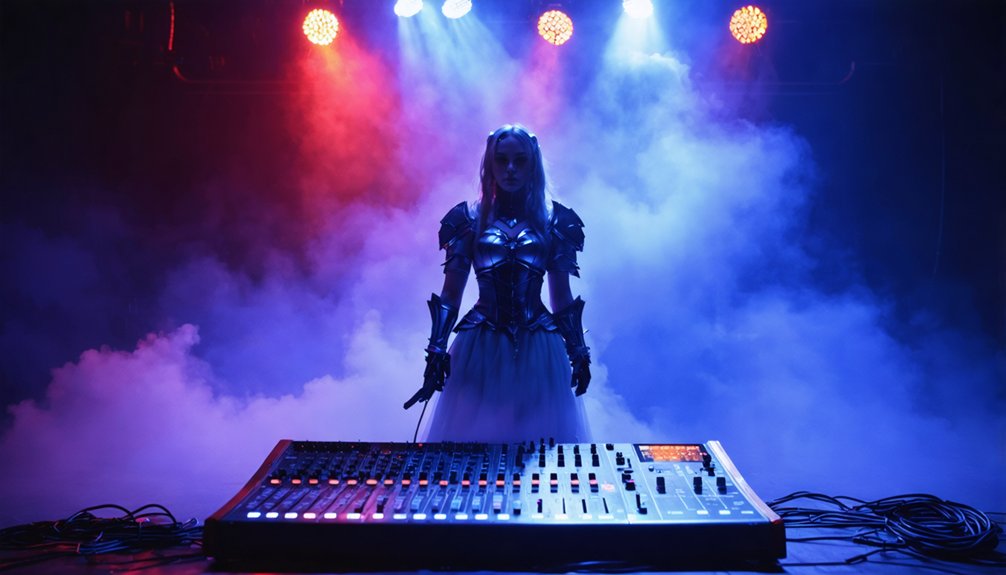
Matching your colors to your character’s theme only works when those colors land at exactly the right moment.
Lighting synchronization with audio timing transforms decent skits into cinematic experiences. You’ll need cue coordination mapped precisely to your pre-recorded audio track, triggering dramatic changes exactly when dialogue peaks or music swells. That precision drives performance dynamics and elevates your visual storytelling beyond amateur execution.
Run technical rehearsals repeatedly until your lighting operator anticipates every cue instinctively:
- Mark your audio track with timestamps at every intended lighting shift
- Use a cue sheet linking specific audio moments to exact lighting commands
- Test live playback under full stage conditions to catch timing drift
This level of preparation delivers a genuinely immersive experience that audiences feel, not just watch.
Rehearse Your Skit With Full Audio and Lighting Setup
Once your cue sheet is finalized, rehearse your entire skit under full audio and lighting conditions before stepping onto any convention stage.
Full skit rehearsal with complete audio integration exposes timing gaps, missed cues, and movement conflicts that isolated run-throughs won’t reveal. Wear your full costume, activate your lighting rig, and play your pre-recorded audio at performance volume.
Practice hitting every blocked position precisely when each audio cue fires. Record your rehearsal on video and review it critically, checking lip sync accuracy, lighting coverage on your costume, and shadow placement on your face.
Adjust your positioning if lighting misses key costume details or creates unflattering shadows. Run the complete sequence at least three times without stopping to build reliable muscle memory under realistic performance conditions.
Frequently Asked Questions
Can I Use My Smartphone Instead of a USB Microphone for Recording?
You can use your smartphone, but it won’t match USB microphone smartphone quality. Follow smart recording tips: minimize distance, reduce background noise, and use an external app to control levels precisely for cleaner cosplay skit audio.
How Do I Sync Lighting Changes if I Have No Technical Crew Helping?
You’ll dance with the light itself by pre-programming lighting cues into your audio track using timed markers. Master synchronization techniques by embedding cue tones within your audio file, triggering smart bulbs or automated lighting controllers automatically.
What Backup Plan Works if Audio Playback Fails During Live Performance?
Keep a backup device loaded with your audio files. Strong performance strategies include projecting your voice live if playback fails. Apply audio troubleshooting instincts—stay composed, cue your team, and continue delivering your skit confidently without hesitation.
Are Battery-Powered Lights Allowed Inside Most Cosplay Convention Venues?
Like a green light at a crossroads, most venues permit battery-powered options—but you’ll need to verify battery safety policies and confirm light placement restrictions with organizers beforehand, as rules vary considerably between convention spaces.
How Early Should I Arrive to Test Audio and Lighting Before Competing?
Arrive at least two hours early. You’ll need time for sound checks, mapping the venue layout, testing lighting angles, syncing audio cues, and confirming visibility. Don’t underestimate technical troubleshooting—it’s always more complex than expected.
References
- https://www.youtube.com/watch?v=WQZKNPLQrY8
- https://bemoreshonen.com/blogs/the-cosplay-fitness-blog/how-to-record-audio-for-a-cosplay-performance-wcs-uk-2018
- https://www.archyde.com/sound-cosplay-tips-tricks/
- https://cosplay.com/archive/thread/57rp4m/the-best-way-to-record-audio-for-a-skit
- https://andsewingishalfthebattle.com/how-to-enter-and-survive-a-cosplay-masquerade/
- https://cosplay.com/archive/thread/j02ozl/the-dos-and-don-ts-of-masquerade-skits
- https://www.youtube.com/watch?v=PIgqzE7tokY
- https://www.magicon.no/portfolio-item/video-audio-guide-for-contestants/
- https://www.youtube.com/watch?v=ZbKY1v0gPjY
- https://www.oceanview-studios.com/fandom-focus-blog/best-microphones-for-content-creators