To build FNAF animatronic cosplay armor, you’ll start by sketching scaled designs for each component based on your body measurements. Cut high-density penoplex foam into shell shapes, layer them over a cardboard or yoga mat frame, and connect articulated sections with galvanized wire. Sculpt facial features from clay or foam, then prime and paint everything with acrylic layers and dry-brushing for a weathered mechanical look. There’s much more technique involved in getting each stage right.
Key Takeaways
- Select a FNAF character, sketch scaled armor components, and annotate materials like penoplex and cardboard before beginning construction.
- Build a lightweight frame using cardboard or yoga mat sheets, connecting articulated sections with caliber 22 galvanized wire.
- Layer high-density penoplex foam over the frame, smoothing edges with a rasp or sandpaper for rounded, realistic contours.
- Sculpt facial features from clay or foam, using painted plastic ornaments for eyes and mesh fabric for visibility.
- Prime foam with automotive primer, apply layered acrylic paints, dry-brush wear effects, and seal with a protective clear coat.
Choose Your FNAF Character and Map the Armor Design
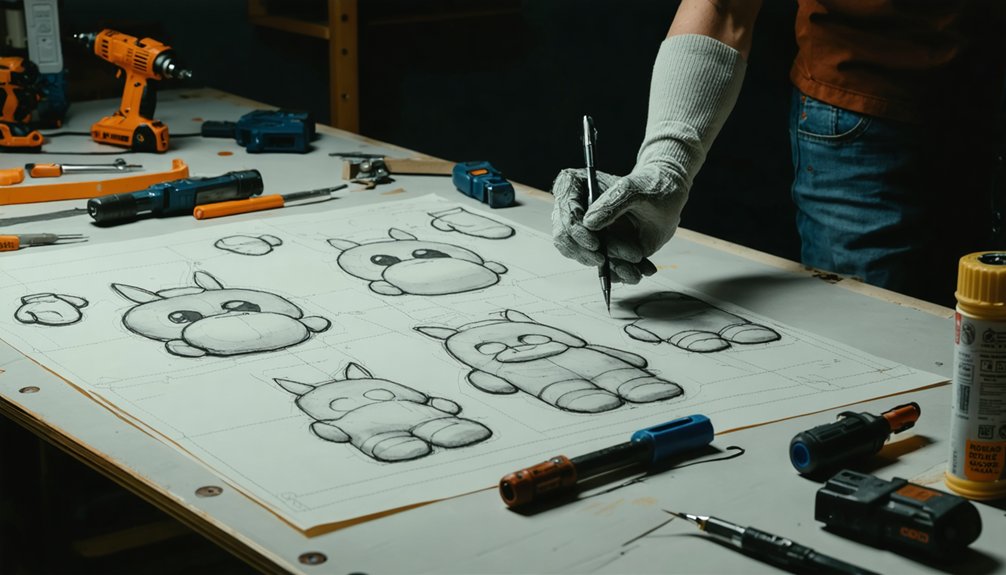
Picking the right FNAF character upfront saves you significant rework later, so study reference images of your chosen animatronic from multiple angles before cutting a single piece of foam. Let your character inspiration drive every structural decision, from shell curvature to joint placement.
Once you’ve locked in your subject, translate those reference images into scaled design sketches that map each armor component separately — head, torso, limbs, and feet. Annotate your sketches with material callouts: high-density penoplex for primary shells, 3mm cardboard for fine facial details like the muzzle and teeth.
Measure your body dimensions and overlay them against your sketches to establish accurate scaling. Color-code each panel to track assembly sequence. These mapped sketches become your production blueprint, eliminating guesswork and keeping fabrication systematic throughout every subsequent build phase.
Gather Your Materials for FNAF Animatronic Cosplay Armor
With your design blueprints finalized, it’s time to source every material before fabrication begins.
Prioritize material sourcing tips early—availability varies by region, so confirm stock before committing to a design scale.
Core materials you’ll need:
- High-density polyfoam (penoplex): Primary structural shell material; supports foam cutting techniques like rasping and sanding for smooth contours.
- 3mm cardboard: Essential for precise mouth panels and fine facial details.
- Hot glue gun with extra sticks: Critical bonding agent for foam-to-fabric and foam-to-foam connections.
- Automotive primer and acrylic paints: Fills surface imperfections and delivers accurate character color finishes.
Additionally, gather galvanized wire (caliber 22) for joint articulation, mesh fabric for eye visibility, and plastic ornaments for eye construction.
Organize materials by build phase to streamline fabrication workflow.
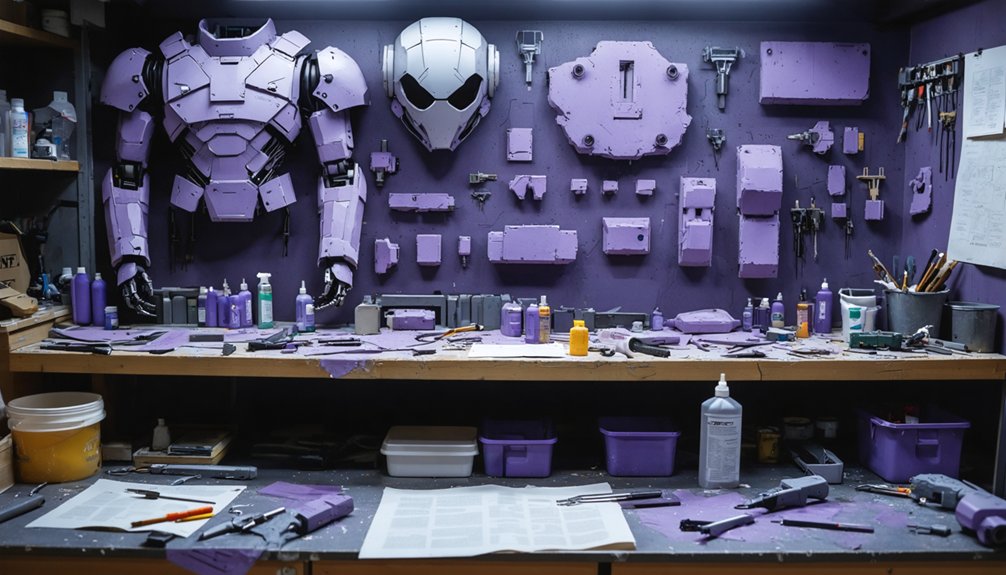
Build the Frame and Foam Shell of Your FNAF Armor
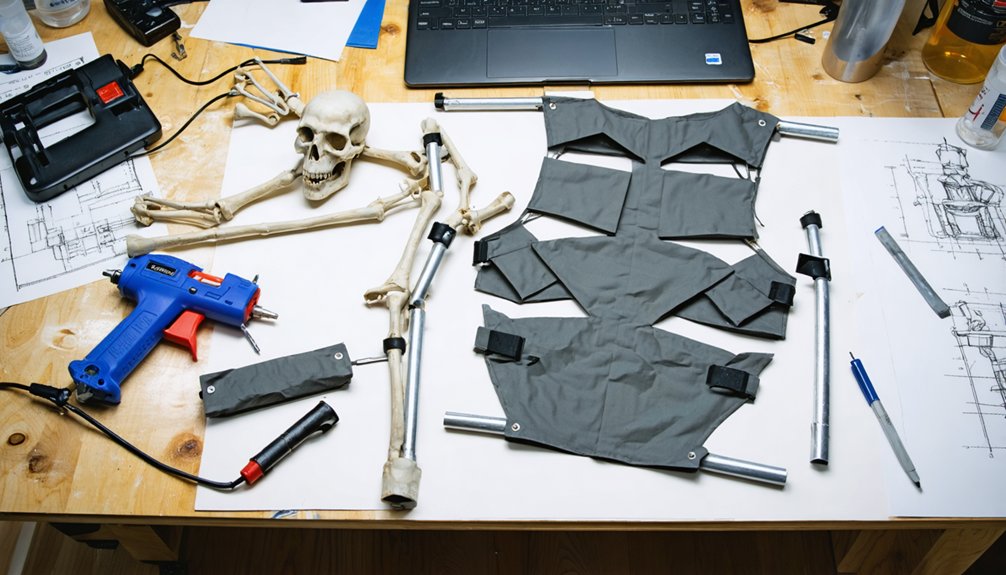
Constructing a rigid yet lightweight frame is the foundation of functional FNAF armor. Start with cardboard or yoga mat sheets cut to your torso and limb dimensions, prioritizing frame stability above all else.
Connect articulated sections using galvanized wire at caliber 22, linking your torso and waist joints securely.
Once your frame’s solid, begin foam layering by applying high-density penoplex over the base structure. Use a rasp or sandpaper to smooth sharp angles, shaping the foam into rounded, character-accurate contours.
Hot glue bonds each foam layer firmly to the frame beneath.
Cut trap doors into base sections before sealing, ensuring internal servo access later.
Stretch fabric over your completed foam shell and secure it with hot glue, locking in your character’s defining textures and silhouette.
Sculpt and Attach Facial Features Like Eyes and Teeth
Once your foam shell is complete, you’ll tackle the facial features that bring your FNAF character to life. Precision in eye design, teeth sculpting, and attachment methods determines how authentic your build looks.
- Eyes: Use painted plastic ornaments with mesh pupils for visibility techniques that maintain character accuracy.
- Teeth: Sculpt individual pieces from clay or foam, then sand edges for sharp, realistic detailing tips.
- Attachment methods: Bond all features using hot glue, pressing firmly for 30 seconds per piece.
- Material choices: Use 3mm cardboard for structured mouth frames; foam works better for curved facial details.
Apply black and blue paint to simulate eyelids and highlights.
Test visibility through eye mesh before permanently sealing features to your foam base.
Paint and Weather Your FNAF Cosplay Armor for Final Assembly
Painting and weathering transform your raw foam armor into a screen-accurate FNAF prop, so approach this stage methodically.
Begin with automotive primer to seal foam pores and enable proper color blending across base layers. Apply your character’s core colors using thin, even coats, then layer rust effects by stippling brown and orange tones onto edges and joints.
Use aging techniques like dry-brushing dark gray over raised surfaces to simulate mechanical wear. Spray glow finishes onto strategic areas for low-light spooky effects.
Incorporate texture enhancements by dabbing sponges over flat panels, creating subtle surface irregularities. Once weathering’s complete, seal everything with matte or satin clear coat for surface protection against handling and friction.
Test all servo movements before final assembly to confirm nothing restricts mechanical function.
Frequently Asked Questions
How Do I Integrate Servo Motors Into My FNAF Animatronic Cosplay Armor?
Like a puppeteer commanding strings, you’ll house servo motor types within foam compartments, routing wiring through channels. Connect control systems via movement cables, securing with tape, then test functionality through your armor’s trap door access points.
What Trap Door Designs Work Best for Accessing Internal Animatronic Mechanisms?
Cut flush-fitting trap doors from your foam base using sharp blades, then secure them with lightweight hinge mechanisms for easy access. Choose flexible trap door materials like thin EVA foam to maintain structural integrity while allowing quick internal servo adjustments.
How Do I Route Internal Wiring Safely Through Foam Compartments Without Overheating?
Ready to innovate? Route your wiring through pre-cut foam channels, ensuring safety precautions like heat-resistant sleeves on cables. Use wiring techniques that secure lines with tape, preventing friction and overheating within your foam compartments.
What Galvanized Wire Caliber Connects Articulated Joints Between Torso and Waist?
You’ll use caliber 22 galvanized wire to connect articulated joints between your torso and waist. It’s ideal for maintaining joint flexibility while managing wire tension, ensuring smooth, reliable movement throughout your animatronic’s innovative structural framework.
How Do I Seal Internal Components to Prevent Dust Entry and Mechanical Failure?
Over 60% of mechanical failures stem from dust infiltration. You’ll want to apply dust proofing techniques by sealing all internal access points with foam gaskets and adhesive tape, ensuring solid mechanical maintenance and preventing costly component damage.
References
- https://www.youtube.com/watch?v=Dh2un5Z8Aok
- https://learning-to-sew.tumblr.com/post/119013951160/mini-tutorial-and-tips-for-making-fnaf-animatronic
- https://www.youtube.com/watch?v=xflvEGV2g5A
- https://www.youtube.com/watch?v=48oiL3B3vYM
- https://www.youtube.com/watch?v=vR5C7YEK2ng
- https://www.youtube.com/watch?v=oAbrs_D7kdQ
- https://www.youtube.com/watch?v=j-DAZZ-93aA
- https://www.reddit.com/r/cosplayprops/comments/1cgznex/my_son_wants_to_build_a_fnaf_suit_but_i_need_help/
- https://www.youtube.com/watch?v=lhgIyqxV_uc
- https://www.youtube.com/watch?v=PE31gvx2D0k